Additionally you use the task flow as a region within the mainHR page.
In the EJB, you add a named query using the @NamedQueries annotation syntax.
-
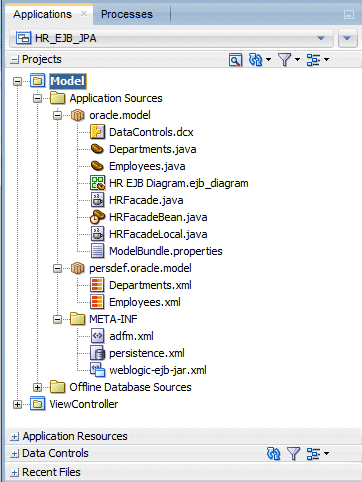
Close all open tabs and expand the Model project.
-
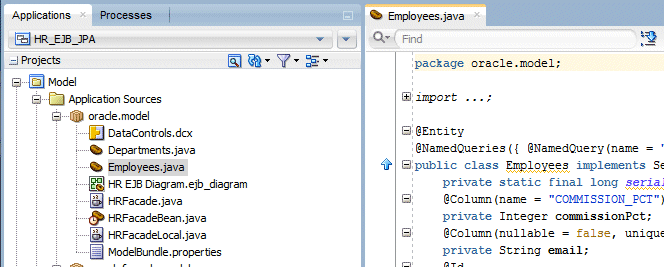
Double click the Employees.java class to open it in the Source editor.
-
In the Source editor, expand (or open) the Entity node to visualize the @NamedQuery statement within the @NamedQueries annotation.
")
-
Add a comma after the closing parenthesis of the NamedQuery statement and hit Enter to add a new line.
-
Add a query to the class that retrieves data about employees having a salary greater than a parameter value. Add the following statement:
@NamedQuery(name = "Employees.findBySal", query = "select o from Employees o where o.salary > :p_sal")So that the code looks like the following:
@NamedQueries( {
@NamedQuery(name = "Employees.findAll", query = "select o from Employees o") ,
@NamedQuery(name = "Employees.findBySal", query = "select o from Employees o where o.salary > :p_sal")
})

If required, use the ALT + Enter keystroke combination to import the javax.persistence.NamedQueries library. -
Save your work and click the Make icon to compile your project and check that no errors are returned.
The Messages > Log window will show the results.
-
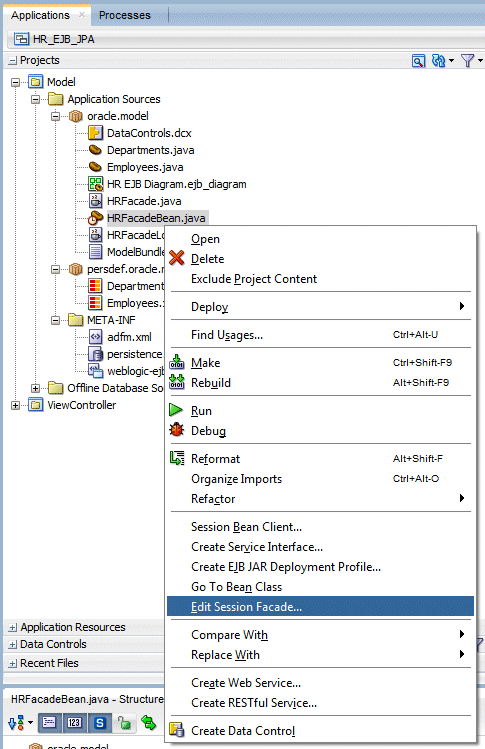
In the Applications Navigator, right-click HRFacadeBean.java and select Edit Session Facade from the context menu.
-
In the Specify Session Facade Options, check the new query you just added getEmployeesFindBySal() and Click OK.
This exposes the newly added, named query to be available as a data control.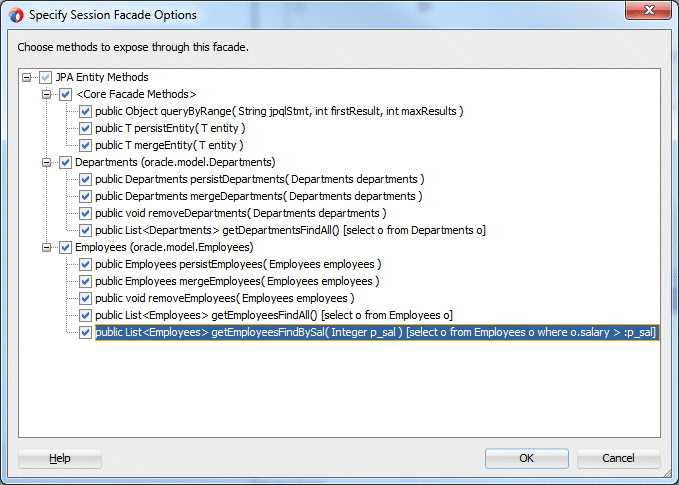
-
Click the Save All
 icon to save your work.
 -
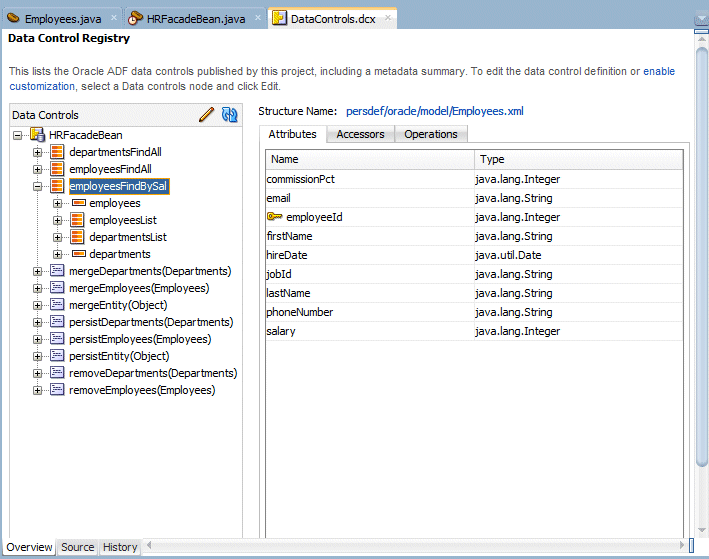
Double click the DataControl.dcx and in the Data Control Registry, expand the HRFacadeBean node. Click the employeesFindBySal node and notice the existing attributes corresponding to the EJB JPA definition.
-
Your new method is now ready to be used as a data control in your pages.
-
Click the Save All
 icon to save your work.
What makes these objects different from other Java files are the annotations that identify them as EJB entities. A key feature of EJB 3.0 and JPA is the ability to create entities that contain object-relational mappings by using metadata annotations rather than deployment descriptors as in earlier versions.
Named queries enable you to define queries at design time and then use them at run time.
Creating the FacadeBean created one NamedQuery metadata statement in the Employee entity. This query retrieves all rows from the Employees table:
@NamedQueries({
@NamedQuery(name = "Employees.findAll", query = "select o from Employees o")
})
| Annotation | Description |
|---|---|
| @Entity | Identifies the file as an EJB 3.0 entity |
| @NamedQuery | A query that can be used at run time to retrieve data |
| @Table | Specifies the primary table for the entity |
| @Id | Can define which property is the identifier for the entity |
| @Column | Specifies a mapped column for a persistent property or field |
| @ManyToOne | Specifies a type of foreign key relationship between tables |
| @JoinColumn | Specifies the join column and referenced column for a foreign key relationship |
ADF task flows provide a modular approach for defining control flow in a Fusion web application.
-
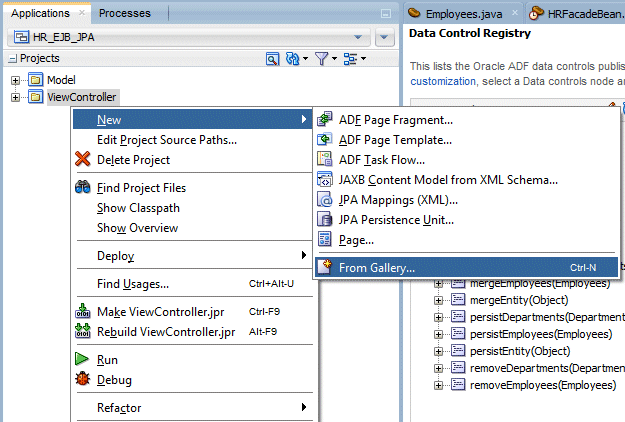
In the Applications window, collapse the Model project.. Right-click the ViewController project and select New > From Gallery.
-
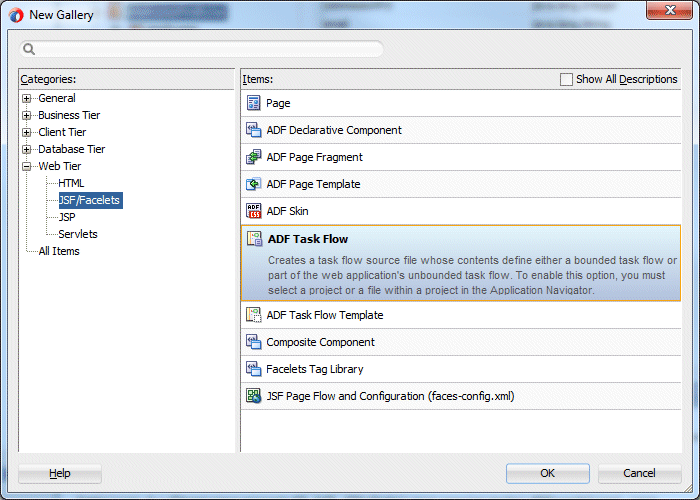
In the New Gallery, select Web Tier > JSF/Facelets as the Category and ADF Task Flow as the item. Click OK.
-
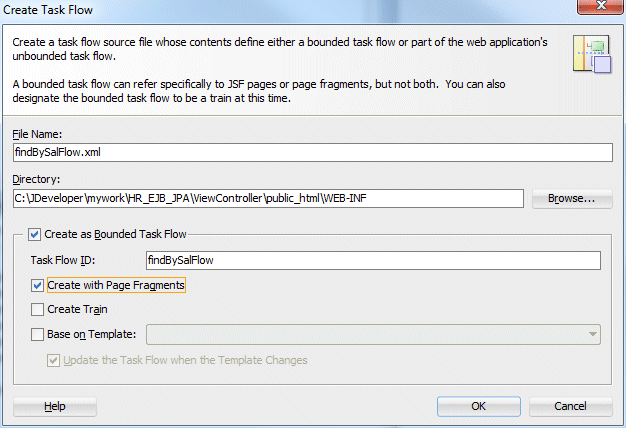
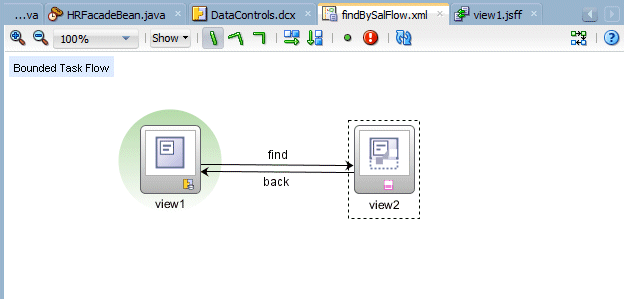
In the Create Task Flow dialog, enter findBySalFlow.xml. Also, select the Create as Bounded Task Flow and Create with Page Fragments checkboxes. Click OK.
-
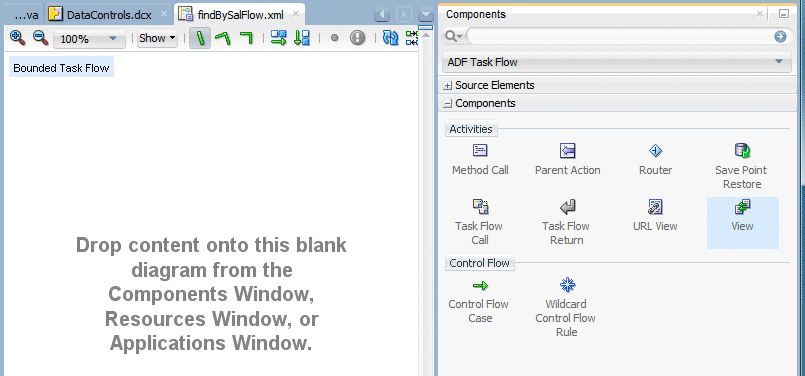
Drag a View component from the Components palette onto the task flow.
-
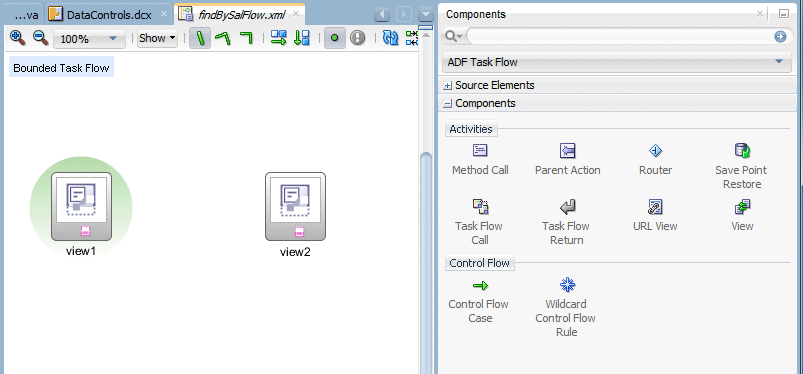
Drag a second View component onto the task flow.
-
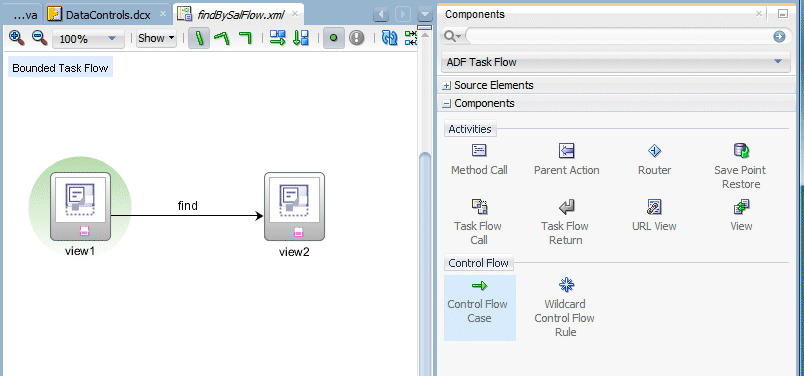
Select the Control Flow Case component and click once in view1 to select the starting activity for the control flow case,the click in view2. Rename the flow find.
-
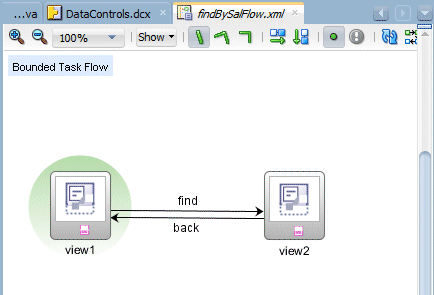
Repeat the operation to create a second Control Flow Case from view2 to view1 and rename it back.
-
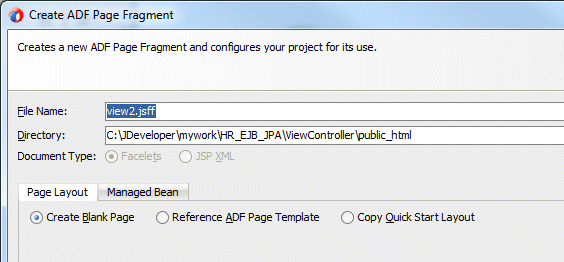
Double-click view1 to create a page that will be associated with the view activity. In the Create ADF Page Fragment dialog,make sure that the Document Type is Facelets and the Page Layout is Create Blank Page.
Click OK to create the page.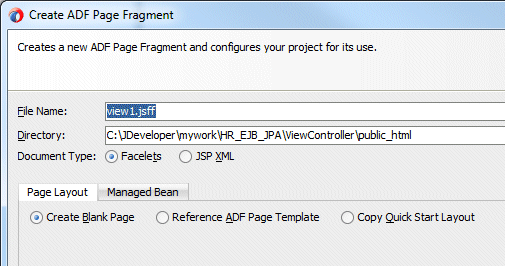
A page fragment is a JSF document that is rendered as content within another JSF page. Page fragments are typically used in bounded task flows that can be added to a JSF page as a region.
-
Open the Data Controls pane and expand employeesFindBySal. You may need to click the refresh button to see the new collection.
Expand the Operations node and drag ExecuteWithParameters to the page and add it as an ADF Parameter Form.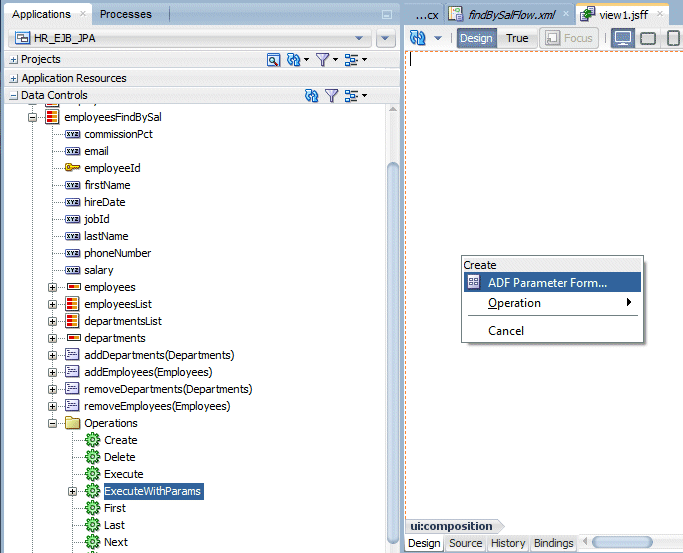
-
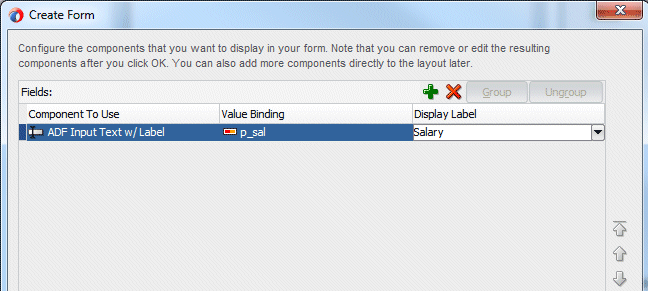
In the Create Form dialog, enter Salary in the Display Label field and click OK to accept other defaults.
 g
g -
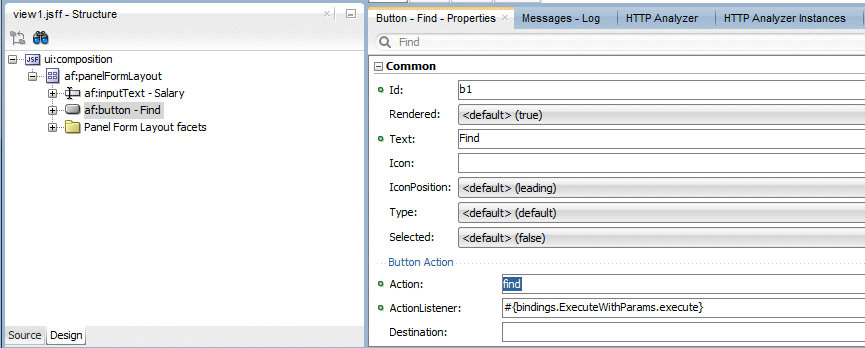
Select the ExecuteWithParameters button and in the Properties window, set the Action property to find from the list and type Find as the Text.
-
Save your work.
-
Click the findBySalFlow.xml tab to reopen the task flow diagram. In the task flow diagram, double click view2 to create a page that is associated with the view2 view activity.
-
In the Create ADF Page Fragment, click OK to accept the default values.
-
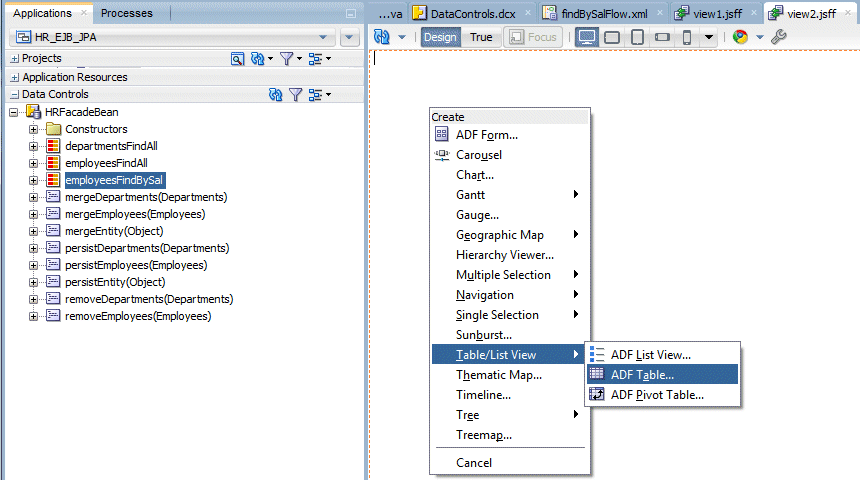
From the Data Controls palette, drag employeesFindBySal onto the page and select Table/List View > ADF Table.
-
In the Create Table dialog, select the Single Row, Enable Sorting, Enable Filtering, and Read-Only options Delete all columns after salary and also delete hiredate.
Click OK to create the table.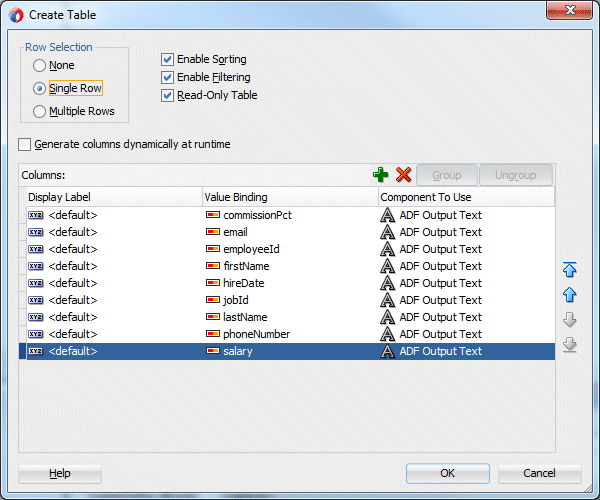
-
From the Components palette, select the Button component in the ADF Faces > General Controls library and drop it above the af:table node in the Structure window.
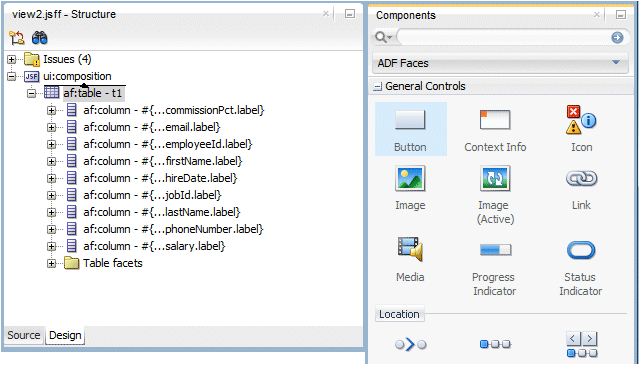
-
In the Properties window, enter Back as Text and select back for the Action.
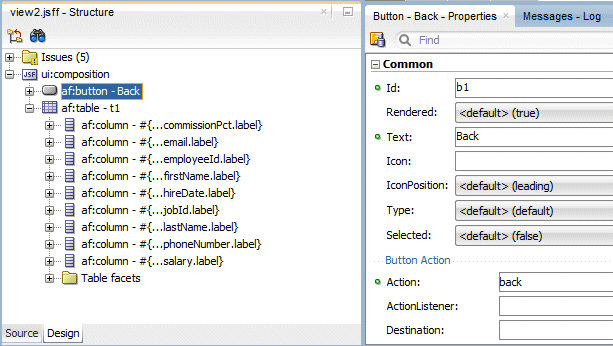
-
Click the Save All
 icon to save your work.
Unbounded task flow: A set of activities, control flow rules, and managed beans that interact to allow a user to complete a task. The unbounded task flow consists of all activities and control flows in an application, that are not included within a bounded task flow.
Bounded task flow: A specialized form of task flow that, in contrast to the unbounded task flow, has a single entry point (an entry point is a view activity that can be directly requested by a browser) and zero or more exit points. It contains its own set of private control flow rules, activities, and managed beans. A bounded task flow allows reuse, parameters, transaction management, reentry, and can render within an ADF region in a JSF page.
Create with Page Fragments: Clear this checkbox if you want the view activities that you add to the task flow to reference JSF pages that render in the main browser window as the root page. Leave the Create with Page Fragments checkbox checked if you want the view activities that you add to the task flow to reference page fragments files (.jsff) that the task flow displays in an ADF region at runtime.Notice the circle around view1. It represents the entry point for the task flow.
A bounded task flow has a single point of entry, a default activity that executes before all other activities in the task flow.
You can render a bounded task flow in a JSF page or page fragment (.jsff) by using an ADF region.
-
Double-click mainHR.jsf in the Applications window to reopen the mainHR.jsf page.
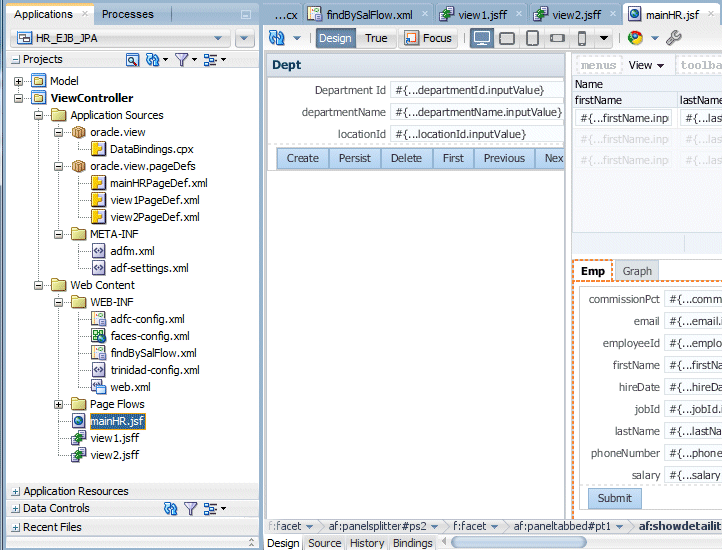
-
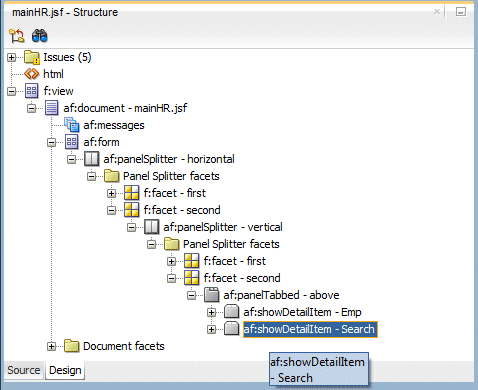
Right click the Emp tab and select Insert After Show Detail Item > Show Detail Item.
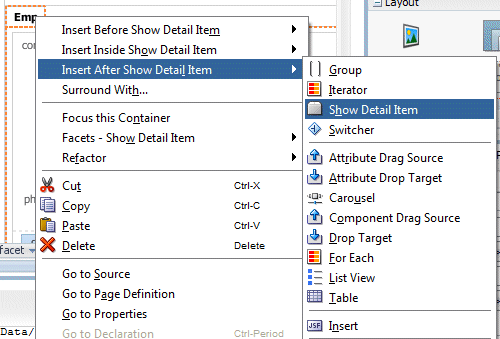
-
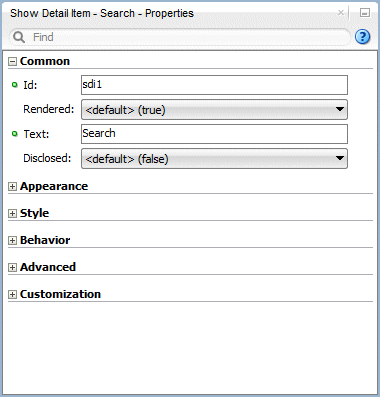
In the Properties window, change the Text field to Search.
-
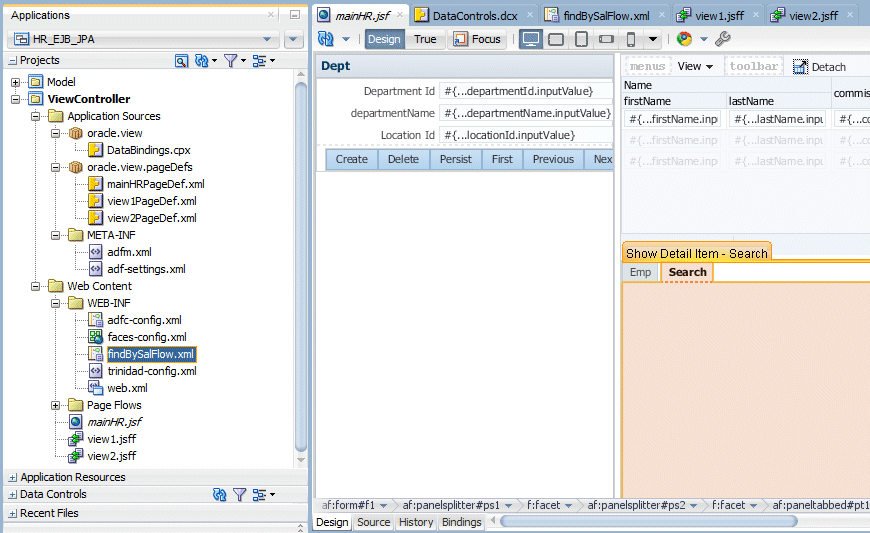
In the Applications window, expand Web Content > Page Flows and drag and drop the findBySalFlow.xml node within the Search pane.
-
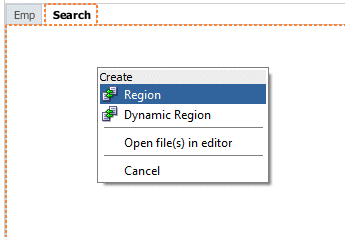
Select Create > Region from context.
-
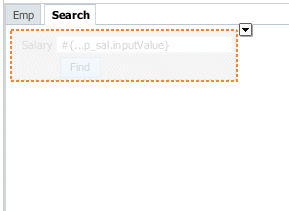
The page region should look like the following:
-
Click the Save All
 icon to save your work.
 Read more...
 You can isolate specific pieces of application functionality in a bounded task flow and an ADF region in order to reuse it throughout the application.
You can extract, configure, and package application functionality within a bounded task flow so that it can be added to other pages using an ADF region. ADF regions can be reused wherever needed, which means they are not dependent on a parent page.
-
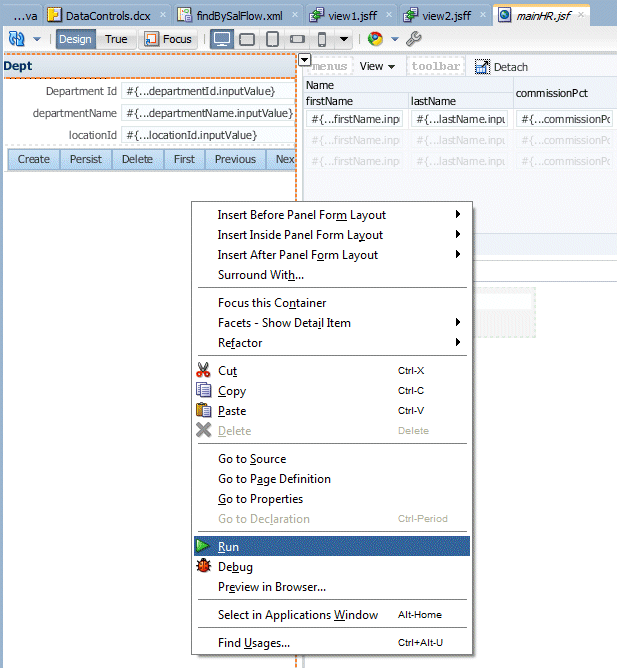
Right click within the page and select Run from context.
-
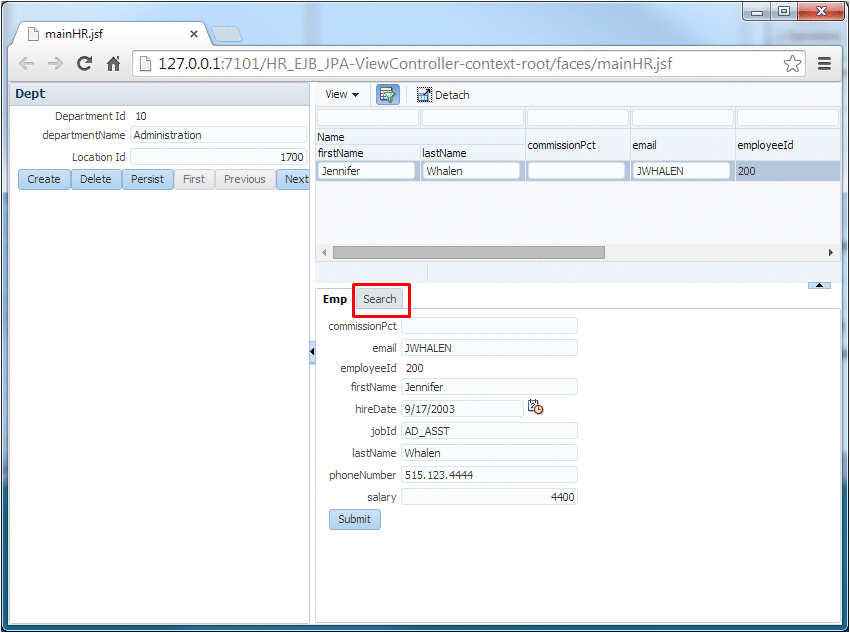
In your Browser window, click the Search tab.
-
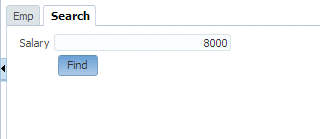
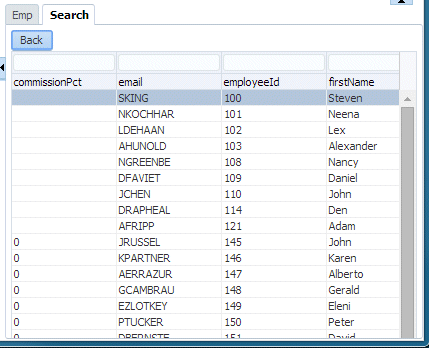
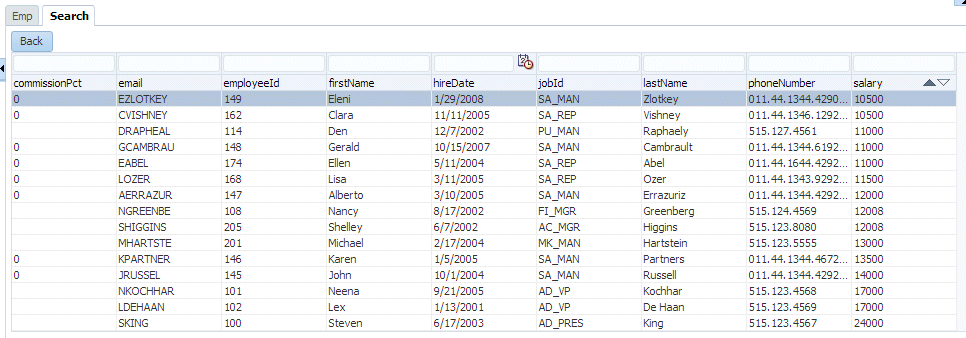
Enter a value in the getEmployeesFindBySal_p_sal field (for example 8000) and click the Find button.
-
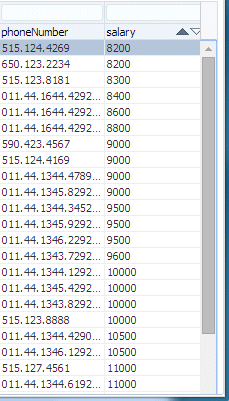
A list of the corresponding employees is returned. Scroll right to verify that no salaries =< 8000 are returned. Sort on the salary field to make it easy to confirm..
-
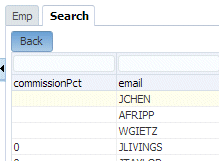
Click the Back button.
-
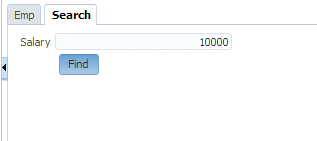
Enter a new value in the getEmployeesFindBySal_p_sal field (for example 10000) and click the Find button.
-
A more restricted list is now displayed.
-
Close the browser window.

 Expand all | Hide all
 Part 1: Building the Data Model with EJB 3.0 Using the EJB Diagrammer
