You can design a databound user interface by dragging an item from the Data Controls panel and dropping it on a page as a specific UI component. When you use data controls to create a UI component, JDeveloper automatically creates the various code and objects needed to bind the component to the data control you selected.
In the next few steps, you create a JavaServer Faces Page using ADF Faces components for the Departments Employees Master Detail page.
-
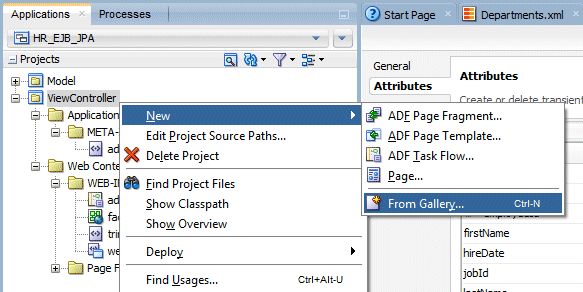
Right-click the ViewController project and select New > From Gallery from context.
-
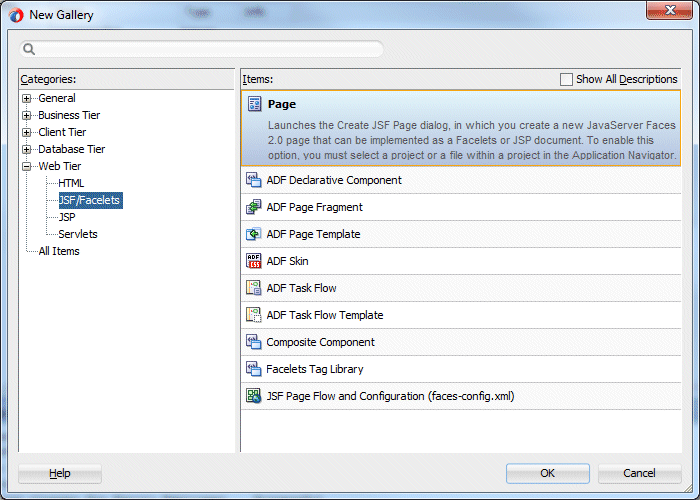
In the New Gallery, select the Web Tier > JSF/Facelets category and select Page as the item and click OK.
-
Enter mainHR.jsf as the file name.
Check the Facelets checkbox, and in the Page Layout section, click the Copy Quick Start Layout radio button. It is best practice to use the quick start layouts to avoid display issues.
In the Page Layout section of the dialog, click the Two Column category and select the first layout in the list. Click OK to create the page.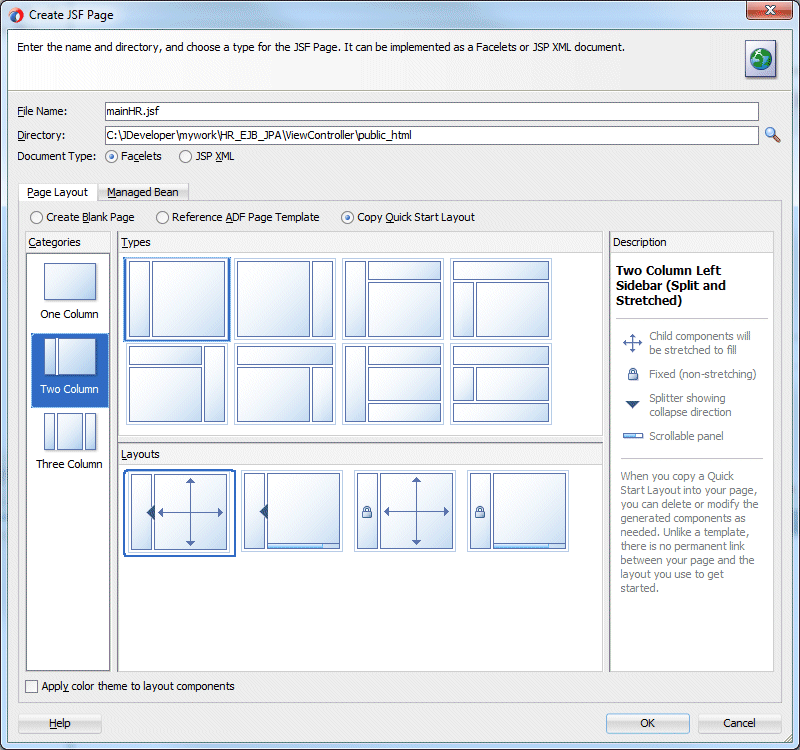
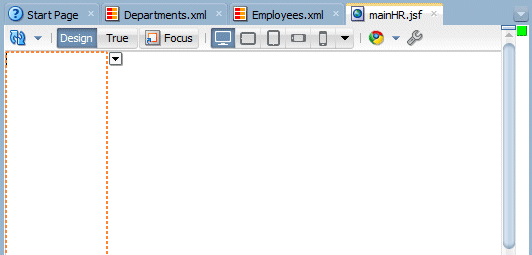
You now have an empty mainHR.jsf page open in the Design Editor.
In the next few steps, you add data-bound ADF Faces components to the page. These components display a department along with the employees belonging to the department.
-
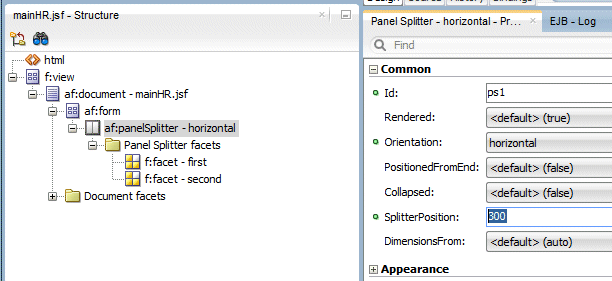
In the Structure window, select the panelSplitter component and in the Properties window, set the SplitterPosition to 300.
-
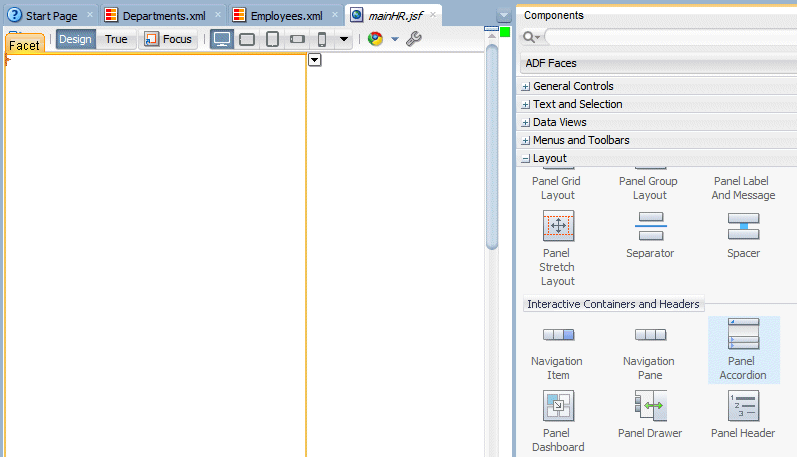
In the Components window, ADF Faces library, expand the layout section and drag a Panel Accordion component onto the first facet.
-
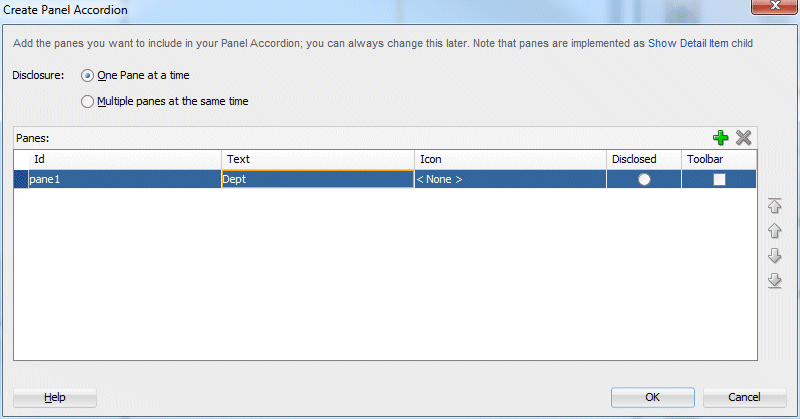
In the Create Panel Accordion pane, set the Text to Dept. If you want to, you could add more detail item components by clicking the green plus sign. Just click OK.
-
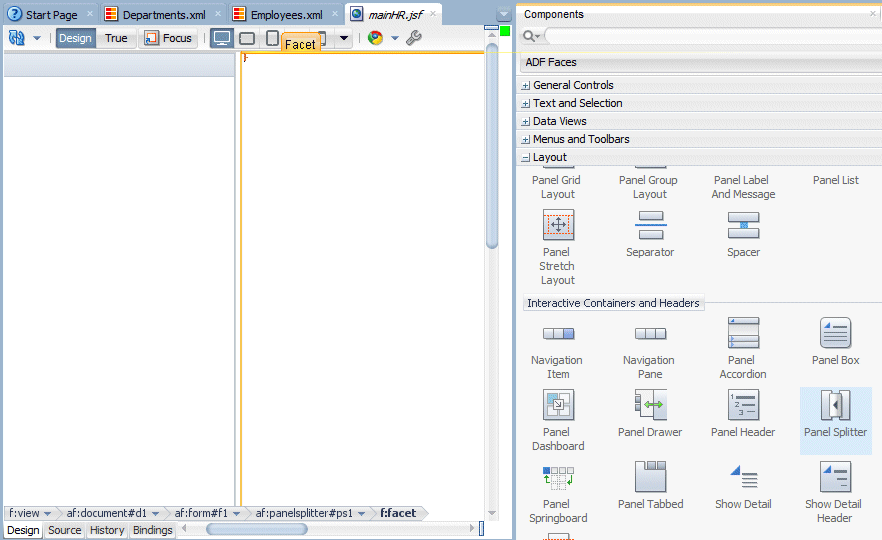
From the Components window, drag a Panel Splitter component onto the second facet of the page.
-
In the Properties window, set the Orientation property to vertical.
-
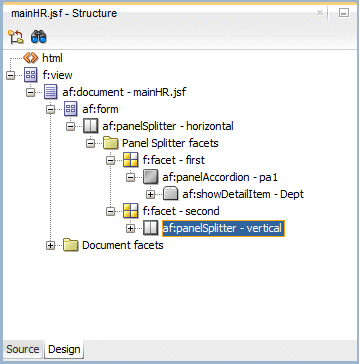
The Structure window should look like the following:
-
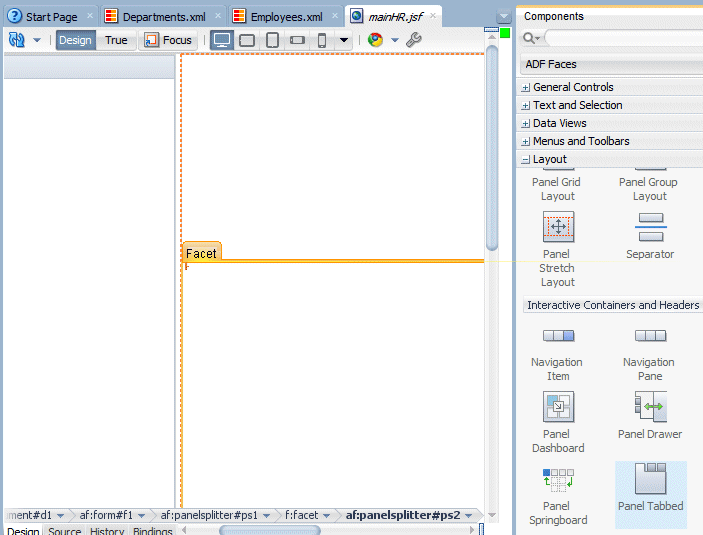
From the Components window, drag and drop a Panel Tabbed component onto the second facet.
-
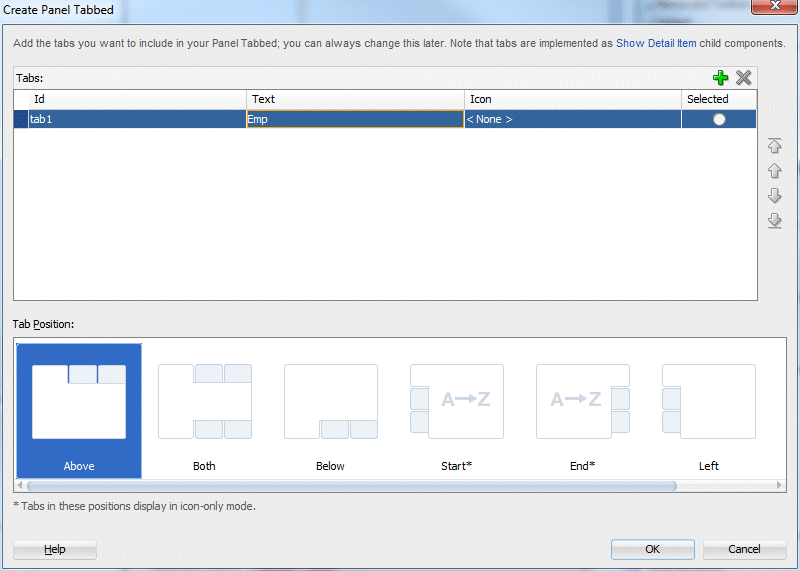
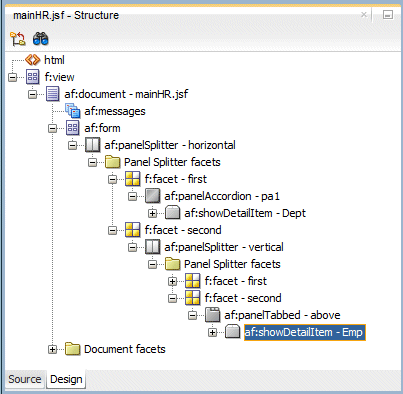
In the Create Panel Tabbed pane, set the Text property to Emp. Then click OK.
-
Drag and drop a Panel Collection onto the first facet (top right one).
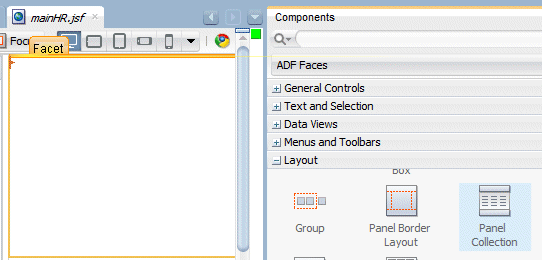
-
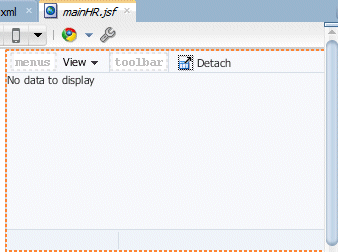
The page skeleton should look like the following:
-
Click the Save all
 icon to save your work.
In the next few steps, you use ADF Faces to build a query page to edit employee data.
-
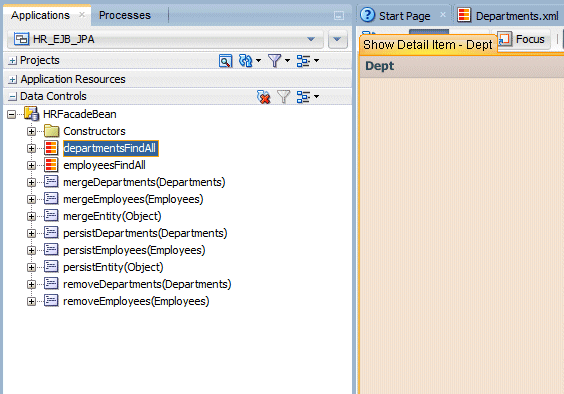
Open the Data Controls accordion and expand the HRFacadeBean node, then drag and drop the departmentsFindAll node to the first facet.
-
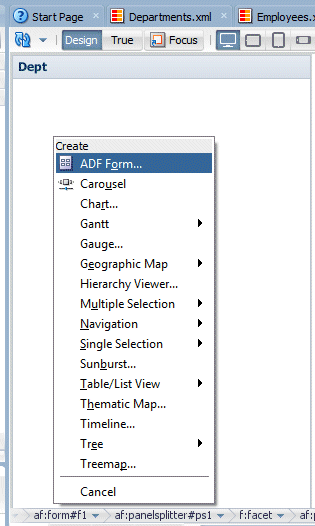
In the pop up create menu, select ADF Form... .
-
In the Create Form, delete all columns except the following:
departmentId
departmentName
locationId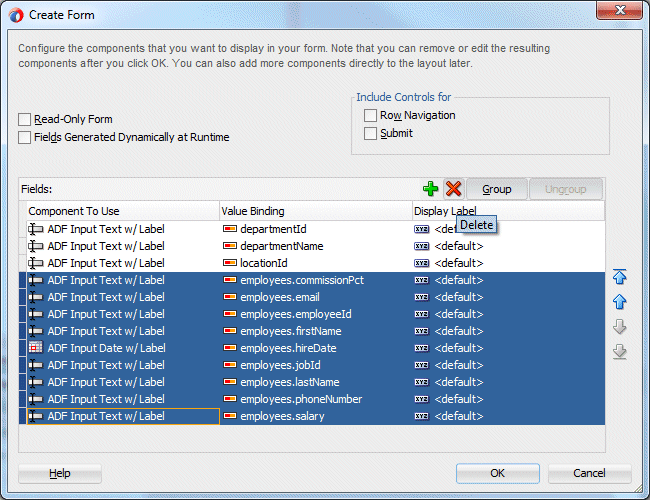
-
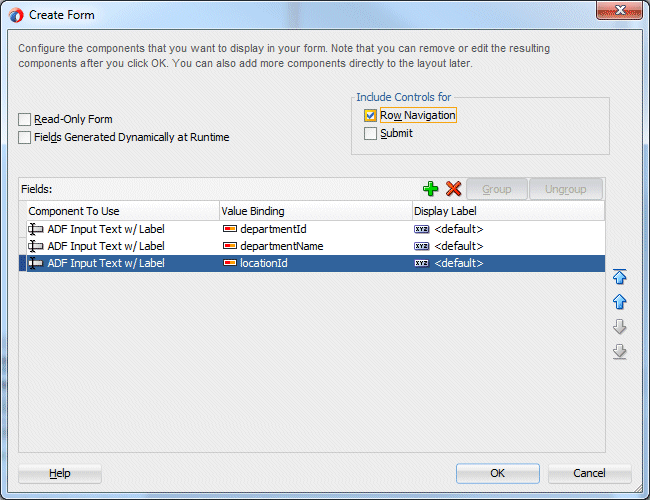
Check the Include Controls for Row Navigation option.
-
Click OK.
-
In the Data Controls accordion, expand the HRFacadeBean > departmentsFindAll nodes. Drag the employeesList1 collection to the upper right facet in the visual editor (the Panel Collection.)
.
-
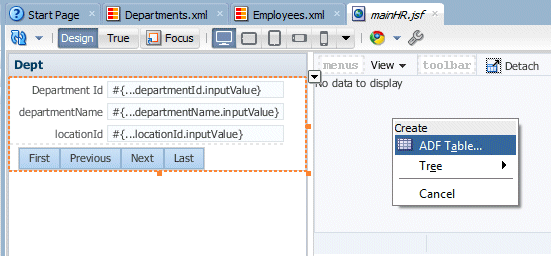
In the Create pop up menu, select ADF Table.
-
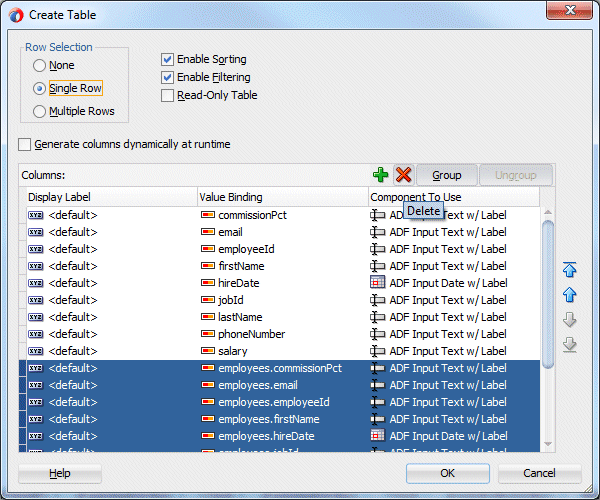
In the Create Table dialog, select Single Row, Enable Sorting and Enable Filtering. Select all the columns after salary (inclusive) and them.
-
Move up lastName, firstName using the right side arrows.
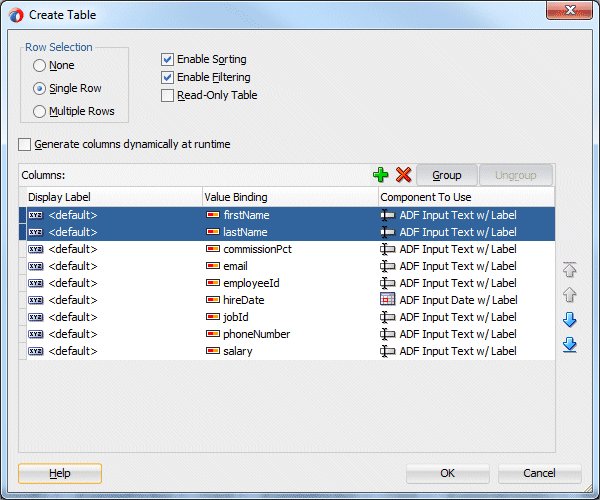
-
Multi select firstName and lastName and click the Group button.
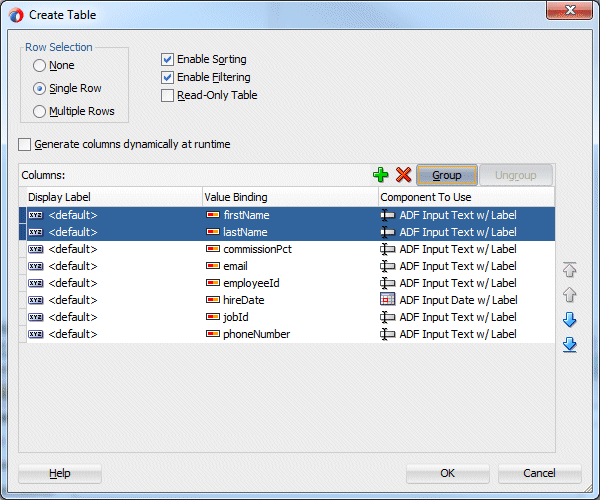
-
In the new row created on top, enter Name as the Display Label. Notice the indentation of firstName and lastName indicating that they are subcomponents of the Name group component.
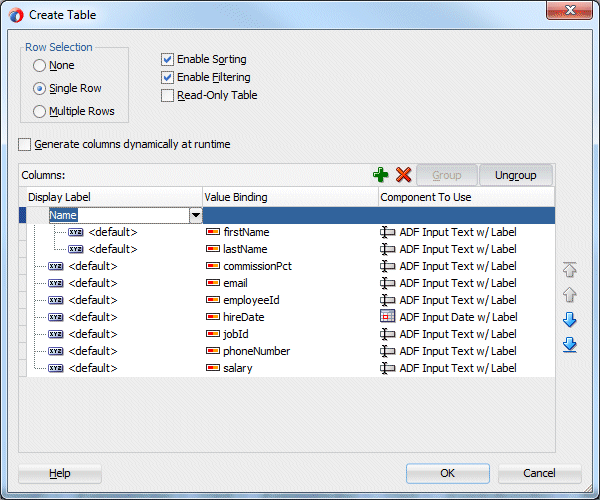
-
Click OK.
-
Click the Emp tab in the page designer and from the Data Controls accordion, drag the employeesList1 to the Emp showDetailItem.
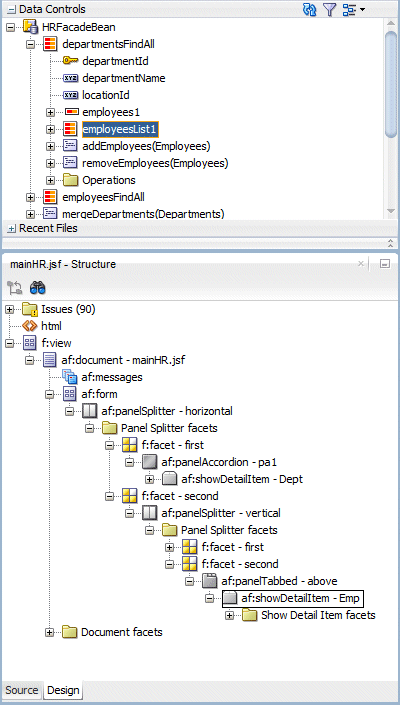
-
Select the ADF Form menu option.
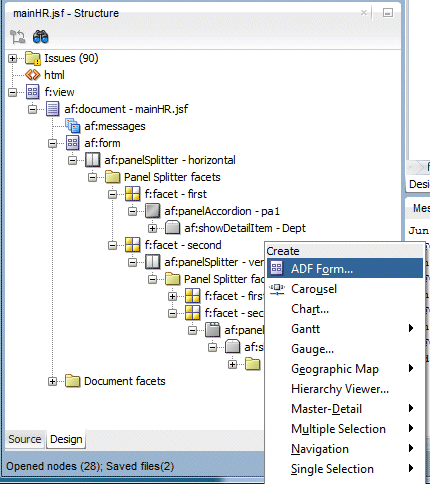
-
In the Create Form dialog delete all columns except the following:
commissionPct,
email,
employeeId,
firstName,
hiredate,
jobId,
lastName,
phoneNumber,
salary,
and check the Include Controls for Submit Button checkbox.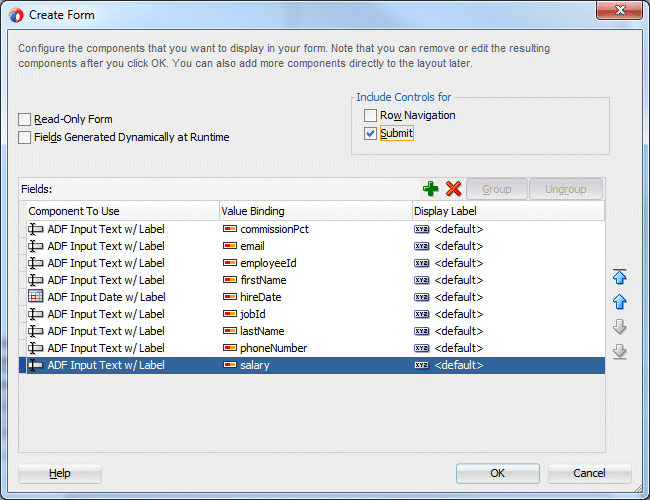
-
Click OK.
-
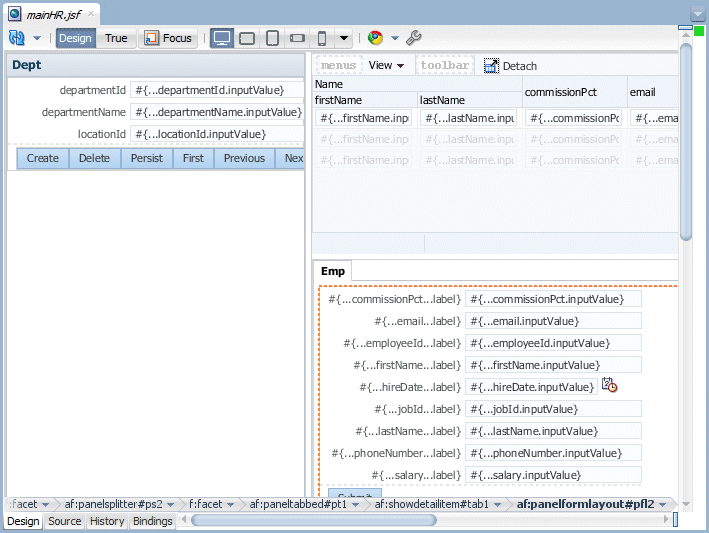
The page should now look like this:
-
Click the Save all
 icon to save your work.
When you drag an item from the Data Controls panel and drop it on a page, JDeveloper performs a number of actions.
It creates a DataBindings.cpx file in the default package for the project (if one does not already exist), and adds an entry for the page.
It creates the adfm.xml file in the META-INF directory. This file creates a registry for the DataBindings.cpx file, and is used by the applications metadata layer to allow customization and personalization of the application.
It also adds a page definition file (if one does not already exist for the page) to the page definition subpackage. The default subpackage is view.pageDefs in the adfmsrc directory.
-
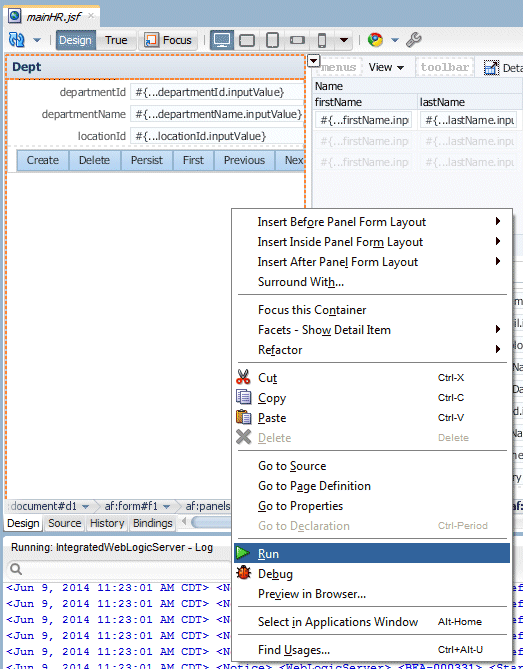
In the page editor, right-click anywhere on the page and select Run.
-
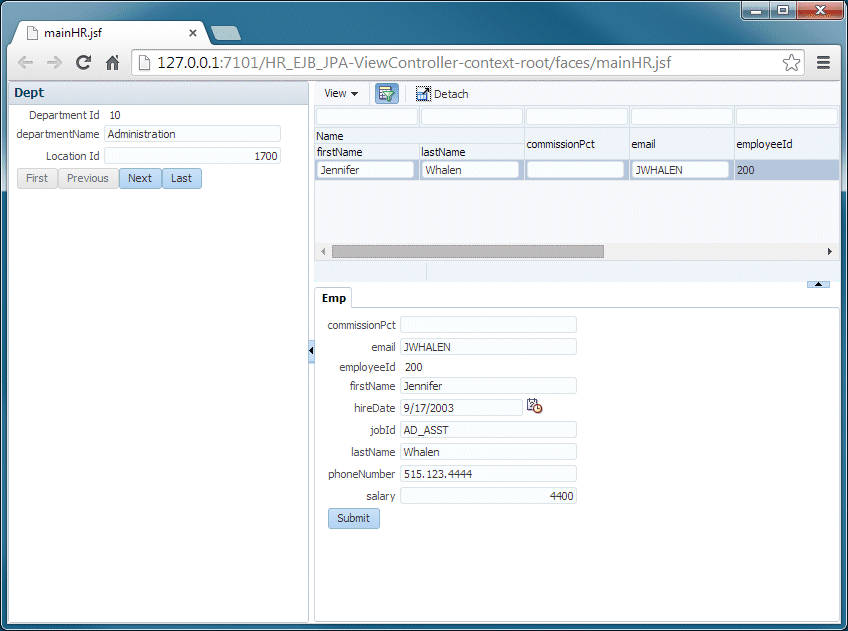
Wait for the page to upload in your default browser window. Once loaded, the page displays. Click the Next button to display a department having several employees.
-
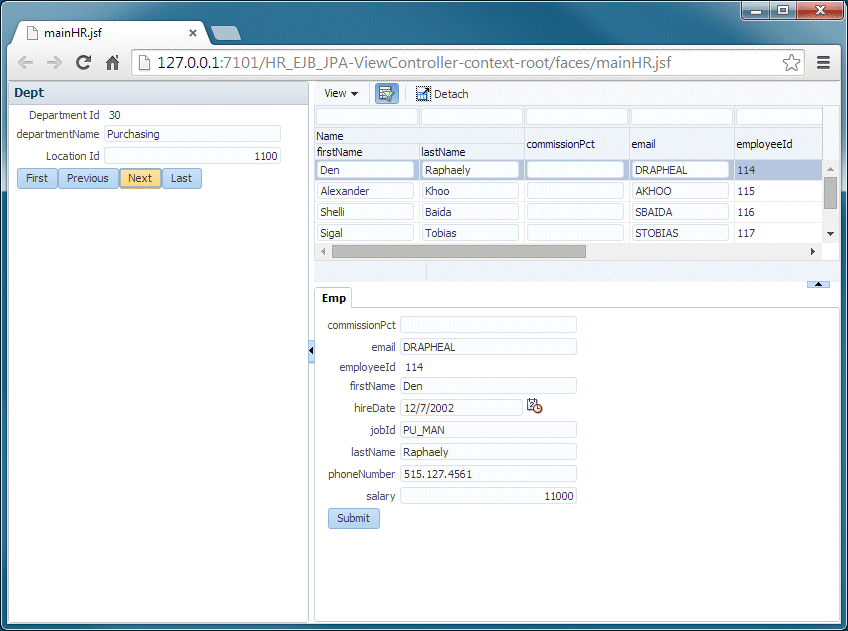
Notice that as you change department, employees change accordingly.In the Employees table, select another row, the employee detail should follow in the bottom pane.
-
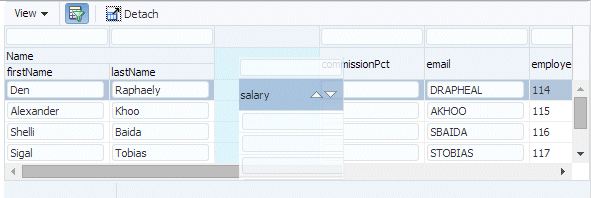
In the Employees table look for the salary column in the far right and move it next to the Name group.
-
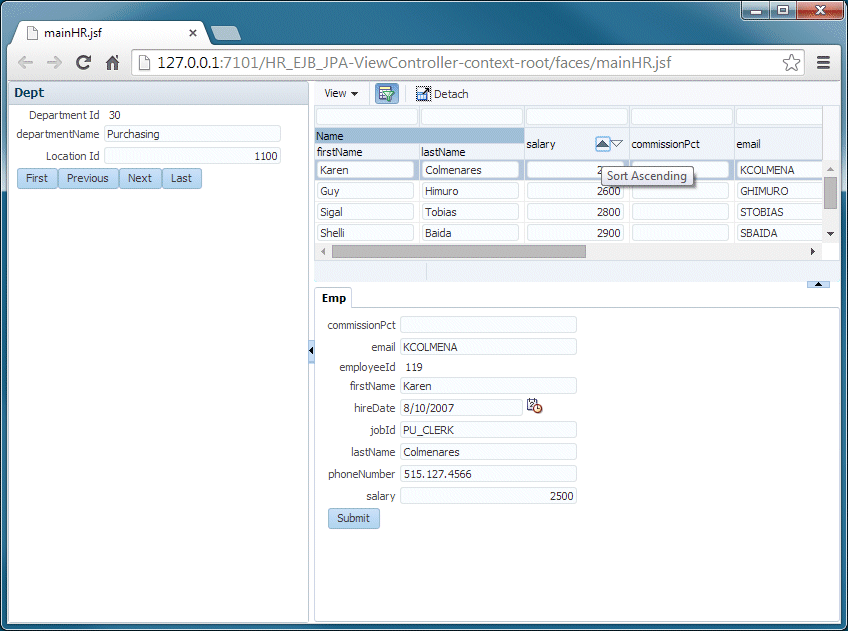
Click the Up arrow in the salary column to sort salaries in ascending order.
-
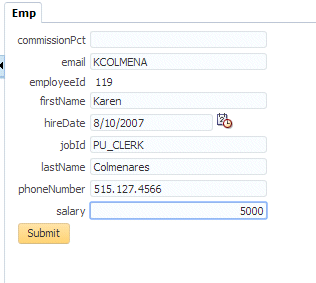
Click the Emp tab to display the employee data and change the salary. (For example, change Karen Colmenares salary from 2500 to 5000). Click Submit.
-
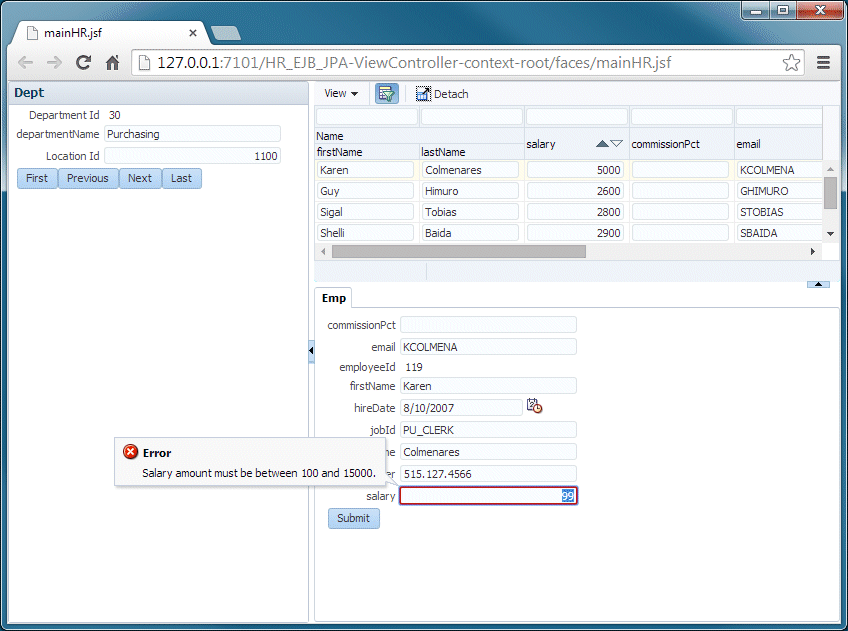
Click the Emp tab again. Enter a salary that is less than 100 and click Submit. Notice that the validation that you entered is executed and the error message is displayed. Change the value back to a valid value and click Submit again.
-
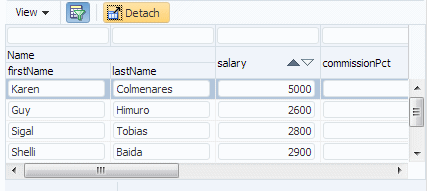
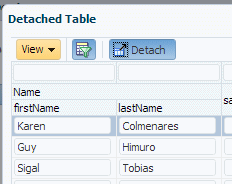
In the menubar click the Detach button to isolate the Employee's table from the page context.
-
Click the Detach button to return to the original display.
-
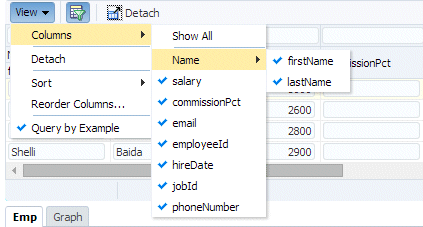
In the menubar select View > Columns to display the columns that are currently active.
.
-
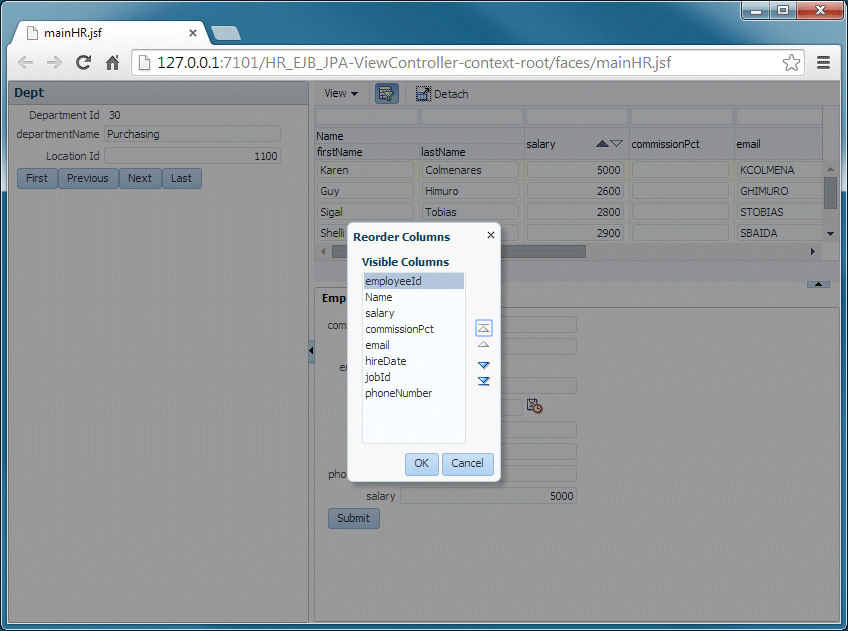
From the menubar select View > Reorder Columns and in the Reorder Columns dialog, using the up and down arrows experiment with moving columns around and then click OK.
-
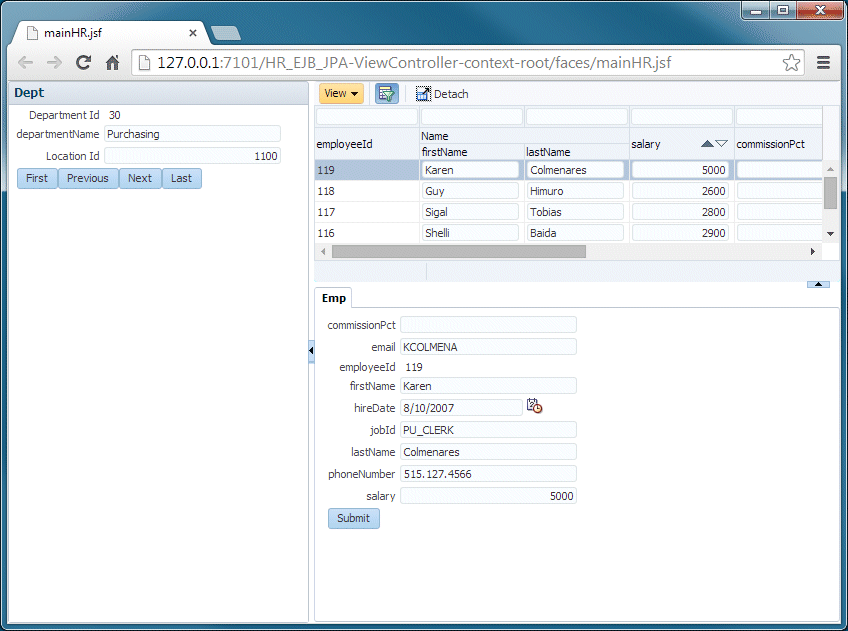
The new column order now appears in the Employees's table.
-
Close your Browser window.
-
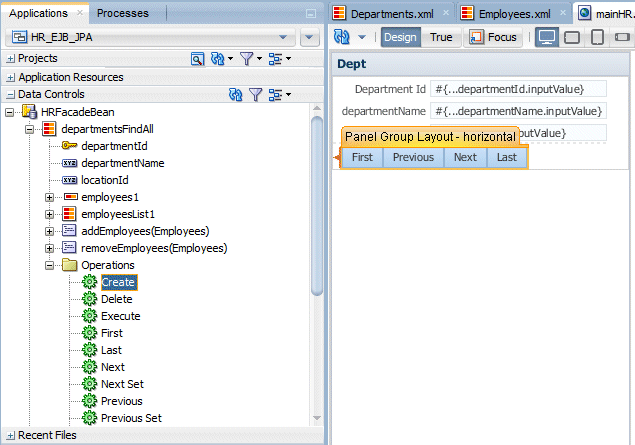
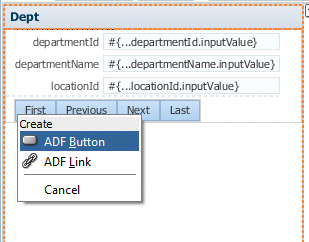
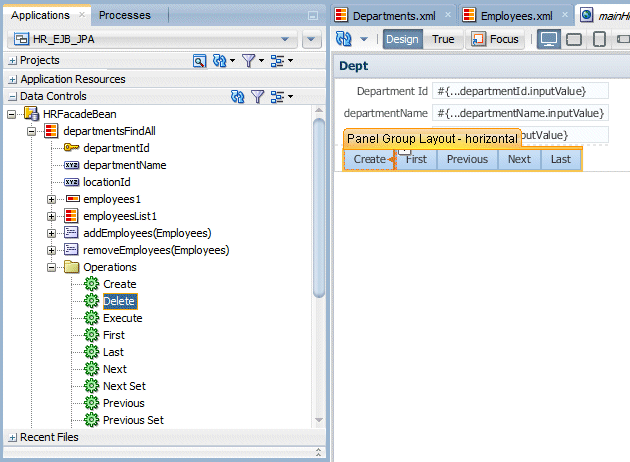
Back in JDeveloper, in the Data Controls window, expand the Operations node under departmentsFindAll, then drag and drop the Create operation in the Panel Group Layout facet of the Dept form.
-
Select ADF Button from the context menu.
-
Repeat the same operation with the Delete method.
-
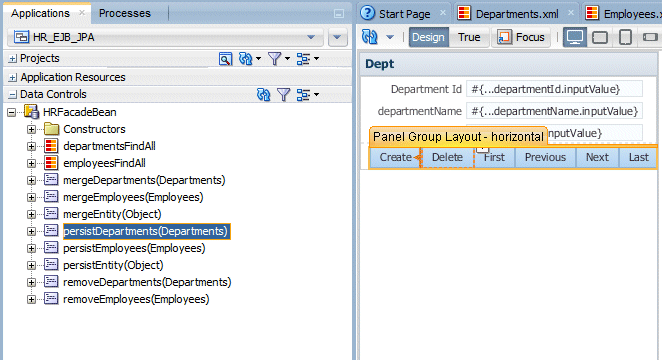
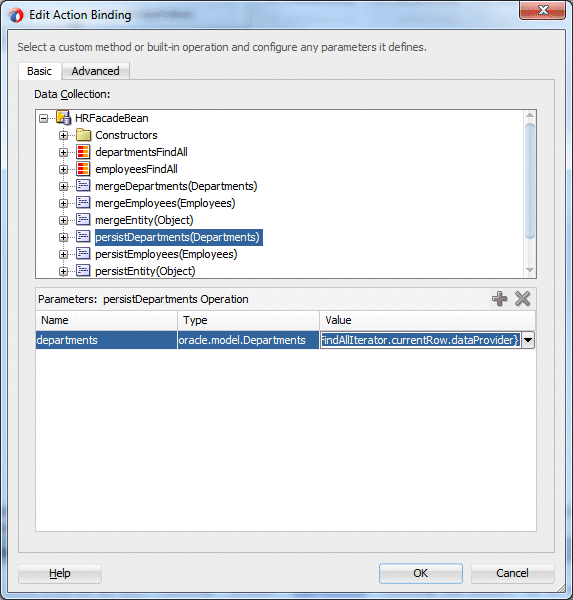
Under the HRFacadeBean node, drag and drop the persistDepartments(Departments) as an ADF Button between the Create and Delete buttons.
-
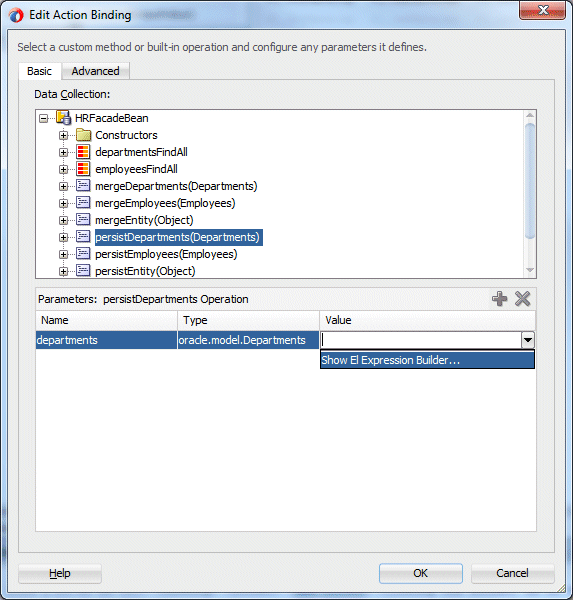
In the Edit Action Binding dialog, click the down arrow in the Value field and select Show EL Expression Builder.
-
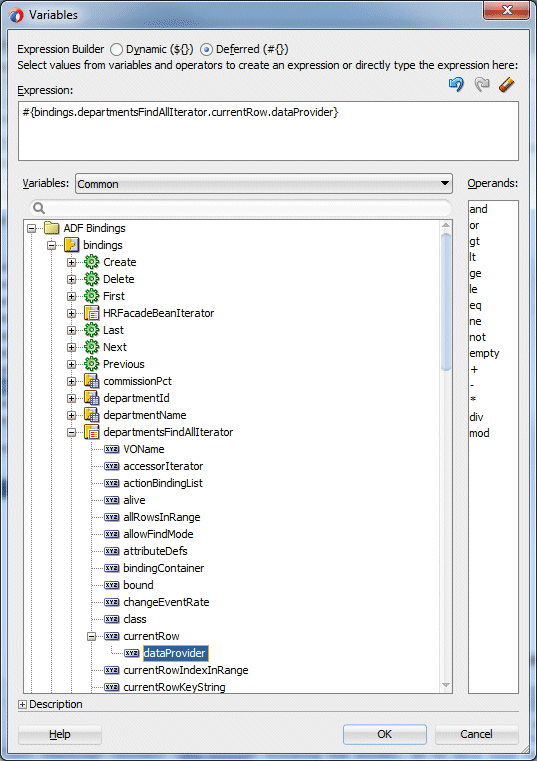
In the Variables dialog, expand ADF Bindings > bindings > departmentsFindAllIterator > currentRow and select dataProvider.
-
Click OK.
-
Then click OK again.
-
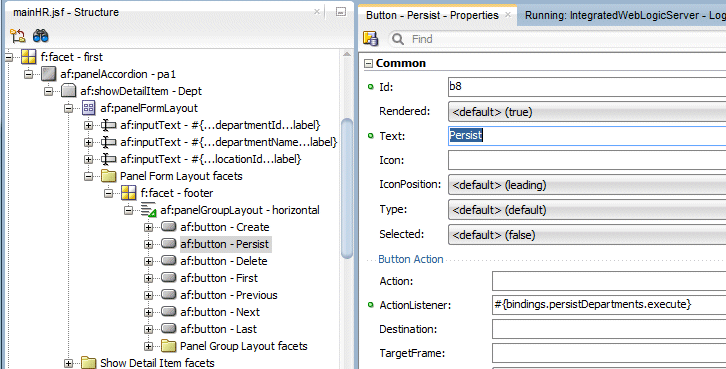
In the Properties window, type Persist in the Text field for the persistDepartments button.
-
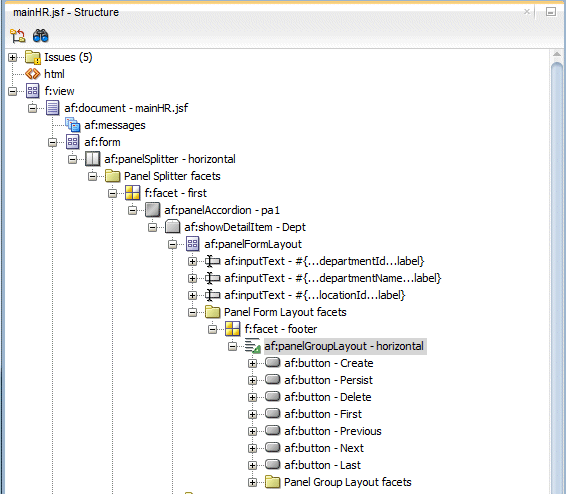
The Structure window and the Dept part of the page should look like the following:
-
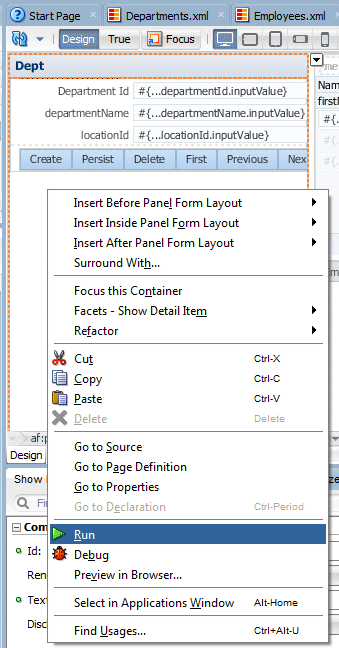
Right-click within the page and select Run.
-
In the Browser window, click the Create button to display an empty form.
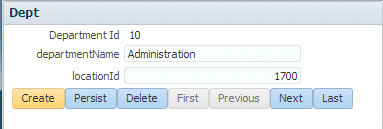
-
Type a new value for each of the fields (i.e. 400 - Stock - 1800).
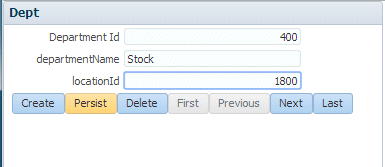
Click the Persist button to insert the new row in the department table.
-
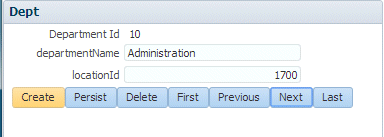
You can experiment adding new departments and navigating through the department records.
-
Close the browser window and return to JDeveloper.

 Part 1: Building the Data Model with EJB 3.0 Using the EJB Diagrammer
