


|

|
|
|
|
WebLogic Portal Interoperability Sample
This topic provides instructions for setting up an example of interoperability between BEA WebLogic Portal 4.0 and BEA WebLogic Integration 2.1 that uses asynchronous communication. As previously mentioned, included with WebLogic Portal is a sample Pipeline Component (ConvertOrderRepPC). This Pipeline component converts a purchase order generated by the commerce sample application in WebLogic Portal to an Extensible Markup Language (XML) representation and places the order representation on a Java Message Service (JMS) queue (eventQueue) in WebLogic Integration. The WebLogic Integration sample picks up the message and uses it in business processes. In the following sections, you will create a Pipeline that contains the sample Pipeline Component, and then add the completed Pipeline to a Webflow:
About the Order Representation Example
The sample Pipeline Component ConvertOrderRepPC is already built. To use it, you first create a new Pipeline that contains ConvertOrderRepPC and then put the new Pipeline in a Webflow. After you complete this process and when you complete an order using the commerce sample application, the order representation is placed on WebLogic Integration's eventQueue.
The following sections contain the information you need to complete this process.
Use the Webflow and Pipeline Editor For Editing Pipeline Components and Webflows
To create a new Pipeline and add the Pipeline to your Order Webflow, you should use the Webflow and Pipeline Editors in the E-Business Control Center. These editors are the preferred editing method for the Webflow and Pipeline XML configuration files.
Caution: If you create invalid entries outside of the Editors by hand-editing the XML configuration files in a text editor, the behavior of the Editor may be unpredictable.
Both the E-Business Control Center online help and "Customizing and Extending Webflow" in the Guide to Managing Presentation and Business Logic: Using Webflow and Pipeline contain general information on using the E-Business Control Center and adding Pipeline Components.
Editor Tools Needed
To use the Webflow/Pipeline Editor, you should to be familiar with its tools and component representations. Table 2-1 provides information about the tools and component representations in used for creating the sample Pipeline and adding it to a Webflow. For more information about using the Webflow/Pipeline Editor, see "Using the Webflow and Pipeline Editors" in the Guide to Managing Presentation and Business Logic: Using Webflow and Pipeline.
Creating a New Pipeline and Adding it to a Webflow
This section contains step-by-step instructions for creating the sendOrderToWLI Pipeline and adding it to the sampleapp_order Webflow using the E-Business Control Center. The following list shows the major steps needed to complete this task:
Step 1: Create a New Pipeline Component
Step 2: Adding the New Pipeline Component to the Webflow
Step 3: Synchronize the Webflow to the Application
Step 1: Create a New Pipeline Component
This section contains the steps needed to create the Pipeline Component used by the Webflow.
Note: Before you can use the E-Business Control Center, you must start the E-Business Control Center. For more information on starting the E-Business Control Center, see "Starting the E-Business Control Center" in the Guide to Using the E-Business Control Center.
Figure 2-1 Open Application Window
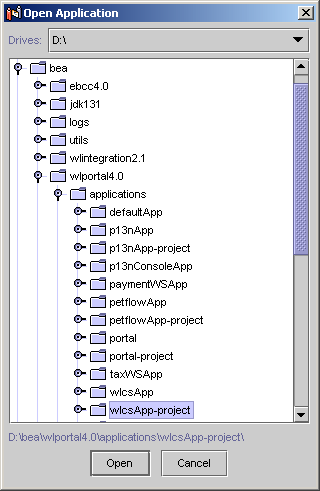
Figure 2-2 Explorer Window: Webflows/Pipelines
Figure 2-3 New Webflow/Pipeline Window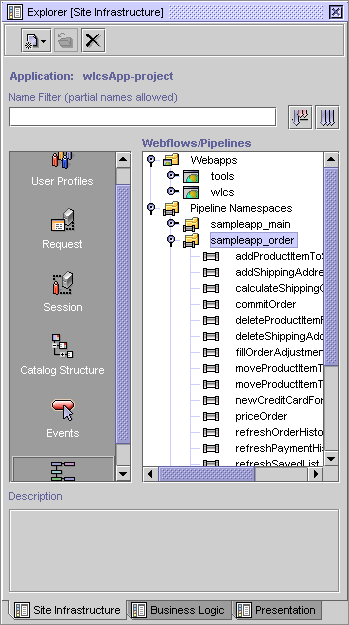 .
.

Figure 2-4 Editor [Pipeline: sendOrderToWLI]
Figure 2-5 Pipeline Component Editor
Figure 2-6 Pipeline Component Creator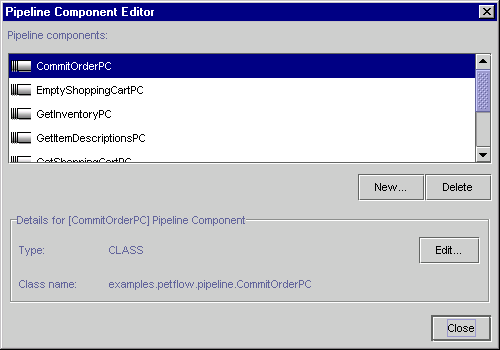
examples.wlcs.sampleapp.order.pipeline.ConvertOrderRepPC Figure 2-7 Properties Editor—Component Selection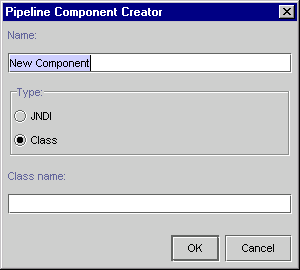
Figure 2-8 ConvertOrderRepPC - Abort Exception Connection
com.bea.p13n.appflow.exception.PipelineException Figure 2-9 Properties Editor—Exception Value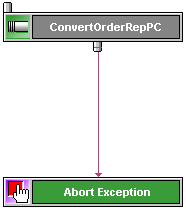
Figure 2-10 ConvertOrderRepPC—Completed
Step 2: Adding the New Pipeline Component to the Webflow
This section contains step-by-step instructions for using the Webflow Editor in the E-Business Control Center to add the sendOrderToWLI Pipeline to the sampleapp_order Webflow.
Figure 2-11 Explorer Window: Webflows/Pipelines
The Webflow editor opens as shown in Figure 2-12. Figure 2-12 Editor [Webflow: sample_order]—Top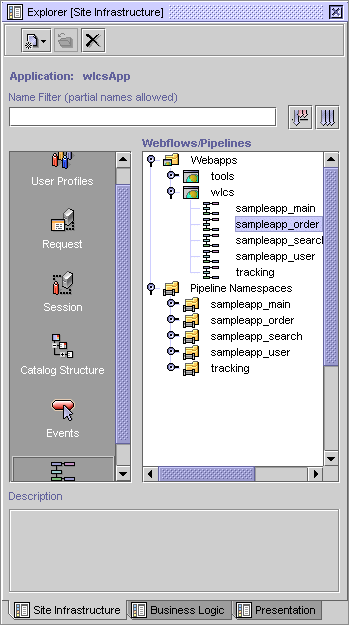 .
.
Figure 2-13 Editor [Webflow: sample-order]—Bottom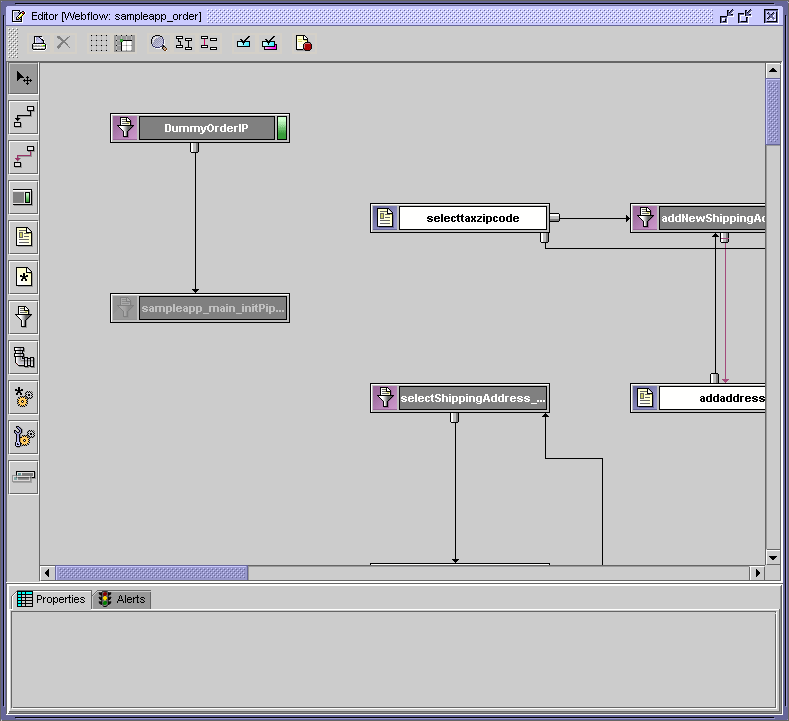
Figure 2-14 Event Selection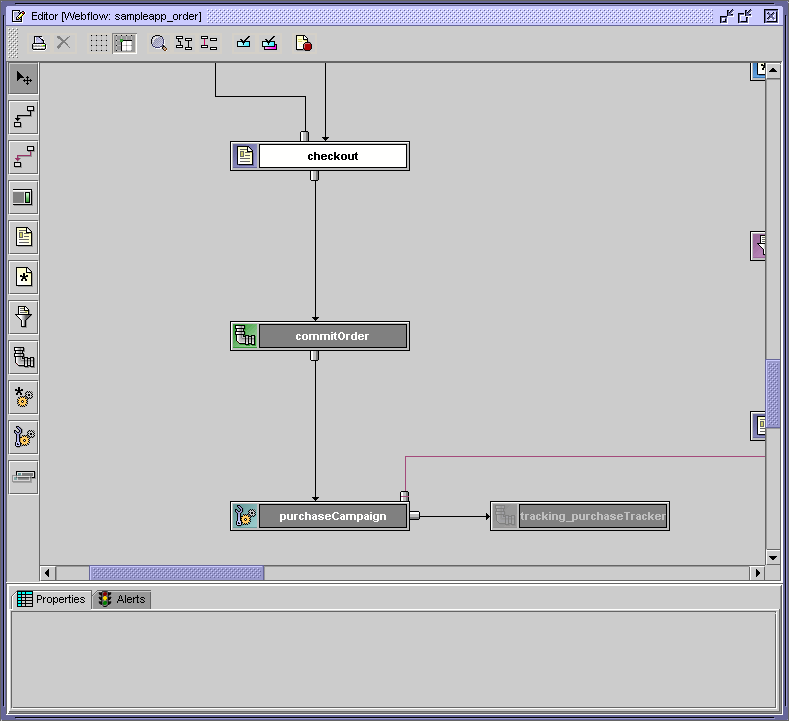
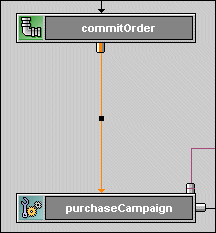
Figure 2-15 Properties Editor—Component Selection
Figure 2-16 shows the Webflow Editor canvas after this process is completed. The nodes have been moved to make the drawing easier to see.
Figure 2-16 Event Transitions
Note: You can move the Connection Ports, add elbows, and route the transitions. For more information, see "Using the Webflow and Pipeline Editors" in the Guide to Managing Presentation and Business Logic: Using Webflow and Pipeline.
Step 3: Synchronize the Webflow to the Application
The Webflow and Pipeline Component that you just added must be synchronized to the wlcs application in order for the Example to work.
Warning: All application data is synchronized at once. If you and other developers concurrently synchronize data to a single enterprise application, it is possible to overwrite each others' work or create sets of changes that are incompatible and difficult to debug. To prevent this possibility, synchronize to separate instances of your application. For more information on how to set up your development environment, see "Milestone 4: Set Up a Development Site" in the Strategies for Developing E-Business Web Sites documentation.
To synchronize the new Pipeline Component and the modified Webflow, take the following steps:
Figure 2-17 Connections Settings
Figure 2-18 Connection Details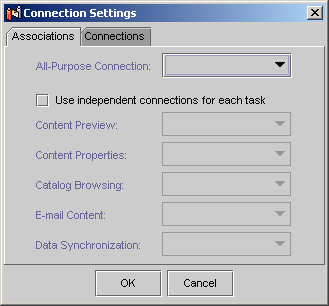
Figure 2-19 Synchronization Setup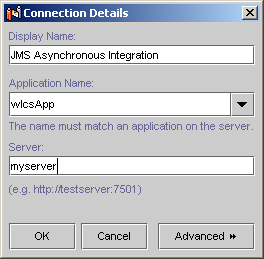
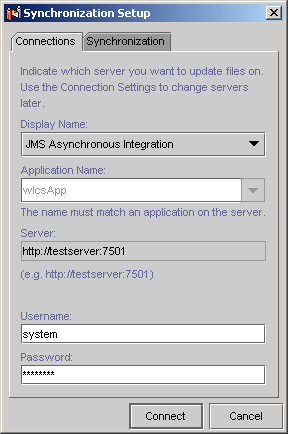
This completes the synchronization procedure. How to set up the WebLogic Integration part of the Example and verifying successful execution of the purchase order is described in WebLogic Integration Interoperability Sample.

|

|

|
|
|
|
Copyright © 2002 BEA Systems, Inc. All rights reserved.
|