


|
WLI contains an IDE based on Eclipse 3.2.2. The following are some of the Eclipse-based elements that you can use in the WLI IDE:
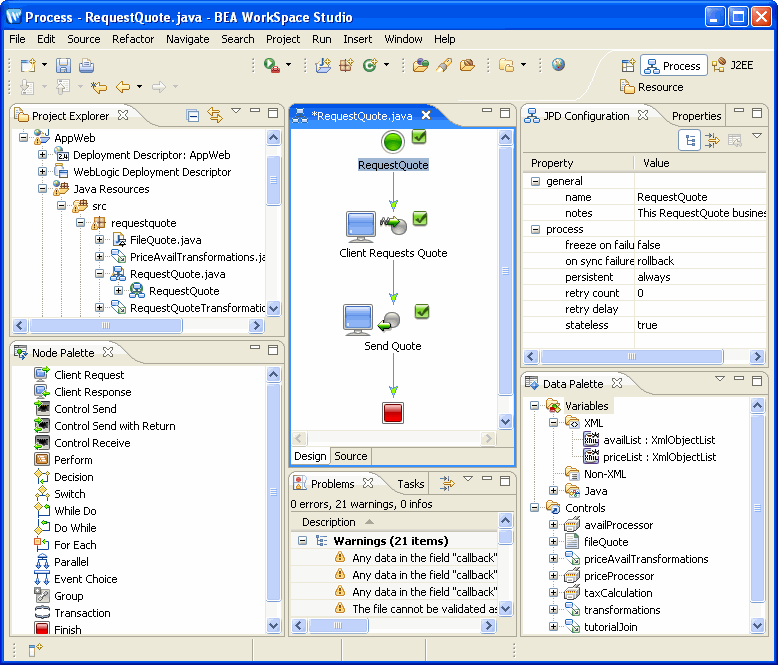
The workbench is the development environment. It is the central place for creation, management, navigation, and control of various workspace resources. You can work on several projects simultaneously without reopening the IDE for each project.
Figure 12-1 shows the WLI workbench.
The workspace is the root directory that holds the projects, folders, sub-folders, files, libraries, and other artifacts. It also contains a .metadata folder that contains the Eclipse log files and plug-in folder for the Eclipse workspace, as shown in Figure 12-2.
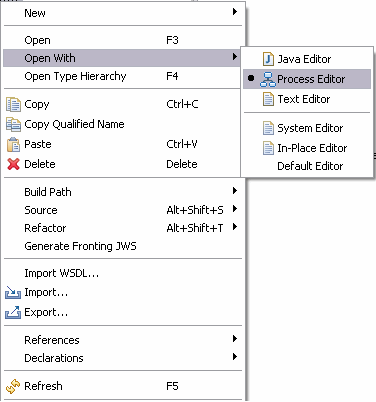
The editor allows you to open and edit a specific type of file. It also helps you visualize the file content as required.
You can open multiple editors, but only one can be active at a time in the workbench. Editors are stacked by default, but you can tile and view them simultaneously. You can associate different files with different editors. When you double-click a file, the associated editor is invoked.
Some of the editors that WLI supports are:
The editors are available in the central area of the workspace, as shown in Figure 12-3.
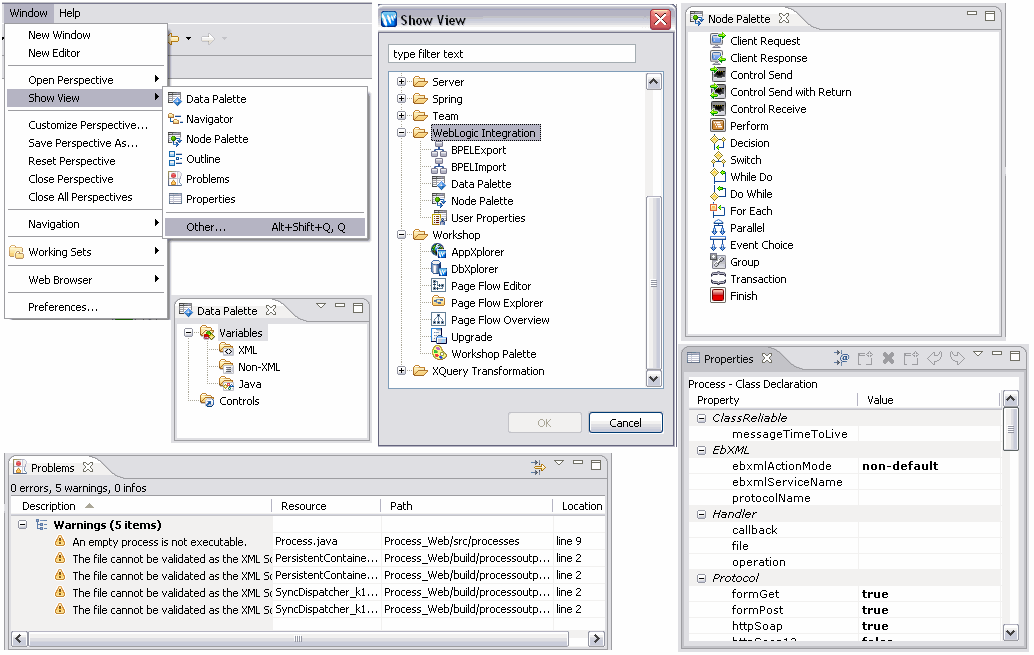
Views support editors and provide an alternative presentation of workbench resources. You can use these views to easily navigate through the resources. Every view has its own menu, and, in most cases, contains toolbars as well. A view can appear alone or stacked with other views.
Some of the standard Eclipse views are:
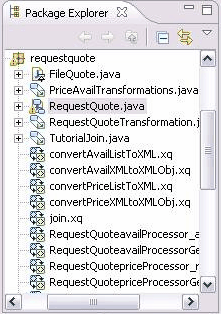
You can use the Package Explorer and Navigator views to view projects and source files, as shown in Figure 12-5.
Some of the WorkSpace Studio-specific views are:
Figure 12-4 shows some of the views.
The workspace contains three types of resources: projects, folders, and files.
A project is a container within which you can organize the resources – folders and files – related to the project. Every project is associated with a metadata file called .project., which contains information such as the project name, referenced projects, associated validators/builders, and applied facets.
Resources are organized in a hierarchical structure. The workspace contains projects, which, in turn, contain folders and files.
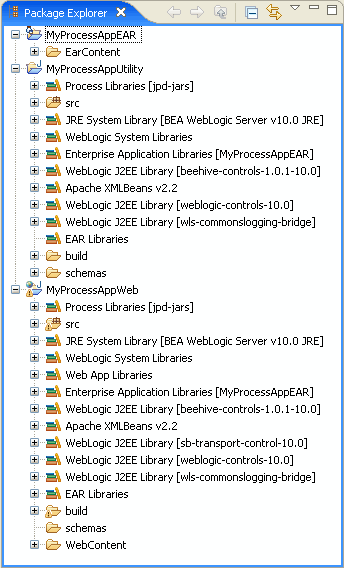
You can view the hierarchical structure of the resources within a project in the Package Explorer view, as shown in Figure 12-5.
When you create a project, you need to specify the type of the project in order to determine the capabilities of that project. For example, you need to add libraries, set compiler options, decide on publishing tasks, set the build path, add or remove validators, builders, and so on. Instead of making these settings manually every time you create a project, you can define a facet that contains all of these settings. When you create a project, you can apply the required facet; the settings defined in the facet are applied automatically.
Every project has two core facets:
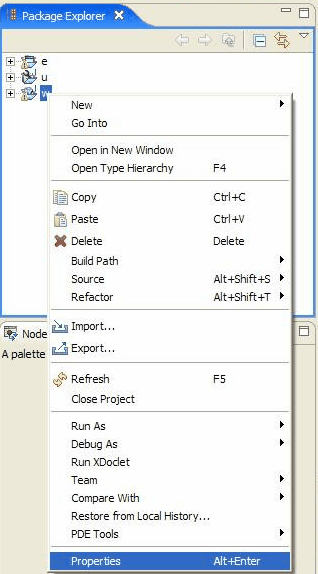
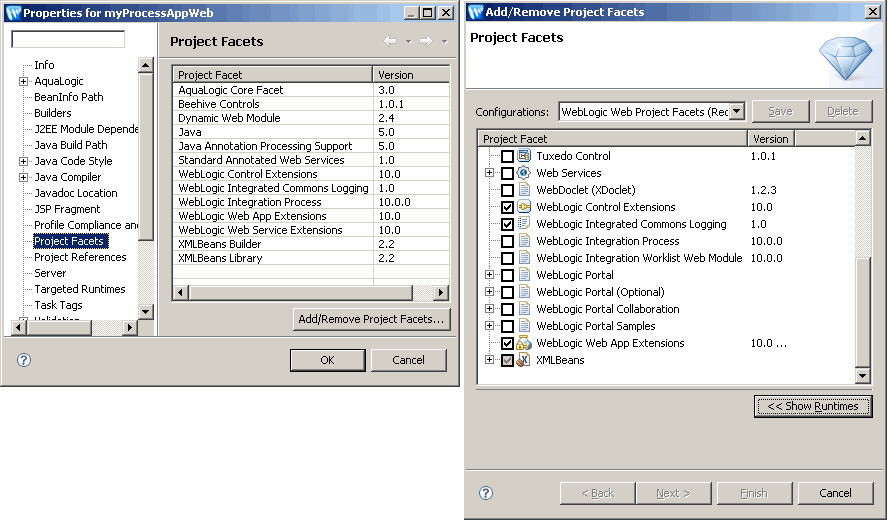
Facets are preconfigured into projects using the process application wizard. Figure 12-6 and Figure 12-7 show how you can add and remove facets to a project.
Perspectives define the initial set of views and their associated layout in the workbench. You can configure perspectives to define a collection of views, their layouts, and actions for specific tasks.
The WLI-specific perspectives are:
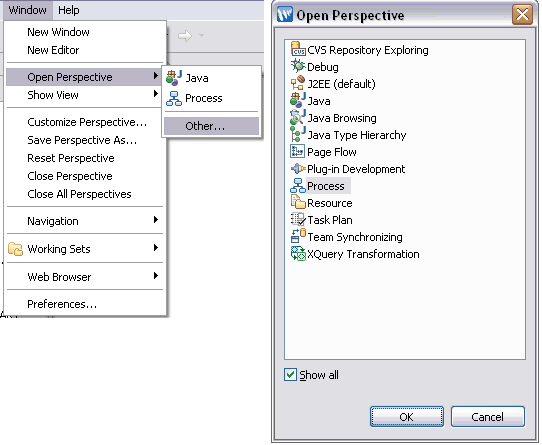
Figure 12-8 shows how you can change the perspective.
For more information about Workshop for WebLogic, see the documentation at http://download.oracle.com/docs/cd/E13224_01/wlw/docs102/index.html.


|