|
|
This section covers the following information:
Complete the following tasks prior to installing the TMA OSI TP product:
| WARNING: | If you fail to install the correct patch level of Tuxedo, the application may not work correctly. Refer to the BEA Tuxedo Mainframe Adapter for OSI TP Release Notes for information on the correct patch level. |
Before installing the TMA OSI TP product, you must ensure that the BEA Tuxedo system is installed and configured properly for your environment. Refer to your Tuxedo documentation for more information about setting the Tuxedo environment variables. In addition to the Tuxedo environment variables, the TMA OSI TP system requires an additional environment variable, OSIRUNDIR, before you can boot the gateway or run the osiadmin utility. Refer to the BEA Tuxedo Mainframe Adapter for OSI TP User Guide for more information about the osiadmin utility. If you do not set the OSIRUNDIR environment variable before you boot the gateway, you will receive a message telling you to set OSIRUNDIR. This environment variable specifies the path that the TMA gateway uses for runtime files. You can set the OSIRUNDIR environment variable through a script, a command line entry, or, for Windows 2003 operating systems, through the Windows System Properties in the Control Panel. The variable value should include the path and directory as appropriate for your operating system.
If you are upgrading from eLink OSI TP 1.3 to BEA Tuxedo Mainframe Adapter for OSI TP 9.1, you must modify your existing dmconfig file to be compatible with the new format. The osiadmin utility performs this upgrade automatically with the importcfg command. It is recommended that you use the osiadmin utility, but you may also upgrade by manually editing your dmconfig file. Refer to the BEA Tuxedo Mainframe Adapter for OSI TP User Guide for more information about using the osiadmin utility and about manually editing the dmconfig file.
BEA Tuxedo Mainframe Adapter for OSI TP 9.1 is a full replacement for eLink OSI TP 1.3 and the Unisys Protocol Stack (OSI TP and ULS). ULS on UNIX-based systems and BEA Tuxedo Mainframe Adapter for OSI TP 9.1 both use port 102 by default. Consider this default setting when configuring the port number of your updated dmconfig file. Beginning with eLink OSI TP 4.1, you can configure a port number other than 102. This option allows you to run your eLink OSI TP 1.3 gateway while you are upgrading. If you will be using port 102 in your TMA OSI TP 9.1 dmconfig file, you must shutdown ULS before attempting to tmboot TMA OSI TP 9.1. If you are running eLink OSI TP 1.3, uninstall eLink OSI TP and the Unisys OSI TP protocol stack including the Unisys Upper Layer Services.
When you are upgrading from a previous release of the eLink OSI TP product, you must shut down all Domain administrative and gateway servers within an application domain, particularly the following:
If you are upgrading from eLink OSI TP 4.0, you do not need to modify your udmconfig input file. Perform a dmloadcf of the udmconfig file to create the dmconfig binary file, BDMCONFIG. If you are running eLink OSI TP 4.0, uninstall eLink OSI TP 4.0
| Note: | Beginning with eLink OSI TP 4.1, the version 4.0 udmloadcf utility, the BUDMCONFIG binary file and the eLink OSI TP Administrative Server UDADM no longer exist. The function performed by the version 4.0 udmloadcf command is now done by the dmloadcf command. The information contained in the version 4.0 BUDMCONFIG file is now incorporated within the BDMCONFIG file. If your ubbconfig contains the UDMADM Server, delete it and perform a tmloadcf of the modified ubbconfig file. |
This section explains how to install the BEA Tuxedo Mainframe Adapter for OSI TP product. For a listing of supported platforms, see Supported Platforms in the BEA Tuxedo Mainframe Adapter for OSI TP Release Notes.
To install the TMA OSI TP product, you run the install.sh script. This script installs all the necessary software components.
| WARNING: | For UNIX-based operating systems, if you are installing in silent mode the BEA Tuxedo system should be installed first and the TMA OSI TP product should be installed within the same directory. Use the mkdir command to create the directory where you wish to install BEA Tuxedo and the TMA OSI TP product BEFORE you perform your installations. If you do not create the directory first, you will receive an Installation Complete message after you install BEA Tuxedo, but Tuxedo will not be installed. |
Perform the following steps to install the TMA OSI TP product on a supported UNIX platform:
# ls -1 /dev/cdrom
total 0
brw-rw-rw- 1 root sys 22, 0 January 5 10:55 c1b0t010
# mount -r -F cdfs /dev/cdrom/c1b0t0l0 /mnt
Use the following mount instruction if you are installing on an HP-UX operating system:
# mount -r -F cdfs -o cdcase /dev/cdrom/c1b0t010 /mnt
# cd /mnt
# ls
install.sh hp ibm sun5x uw windows
# sh ./install.sh
[lcsol13]:/nfs/vol1/homes1/tkumar/TMAOSITP9/unix>sh install.sh

01) hp/hpux1123      02) ibm/aix53        03) sun5x/sol10


Install which platform's files? [01-       3, q to quit, l for list]: 3

** You have chosen to install from sun5x/sol10 **

BEA Tuxedo Mainframe Adapter OSI TP 9.1

This directory contains BEA Tuxedo Mainframe Adapter TMA OSI TP 9.1 for
SunOS 5.10 (Solaris) on SPARC.


Is this correct? [y,n,q]: y

To terminate the installation at any time
press the interrupt key,
typically <del>, <break>, or <ctrl+c>.

The following packages are available:

	1     ositp           BEA Tuxedo Mainframe Adapter TMA OSI TP 9.1


Select the package(s) you wish to install (default: 1) [?,??,q]: 1

BEA Tuxedo Mainframe Adapter TMA  OSI TP 9.1
(sparc) Release 9.1
Copyright (c) 2006 BEA Systems, Inc.
All Rights Reserved.

BEA is a registered trademark of BEA Systems, Inc.


Directory where OSI TP files are to be installed

(Enter your Tuxedo directory path) [?,q]:
/nfs/vol1/homes1/tkumar/tux91/sol9/tux
edo9.1


Using /nfs/vol1/homes1/tkumar/tux91/sol9/tuxedo9.1 as the OSI TP base
directory
PREREQ_SFX = T91


Determining if sufficient space is available ...
10544 blocks are required
421303040 blocks are available to
/nfs/vol1/homes1/tkumar/tux91/sol9/tuxedo9.1


Unloading /nfs/vol1/homes1/tkumar/TMAOSITP9/unix/sun5x/sol10/ositp/OSITPT91.Z ..

TMA/osi/samples/simpapp/dmconfig
TMA/osi/samples/simpapp/tailor.txt
TMA/osi/samples/simpapp/ubbsimple
bin/GWOSITP
bin/getulogpfx
bin/lic.sh
bin/osiadmin
bin/osiltmain
bin/portproxy
bin/prdebuginfo
bin/setPROXYpriv
lib/libgwo.so
lib/libnwunisys.so
lib/libtasn1.so
locale/C/LIBGWO.text
locale/C/LIBGWO_CAT
locale/C/libnwunisys.cat
udataobj/gbebc2u.fld
udataobj/jbis82u.fld
udataobj/ksc2u.fld
udataobj/u2gbebc.fld
udataobj/u2jbis8.fld
udataobj/u2ksc.fld
10370 blocks

... finished

The $TUXDIR/bin/portproxy executable listens on privileged ports (< 1024)
on behalf of GWOSITP. The script $TUXDIR/bin/setPROXYpriv is used to
set the appropriate permissions.


If you know the root password, you may run setPROXYpriv now.
Run the setPROXYpriv script? [y/n]: n
Remember to run $TUXDIR/bin/setPROXYpriv later.


Changing file permissions...
... finished


Installation of BEA Tuxedo Mainframe Adapter TMA OSI TP 9.1 was successful.


Please don't forget to fill out and send in your registration card
| Note: | The following message may also appear during installation on HP machines: |
===================================================
You do NOT HAVE required HP Patches for Tuxedo 9.1
Please refer to the Tuxedo 9.1 Installation Guide
or http://download.oracle.com/docs/cd/E13203_01/tuxedo/tux90/install/inspds.htm#1318335
for more information.

Continue Installation? [y/n]:
| Note: | If you receive this warning, enter n to exit installation and refer to your Tuxedo 9.1 Installation Guide for more information. |
The TMA OSI TP CD-ROM contains the following libraries and executable programs for the AIX 5.3 operating system:
The TMA OSI TP CD-ROM contains the following libraries and executable programs for the HP-UX 11.23 operating system:
The TMA OSI TP CD-ROM contains the following libraries and executable programs for the Solaris operating system:
| Caution: | Be sure to review the Pre-Installation Considerations section before you start your installation of the BEA Tuxedo Mainframe Adapter for OSI TP Version 9.1 product. |
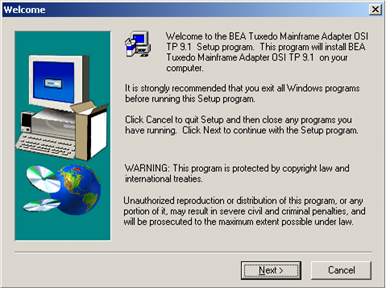
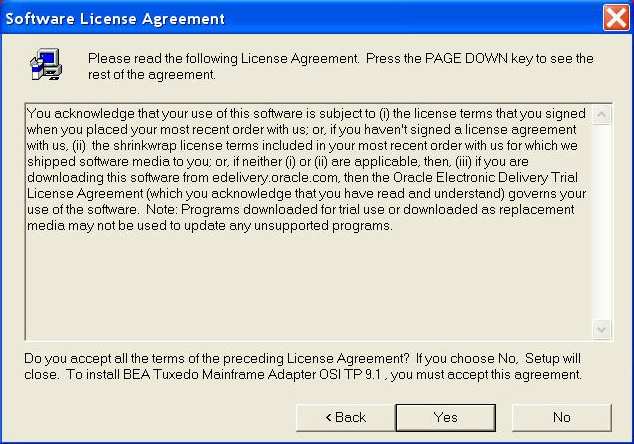
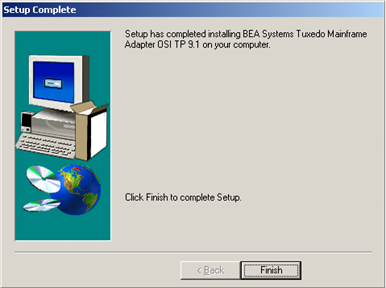
Perform the following steps to install the TMA OSI TP product on a Windows 2003 operating system:
| WARNING: | For Windows 2003 operating systems, the BEA Tuxedo system should be installed first and the TMA OSI TP product should be installed within the same directory. |
windows directory and select the Setup.exe program. | Note: | If the Tuxedo product is NOT already installed on your system, an Error pop-up window displays. Click OK on the pop-up window to terminate the installation process. Install the Tuxedo product on your system and re-instate the installation process. |
| Note: | During the TMA OSI TP installation, the $TUXDIR\udataobj\DMTYPE file is updated to include an OSITPX entry if one is not already there. |
The TMA OSI TP CD-ROM contains the following libraries and executable programs for Windows 2003 operating systems. After installing the TMA OSI TP product, verify that these files and programs are installed on your system.
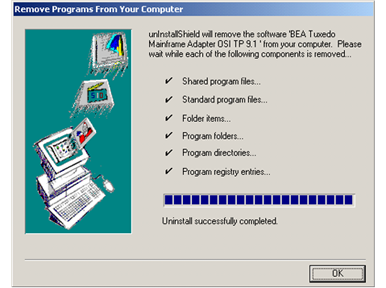
Perform the following steps to uninstall TMA OSI TP on a Windows 2003 system:
| Note: | Make sure that TMA OSI TP is shut down before you uninstall. |


|