|
|
|
||
|
| |||
This chapter consists of the following topics:
Refer to the BEA eLink Data Integration Option Release Notes for information on prerequisite software that must be installed and operational prior to installing the BEA eLink DIO software. Also, for planning purposes, refer to the "Data Mapping Worksheet" section.
The following products must be installed and operational during the development and execution of a data mapping service request.
Prior to installing the eLink DIO Design Client, install the following prerequisite software in the following order.
Installation Prerequisites
BEA eLink DIO Design Client
Note:
Use the SERIAL number from the eLink DIO license key when prompted for a Serial number during the Mercator Open Edition Client installation.
The TSI Mercator Open Edition Client is available on the eLink DIO Design Client CD-ROM in the client/tsi_Clnt directory. Select the Setup.exe program to install the software.
The following Mercator software components are not supported with BEA eLink DIO:
Prior to installing the eLink DIO Server, install eLink Platform 1.1.
Perform the following steps to install the eLink DIO Design Client software on a Windows NT system.
Note:
TSI Mercator Authoring System must be installed prior to installing the eLink DIO Design Client software for your development environment.
BEA eLink DIO Server
Installing the eLink DIO Design Client (Windows NT only)
client/eLnkClnt directory and select the Setup.exe program. Click
OK to run the executable and begin the installation. The following Welcome
screen displays. Click Next to continue with the installation.
Figure 3-1 Welcome
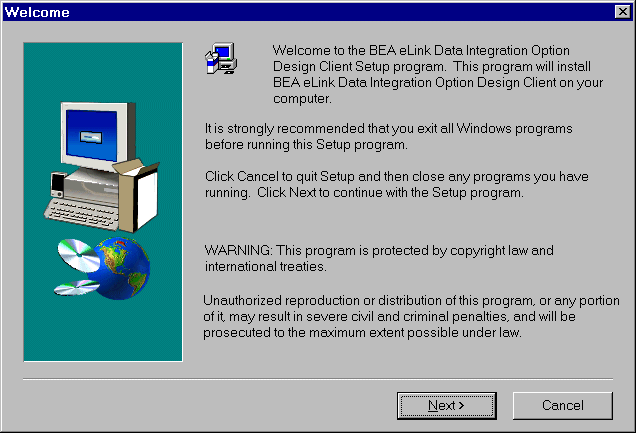
Figure 3-2 User Information
Figure 3-3 User Information
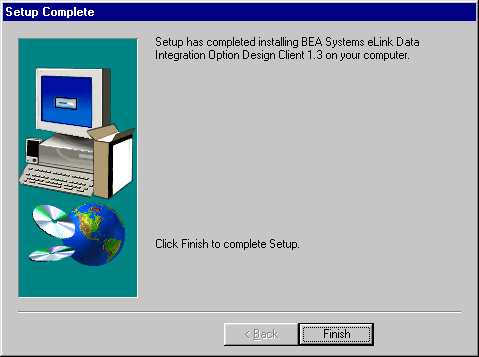
The installation begins and a progress bar displays the status. The eLink DIO Design Client components install into the specified directory.
Figure 3-4 Select Product Directory

The eLink DIO Design Client CD-ROM contains the following libraries and executable programs. After installing the eLink DIO Design Client software, verify that these libraries and programs are installed on your system.
Verify that the following files are installed by the eLink DIO software:
Table 3-1 Windows NT Installed Files for Design Client
Directory Files /elink
elinkimprt.exe
mti2fgf.exe
libfml32.dll
libgp.dll
This section explains how to install the eLink DIO Server software on the following execution platforms:
Perform the following steps to install the eLink DIO Server software on a Windows NT system.
Installing eLink DIO Server on Windows NT
server/winnt directory and select the Setup.exe program. Click OK
to run the executable and begin the installation. The following Welcome screen
displays. Click Next to continue with the installation.
Figure 3-6 Welcome
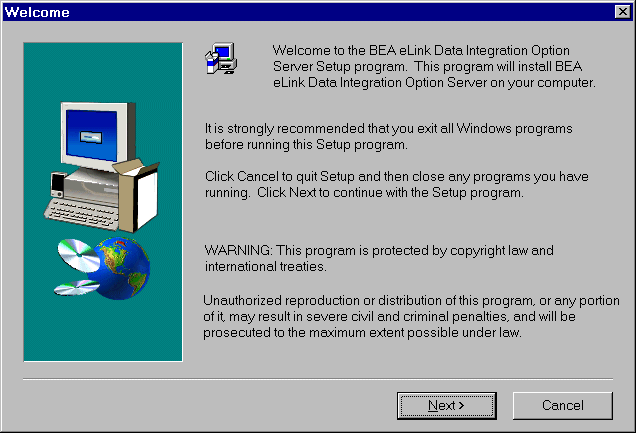
Figure 3-7 Software License Agreement
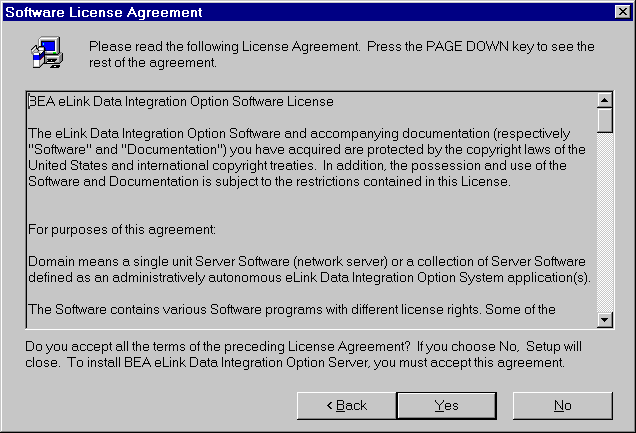
Figure 3-8 User Information
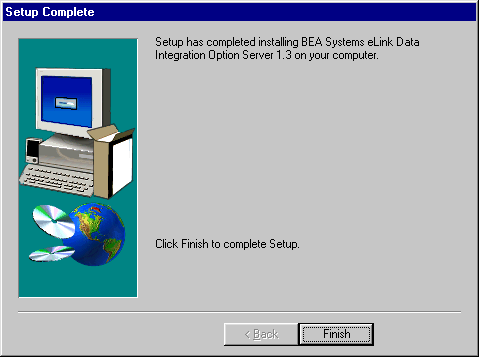
When the installation completes, the Setup Complete screen shown in Step 6 notifies you that the eLink DIO Server software is installed on your system.
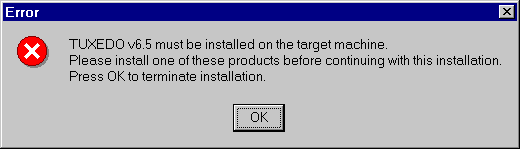
If BEA TUXEDO is not installed on your system, the following Error screen displays.
Warning:
If Windows NT is your execution environment, BEA TUXEDO should be installed first and the eLink DIO Server should be installed within the same directory. If you install the eLink DIO Server outside of the TUXEDO directory, you will need to copy the files into the TUXEDO directory for processing of data mapping service requests.
Click OK to terminate the installation process.
Figure 3-9 Error
To install the eLink DIO Server software, you run the install.sh script. This script installs all the necessary software components.
Note: The eLink DIO Server should be installed into the BEA TUXEDO directory. Prior to initiating the installation script, determine the directory location of BEA TUXEDO.
Perform the following steps to install the eLink DIO Server software on a supported Unix platform:
$ su -
Password:
# ls -1 /dev/cdrom
total 0
brw-rw-rw- 1 root sys 22, 0 May 17 10:55 c1b0t010
# mount -r -F cdfs /dev/cdrom/c1b0t0l0 /mnt
# cd /mnt
# ls
install.sh hp sun5x
# sh ./install.sh
Listing 3-1
Install.sh Example
01) hp/hpux1020      02) hp/hpux11        03) ibm/aix43
04) sun5x/sol26      05) sun5x/sol7

Install which platform's files? [01-5, q to quit, l for list]: 1

** You have chosen to install from hp/hpux1020 **

BEA eLink Data Integration Option Release 1.3

This directory contains the BEA eLink Data Integration Option System for
HP-UX 10.20 on 9000/800 series.


Is this correct? [y,n,q]: y

To terminate the installation at any time
press the interrupt key,
typically <del>, <break>, or <ctrl+c>.

The following packages are available:

  1     dio             BEA eLink Data Integration Option

Select the package(s) you wish to install (or 'all' to install
all packages) (default: all) [?,??,q]: 1

BEA eLink Data Integration Option
(9000) Release 1.3
Copyright (c) 2000 BEA Systems, Inc.
All Rights Reserved.
Distributed under license by BEA Systems, Inc.
BEA eLink is a trademark of BEA Systems, Inc.


Directory where Data Integration Option files are to be installed
(Enter your Tuxedo directory path) [?,q]: /work/cmadm/tux65

Using /work/cmadm/tux65 as the Data Integration Option base directory

Determining if sufficient space is available ...
1856 blocks are required
6723480 blocks are available to /work/cmadm/tux65
Unloading /cmhome/dist/blue-2/server/hp/hpux1020/dio/DIOT65.Z ...
bin/ELINKDIO
bin/lic.sh
lib/libadk.sl
lib/libdbutil.sl
lib/libm4elink.sl
1780 blocks
... finished
Changing file permissions...
... finished
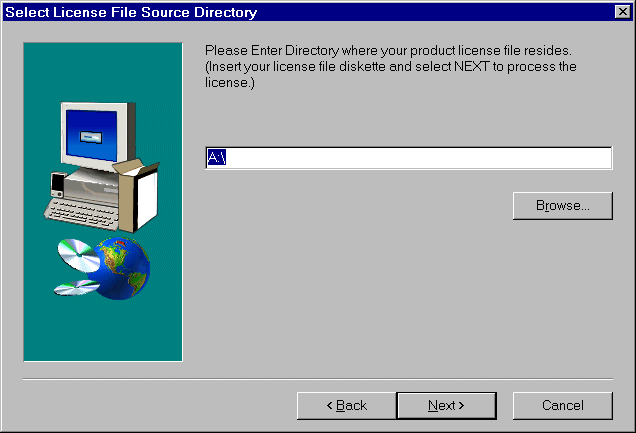
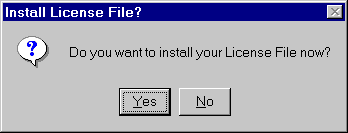
If your license file is accessible, you may install it now.
Install license file? [y/n]: n
Please don't forget to use lic.sh located in your product bin directory
to install the license file from the enclosed floppy.
Refer to your product Release Notes for details on how to do this.
Installation of BEA eLink Data Integration Option was successful
Please don't forget to fill out and send in your registration card
The eLink DIO Server CD-ROM contains the following libraries and executable programs. After installing the eLink DIO Server software, verify that these libraries and programs are installed on your system.
Verify that the following files are installed by the eLink DIO software:
Table 3-2 HP-UX Installed Files
Directory Files /bin
ELINKDIO
/lib
libadk.sl
libm4elink.sl
libdbutil.sl
Verify that the following files are installed by the eLink DIO software:
Table 3-3 SUN Solaris Installed Files
Directory Files /bin
ELINKDIO
/lib
libadk.so
libm4elink.so
libdbutil.so
Verify that the following files are installed by the eLink DIO software:
Table 3-4 IBM AIX Installed Files
Directory Files /bin
ELINKDIO
/lib
libadk.so
libm4elink.so
libdbutil.so
Verify that the following files are installed by the eLink DIO software:
Table 3-5 Windows NT Installed Files
Directory Files /bin
ELINKDIO.exe
m4elink.dll
libadk.dll
dbutil.dll
dbutil32.dll
runmer32.dll
mercma32.dll
mercad32.dll
mercrm32.dll
mercadpt.dll
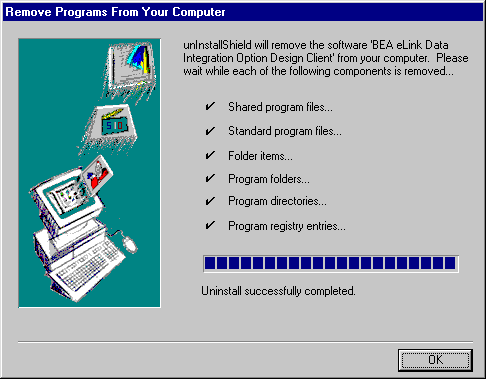
Perform the following steps to uninstall the eLink DIO software on a Windows NT system: