Permissions Locate
This chapter describes how you can set permissions using the Registry Console. Before you start to work with permissions, we recommend reading Permissions: Principles to become familiar with permissions principles.
BEA AquaLogic Service Registry uses the same interface for managing both user permissions and group permissions. In this section we discuss user permissions, but group permissions are handled the same way.
Accessing Permission Management Locate
To access permission management:
Log on as Administrator or as a user who has permission to set permissions, as described in Permissions Definitions.
Click the Manage main menu tab. On the Manage tab, select the Registry management link, and then click the Permissions button.
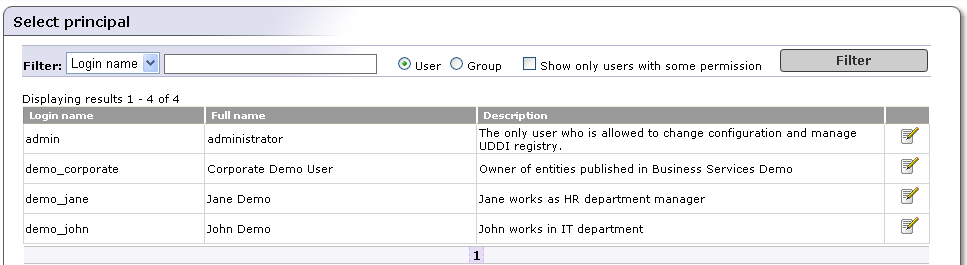
On the initial Select Principal screen, click Filter, without changing the default settings, to view a list of all users (principals).
![[Tip]](../images/tip.gif)
Tip Use the drop down list in this section, labeled Filter: to sort users by Login name or Full name.
Use the text box to further filter users by name. You can use % as wildcard in this field.
Select the radio button labeled User to manage permissions for individual users. Select the button labeled Group to manage group permissions.
Check the box labeled Show only users/groups with some permission to filter out principals who have not already been granted permissions.
This returns the list of users shown in Figure 8.
Click the Edit icon (
 ) associated with the user or group whose
permissions you wish to set.
) associated with the user or group whose
permissions you wish to set.
Add Permission Locate
To add permissions:
Access permission management as described above in Accessing Permission Management.
On the principal list page shown in Figure 8, click the Edit icon (
) associated with the group or user to whom you
wish to add permissions. On the returned Permissions page,
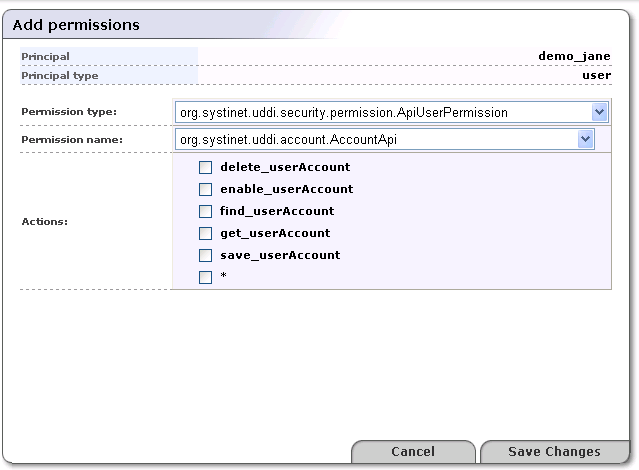
click Add permission. An Add permissions page much like the one shown in Figure 9 will appear.
Select the type of permission from the drop down list labeled Permission type.
From the drop down list labeled Permission name, select the name of the permission to add.
Check the box(es) next to the actions associated with the permission name in order to grant permission to perform those actions. Check the box next to the asterisk (*) to permit all the actions on the list.
Click Save Changes to save the permission.
Editing and Deleting Permissions Locate
To edit a permission:
On the principal list page shown in Figure 8, click the Edit icon (
) associated with the user whose permissions you
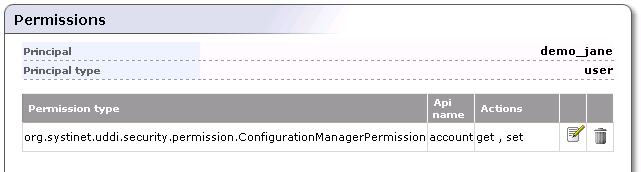
want to edit or delete.If the principal has permissions defined, a permission list like the one shown in Figure 10 will appear.
Click the Edit or Delete icon (
 )
associated with the permission you want to
address.
)
associated with the permission you want to
address.
Assigning Administrator's Permission Locate
If you want to give administrator's permissions to an existing user, you must assign the following permissions types to the user:
org.systinet.uddi.security.permission.ApiManagerPermission
org.systinet.uddi.security.permission.ApiUserPermission
org.systinet.uddi.security.permission.ConfigurationManagerPermission
For each Permission type set all Permission names and all actions using the asterisk (*)