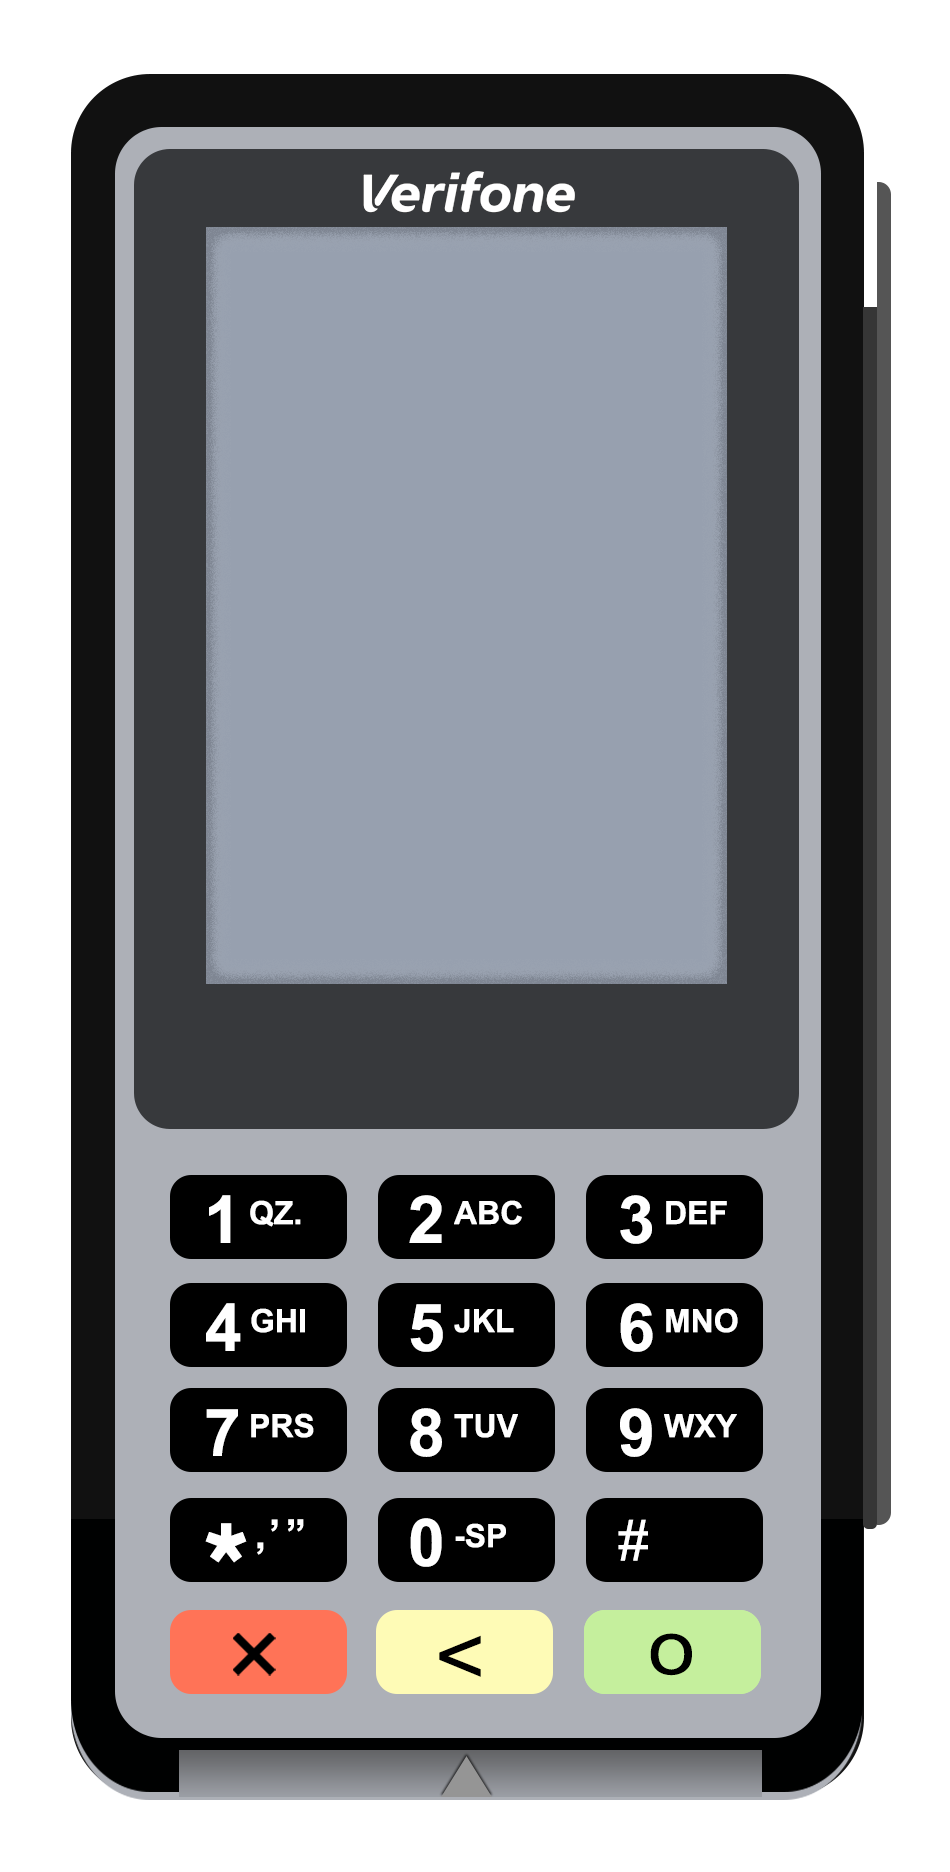
2 Verifone P400 Plus Setup

Table 2-1 Verifone P400 Plus Function Keys
| Function Key | Description |
|---|---|
|
Cancel |
|
|
Clear |
|
|
Confirm |
Inspect the Box
Verify that the box containing the terminal hasn't been opened and that the security seal is intact. The security seal is a label stuck across the lid of the box. If the security seal is not intact, do not unpack or use the terminal. Contact your Oracle MICROS representative for assistance.
Note:
The security seal on your box may differ from the image shown below.
Unpack and Inspect the Terminal
-
Unpack the box and verify the serial number on the terminal is the same as the serial number on the box.
-
Inspect the terminal for tampering. Check for missing seals or screws, additional wires or labels, holes in the device, and anything inserted in or attached to any part of the terminal.
Getting Started
-
Open the cover on the back of the Payment Device, connect the dongle cable, and then close the cover.
-
Tighten the cam lock screw on the back cover (if present) to help prevent damage to the cable connector that might be caused by pulling the cable.
-
Connect the terminal to a power supply. During startup, the display turns on and off a few times.
-
If using Ethernet LAN, connect the Ethernet cable to the port labeled ETH.
-
If using Wi-Fi, tap Configure network on the terminal display.
-
Tap Wi-Fi, and then tap the Wi-Fi toggle switch.
-
Tap the + icon to add a network. The terminal scans for Wi-Fi networks.
-
Select the desired network from the list and enter the Wi-Fi password, or tap Add manually and enter the name (SSID) of the Wi-Fi network and the Wi-Fi password.
-
Tap the check mark to confirm.
The terminal connects to the network and is automatically set as the default. You'll now see a Wi-Fi icon at the top of the display.
Note:
To change the Wi-Fi network, access the Admin menu, tap Network, and then tap Wi-Fi.Set a Static IP Address via the Admin Menu
-
Press the 9 key, and then press the Confirm key (green O button) to navigate to the Admin menu. Depending on the firmware version, you can also access the Admin menu by tapping a gear icon or a Settings option.
-
Enter your Admin menu passcode, which is provided by Oracle Support, and then press the Confirm key.
-
Select Network, enter the store password (if prompted for it) and press the Confirm key (or continue).
- Select USB Ethernet.
-
Select Static/disable DHCP. Verify there is no check mark in the small check box to the right of the screen. This ensures static IP is selected.
-
To enter Static IP Address information, touch the box next to IP Address and add the IP using the keypad. To enter a dot(.), quickly press the 1 key twice.
-
Enter the following information:
- IP Address: 192.168.137.2
- Subnet Mask: 255.255.255.0
- Router: 192.168.137.1
- DNS – Preferred: The correct DNS for your network.
- DNS – Alternate: The correct Alternate DNS for your network. If no Alternate exists you can use 8.8.8.8.
-
Scroll down and tap Save or Apply to return to the Network menu.
-
Select USB-Gadget.
-
Enable Ethernet-RNDIS by tapping/sliding the button to the right. This will automatically disable the Ethernet option previously enabled.
-
Exit Settings.
Board the Terminal
After the terminal has restarted, tap Board terminal. If Board terminal is not shown and the terminal has recently been reassigned, then wait and try again in 15 minutes.
Device Information
Press the 5 key and then press the Confirm key to access the Payment Device Information menu.
-
Model, serial number and IP Address of the payment device
-
Software version and configuration version that the payment device is using
-
Merchant Account and Store that the payment device belongs to