- Extensibility Guide
- Customize Existing Base BIP Reports
- Customizing Existing Base BIP Reports
6.1 Customizing Existing Base BIP Reports
Pre-Requisites
- Please make sure that we should not change any base reports.
- The reports should be placed into the same folder structure.
- i.e. For Reports Shared Folders/oracle/fll/xmlp/reports
- For Letters Shared Folders/oracle/fll/xmlp/letters
- For Correspondences Shared Folders/oracle/fll/xmlp/correspondence
- Consider a base report OUNUND_EM_111_11 (UNDERWRITING STATUS BY MONTH AND PRODUCER LOAN).
- Let us assume we will do some customizations on the base report and create a new report called XYZOUNUND_EM_111_11 (Here XYZ is bank code).
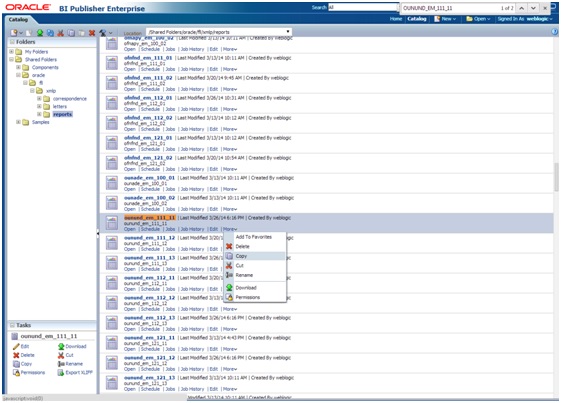
- Search for the base report and press More Copy as shown in the image
below.
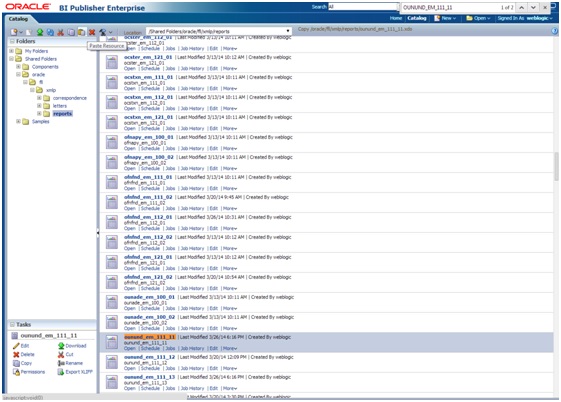
- After pressing copy go to the folder where you want to paste the new report and
press the Paste Resource button as shown in the image
below.
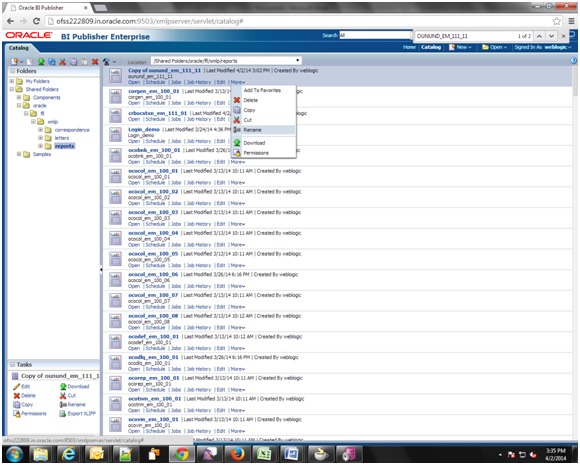
- On pressing Paste Resource button, a new report will be created in the directory with name as Copy of ounund_em_111_11
- Select the particular report (Copy of ounund_em_111_11 ) and press More Rename
as shown in the image below.
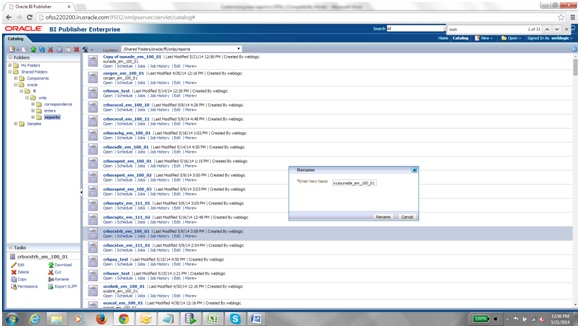
- Enter the new name as xyzounund_em_111_11 and press Rename button as shown in
the image below.
- Do similar Copy, Paste and rename activity for the data model side also for the particular report which will be with the same name as of the report in the same directory.
- After the new report is ready i.e. xyzounund_em_111_11. We can now do our customizations whatever is required on this new report.
- So after Completing from bi publisher side we need to make an entry in the database for the new report to be available in the front end application.
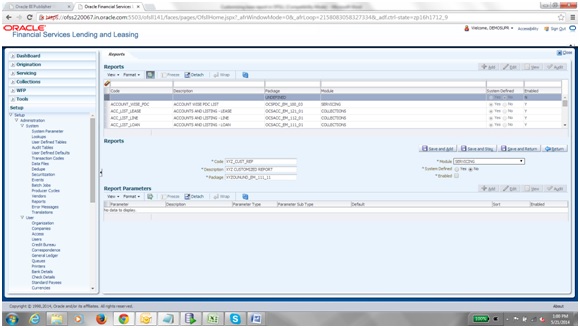
- Go to Setup System Reports in the front end and add a new record with
package name as XYZOUNUND_EM_111_11 as shown in the image below.
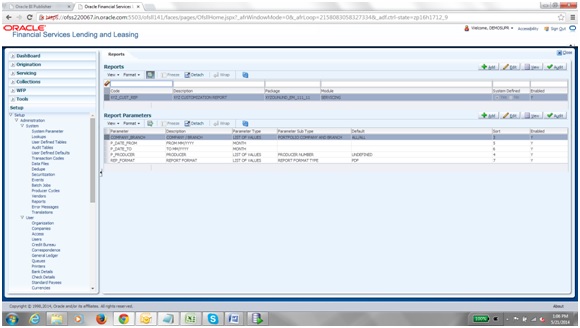
- After Save and return please add the report parameters for the particular
report as shown in the image below.
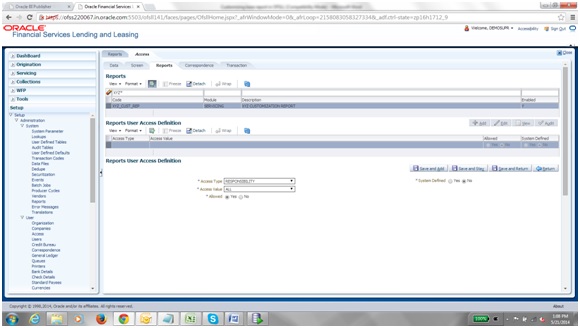
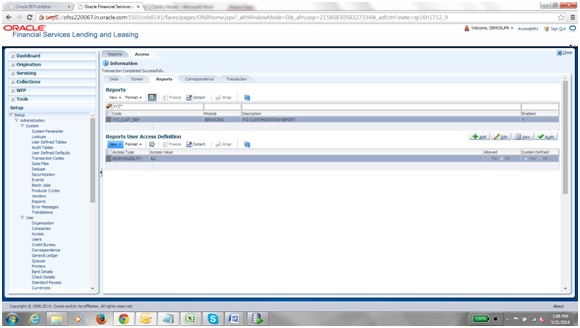
- Now open User Access Reports Tab and select the newly created report and add
the responsibility to it in Reports user access definition screen as shown in
the image below.
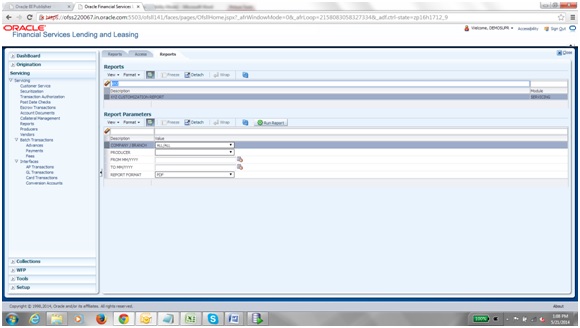
- Now go to Servicing Reports screen and you will be able to find the new
report in the list as shown in the image below.
Note:
There is no Impact on customization reports when a new base patch applied in the system. All customized report will not be override, removed or modified.
Parent topic: Customize Existing Base BIP Reports
