- Export LC Amendment Beneficiary Consent Islamic User Guide
- Export LC Amendment Beneficiary Consent - Islamic
- Data Enrichment
- Additional Fields
2.3.2 Additional Fields
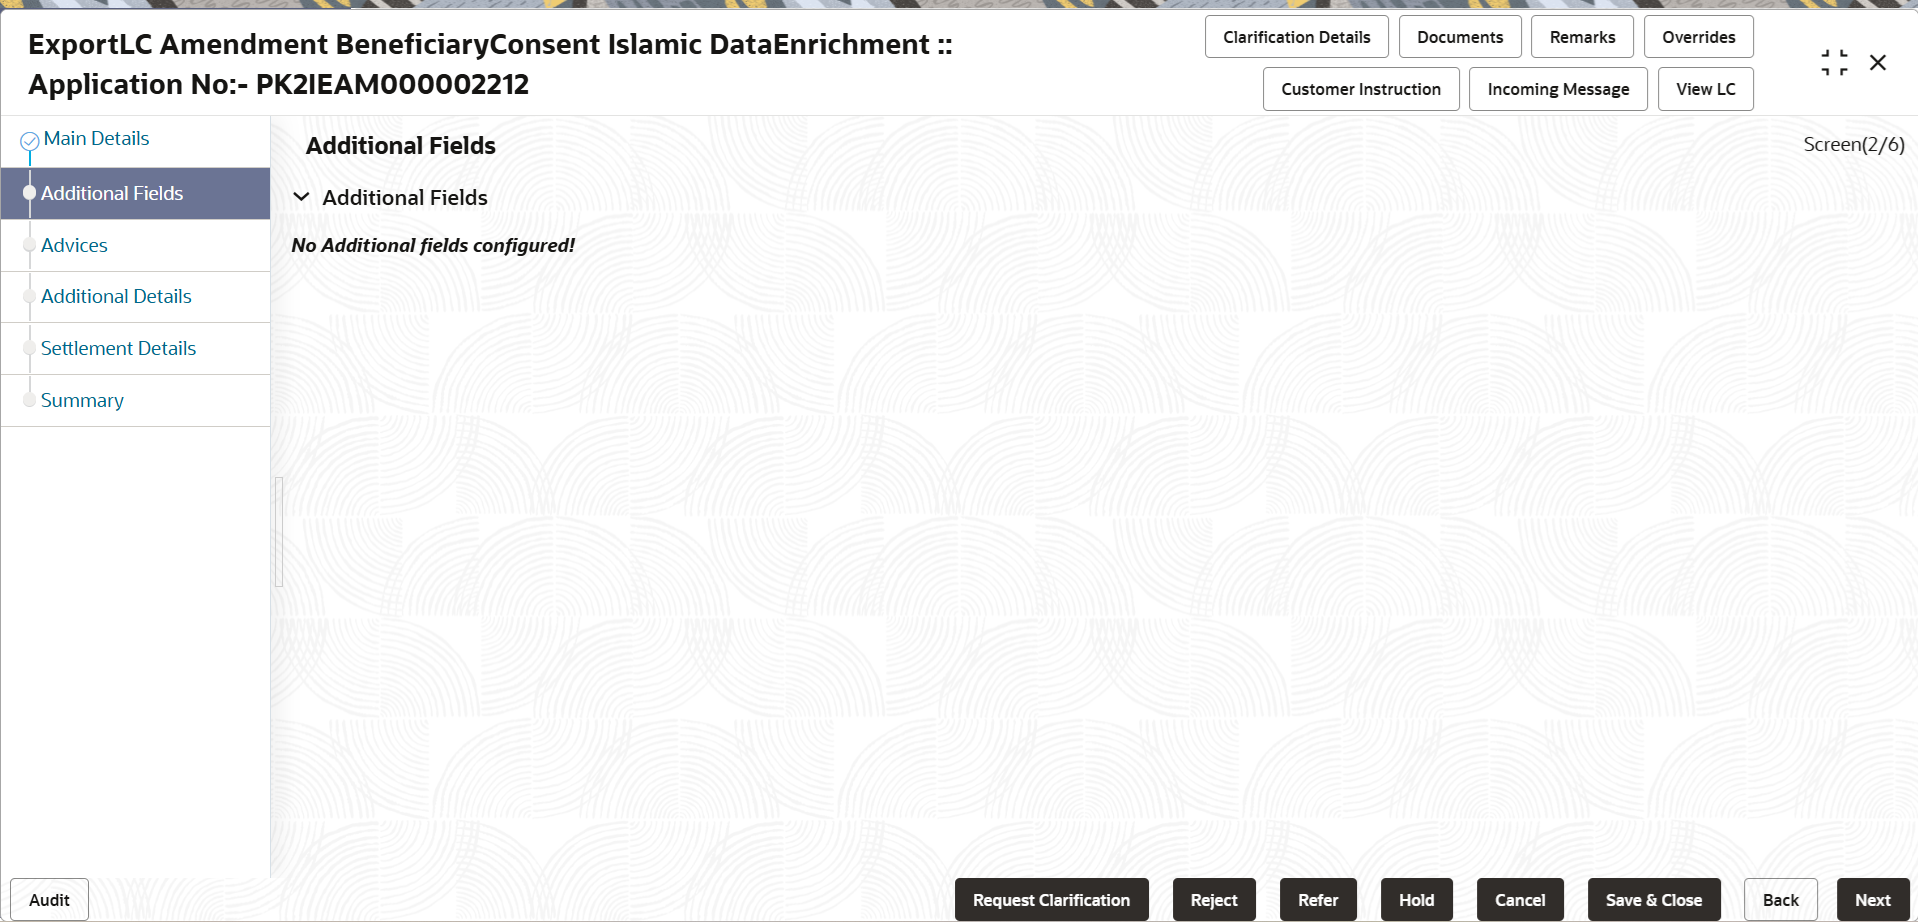
This topic provides the systematic instructions to capture the additional fields.
- On Additional Fields screen, specify the fields, if
any.
Figure 2-8 Data Enrichment - Additional Fields

Description of the illustration deadditionalfields.png - Click Next.The task will move to next data segment. For more information refer Advices.
For more information on action buttons, refer to the field description table below.
Table 2-11 Additional Fields - Action Buttons - Field Description
Field Description Documents Upload the required documents. The user can view and input/view application details simultaneously.
When a user clicks on the uploaded document, Document window get opened and on clicking the view icon of the uploaded document, Application screen should get split into two. The one side of the document allows to view and on the other side allows to input/view the details in the application.
Remarks Specify any additional information regarding the Export LC Amendment Beneficiary Consent - Islamic. This information can be viewed by other users handling the request. Overrides Click to view the overrides accepted by the user. Customer Instruction Click to view/ input the following. - Standard Instructions – In this section, the system will populate the details of Standard Instructions maintained for the customer. User will not be able to edit this.
- Transaction Level Instructions – In this section, OBTFPM user can input any Customer Instructions received as part of transaction processing. This section will be enabled only for customer initiated transactions.
Common Group Messages Click Common Group Message button, to send MT799 and MT999 messages from within the task. Incoming Message Clicking this button allows the user to see the message in case of STP of incoming MT 767. View LC Clicking this button enables the user to view the latest LC values displayed in the respective fields. Reject On click of Reject, user must select a Reject Reason from a list displayed by the system. Reject Codes are:
- R1- Documents missing
- R2- Signature Missing
- R3- Input Error
- R4- Insufficient Balance/Limits
- R5 - Others
Select a Reject code and give a Reject Description.
This reject reason will be available in the remarks window throughout the process.Refer Select a Refer Reason from the values displayed by the system. Refer Codes are:
- R1- Documents missing
- R2- Signature Missing
- R3- Input Error
- R4- Insufficient Balance/Limits
- R5 - Others
Hold The details provided will be saved and status will be on hold. User must update the remarks on the reason for holding the task. This option is used, if there are any pending information yet to be received from applicant.
Cancel Cancel the Data Enrichment stage inputs. The details updated in this stage are not saved. The task will be available in 'My Task' queue. Save & Close Save the details provided and holds the task in ‘My Task’ queue for further update. This option will not submit the request. Back On click of Back, task moves to previous logical step. Next On click of Next, system validates if all the mandatory fields have been captured. Necessary error and override messages to be displayed. On successful validation, system moves the task to the next data segment.
Parent topic: Data Enrichment