1.2 Configuring CRON job and scheduler

This topic provides the systematic instructions to configure the SWIFT scheduler.

Specify User ID and Password, and login to Home screen.
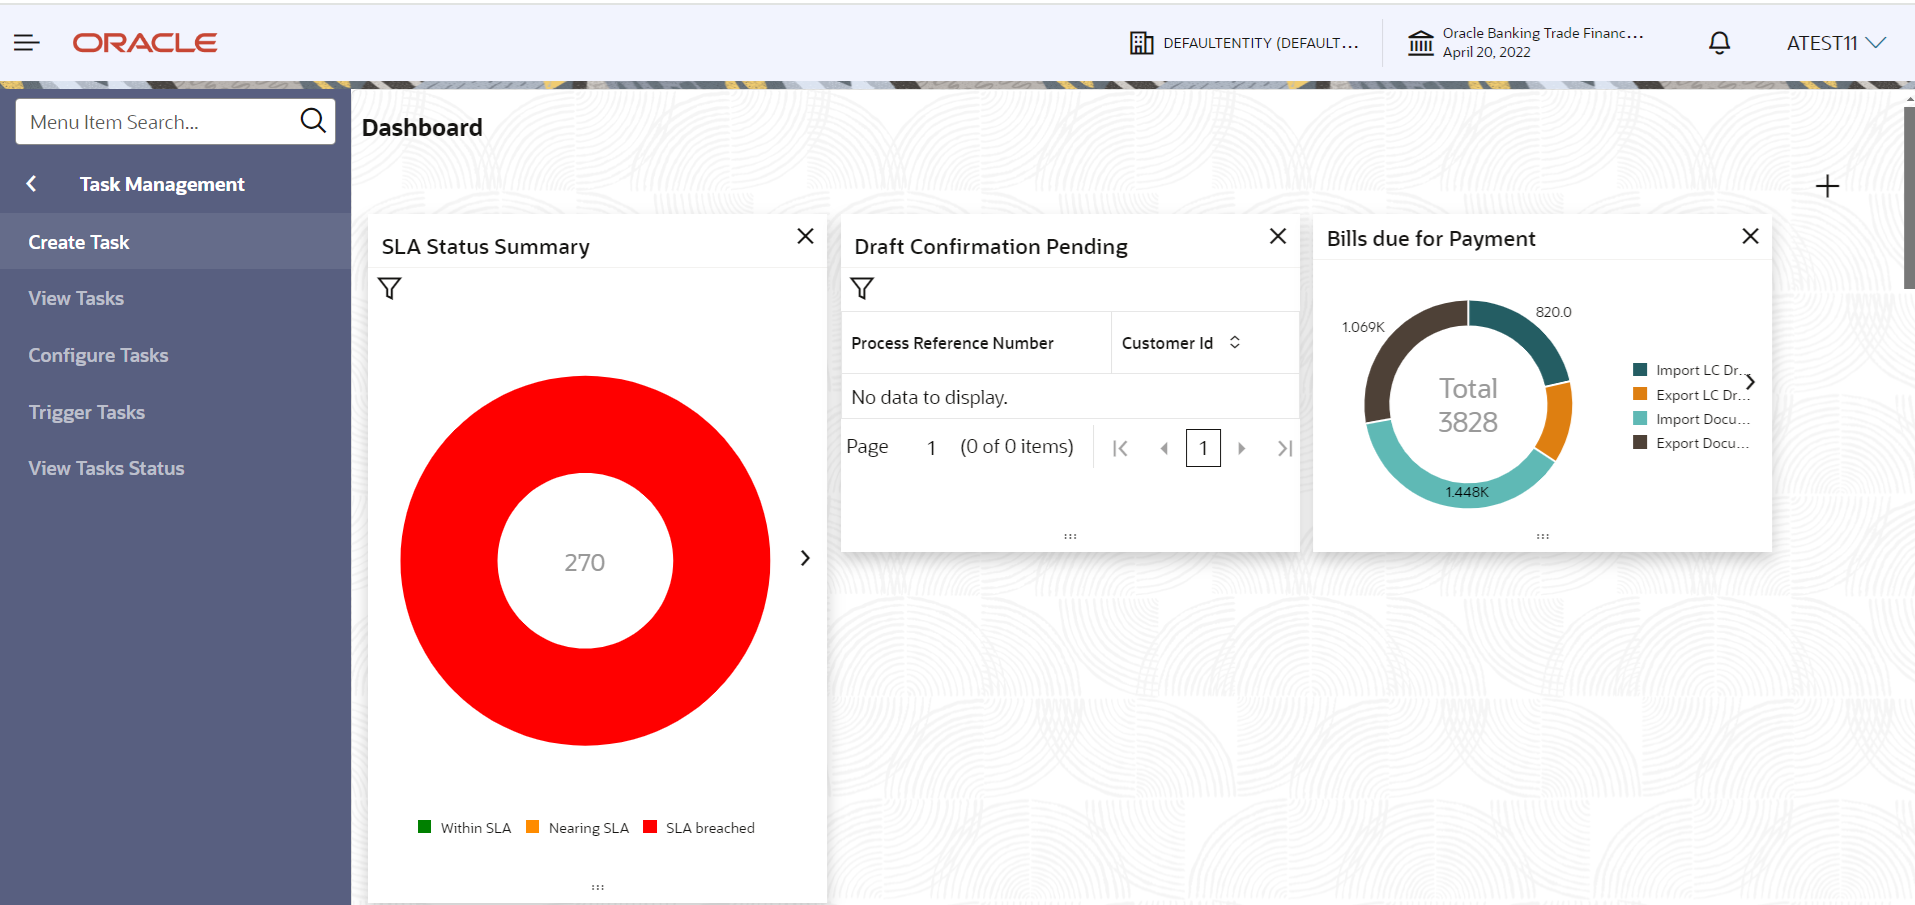
  1. On Home screen, click Task Management. Under Task Management, click Create Task.
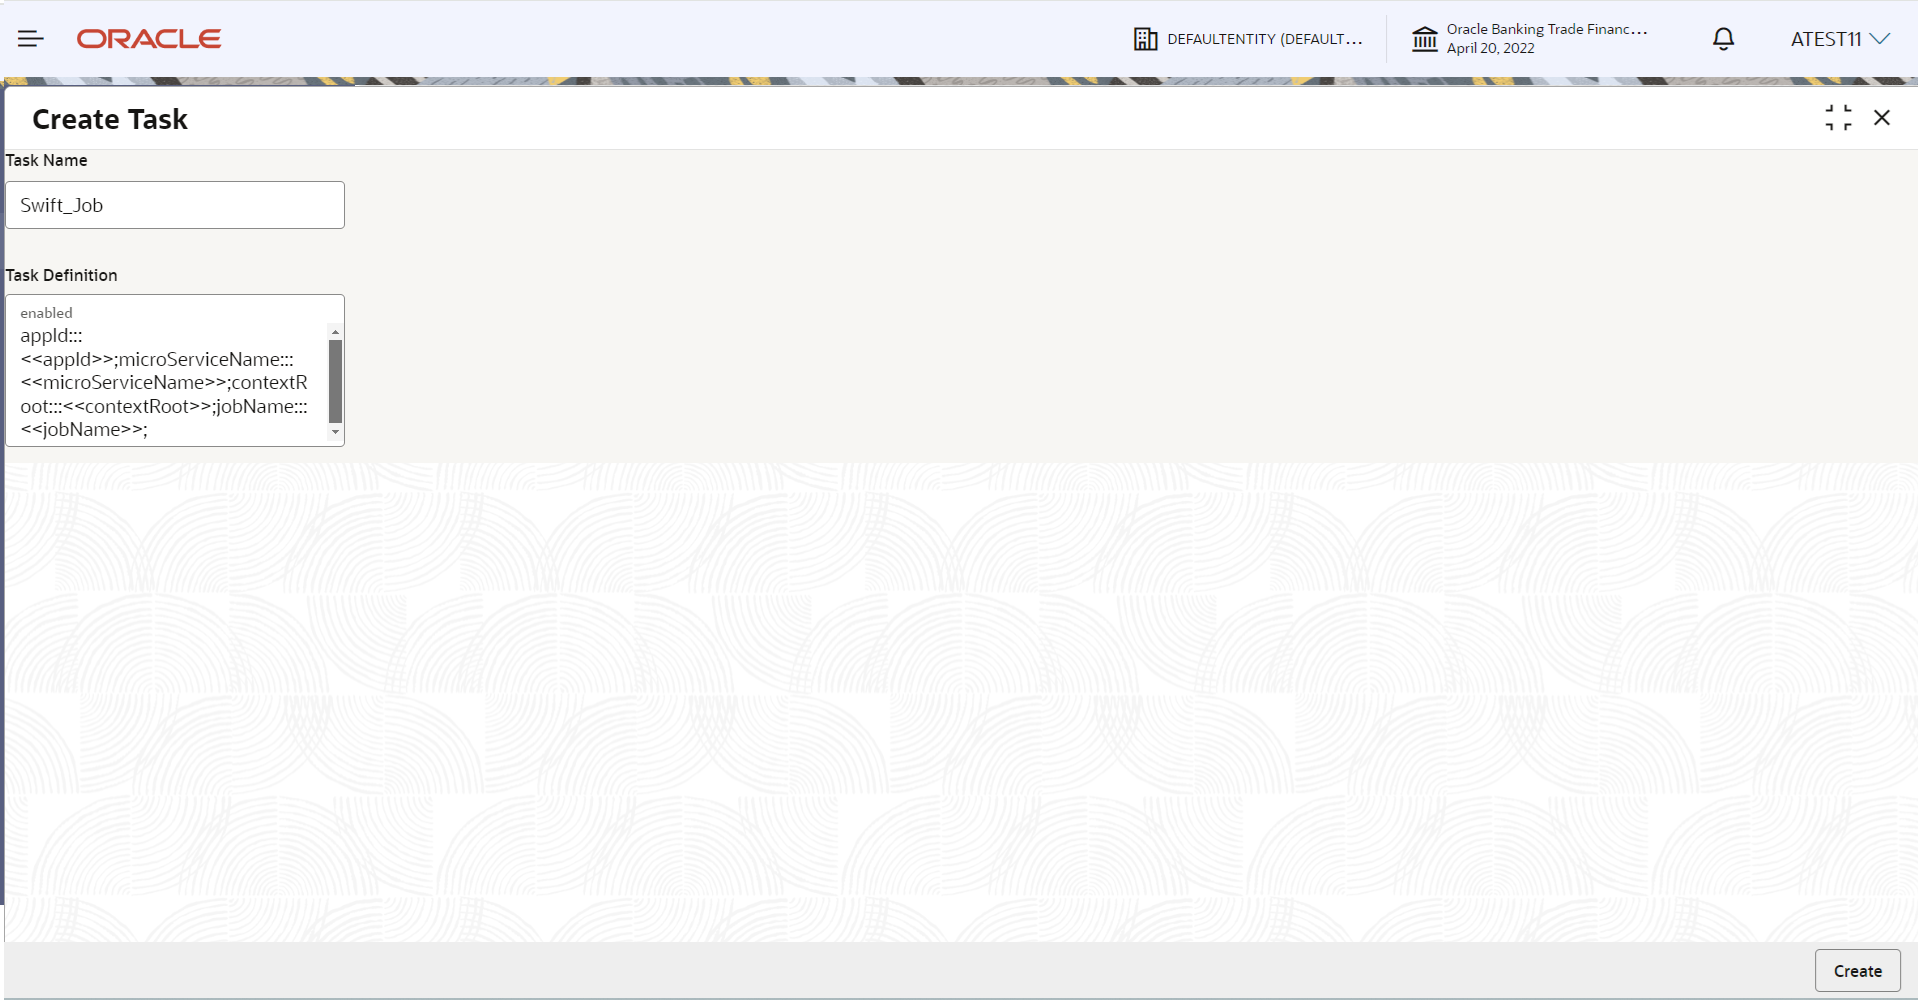
    The Create Task screen is displayed.
  2. On Create Task screen, specify the following details:
    1. Task Name: Give any task name (eg: Swift Job)
    2. Task Definition: Enter this value:
      appId:::OBTFPMBATCH;microServiceName:::obtfpm-batch-jobs;contextRoot:::obtfpm-batch-jobs;
      jobName:::swiftJob;
  3. Click Create and save the details.
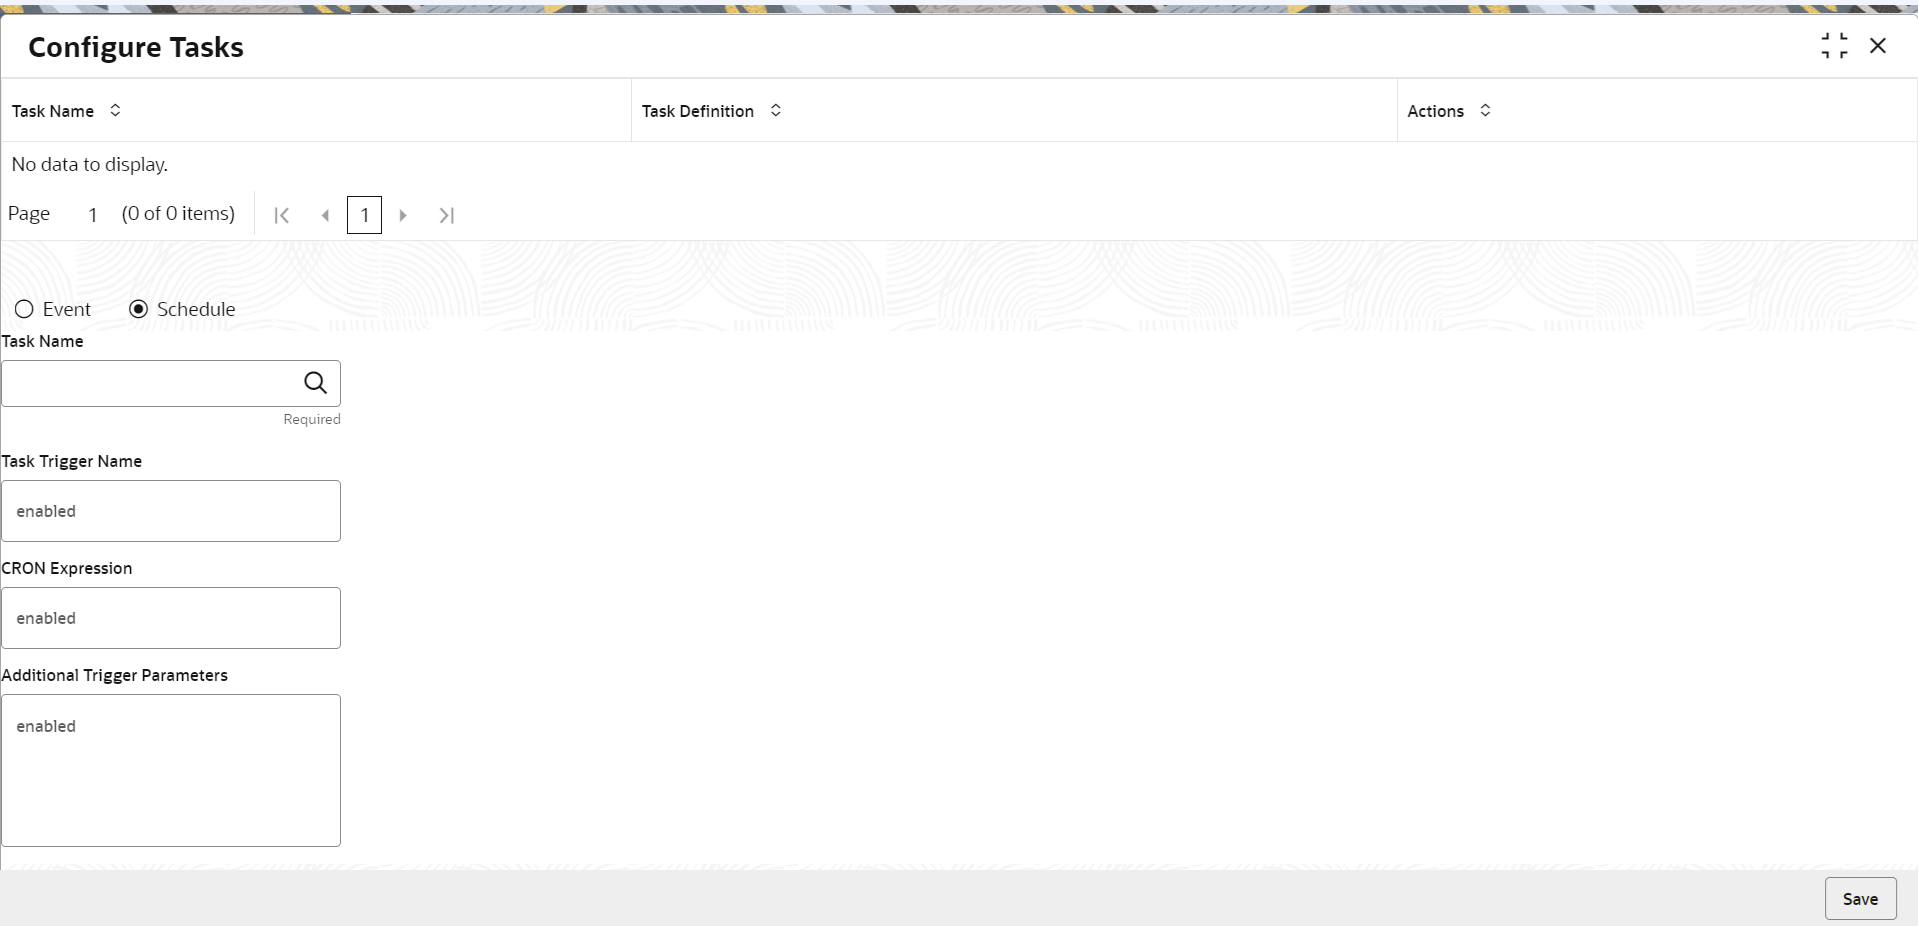
  4. Navigate to Configure Task screen.
  5. On Home screen, click Task Management. Under Task Management, click Configure Task.

    Here we will configure the scheduler and CRON expression.

  6. Specify the following details:
    1. Select Schedule option.
    2. Task Name : Select Task name, this is same task that we saved in Step 3.
    3. Task Trigger Name: It will be defaulted with value constructed by concatenation of Task Name and Type of Task. It can be changed as per user's requirement.
    4. CRON Expression/Topic Name: Enter Cron expression as required. Recommended expression: 0 0/10 * * * ? (Trigger every 10 Minutes)
  7. Save the details.

    Task will be triggered every 10 minutes.

    Example of configuring for different branches.