2.4.7 Additional Details
This topic provides the systematic instructions to capture the additional details in Scrutiny stage of Export LC Advise - Islamic process.
- On Additional Details screen, click
 on any Additional Details tile to view the details.
Figure 2-28 Additional Details
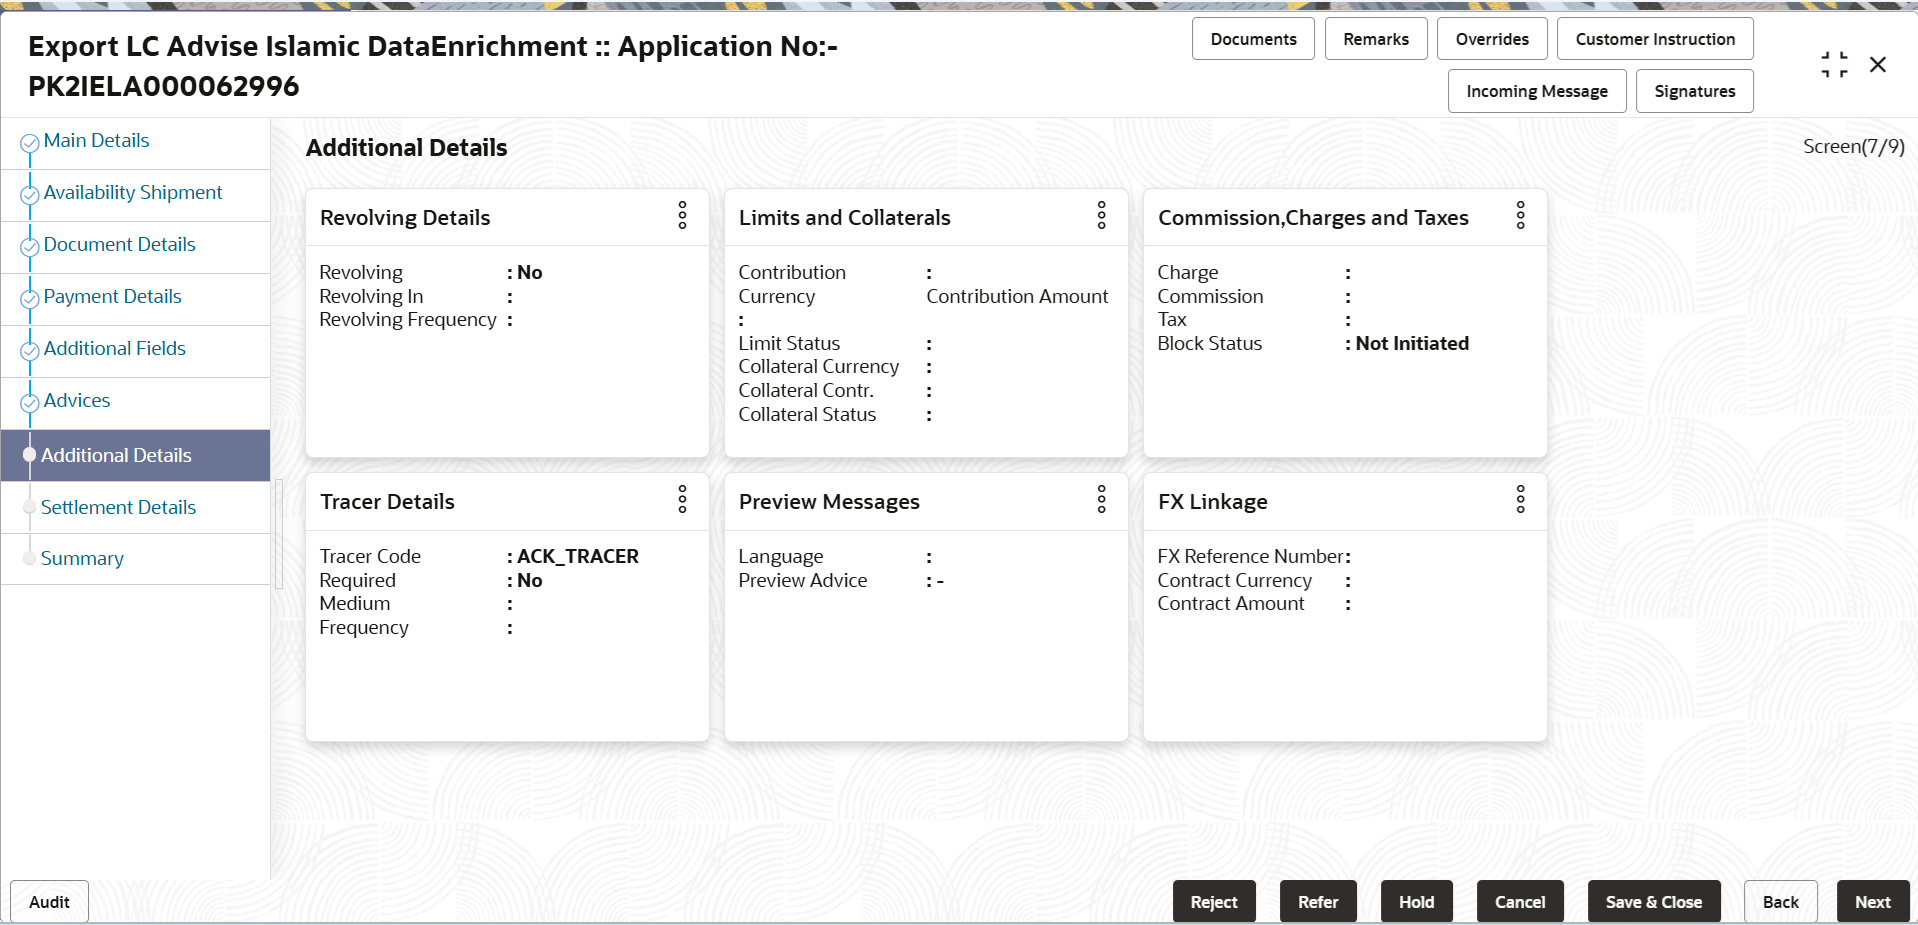
Description of the illustration deadditionaldetails.pngLimits and Collaterals
On Approval, system should not release the Earmarking against each limit line and system should handoff the “Limit Earmark Reference Number “to the back office. On successful handoff, back office will make use of these “Limit Earmark Reference Number” to release the Limit Earmark done in the mid office (OBTFPM) and should Earmark the limit from the Back office.
In case multiple Lines are applicable, Limit Earmark Reference for all lines to be passed to the back office.
For more information on fields, refer Table 2-16 of Scrutiny stage.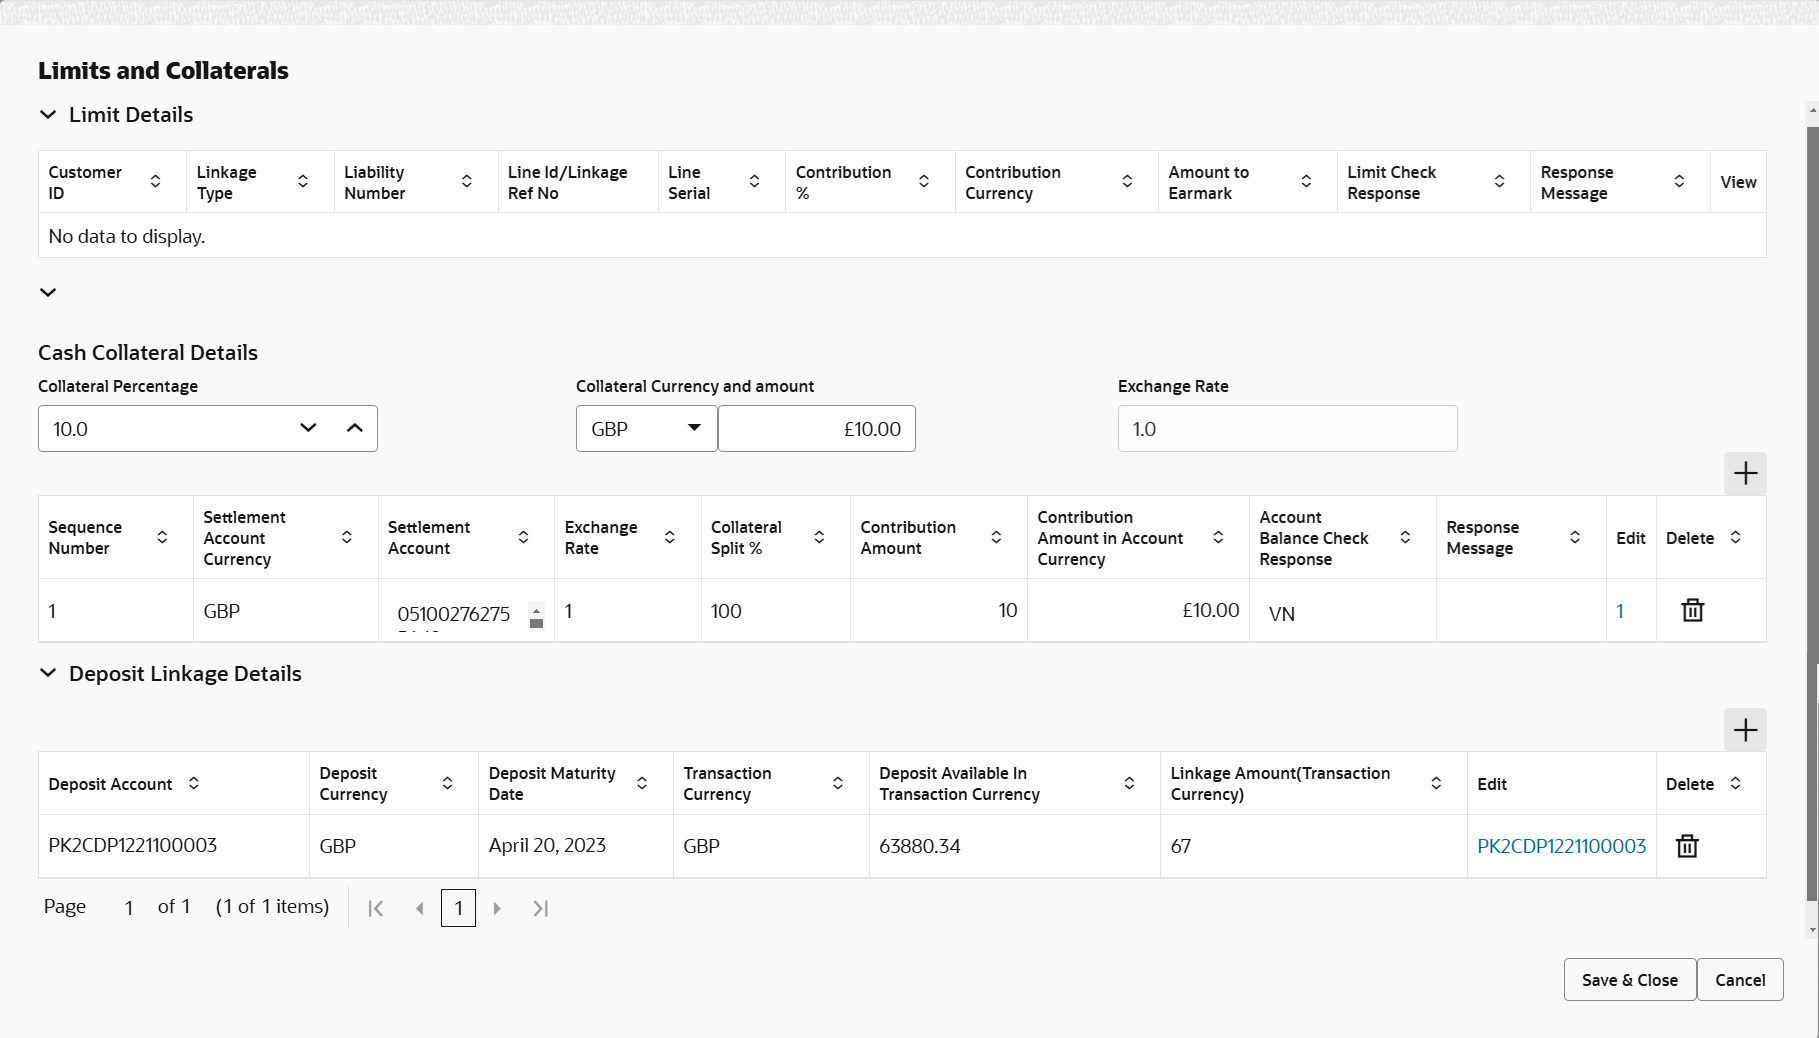
Description of the illustration scrutinylimitdetails.png
- Click Save and Close to save the details and close the
screen.
Commission, Charges and Taxes
This section displays Commission, Charges and Taxes details. On landing the additional tab, charges and tax if any will get defaulted from back end simulation. If default charges are available under the product, they should be defaulted here with values. If customer or customer group specific charges are maintained, then the same will be defaulted from back end system.
The system also default the Charges/Commission Party maintained for the customer as per defined Class Maintenance in OBTF. System simulates the Charges, Commission and Tax details from the Back office.
For more information on fields, refer Table 2-17 of Scrutiny stage.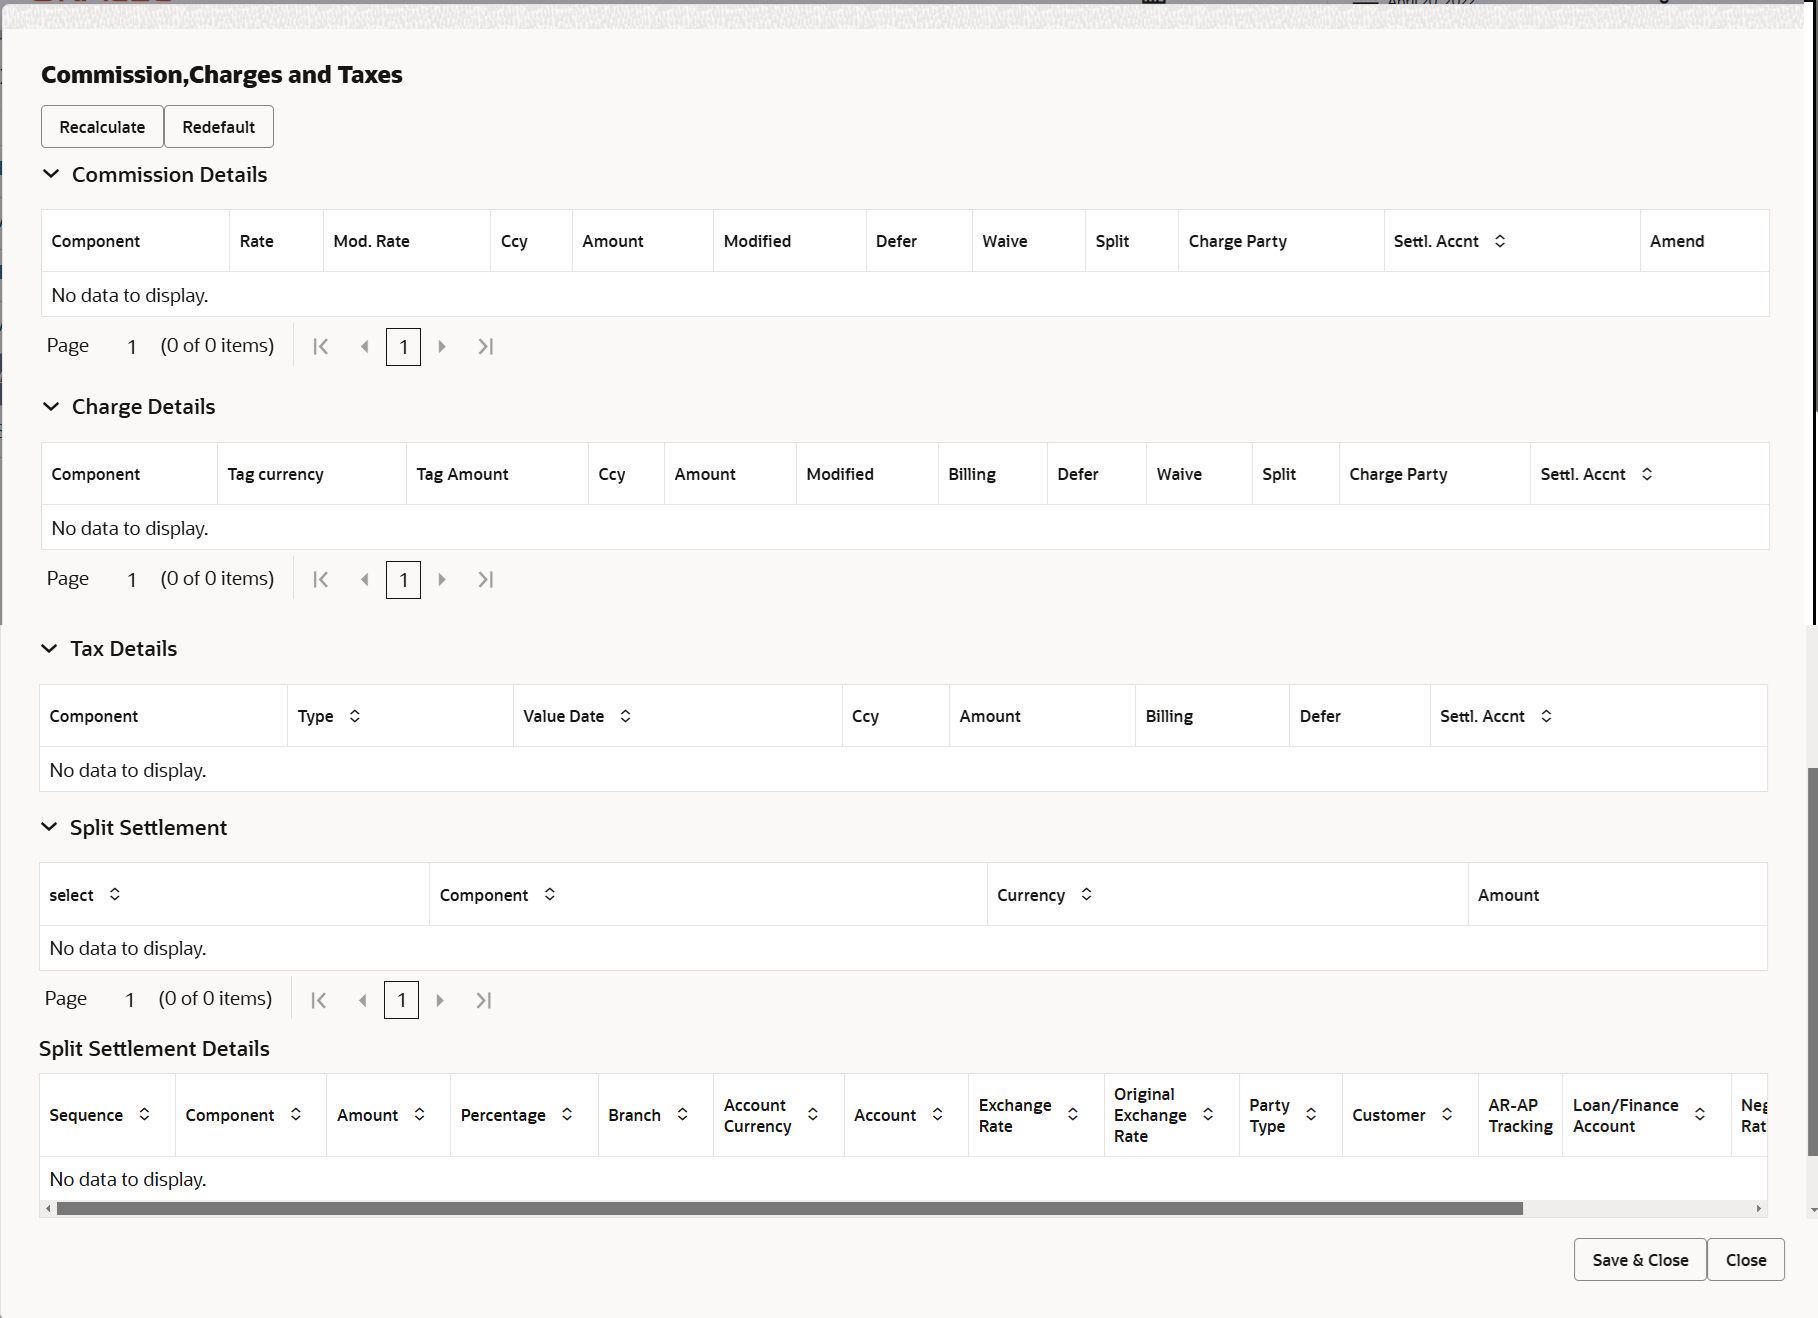
Description of the illustration scrutinychargedetails.png
- Click Save and Close to save the details and close the
screen.FX Linkage
This section enables the user to link the existing FX contract(s) to the LC transactions. User can link multiple forward FX contracts.
FX contract linkage with the Bill booking can happen only for immediate liquidation of sight payment or for Usance. For manual sight payment, the user needs to link the FX contract on the date of liquidation of the Bill.
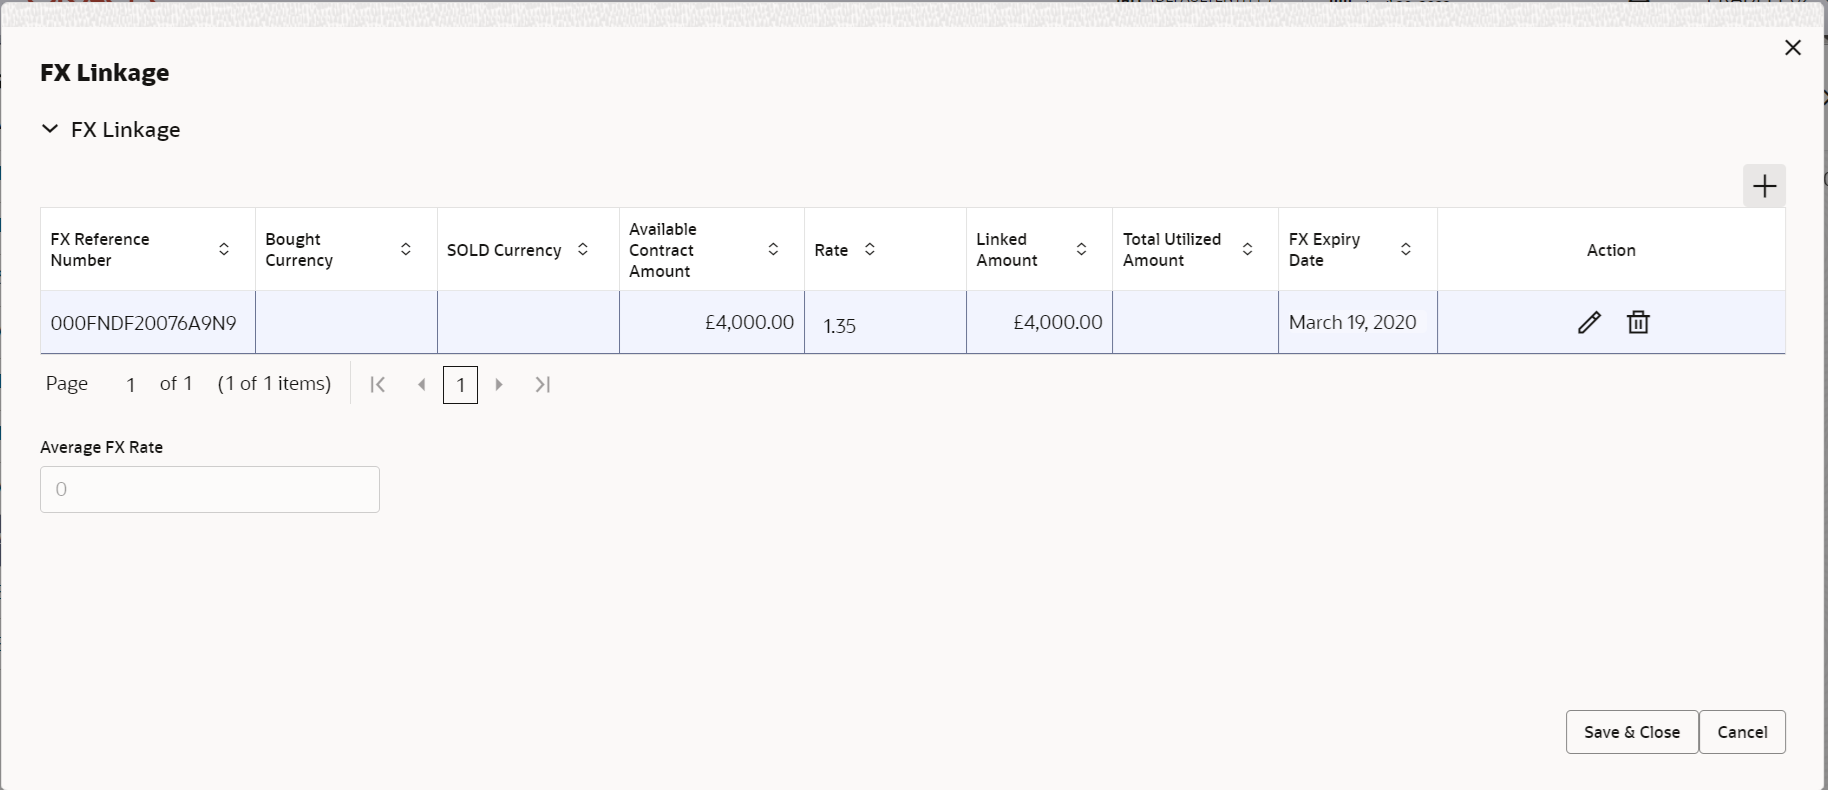
Description of the illustration fxlinkagedetails.pngFor more information on fields, refer Table 2-18 of Scrutiny stage. - Click Save and Close to save the details and close the
screen.
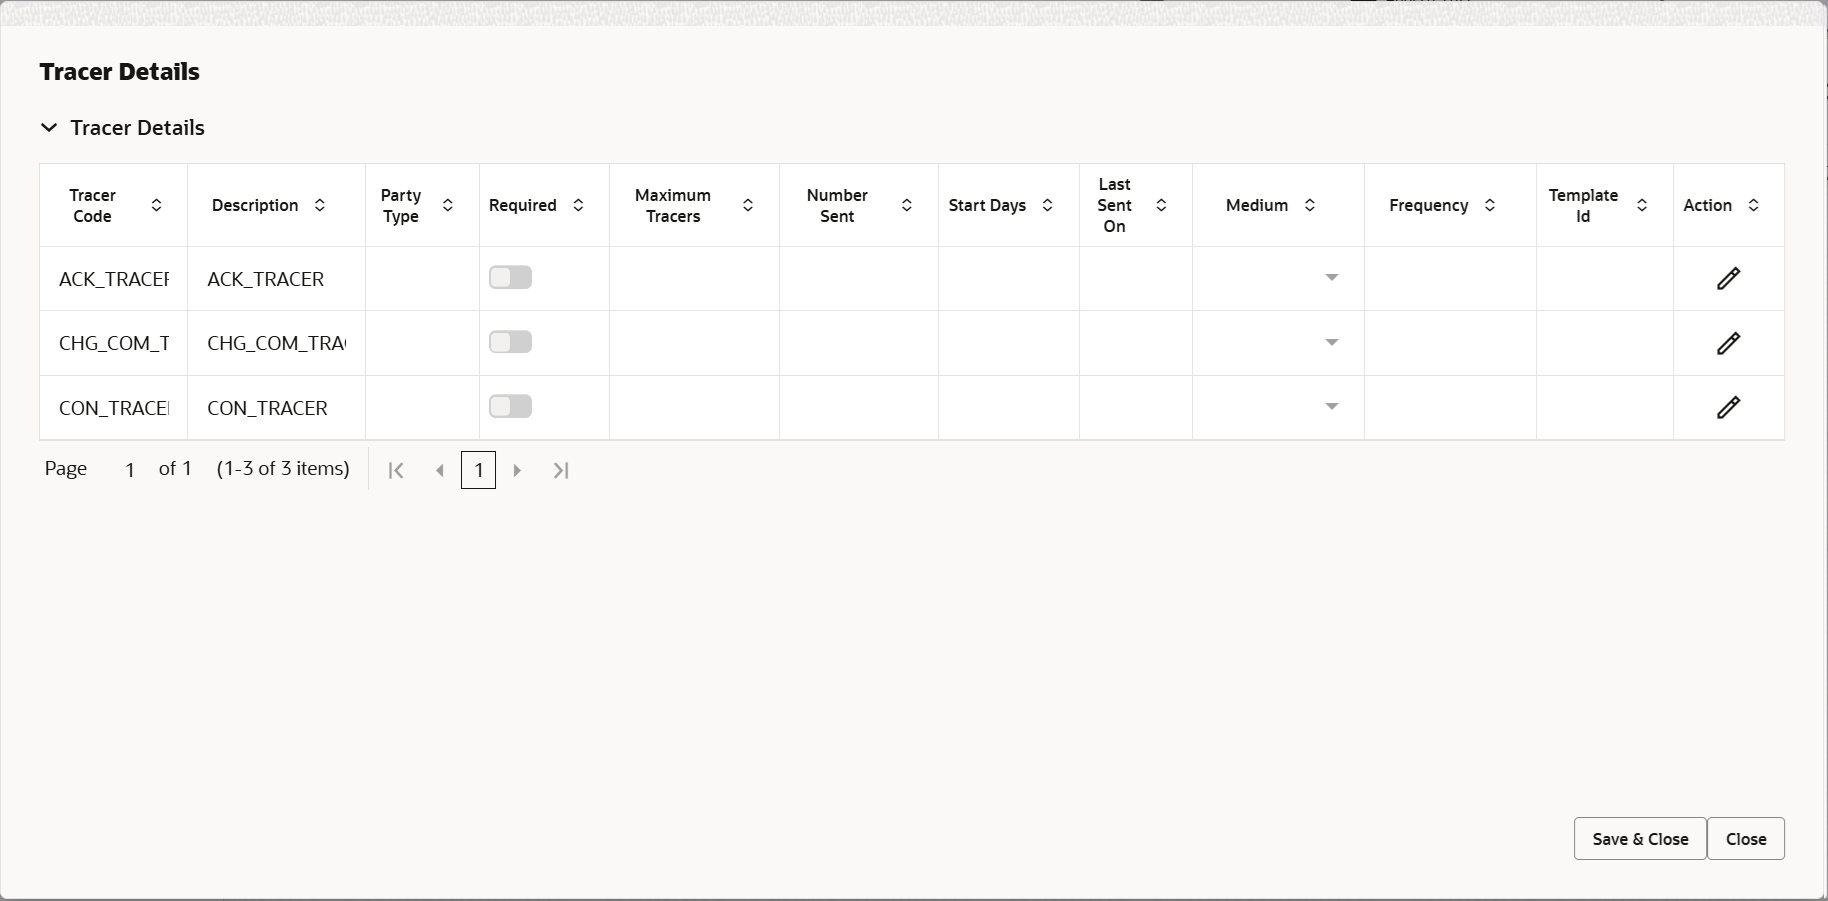
Tracer Details
This section enables the user to view the default Tracer details from back end application. It also allows the user to trace the response for the discrepancies identified.
For more information on fields, refer to the field description table below.
Table 2-25 Tracer Details - Field Description
Field Description Tracers Code System defaults the value for tracer code from the latest LC. Description System defaults the value for description of tracer from the latest LC. Party Type Click Search to search and select the party type from the lookup. Required Enable this option, to capture the tracer details. Disable this option,, if user does not require to capture tracer details.
Maximum Tracers Specify the value for maximum number of tracers. Number Sent Specify the value for number of tracers to be sent. Start Date Select the tracer start date. Last Sent On Select the date on which the tracer is last sent. Tracer Medium Select the value for tracer medium. The options are:
- SWIFT
Tracer Frequency System defaults the days set up at the product level. Value can be 1, 2 etc. which represents daily, once in 2 days etc. The user can change the value.
Template ID Click Search to search and select the party type of the template ID from the lookup. - Click Save and Close to save the details and close the
screen.Preview Messages
User can view the draft message (outgoing MT754 and MT742/MT750/MT742 SWIFT message format) being displayed on the preview message text box.
User can preview the MT999 messages for the applicable MT7XX messages generated by the Back office system in the Preview Message.
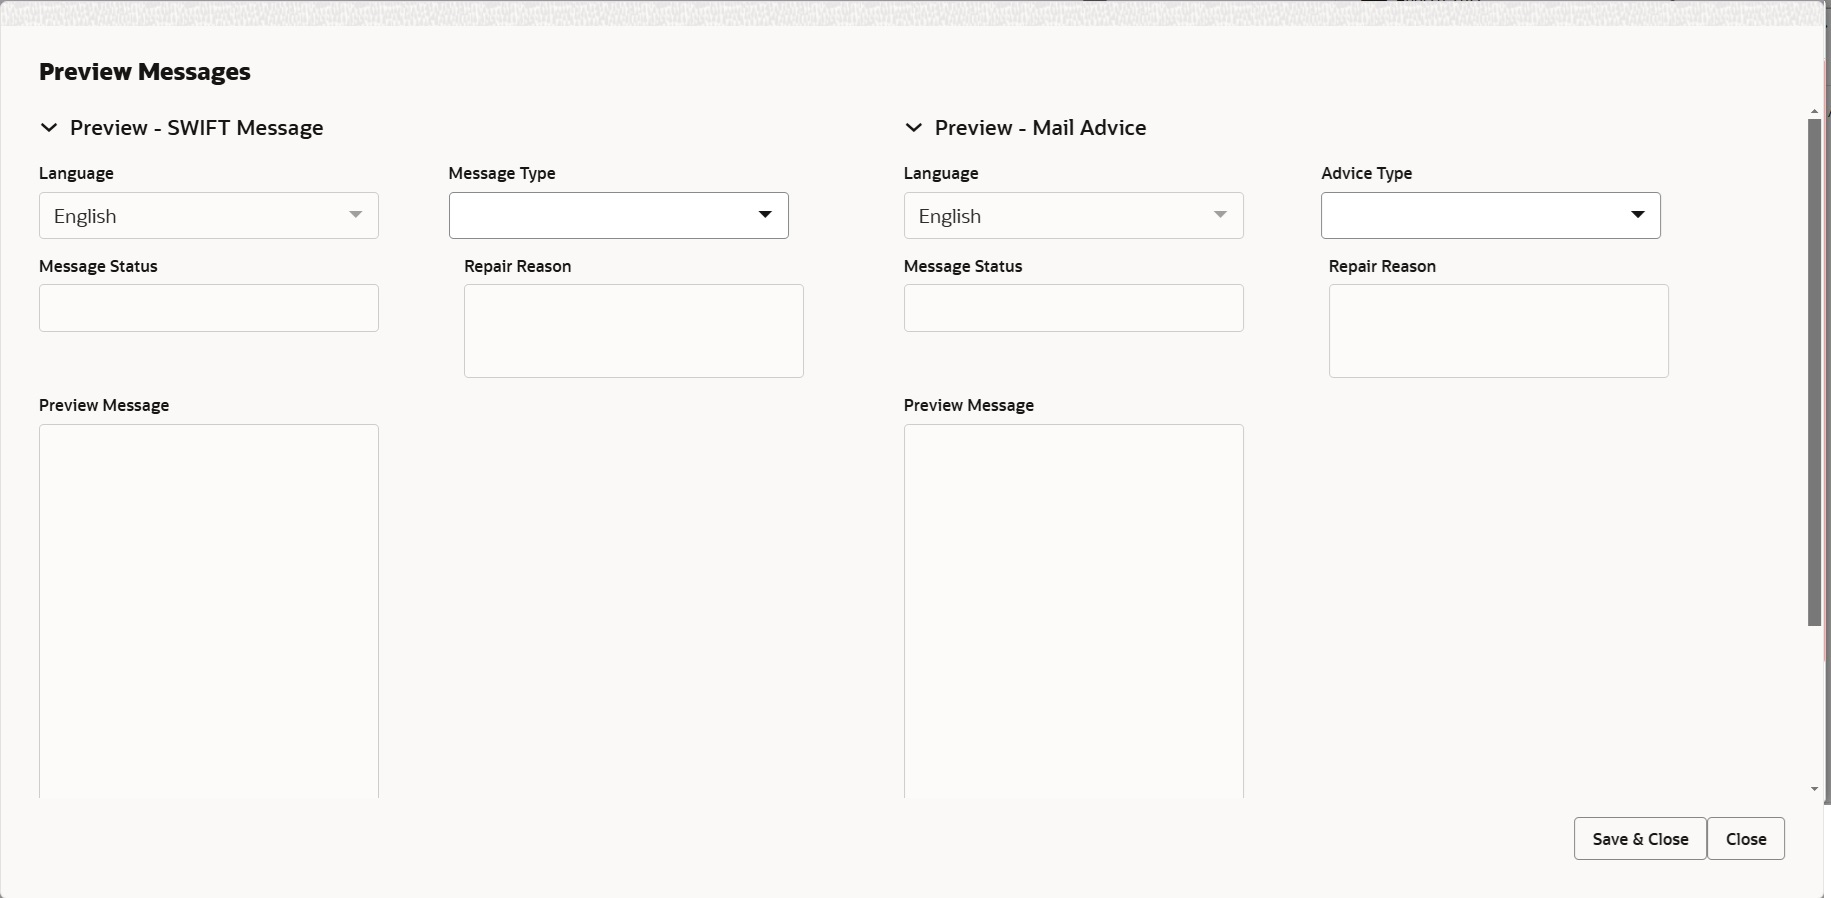
Description of the illustration deadditionaldetailspreview.pngFor more information on fields, refer to the field description table below.
Table 2-26 Preview Messages - Field Description
Field Description Preview SWIFT Message This section displays the preview of SWIFT Messages fields. Language Select the language for the SWIFT message. Message Type Select the message type. Message Status Read only field. Display the message status of draft message of liquidation details.
Repair Reason Read only field. Display the message repair reason of draft message of liquidation details.
Preview Message This field displays a preview of the draft message. Preview Mail Advice This section displays the preview of Mail Advice fields. Language Select the language for the advice message. Advice Type Select the advice type. Message Status Read only field. Display the message status of draft message of liquidation details.
Repair Reason Read only field. Display the message repair reason of draft message of liquidation details.
Preview Message This field displays a preview of the draft message. - Click Save and Close to save the details and close the screen.
- Click Next.The task will move to next data segment.
For more information on action buttons, refer Table 2-19 of Scrutiny stage.
Parent topic: Data Enrichment

