3.7.1 Payment Preferences
User can view and modify payment preferences to the loan account using the Payment Preferences screen.
To add or edit the payment preferences:
Note:
The fields marked as Required are mandatory.- On the Homepage, from Retail Lending
Services mega menu, under Instructions &
Preferences, click Payment Preferences. User can also
open the screen by specifying Payment Preferences in the search
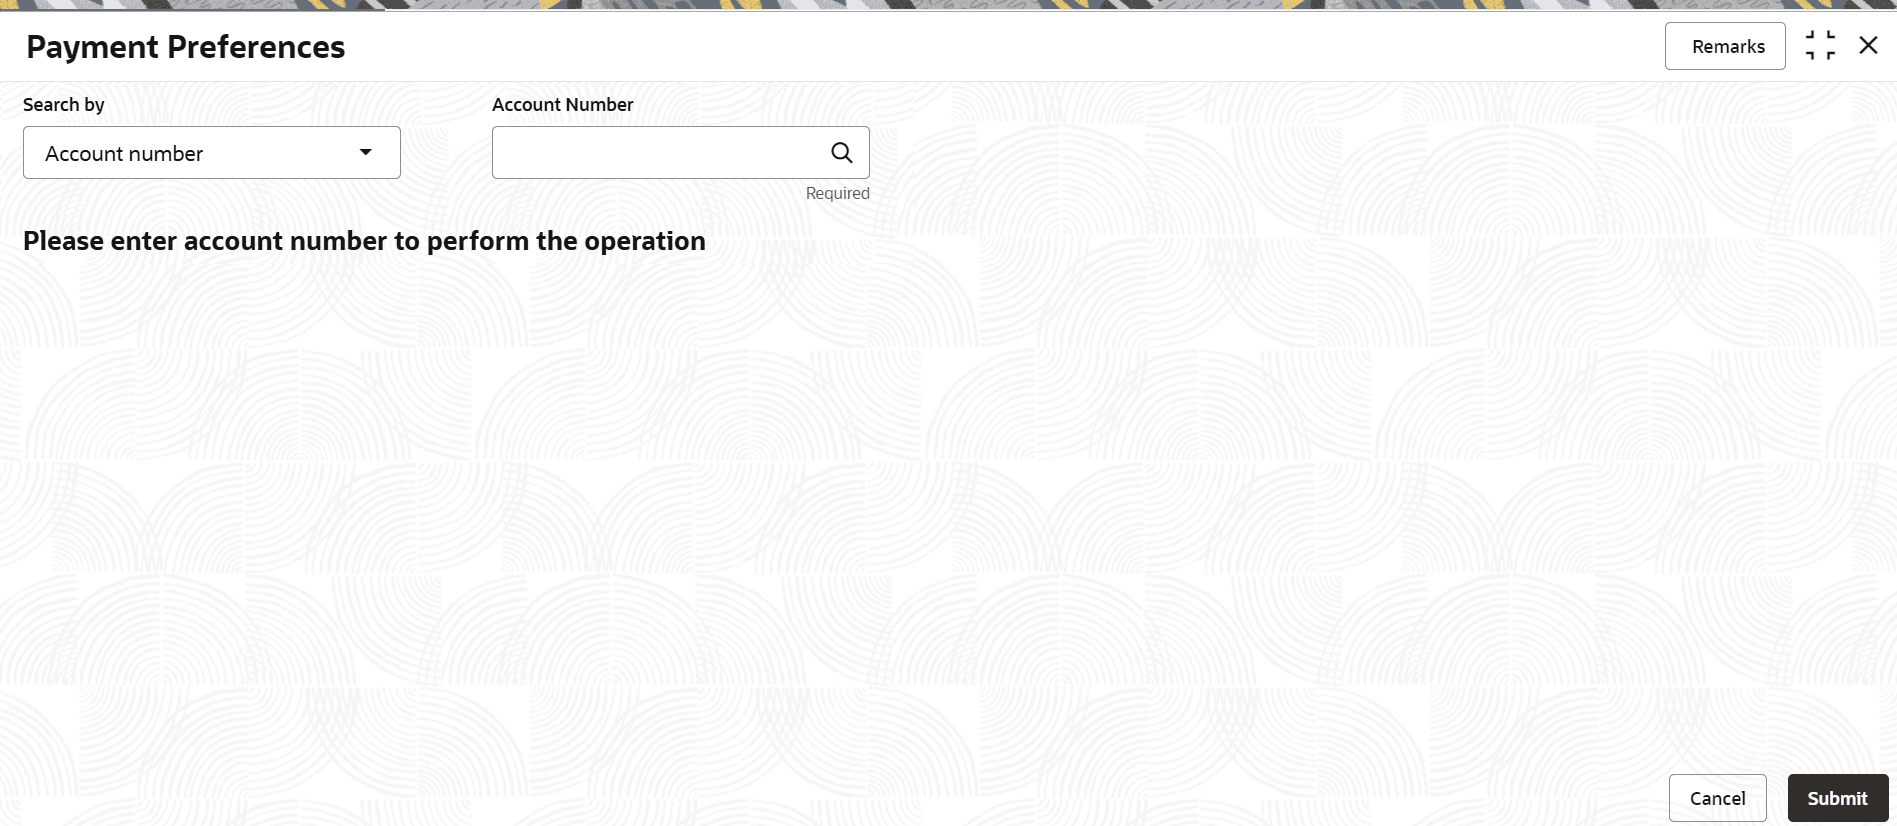
icon bar and selecting the screen.The Payment Preferences screen is displayed.
- Select the appropriate option from the Search by field.
- Perform the required action, based on the option selected from the Search by field.
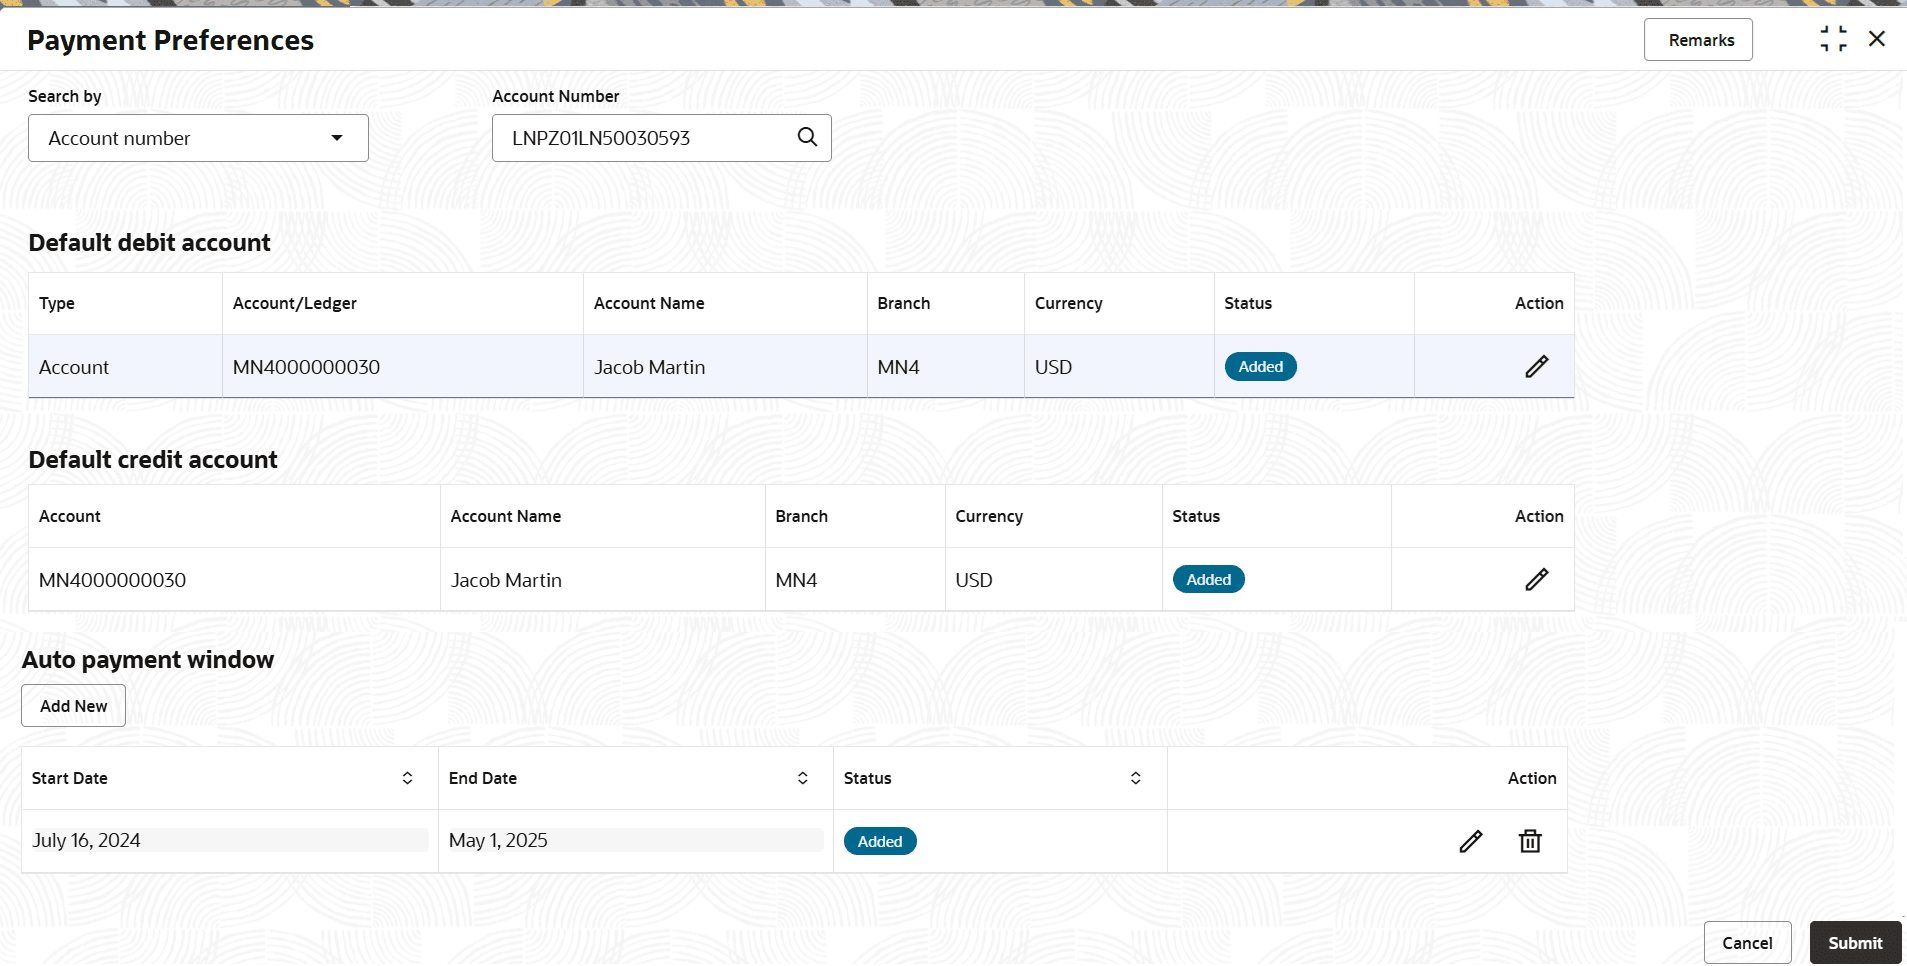
- If the payment preferences are already maintained during Origination, then the details
are displayed in the respective sections. Here, user can edit the details, if required. If
no preferences are maintained, then user can add the details in this screen.
- For more information on adding the preference details, refer Add Payment Preference Details.
- For more information on editing the preference details, refer Edit Payment Preference Details.
The details are displayed in the respective sections.For more information on fields, refer to field description table below:Table 3-51 Payment Preference – Field Description
Field Description Search by Users can search for an account number by using any of the available search criteria. The account number is set as the default search option. Users can specify the account number directly in the adjacent field or search for an account number by clicking the Search icon. Users can also search for the specific account number by providing customer ID, account number, or account name.
Other search options available in the Search by field are Customer ID, SSN, Mobile Number, and Email.
A specific customer ID can be searched by providing the customer name or customer ID. If SSN, mobile, or email IDs are chosen to find an account number, the respective IDs have to be input entirely in the adjacent field for the system to display the account number. For a given search criteria, multiple account numbers may be linked.
For example, two or more account numbers can be linked to a single mobile number. In such cases, the system displays all the account number matches and the user can select the relevant account number on which to perform a servicing operation.Note:
The label of the field adjacent to the Search by field changes dynamically. For example, if the Account number is chosen as the search criteria, the label of the adjacent field is displayed as the Account Number. If SSN is chosen as the search criteria, then the adjacent field would display the label as SSN.Default debit account and Default credit account The Default debit account section displays a message that default debit account is not added along with the Add Debit Account button. For more information refer Add Debit Account. The Default credit account section displays a message that default credit account is not added along with the Add Credit Account button. For more information refer Add Credit Account.
Type Displays the type of debit account. Account/Ledger Displays the account or ledger account number. Account Name Displays the account name. Branch Displays the branch code. Currency Displays the amount currency. Status Displays the status of the debit account. The possible option is: - Added
Action Displays the following action that can be performed:  : Click this icon to edit the account condition details. If you
click this icon, the Edit section is displayed. For
more information, refer Edit Payment Preference Details.
Auto payment window This section displays a message that an auto payment is defined for the account along with the Add New button. For more information refer Add Auto Payment. Start Date Displays the start date of the payment. End Date Displays the end date of the payment. Status Displays the status of the payment. The possible option is: - Added
Action Displays the following actions that can be performed on the account conditions:  : Click this icon to edit the autp payment details.
 : Click this icon to delete the auto payment.
- Click Submit.The screen is successfully submitted for authorization.
- Add Payment Preference Details
User can add the payment preference details for the loan account. - Edit Payment Preference Details
User can edit the payment preference details for the loan account.
Parent topic: Instruction Preferences

