2 Approach
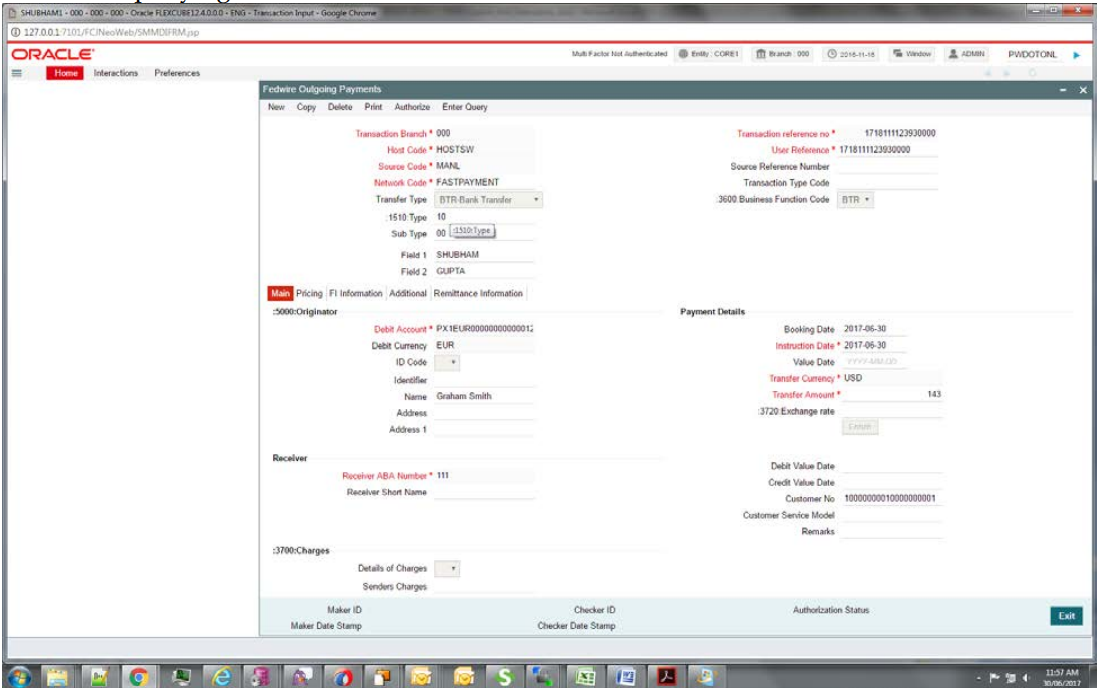
For demo purpose, we will be taking a transaction screen: PWDOTONL (Fedwire outgoing Transaction screen). We will create a demo table, add it to the RAD with 3 fields and then Save/query the record.
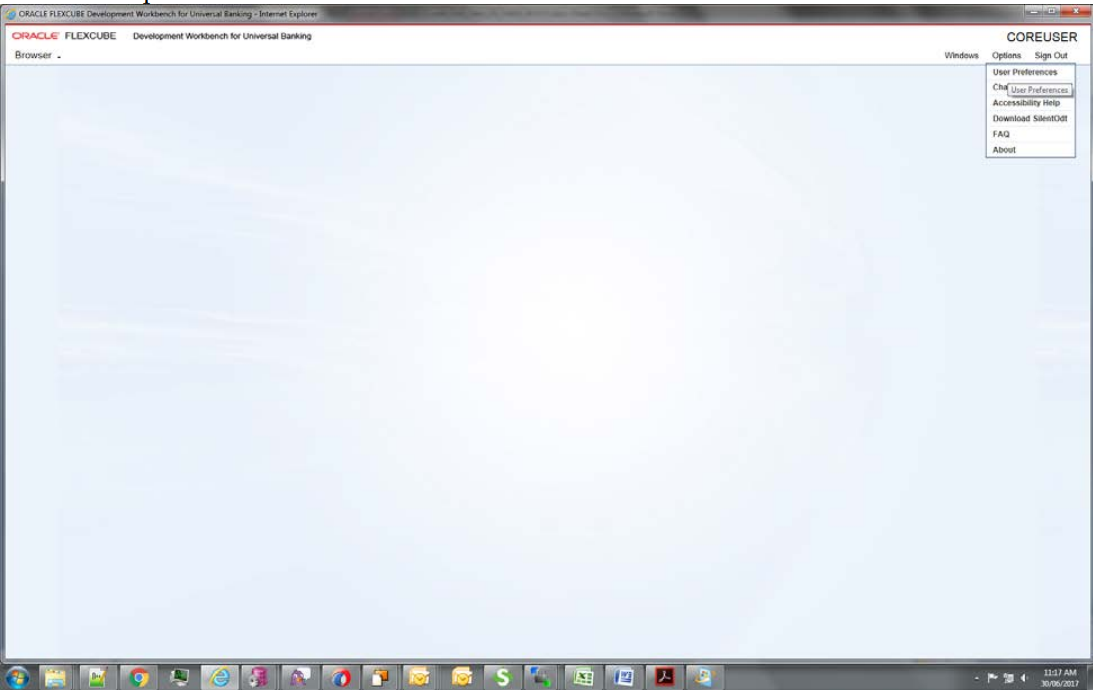
- Select Options –> User Preferences.
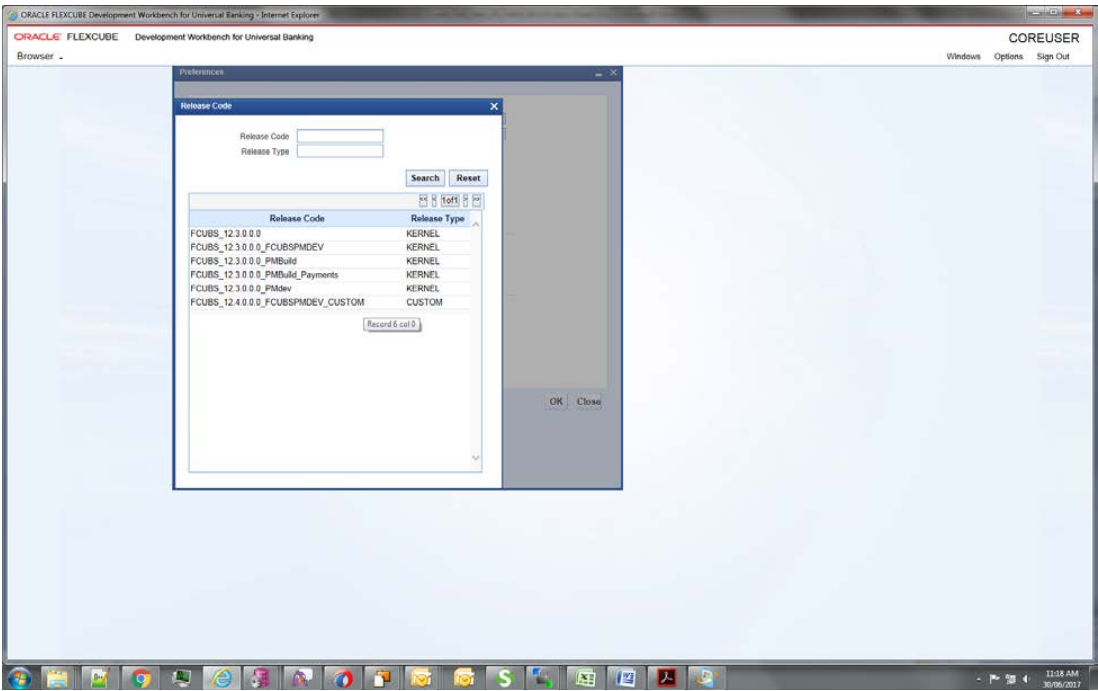
- Select the Custom release.
- Select the environment.
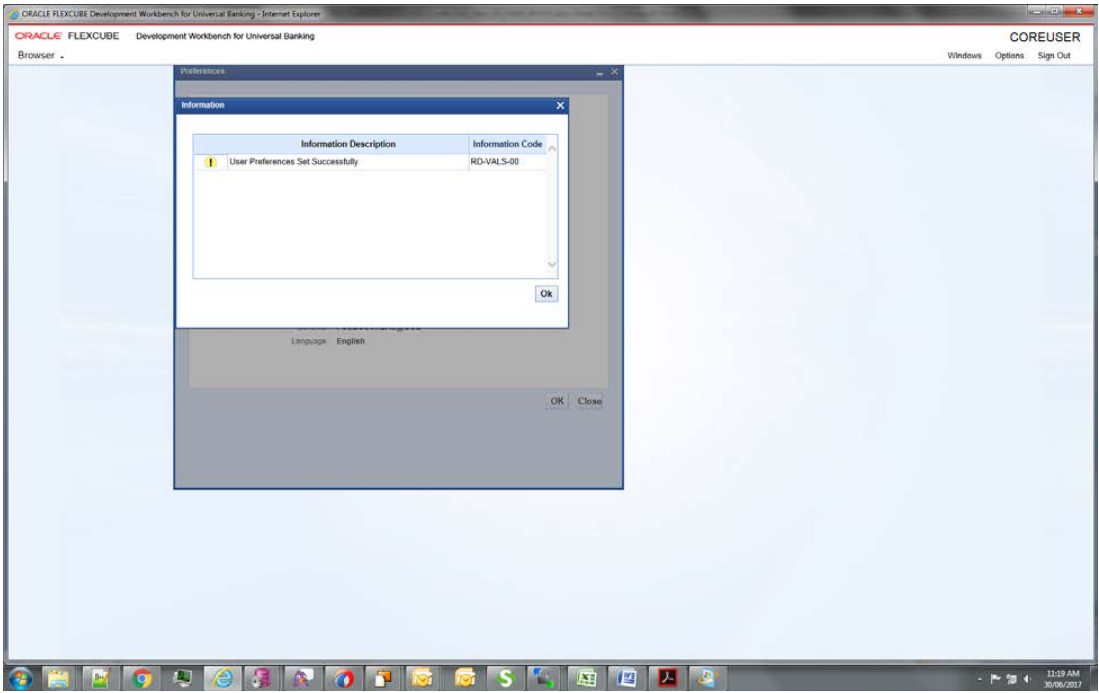
- And then click ok.
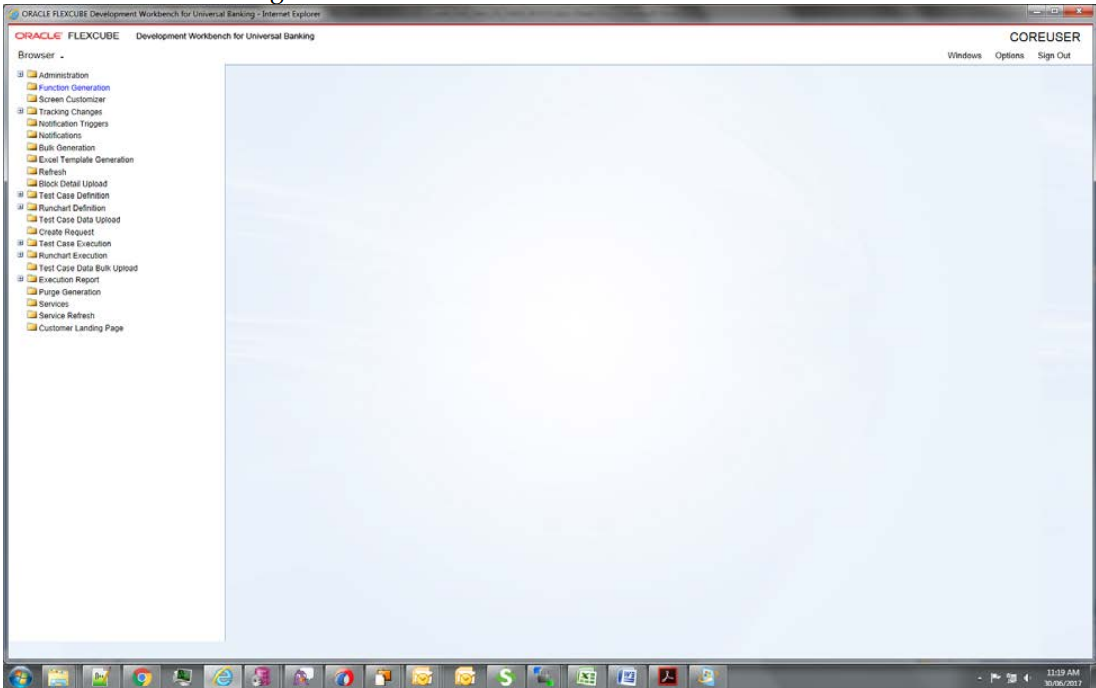
- Select the function generation.
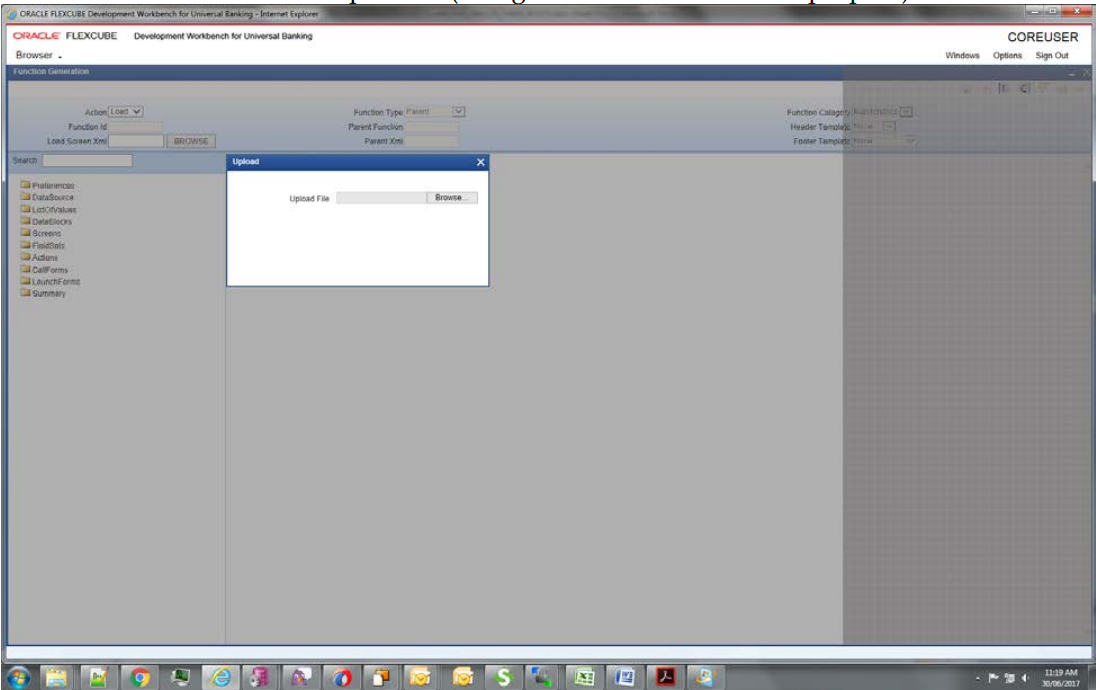
- Select the RAD file to be uploaded (Using PWDOTONL for Demo purpose).
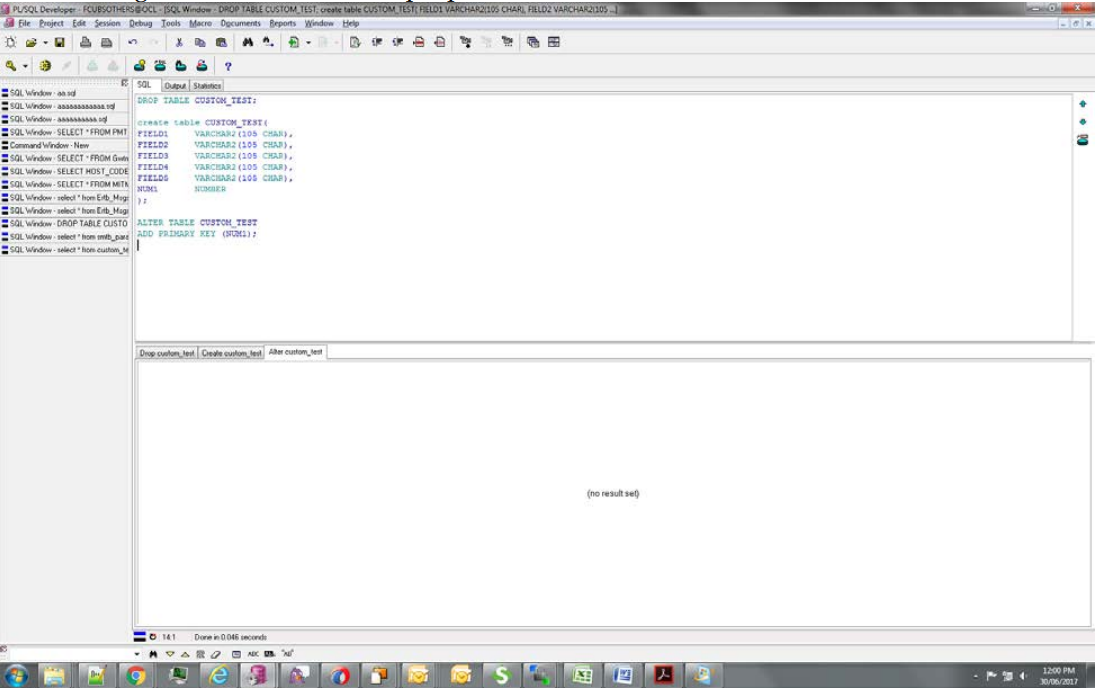
- Creating a new table for Demo purpose- CUSTOM_TEST:
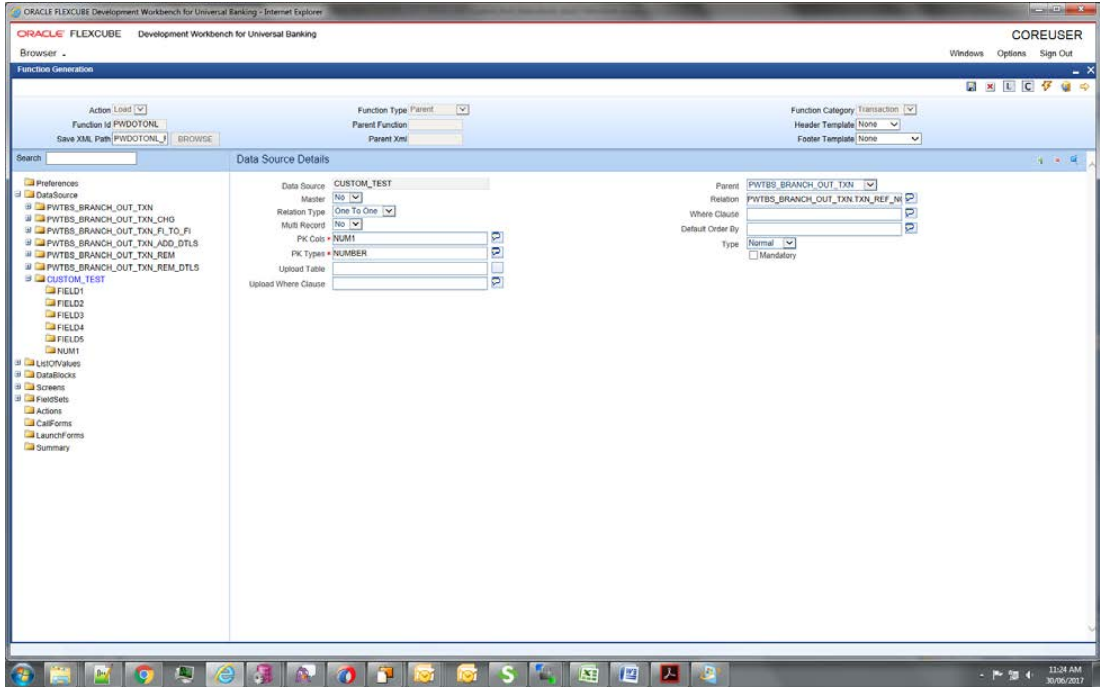
- Added a new data source in the data source list and added fields for it. New
table name CUSTOM_TEST.
Note:
- Here Num1 is used only for mapping with parent table. It must be part of Data Block and a fieldset (although it could be made invisible, but it has to be present in one of the fieldsets).
- Relationship given: PWTBS_BRANCH_OUT_TXN.TXN_REF_NO=CUSTOM_TEST.NUM1
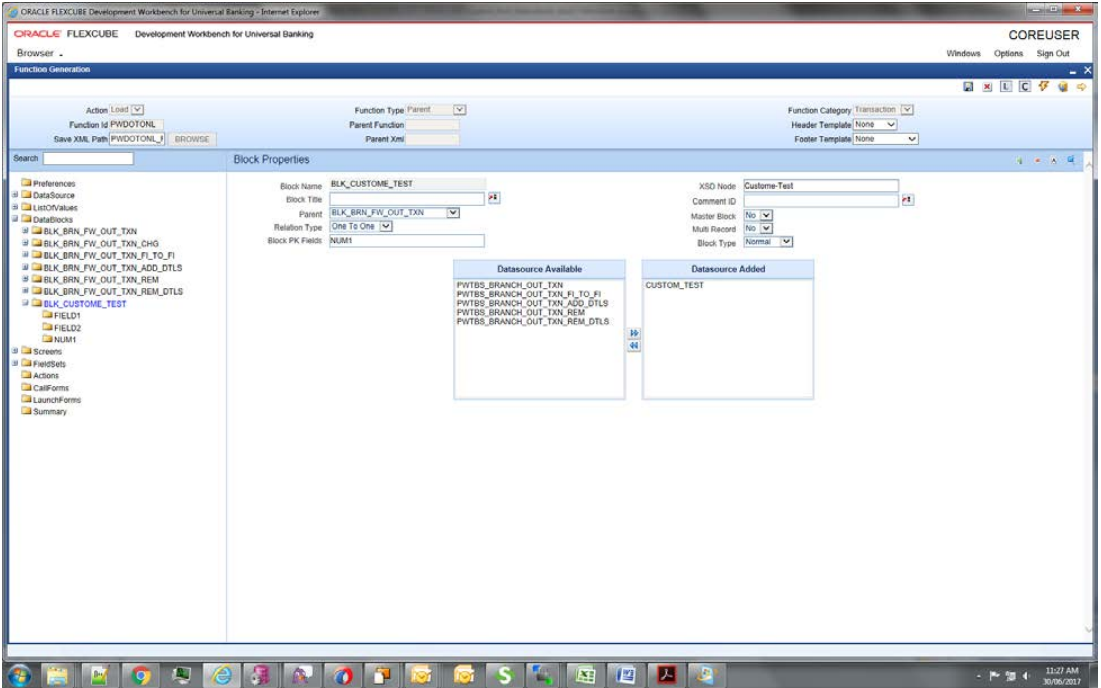
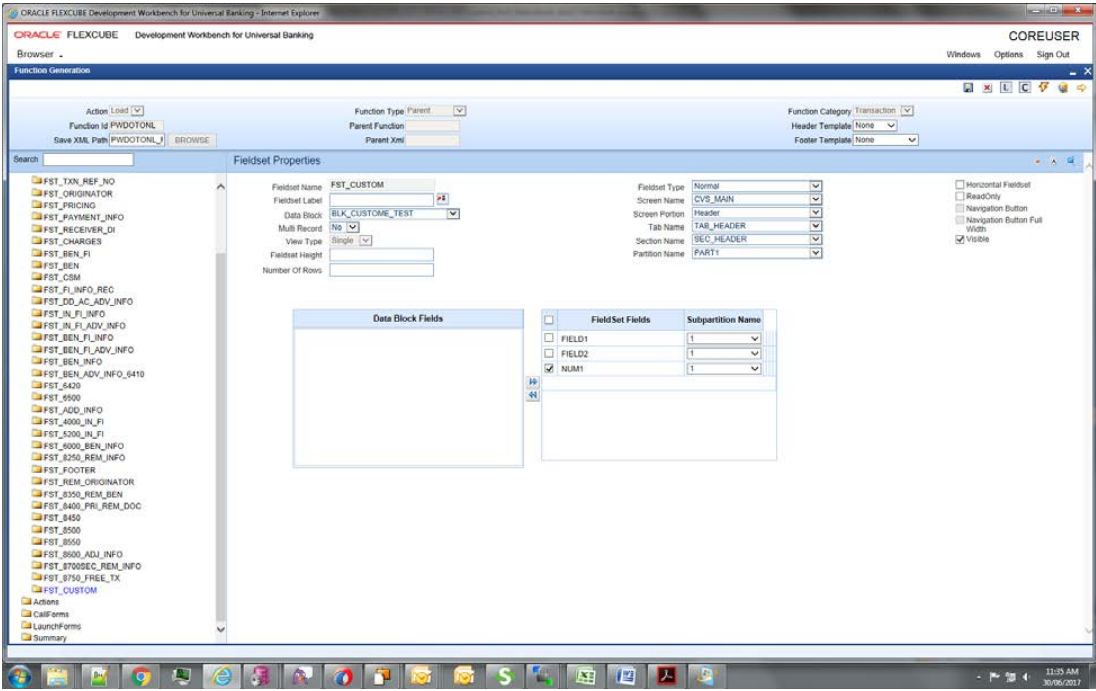
- Added new Data Block- CUSTOM_TEST and then added three fields to it- Field1,
Field2 and Num1 (PK field, and to be used for entity/table mapping). Make sure
the PK is mentioned in Block PK fields.Field1 and Field2 are visible, Num1 is made invisible.
- Created a new Field set FST_CUSTOM and added all the three fields to it. Added
it in the Header section.
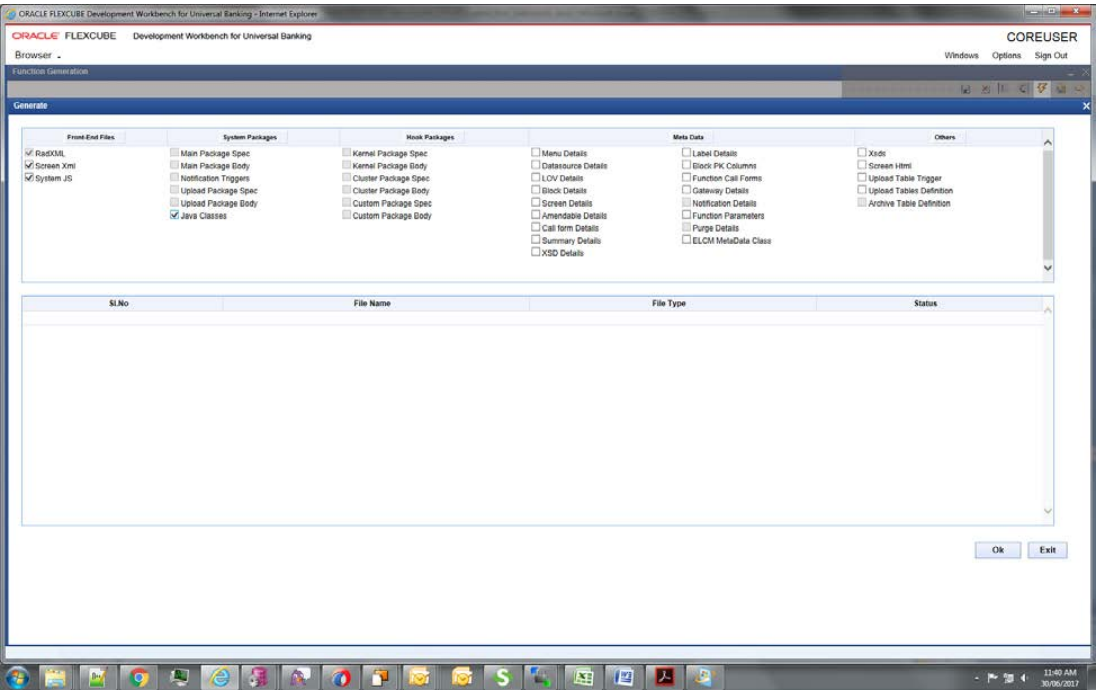
- Generated files:
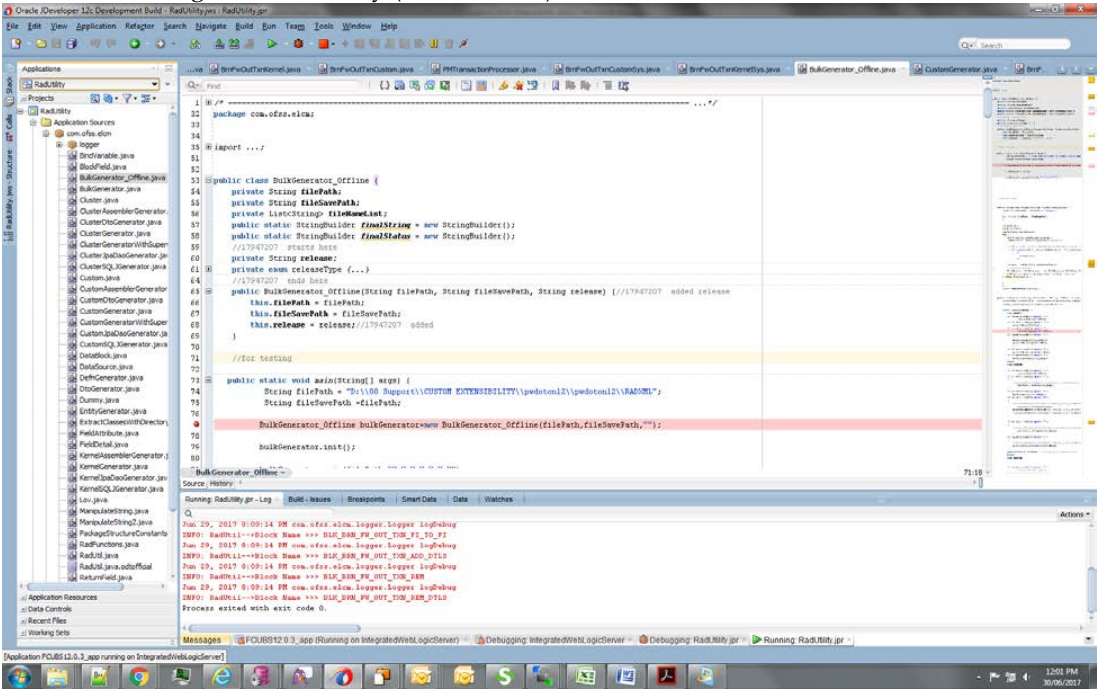
- Using the RAD utility (local sources)
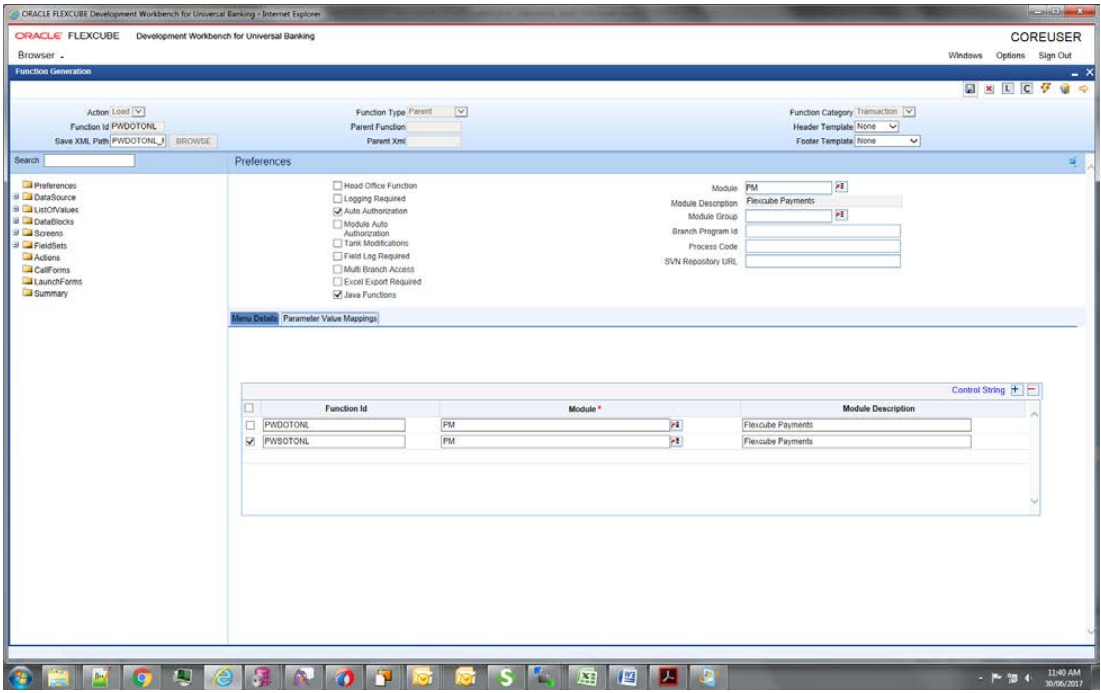
- Using RADTOOL:Check Java functions in preferencesWhile generating, check Java Classes.
- Using the RAD utility (local sources)
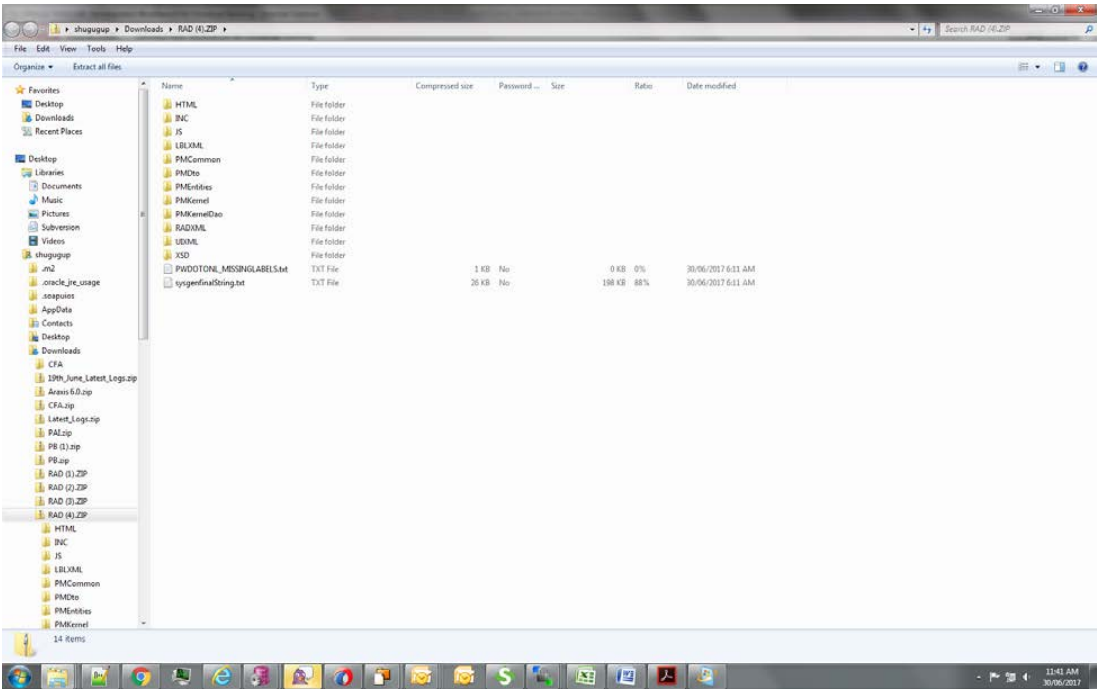
- Generated folders
Note:
- The generated artifacts need to be added to the project.
- Common Files and Entity files will replace existing kernel files. Others will be of different names, e.g., BrnFwOutTxnCustomSys.java (instead of BrnFwOutTxnSys.java as in case of Kernel files).
- These files extend kernel files, and hence all kernel functionality would be retained and additional code can be added in these Custom files as need be.
- Please note that any additional business logic/validations can be added in <MasterBlockName>Custom.java file (for example, in this case, BrnFwOutTxnCustom.java).
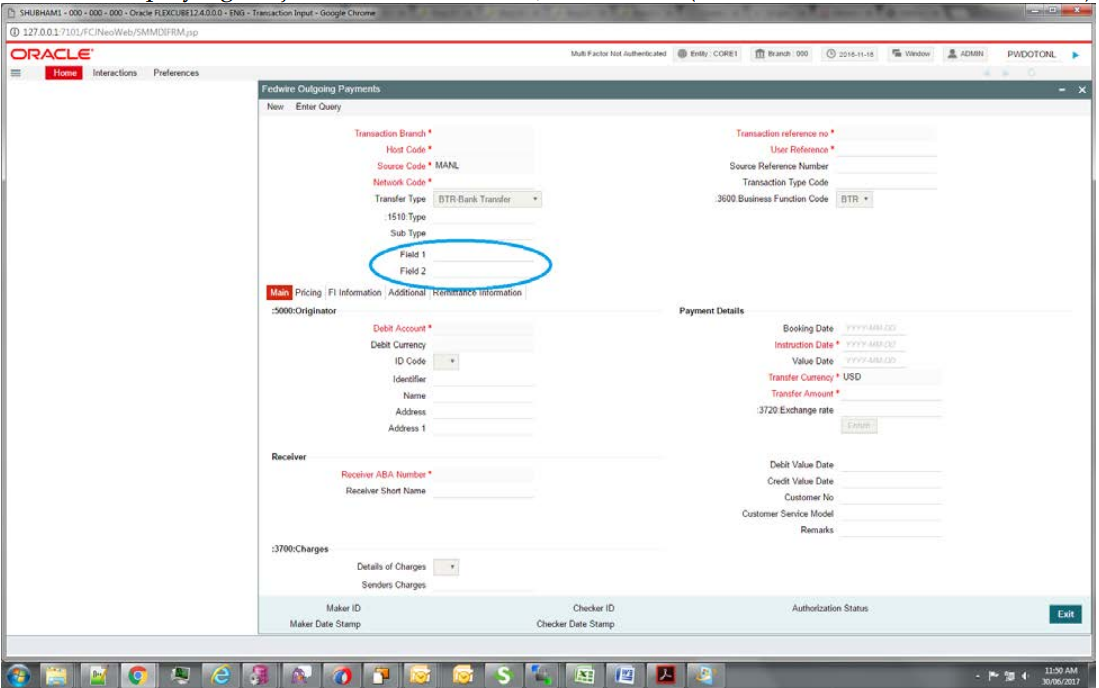
- After deploying the java files, UIXML and JS the screen (Blue Circled are the
Custom fields).
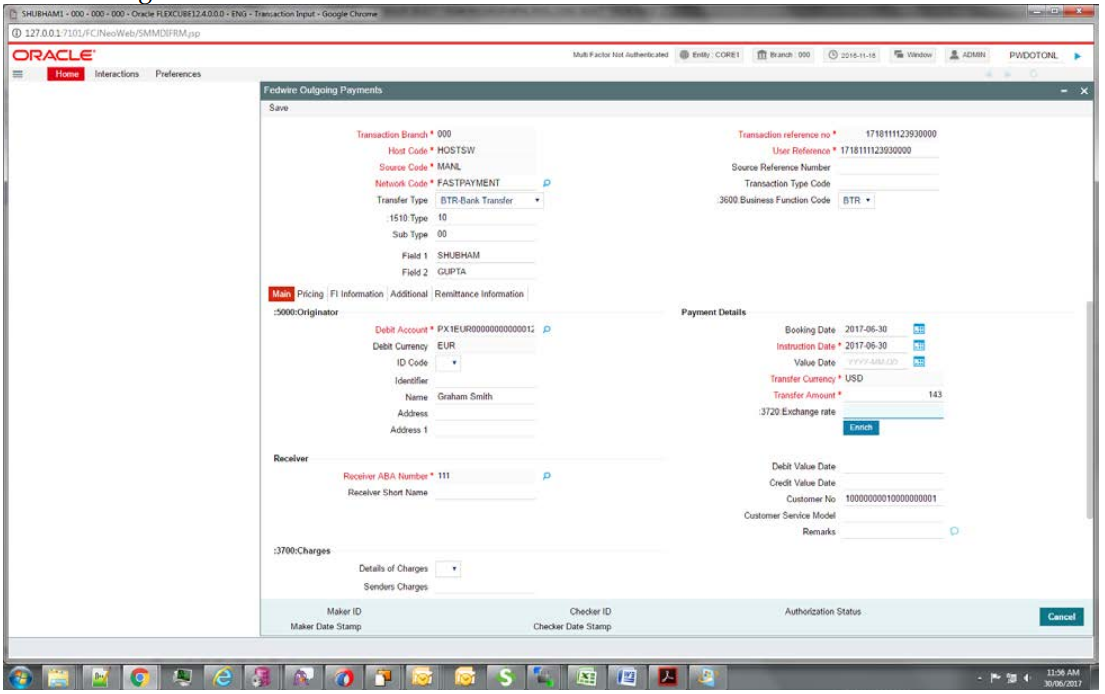
- Creating a new record:
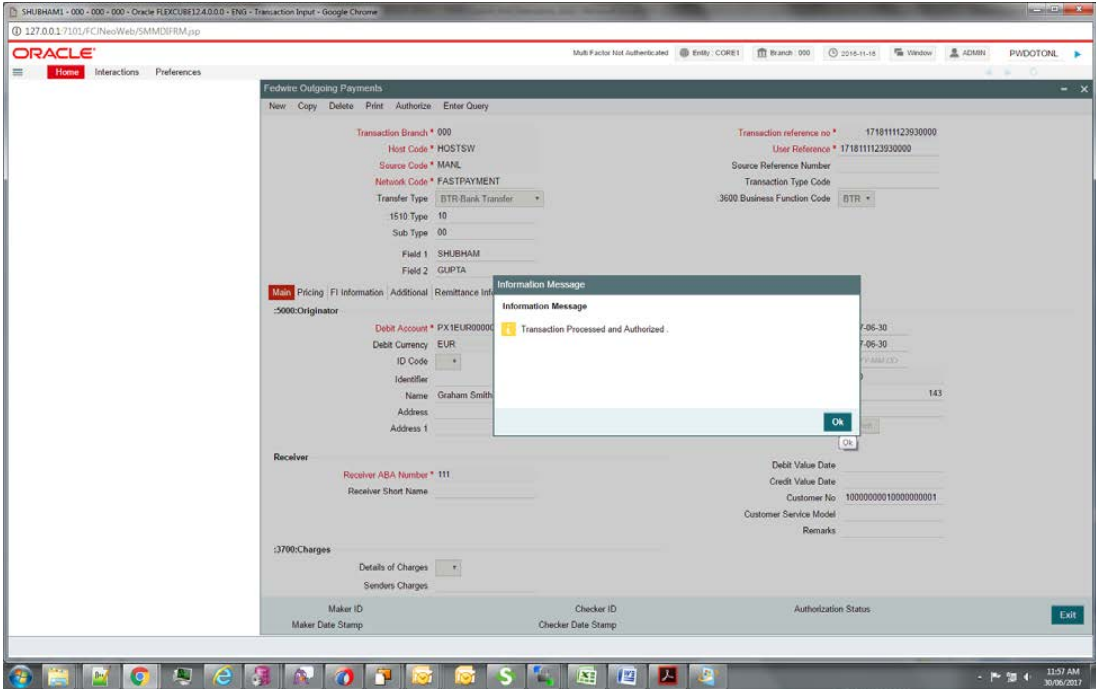
- Record saved
- While querying the record
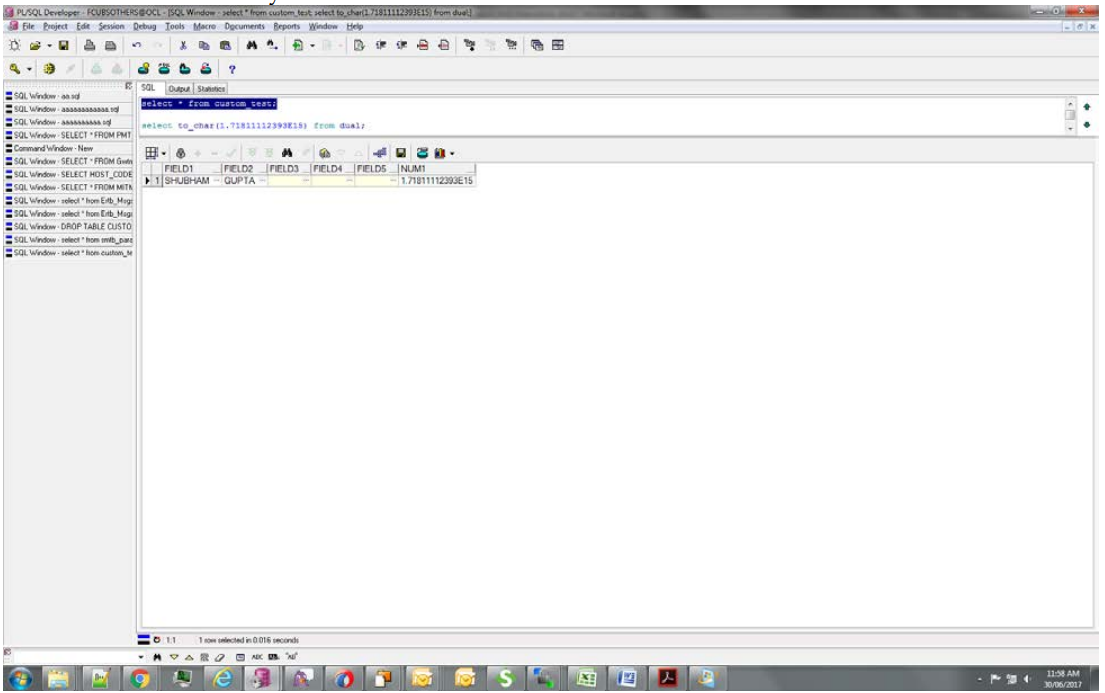
- Backend table Entry
