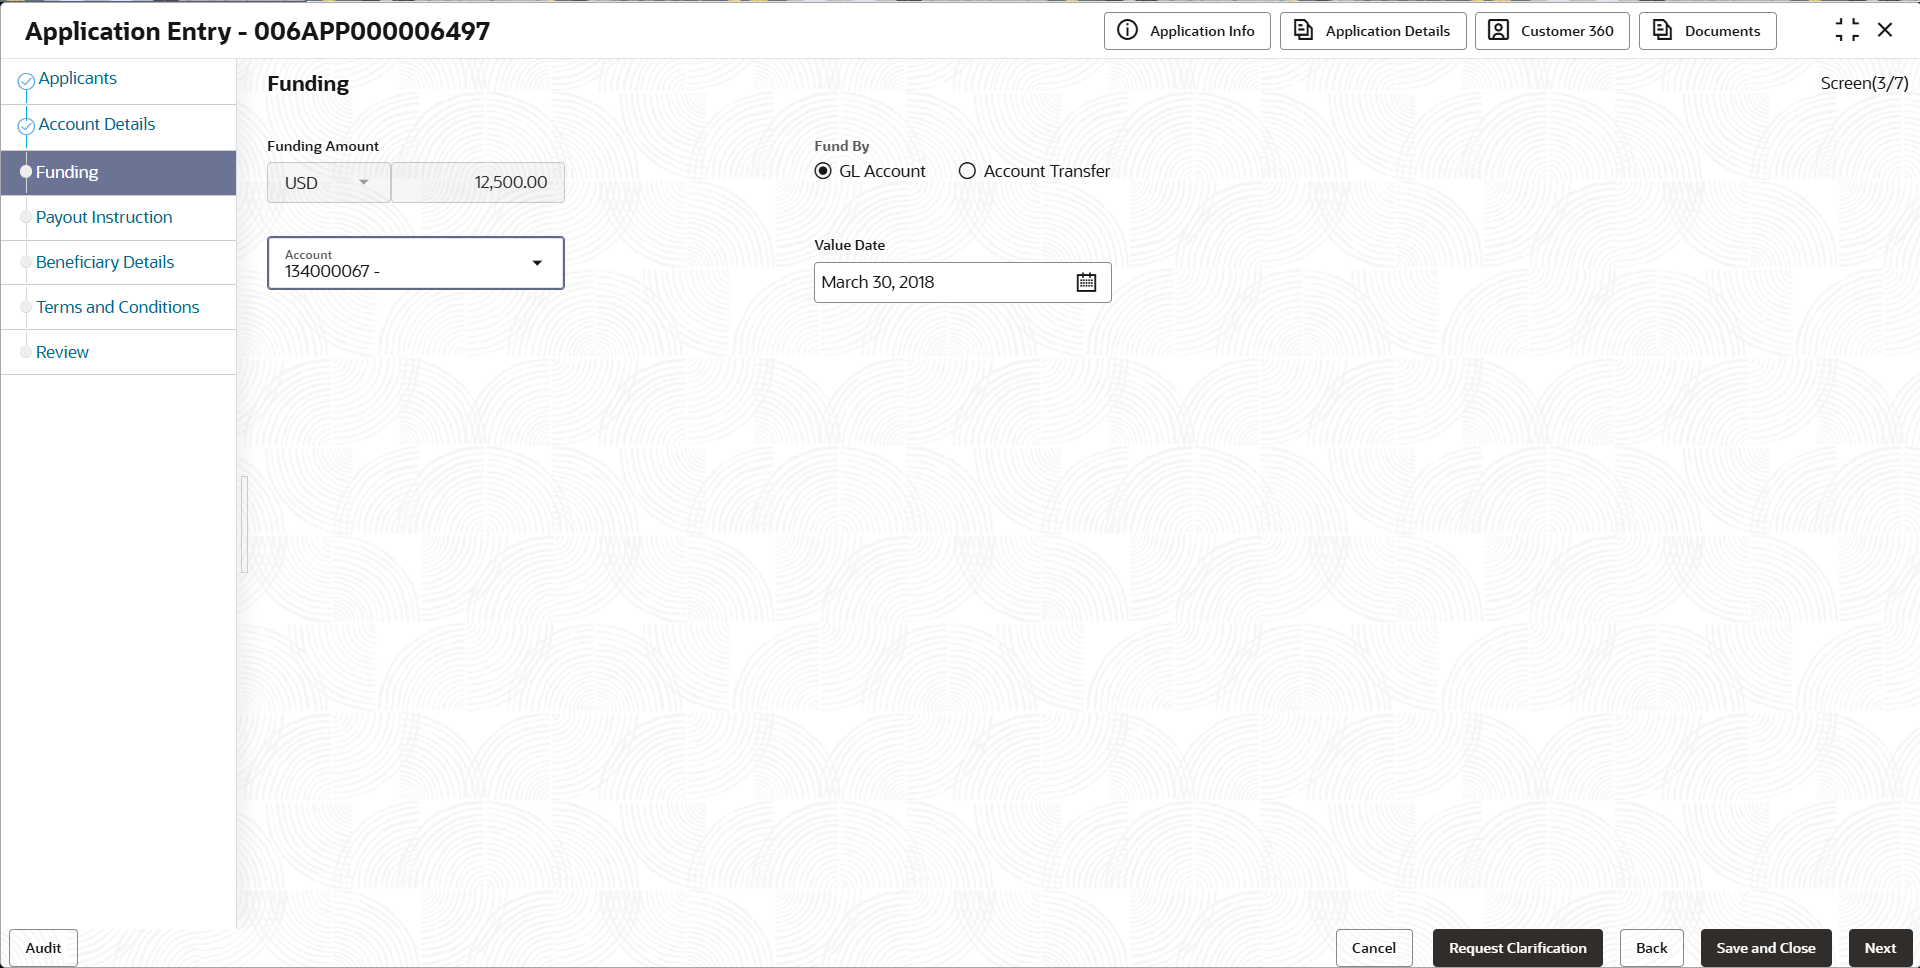
2.1.3 Funding
This topic provides the systematic instructions to capture the funding details of Certificate of Deposit account.
In this data segment you can capture the funding details to fund the Certificate of Deposit account.
- Click Next in previous data segment screen to proceed
with the next data segment, after successfully capturing the data.The Funding screen displays.
- In the Funding screen, specify the required details.For more information on fields, refer to the field description table.
Note:
The fields, which mentioned as Required, are mandatory.Table 2-7 Funding
Field Name Description Funding Account Displays the amount to be funded along with the currency.
Fund By Select the mode from the drop-down list through which fund are collected.
The available options are:
- Account Transfer
- GL Account
Transaction Reference Number Specify the transaction reference number. If you select the , Account Transfer, or GL Account option from the Fund By drop-down list, this field will become visible.
Value Date Select the date on which the transaction is performed. By default the current business date is populated. Account Select the account number from the list.
If you select the GL Account or Account Transfer option from the Fund By drop-down list, this field will become visible.
The applicants' Savings and GL accounts are the only ones populated for those who are involved in the application process.
Note:
The GL Account and GL Account Description will be applicable depending on the following scenarios:Table 2-8 Fund By
Fund By Fund By Mode (In the Origination Preferences screen) Applicability Account Transfer Host Applicable Account Transfer Manual Applicable In Origination Preference, under Funding Parameters configuration for Certificate of Deposit, if the Fund by option is set to anything other than "Manual," the account funding stage in the Certificate of Depositbusiness process will be skipped, and the application will directly proceed to the Account Approval stage.
- Click Next to navigate to the next data segment, after successfully capturing the data. The user is required to provide all mandatory data segments and data fields for the system to validate. If any mandatory details are missing, the system displays an error message for the user to correct the information. Users must capture the mandatory data before they can proceed to the next data segment.
Parent topic: Application Entry
