6.1 Transaction Template
This topic describes the systematic instruction to Transaction Template option.
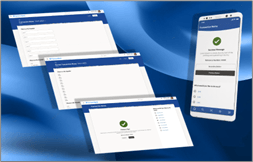
A streamlined three-step process designed for accuracy and ease of use, consisting of an initiation screen, a review screen, and a confirmation screen.
Initiation Screen
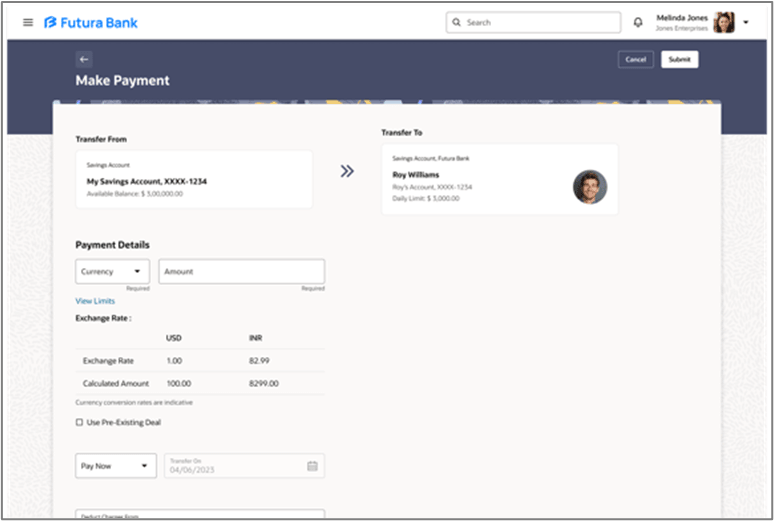
The starting point of the process, where users input or select initial information to begin the workflow.
Following are the properties of the initiation page:
- Title – Text Input
- Context Switcher – Boolean
- Show Subtitle – Boolean
- Action Slot – Boolean
- Secondary Button Type – Default, Menu Button
- Primary Button – Boolean
- Secondary Button – Boolean
- Tertiary Button – Boolean
- Footer Tabs – Boolean
How to create a transaction experience using the UX Plugin:
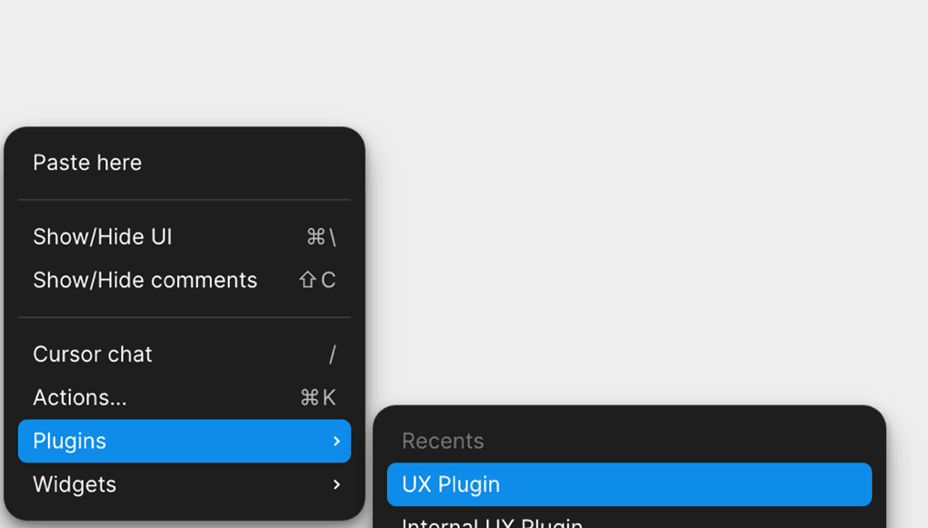
- Step 1: Launch the Plugin
Right-click anywhere on the Figma design board and navigate to: Plugins → UX Plugin
- Step 2: Generate a Boilerplate Form
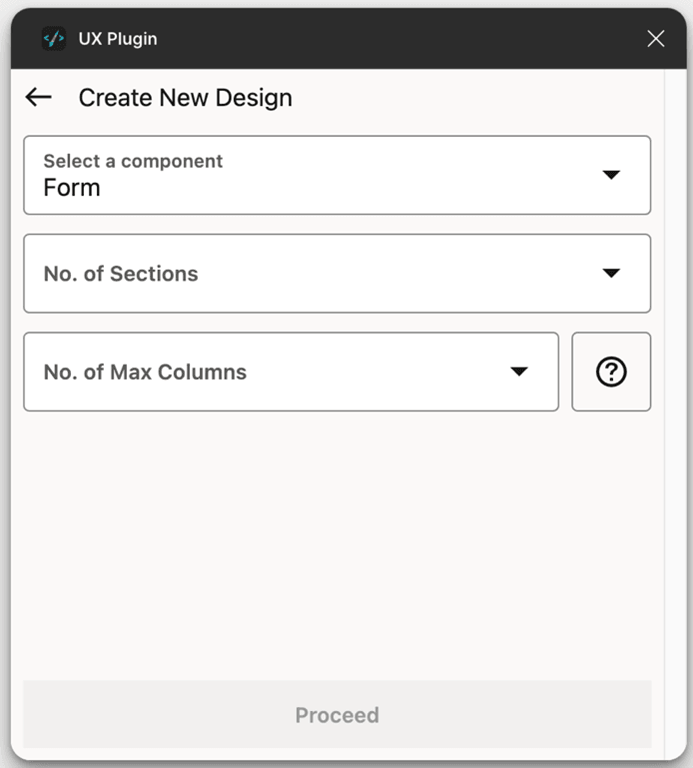
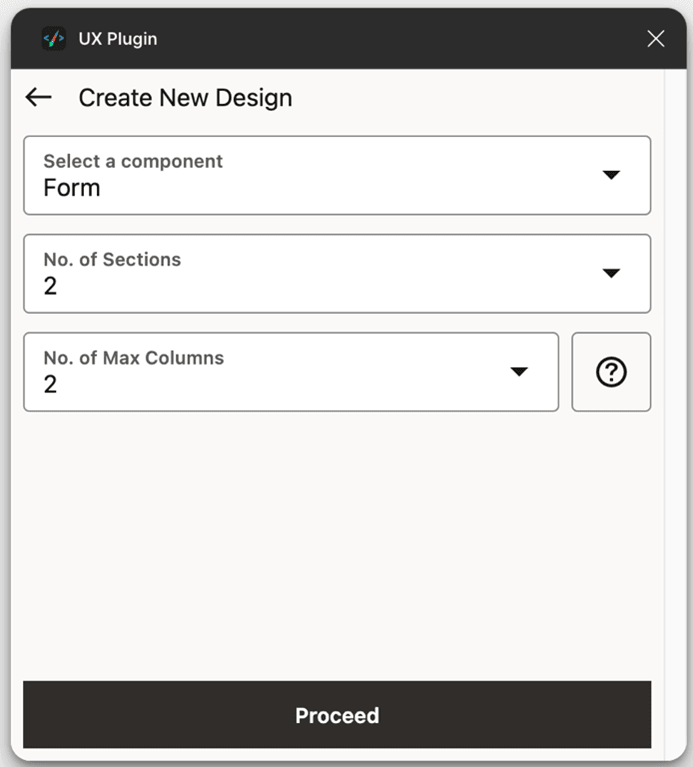
Use the Create New Design feature in the plugin to create a base form layout.
- Step 3: Specify Layout Details
Input the number of sections and the Max Columns.
Max Columns refers to the maximum number of columns displayed on the largest screen size (e.g., desktop layout).
- Step 4: Customize the Form
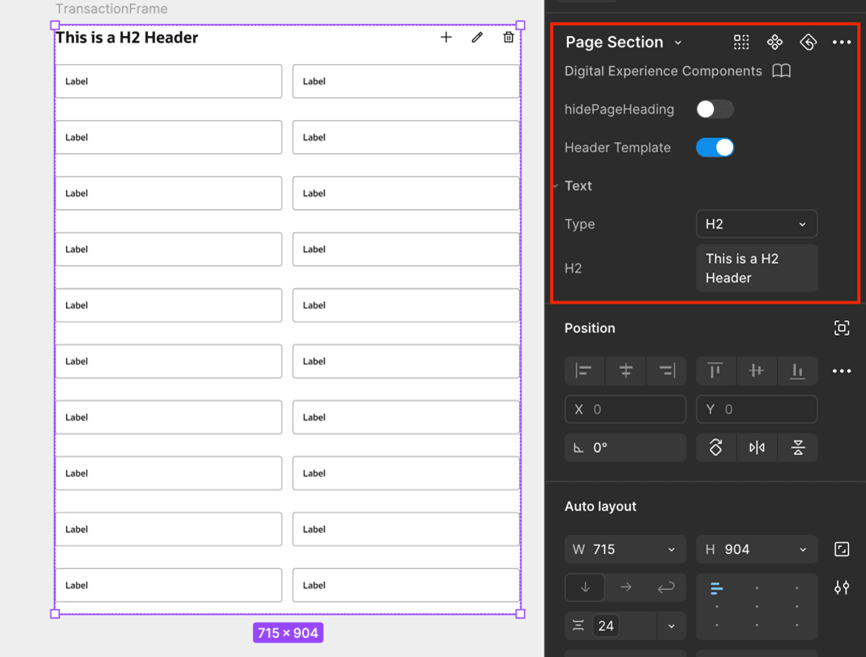
The plugin will generate a boilerplate form with random input fields.
Replace these fields with the ones needed for your use case.
You can also make additional modifications such as:
- Hiding the page header
- Toggling header template actions
- Adjusting layout as per design guidelines
Next Step
Once the form is ready, proceed to convert it into a transaction template using the process outlined in the Convert to Template – Transaction section.
Parent topic: List of Templates
