5.2 Authenticator Application Workspace Setup
This topic describes the systematic instruction to Authenticator Application Workspace Setup option.
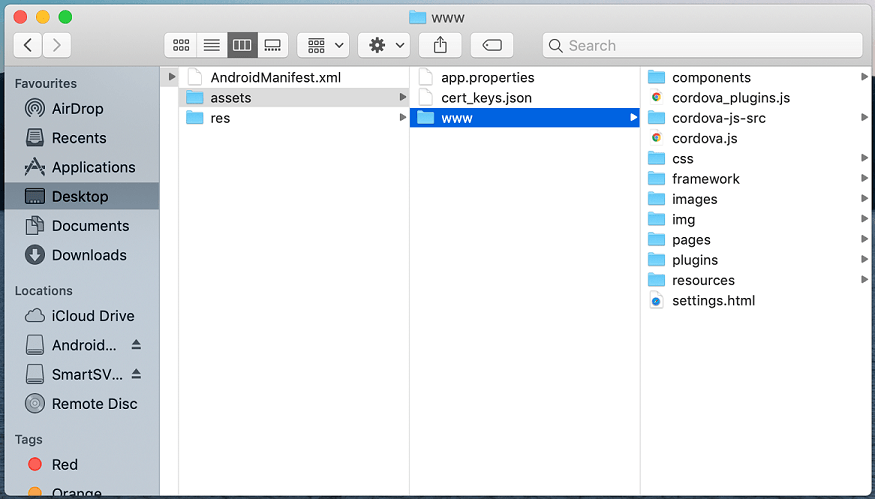
- Copy UI (Directories – components, css, framework, images, pages,
resources)from /dist directory to workspace/installer/app/src/main/assets/www/
In case any popup appears, click Replace.
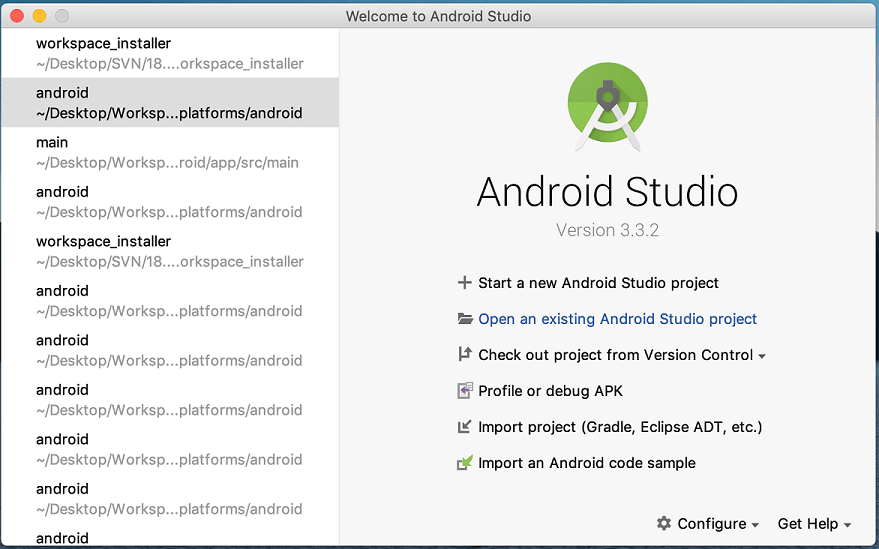
- Launch Android Studio and open existing project.
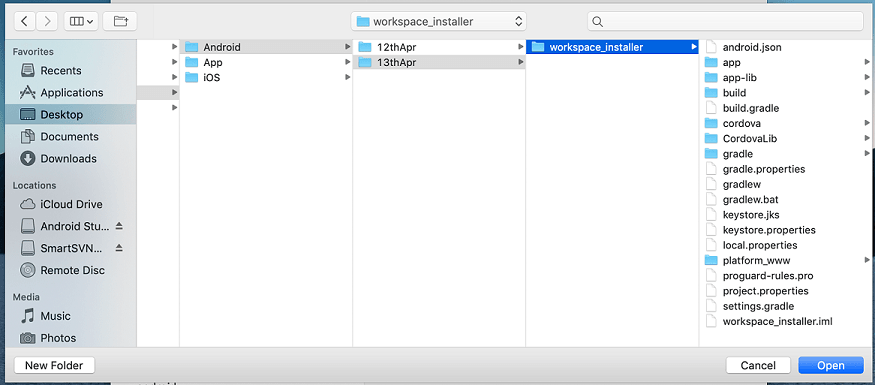
- Open OBDX_Installer/workspace_installer folder in Android
Studio.
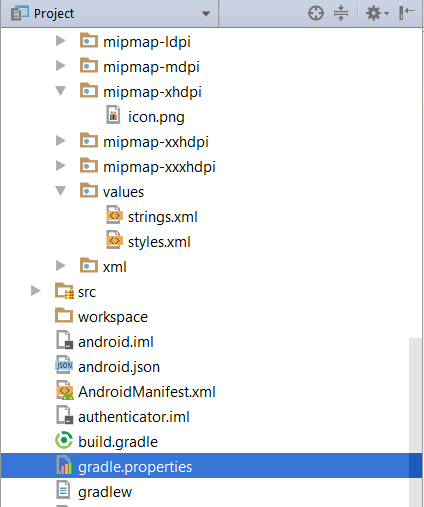
- Open gradle.properties file and update following properties
with relevant proxy address if required.
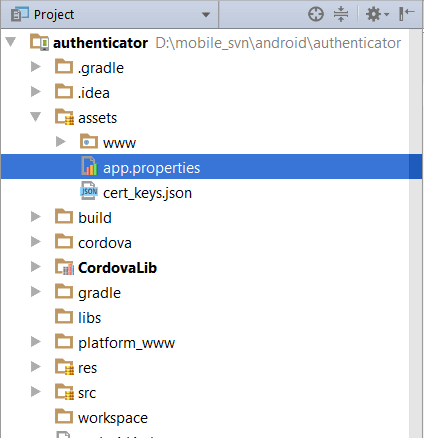
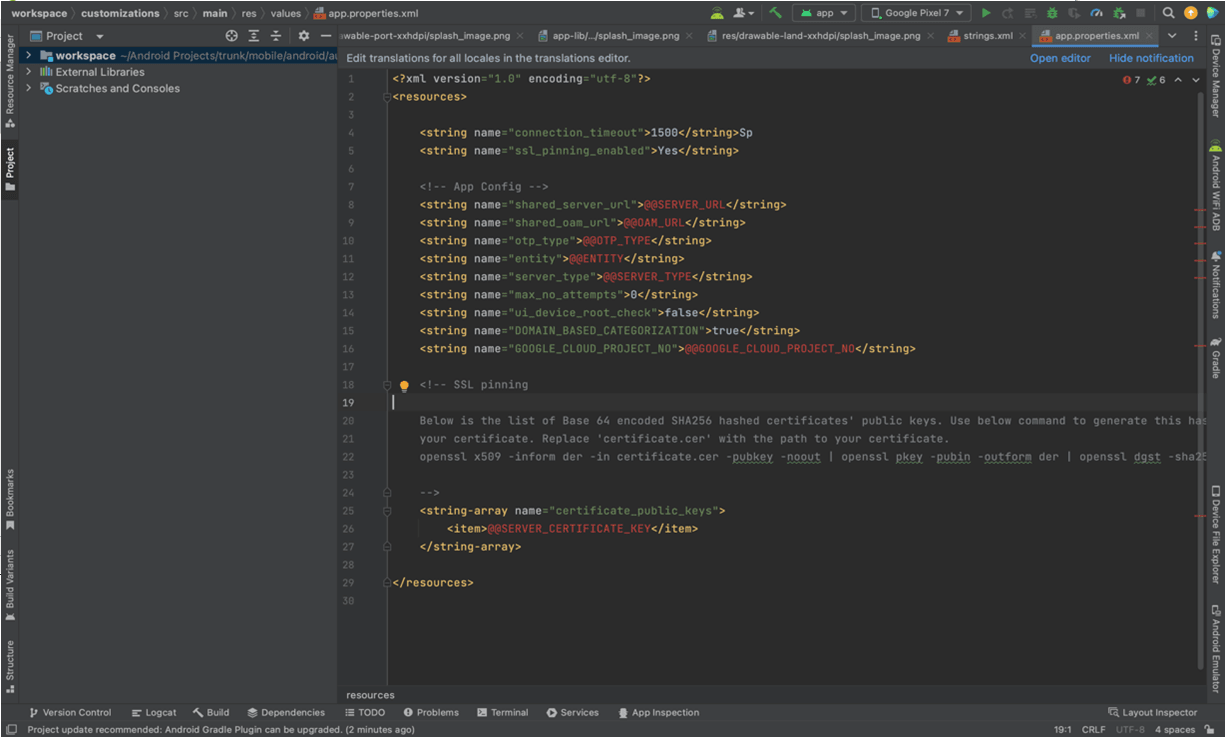
systemProp.http.proxyHost = <proxy_address> systemProp.https.proxyPort = <port_number> systemProp.https.proxyHost = <proxy_address> systemProp.http.proxyPort = <port_number> - Open “assets\app.properties” file and update following
properties as per requirement.
connection_timeout =
<timeout_in_milliseconds>
ssl_pinning_enabled = <YES or
Set OTP type to HOTP/TOTP as per requirement. Set Server Type to OBDXTOKEN Set MAX No Attempts greater than 0 Set UI Device root check to true if you want to add check on login button.Note:
If selected authentication mechanism is not OAM based then removeshared_oam_urlproperty. - Click Build → Clean & Build → Rebuild project in Android Studio.
- Click on Build → Edit Build Type → app → release.
Enable minify →true
Add progurard file from workspace_installer/proguard-rules.pro
Click OK.
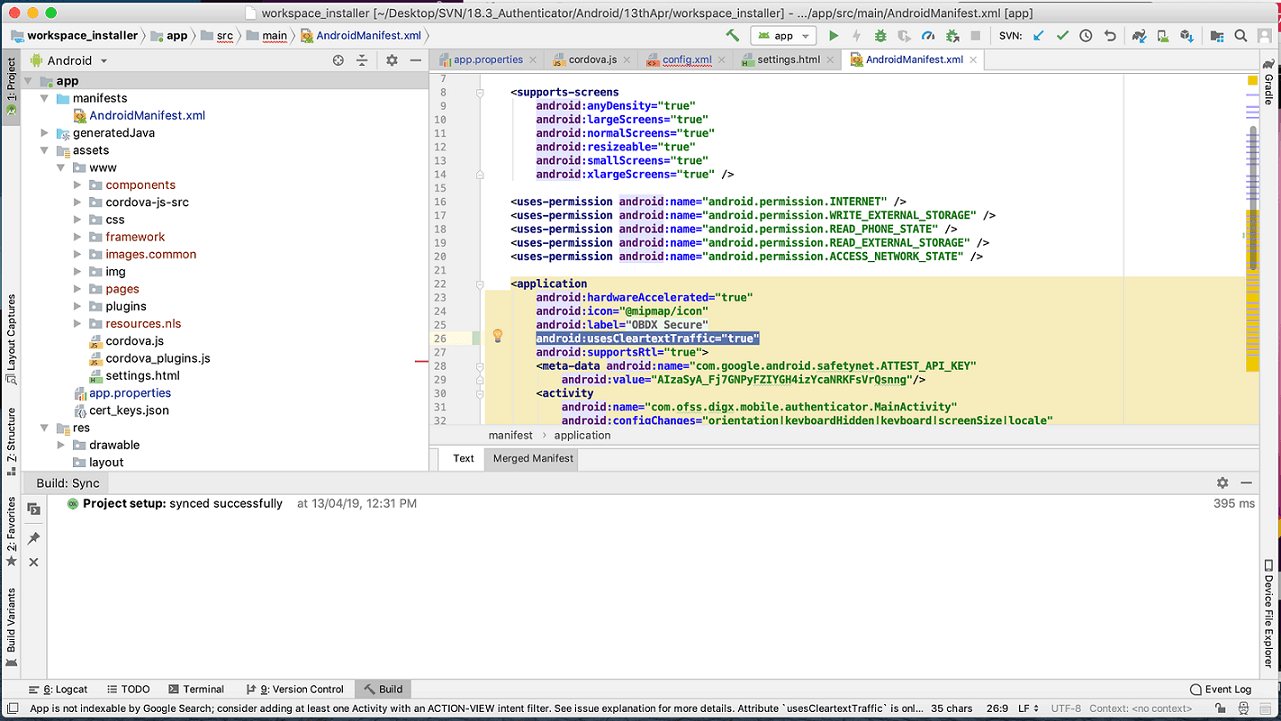
- If using http protocol for development add
(android:usesCleartextTraffic="true") to application tag of
AndroidManifest.xml.
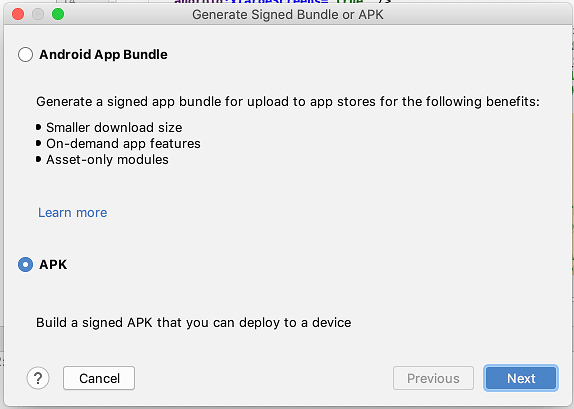
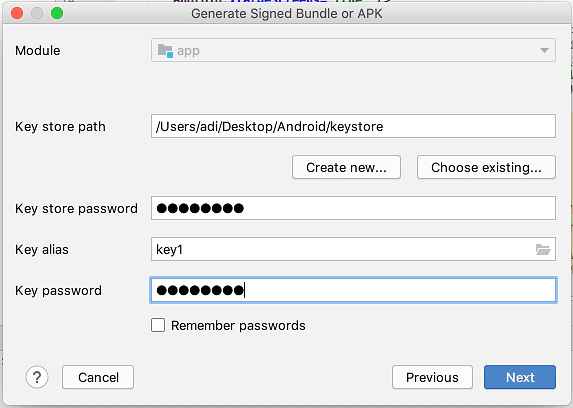
- For Generating Signed Apk: To Generate release-signed apk as follows:
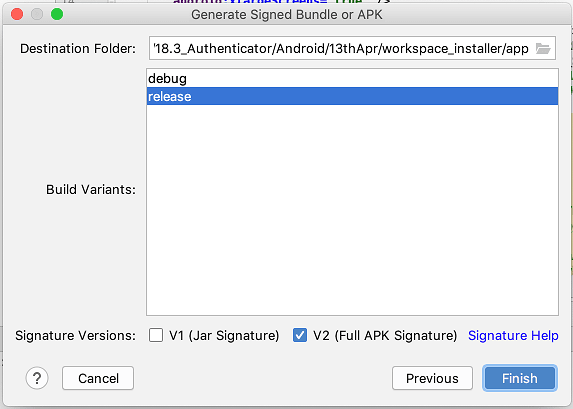
- On menu bar click on Build → Generate Signed Apk.
Click Finish to generate .apk
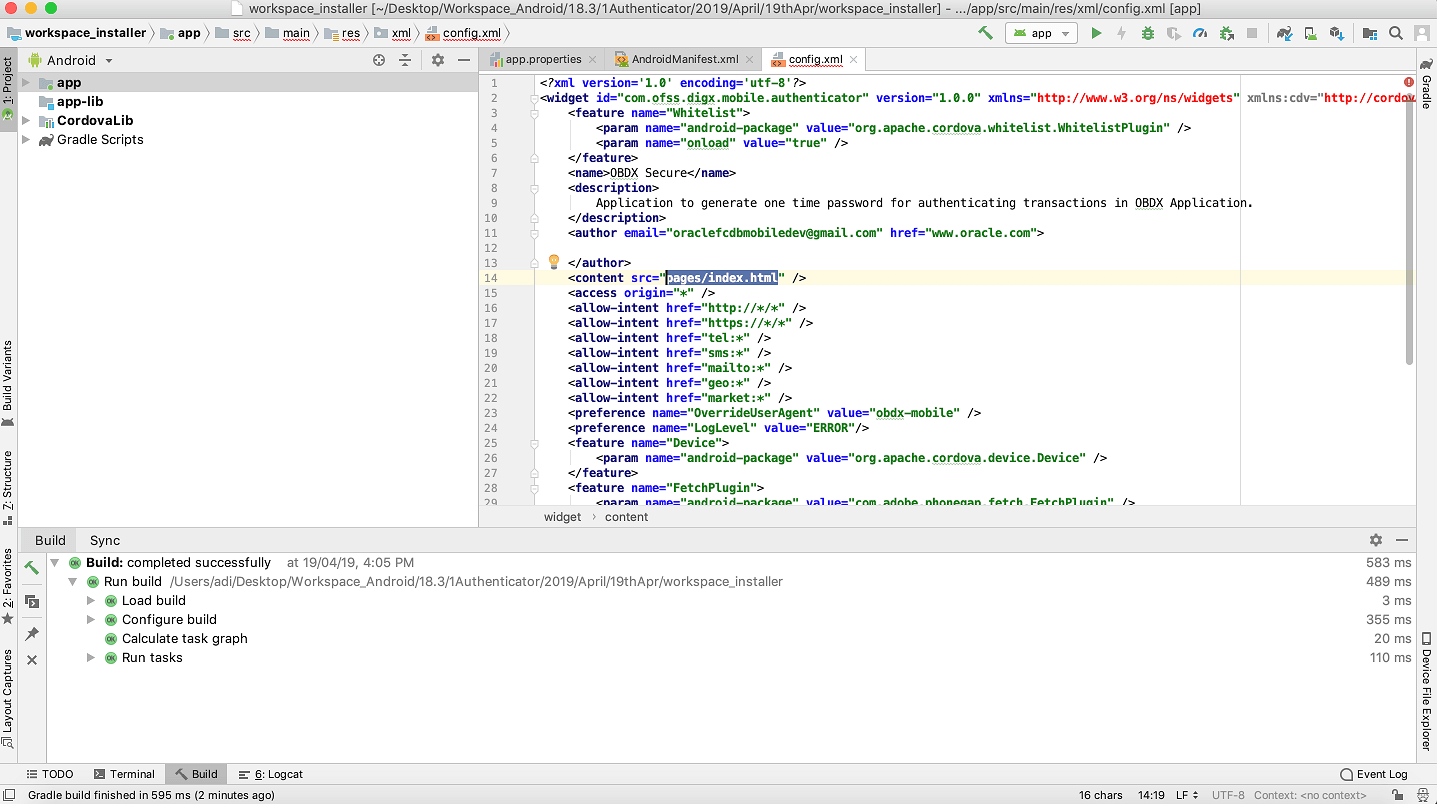
The application has config page to add URL. This is for development purpose only and can be removed using below step (Update content src tag).
Parent topic: OBDX Authenticator Application
