4 Build Release Artifacts
This topic describes the systematic instruction to Build Release Artifacts option.
- Clean and Rebuild your project in Android Studio.
- In Android Studio, on the menu bar Click on Build → Edit Build Types
→ select release.
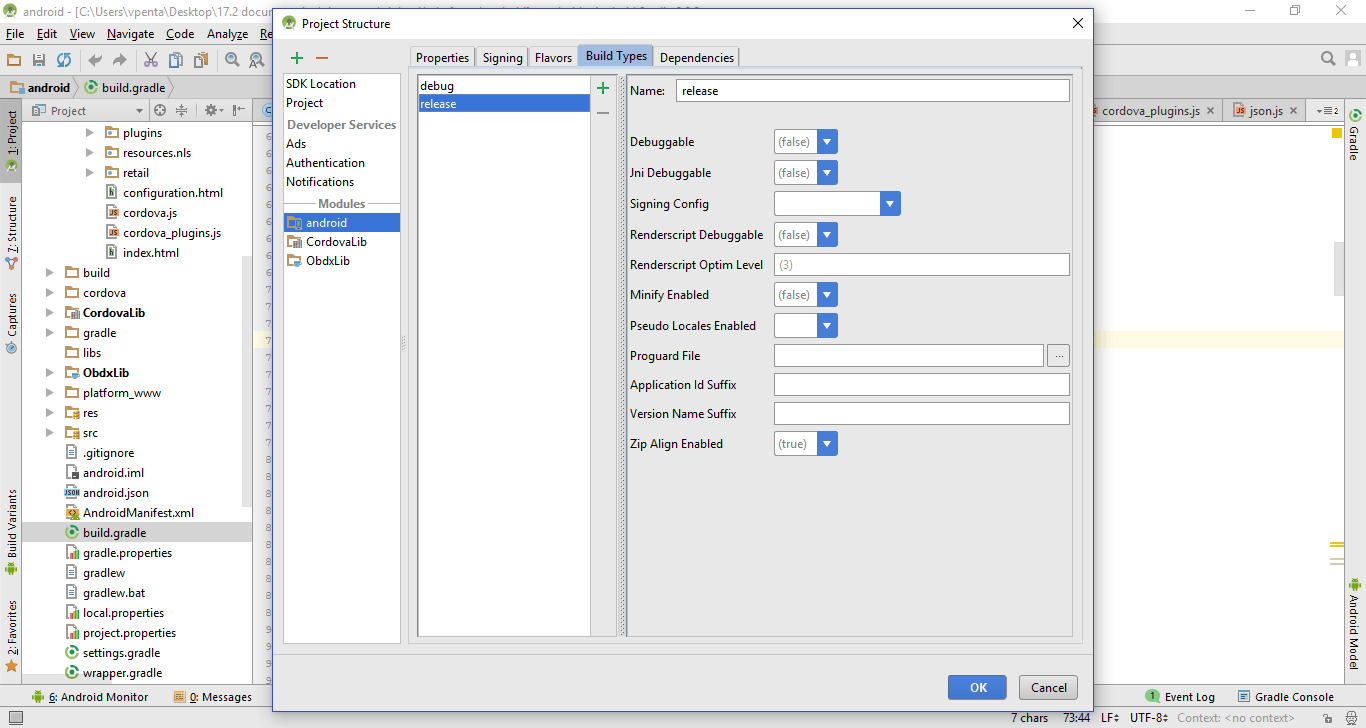
Description of the illustration mnandrd25.png - Set Minify Enabled → True & click on Proguard File selection →
Navigate to proguard-rules.pro (zigbank\platforms\android\app).
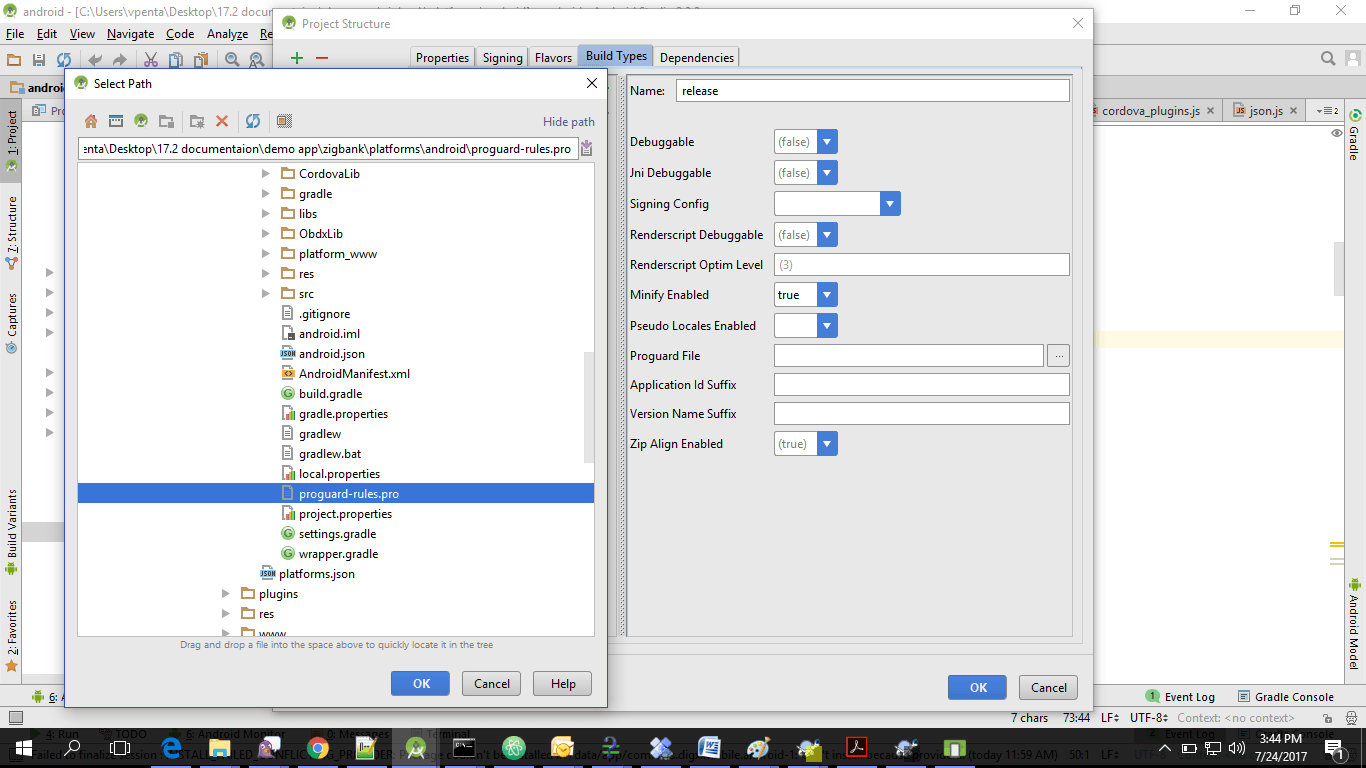
Description of the illustration mnandrd26.png - Click OK → again click OK.
- Adding URLs to app.properties.xml
(customizations/src/main/res/values/)
- NONOAM (DB Authenticator setup)
For more information on fields, refer to the field description table.
Table 4-1 NONOAM (DB Authenticator setup)
SERVER_TYPE NONOAM KEY_SERVER_URL Eg. 
WEB_URL Eg. 
SERVER_CERTIFICATE_KEY Refer steps 6.7 - OBDXTOKEN (Token based mechanism)
For more information on fields, refer to the field description table.
Table 4-2 OBDXTOKEN (Token based mechanism)
SERVER_TYPE NONOAM KEY_SERVER_URLEg. 
(This URL must be of OHS without webgate)
WEB_URLEg. 
SERVER_CERTIFICATE_KEYRefer point 6.7 - OAM Setup (Refer to installer pre requisite documents for OAuth
configurations)
For more information on fields, refer to the field description table.
Table 4-3 OAM Setup
SERVER_TYPE OAM KEY_SERVER_URLEg. 
(This URL must be of OHS without webgate)
WEB_URLEg. 
KEY_OAUTH_PROVIDER_URL
APP_CLIENT_ID<Base64 of clientid:secret> of Mobile App client APP_DOMAINOBDXMobileAppDomain WATCH_CLIENT_ID<Base64 of clientid:secret> of wearables WATCH_DOMAINOBDXWearDomain SNAPSHOT_CLIENT_ID<Base64 of clientid:secret> of snapshot SNAPSHOT_DOMAINOBDXSnapshotDomain LOGIN_SCOPEOBDXMobileAppResServer.OBDXLoginScope SERVER_CERTIFICATE_KEYRefer steps 6.7
- NONOAM (DB Authenticator setup)
- Domain Based Setup (This is same for OBDX servicing App and
Authenticator App)
To use domain based setup enable below flag in app.properties file:
<string name="DOMAIN_BASED_CATEGORIZATION">true</string>
If you are using local UI then enable below flag in config.js(platforms/android/app/src/main/assets/www/framework/js/configurations/config.js) file -
domainDeployment: { enabled: true} - IDCS Setup
For more information on fields, refer to the field description table.
Table 4-4 IDCS Setup
SERVER_TYPE IDCS KEY_SERVER_URLEg. 
(This URL must be of OHS without webgate)
WEB_URLEg. 
KEY_OAUTH_PROVIDER_URL
APP_CLIENT_ID<Base64 of clientid:secret> of Mobile App client WATCH_CLIENT_ID<Base64 of clientid:secret> of wearables SNAPSHOT_CLIENT_ID<Base64 of clientid:secret> of snapshot LOGIN_SCOPEobdxLoginScope OFFLINE_SCOPEurn:opc:idm:__myscopes__ offline_access SERVER_CERTIFICATE_KEYRefer steps 6,7 - To Enable SSL
There are 2 levels of SSL checks added in the app. One is to check SSL on app launch only and another one is to check SSL for every api calls in UI. By default app launch SSL is enabled & UI SSL check is disabled. Bank can enable/disable SSL by using below properties.
ENABLE_SSLtrue ENABLE_SSL_FOR_UIfalse - Enable/Disable Face biometric
Below flag is use to enable or disable Face biometric for alternate login in OBDX app.
ALLOW_FACE_BIOMETRICtrue By default product support both biometric type i.e. Face & Fingerprint for alternate login.
- Domain Based Setup (This is same for OBDX servicing App and Authenticator App)
To use domain based setup, enable below flag in app.properties file -
<string name="DOMAIN_BASED_CATEGORIZATION">true</string>If you are using local UI then enable below flag in config.js(platforms/android/app/src/main/assets/www/framework/js/configurations/config.js) file -
domainDeployment: { enabled: true } - Adding chatbot support to mobile application (Optional).
CHATBOT_IDThe tenant ID CHATBOT_URLThe URL for the ChatApp application in ODA - If using http protocol for development add
(android:usesCleartextTraffic="true") to application tag of AndroidManifest.xml (on
app & obdxwear target).
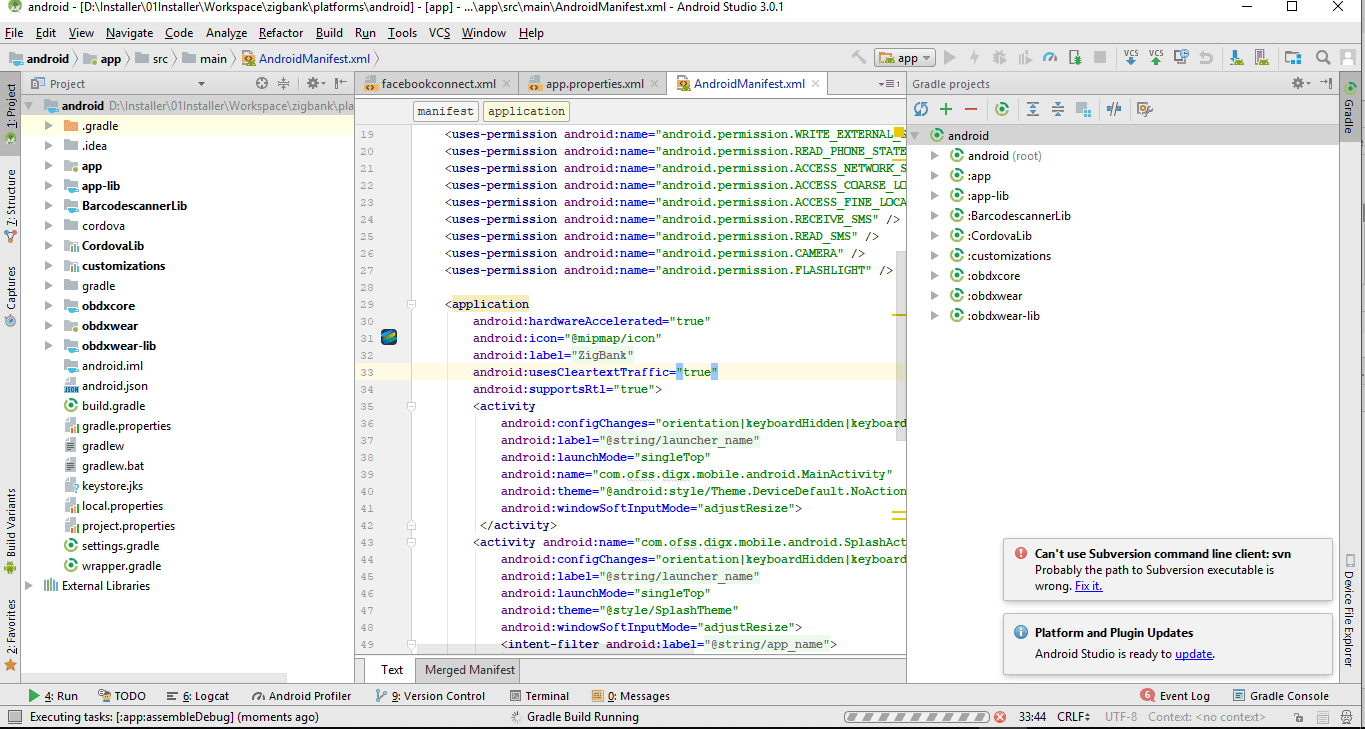
Description of the illustration mnandrd27.png - For Generating Signed Apk: To Generate release-signed apk as
follows:
On menu bar click on Build → Generate Signed Apk
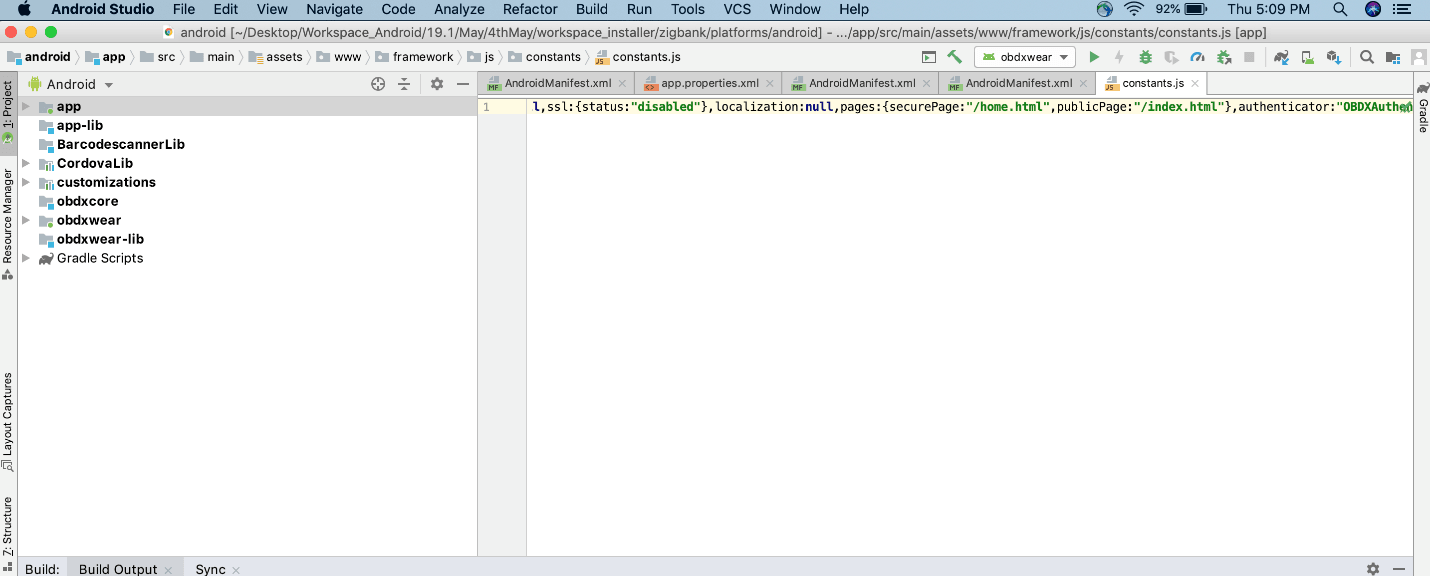
Description of the illustration mnandrd28.png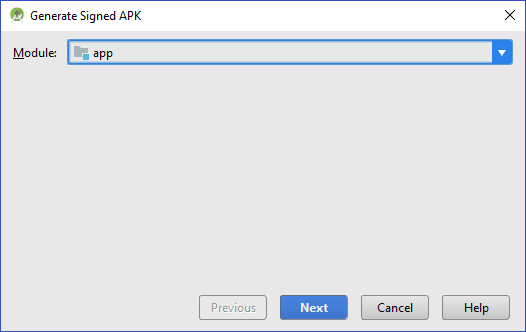
Description of the illustration mnandrd30.png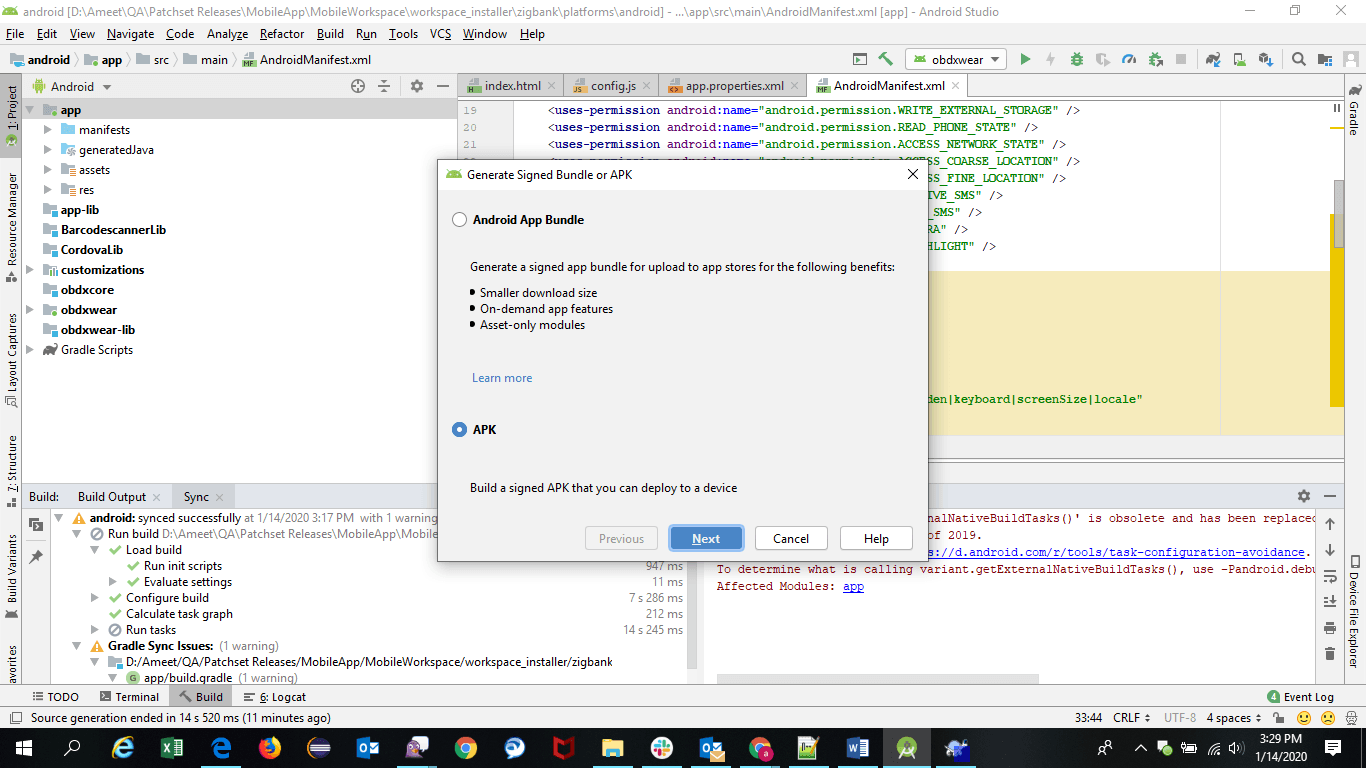
Description of the illustration mnandrd31.png - If you have an existing keystore.jks file then select choose
Existing else click Create New.
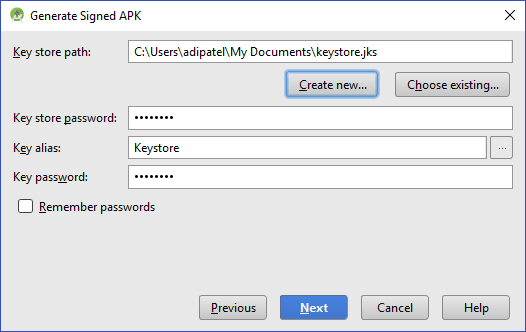
Description of the illustration mnandrd32.png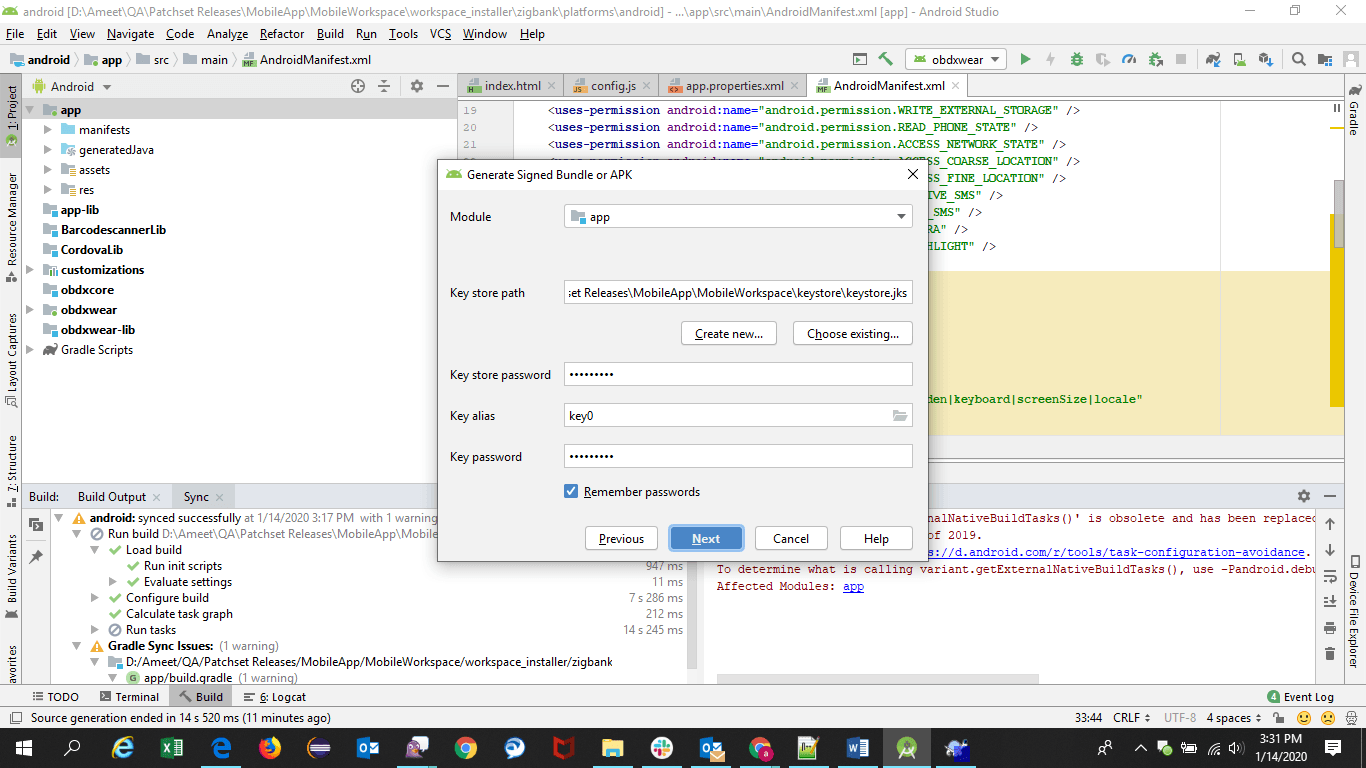
Description of the illustration mnandrd33.png - Select Build Type as Release, Signature Version as
V1(JAR Signature) and V2(Full APK Signature) and Change APK Destination
folder if you want and click Finish .
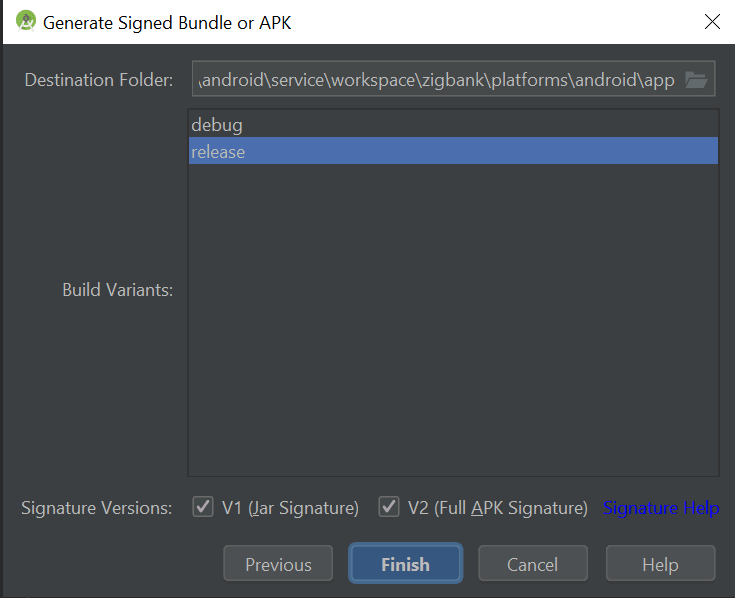
Description of the illustration mnandrd35.png - This will generate APKby the given name and destination folder. Default
APK Destination folder is
zigbank\platforms\android\app\release. - Run the App and select Device or Simulator.
- Repeat same steps (From step 8 and obdxwear as module) for OBDX Wear
App for Release Signing. Use proguard-rules.pro from
workspace_installer\zigbank\platforms\android\obdxwearusing explorer. The select obdxwear as the module and follow same signing steps with same keystore. - The application has a config page at launch to enter the URL of the
server (for development only). To remove this page, update the config.xml as shown
below:
The application has config page to add URL. This is for development purpose only and can be removed using below step (Update content src tag).
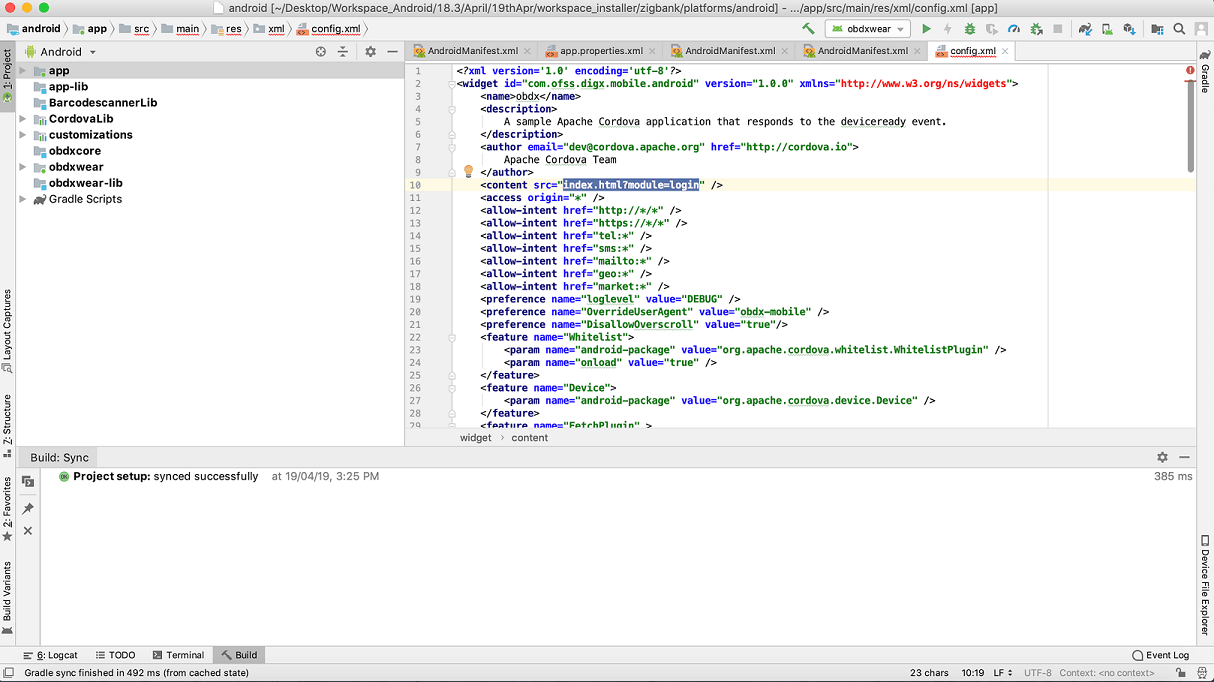
Description of the illustration mnandrd36.png - Application will work on https only, there is no support for http url further.
- To enable App widget, enable below flag in app.properties
file:
<bool name="ENABLE_WIDGET">true</bool> - Maintenance page
configs-
Enable below flag to
        show maintenance page when server is under maintenance       <string
        name="SHOW_MAINTENANCE_PAGE">true</string>      Also add the status code returned when server
        is under main in below property-      <string-array
        name="MAINTENANCE_PAGE_STATUS_CODE">        <item>Your Status
      Code</item>     </string-array>
Note:
You can add multiple status code. - To disable caching in app, make below flag to
false
<bool name="ENABLE_CACHING">true</bool> - To disable ssl pinning in app, make below flag to
false
<bool name="ENABLE_SSL">true</bool> in app.properties. - To disable ssl pinning for ui in app, make below flag to
false
.<bool name="ENABLE_SSL_FOR_UI ">true</bool> in app.properties