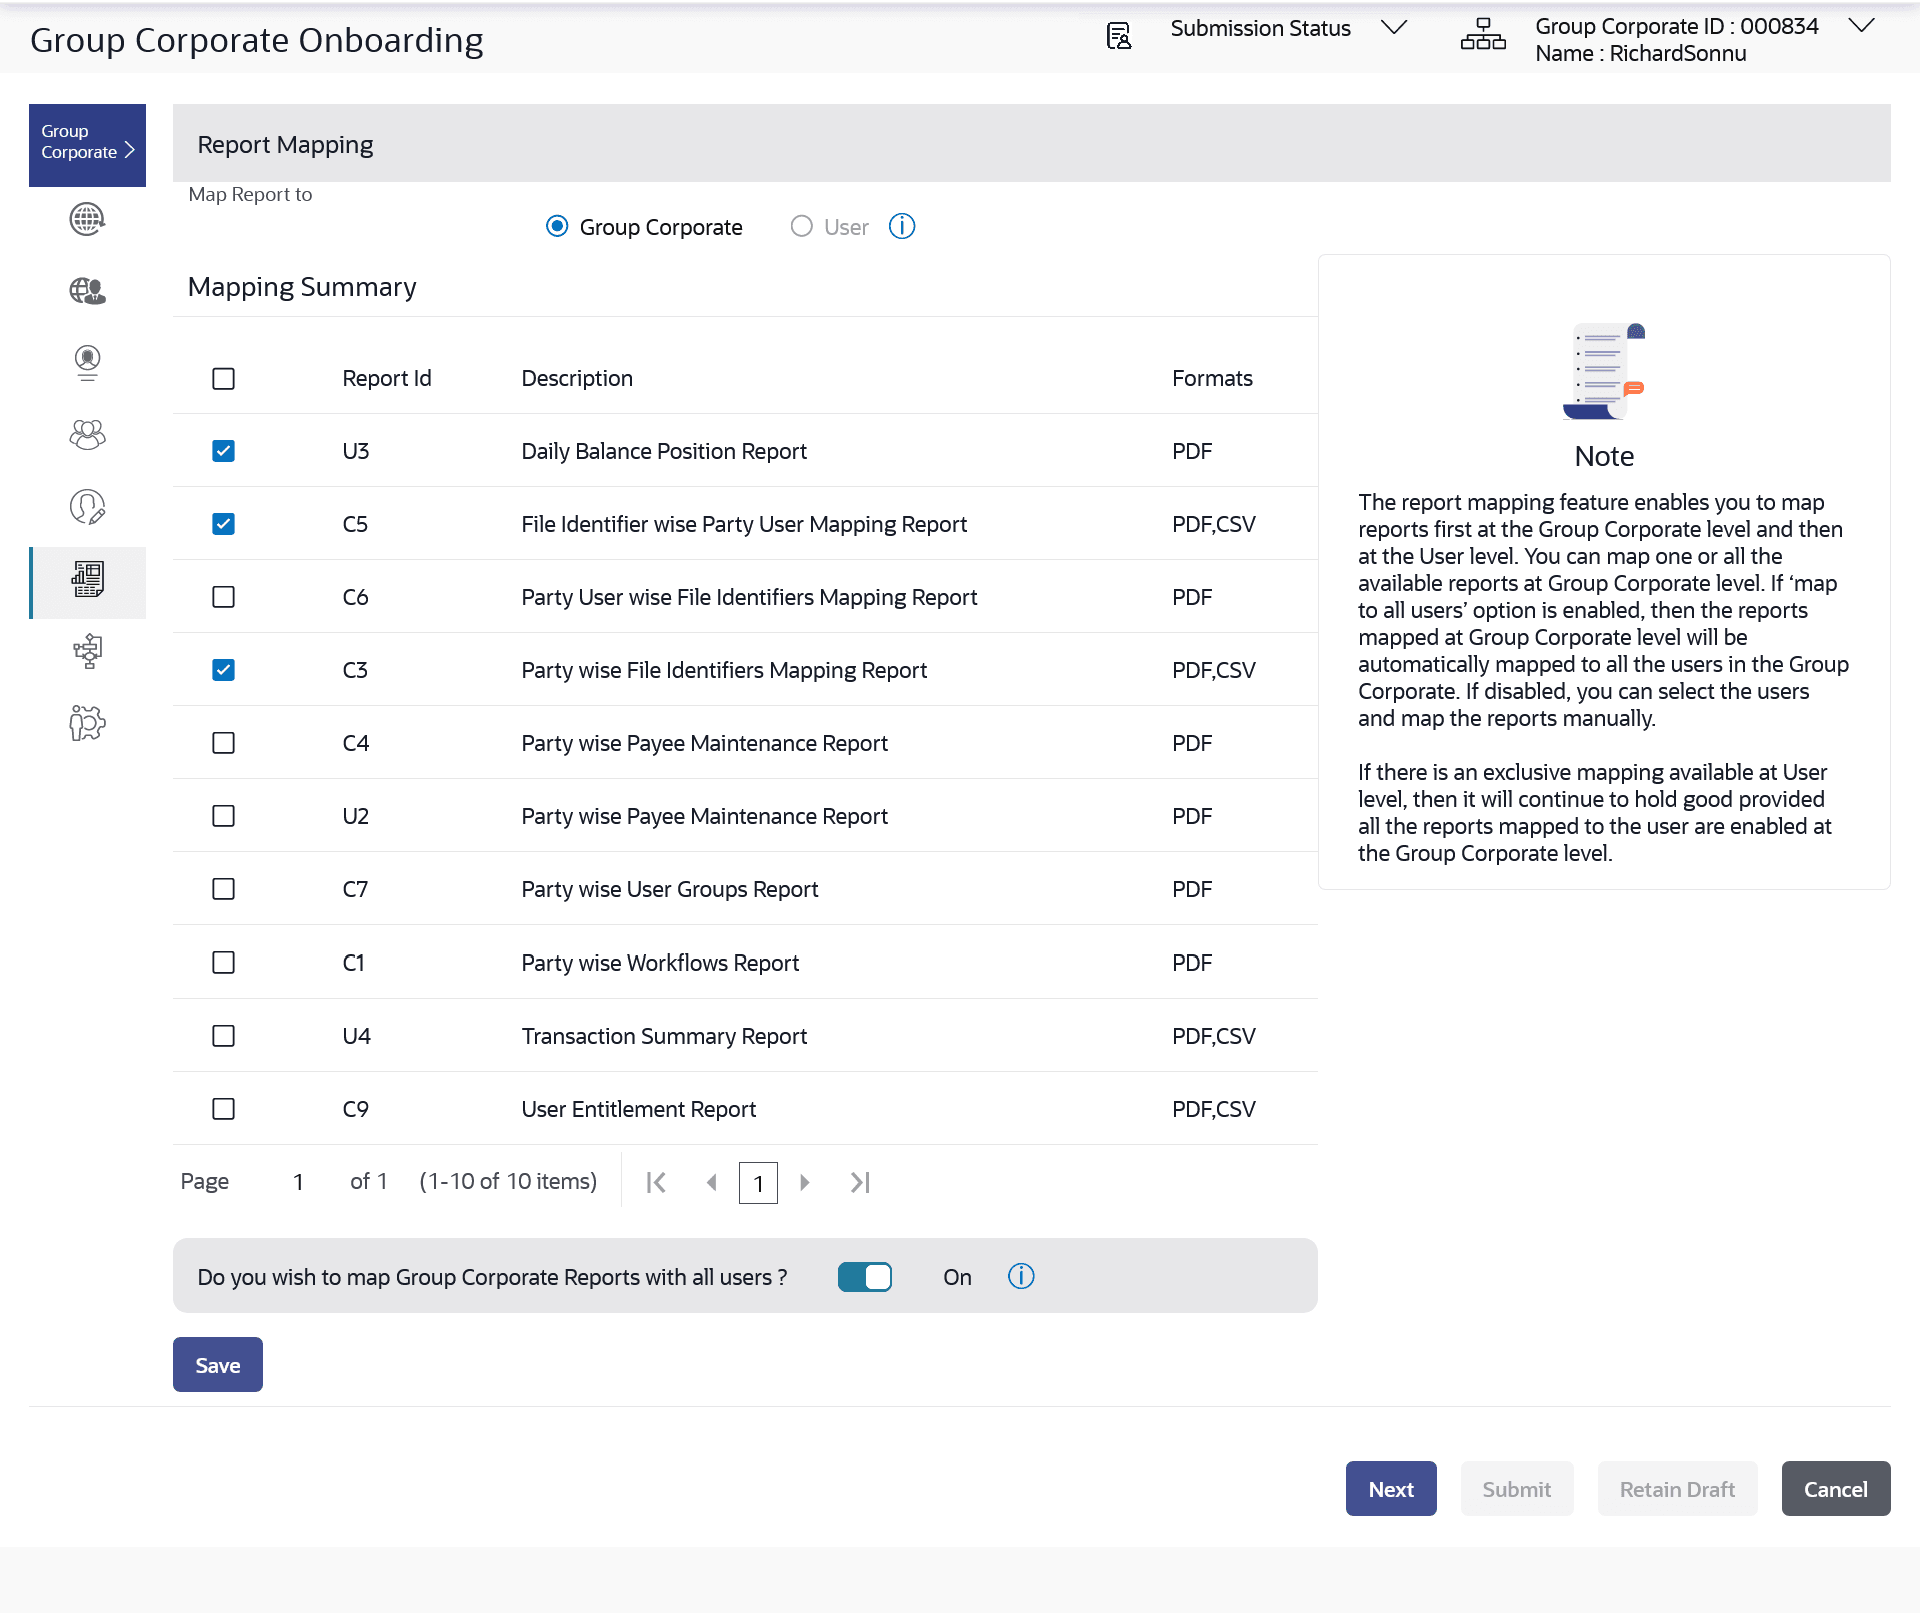
3.9.3 User Report Mapping - Create
This topic provides the systematic instructions for corporate administrators to map reports to specific corporate users.
To setup a Group Corporate Profiling:
- Navigate to the User Report Mapping screen.
- Perform one of the following actions:
- Enter the search criteria, click Search.
- Click Clear to clear the search parameters.
- Click Cancel to cancel the transaction.
- Click the
 icon of user record, for which you want to map the report/ s.The User Report Mapping screen to create the report mapping appears.
Note:
The fields which are marked as Required are mandatory.For more information on fields, refer to the field description table.
Table 3-24 User Report Mapping - Create- Field Description
Field Name Description User Name Name of the corporate user. User ID User ID of the corporate user. Mapping Summary Report ID Unique id assigned to a report. Description Description of the report. Formats The format in which the report is to be generated. The format could be PDF, XLSX.
- In the Mapping Summary section, select the report id of the report which you want to map to the user.
- Perform one of the following actions:
- Click Save to save the
maintenance.
The Review screen appears.
- Click Back to navigate to previous screen.
- Click Next to proceed to the next logical step.
- Click Submit to submit the steps performed so far for approval.
- Click Retain Draft to save the details entered as draft.
- Click Cancel to cancel the transaction.
- Click Save to save the
maintenance.
- Perform one of the following actions from the Review
screen:
- Verify the details, and click
Confirm.
The success message appears along with the transaction reference number and status of the transaction.
- Click Add Another to add another maintenance of the same step.
- Click Back to navigate to previous screen.
- Click Cancel to cancel the transaction.
- Verify the details, and click
Confirm.
Parent topic: Step 6: User Report Mapping
