4.1.1 User Releases

This topic provides systematic instructions to set up the User Releases.

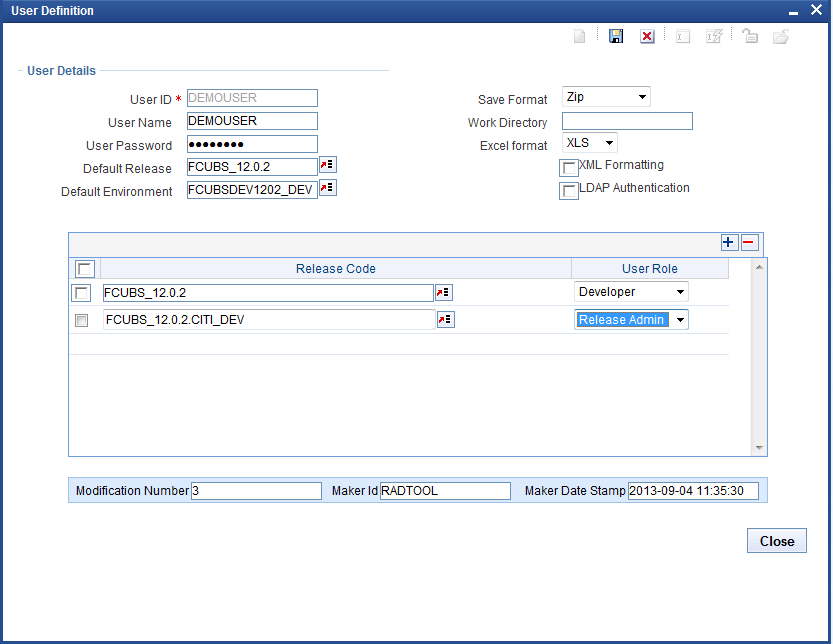
A single user can be mapped to many releases. Make sure that the selected default release is available here. Along with release code, user role should be specified.

The tool has below User Roles for controlling the access rights:
  • Release Administrator
  • Developer
  • TCM User
  • VERCON
The user will be allowed to perform various tasks based on the Role assigned to the user. The same user can have a different role for different releases.

Table 4-2 User Roles

User Roles Description
Release Administrator
  • This role is meant for project leaders and team leaders and allows them to perform release administration activities.
  • Users with this role would be allowed to perform the below tasks.
    • Creation of Environment(s) for the Release
    • Creation of users
    • Provide access to the Release for required Users
Developer
  • This Role is for Developers. Users mapped with this role would be able to access the Function development related features of the Workbench.
  • User will also be able to Switch between the releases and Environments using the User Preferences option.
TCM User
  • This Role is meant for users of TCM. Users mapped with this role would be able to access only the TCM screens through the console.
  • The user will also be able to Switch between the releases and Environments using the User Preferences option.
VERCON
  • This Role is meant for VERCON Team. Users mapped with this role would be able to access only the bulk gen operation through the console.
  • The user will also be able to Switch between the releases and Environments using the User Preferences option.
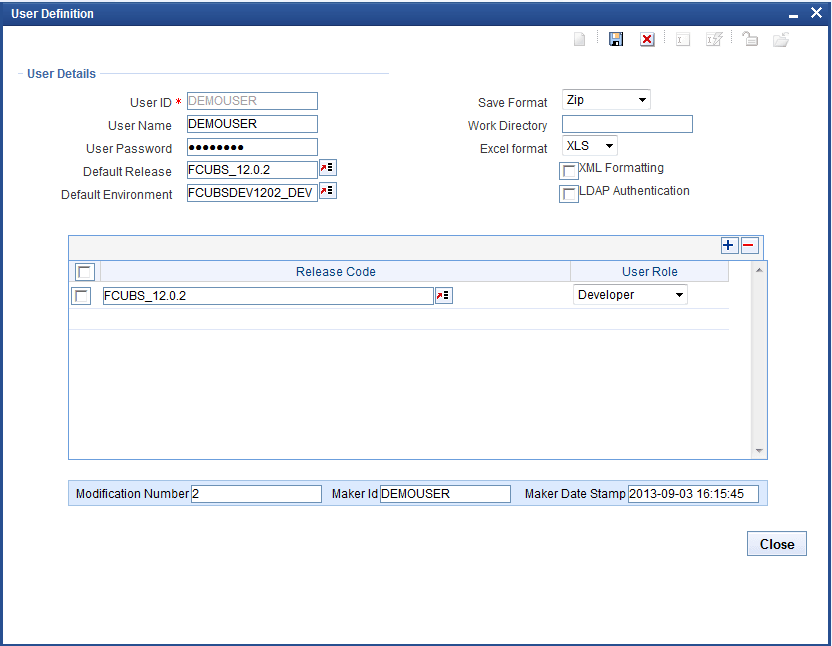
  1. Create a new user by RADTOOL user.
    Use RADTOOL user to create only one user with a role as Release Administrator.
  2. After adding one user as Release Administrator, many users can create by using the same user.

    Figure 4-1 Create New User by RADTOOL User


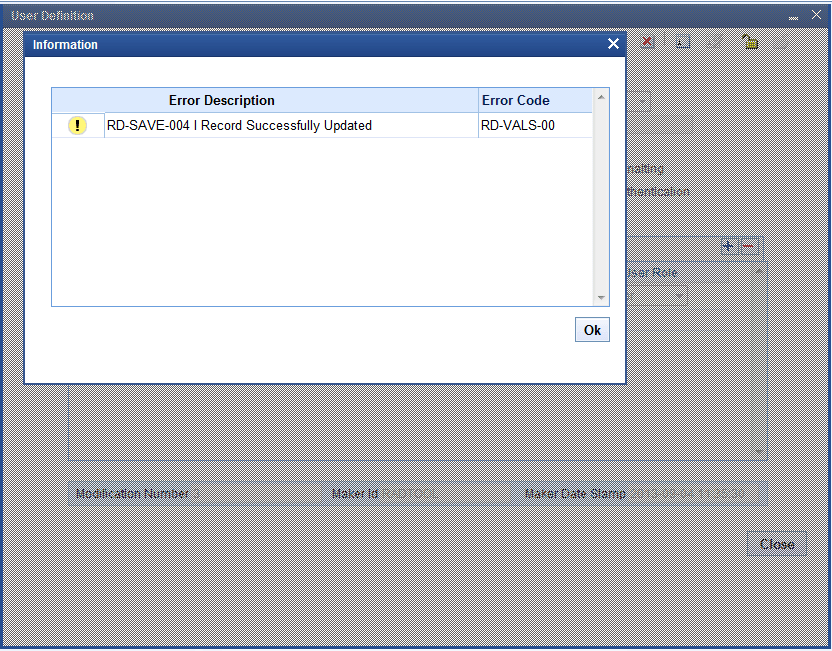
  3. After specifying required fields, click Save.
    The Information screen displays with the below message.

    Figure 4-2 Save User Definition


  4. Click OK.
  5. If user want to modify existing user details, launch User Definition screen and click the Enter Query option.
    User ID field gets enabled.
  6. Specify the User ID and click the Execute Query button.
    The user details are retrieved.
  7. Click the Unlock button.

    Except User ID, all other fields are enabled.

  8. Modify the required fields and click the Save button.