3.1 Environment Detailed
This topic provides systematic instructions to get the Environment details.
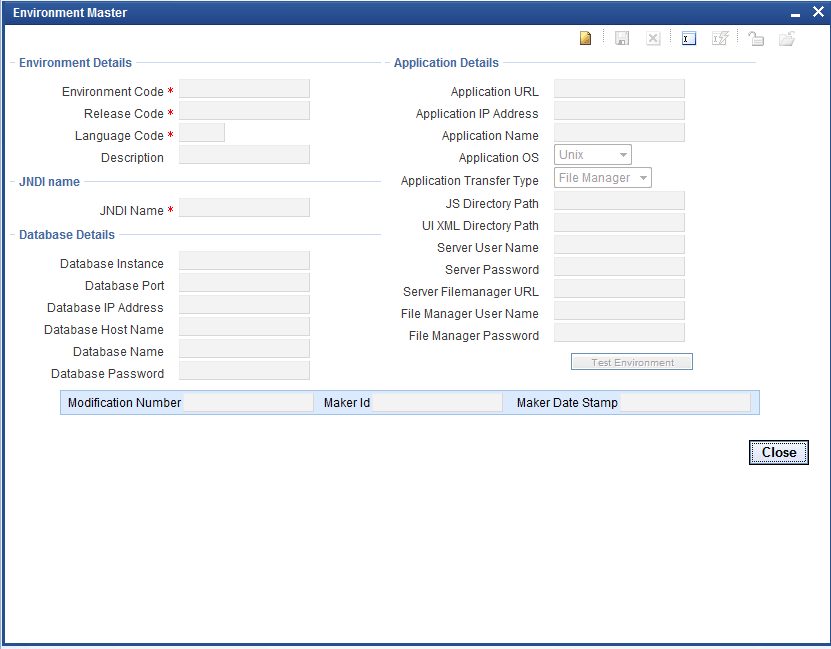
- Click the Detailed node of environment.The Environment Master screen displays.
- Click the new button.All fields are enabled to specify the details.
Table 3-1 Environment Details
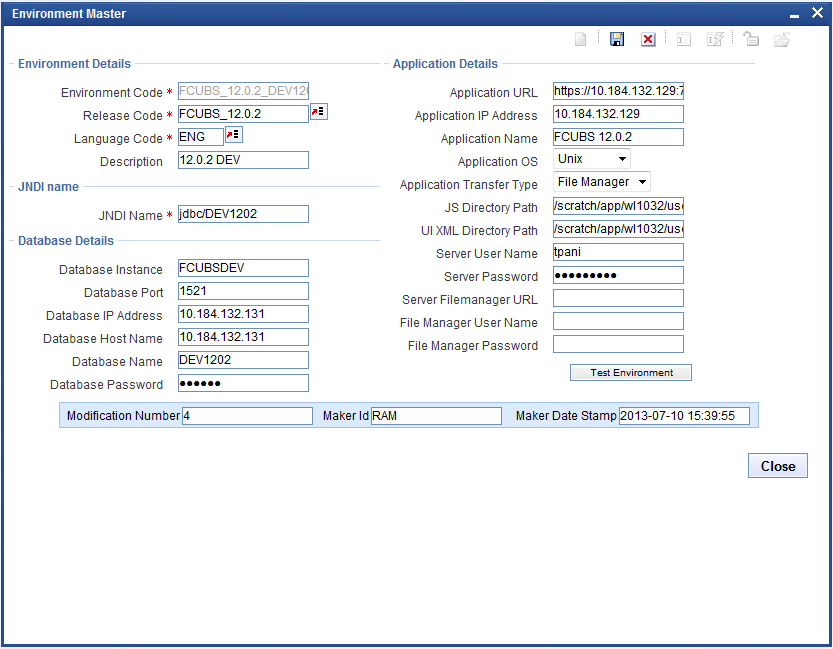
Field Description Environment Code The naming convention would be <release code>_ENV.
For Example, FCUBS11.4_MODEL_BANK_ENV
Note: The fields which are marked in asterisk red are mandatory fields.
Release Code Select the correct release code from the list of values. This field identifies the release to which the environment is mapped. Note: The fields which are marked in asterisk red are mandatory fields.
Language Code Select the required language from LOV. This field is very important in environment creation as screen XML will be generated based on the language set up at the environment level. List of values fetches the available languages from RDTM_LANGUAGE. Any new language, if required, has to be maintained in this table. Note: The fields which are marked in asterisk red are mandatory fields.
Description Information field. Meaningful description of environment code. - Specify the following details under the JNDI Name section.
Table 3-2 JNDI Name
Field Description JNDI Name Specify valid JNDI name. This is mandatory. It should match with the JNDI name used while creation of Data Source for FLEXCUBE in the app server. It’s case-sensitive. Connection to the FLEXCUBE schema is established from Workbench using the JNDI name maintained in the environment definition. If the JNDI name does not match the database connection to the FLEXCUBE schema won’t happen. For instance:- If the server is Apache Tomcat, JNDI provided in environment creation should match with JNDI provided in server.xml and context.xml.
- If the server is web logic, JNDI provided in environment creation should match with JNDI of the data source created.
Dynamic Registering of Data Source with JNDI: Dynamic Data Source Registering feature avoids the need of creating Data Source manually in the Application Server. To enable this feature, the Provider URL value should be provided during installation. A new data source will be added to the JNDI context using the DataBase details provided while creating the Environment (explained below).
An Example of properties to be specified in odt.properties for WebLogic Server is given below INITIAL_CONTEXT_FACTORY=weblogic.jndi.WLInitialContextFactory PROVIDER_URL=t3://localhost:7101
Note:
This feature won’t be available if the JNDI context is read only. For Example: Apache tomcat Server. - Specify the following details under the Database Details section.
The FLEXCUBE database server details of the environment can be provided here. These are information fields. The database connection is achieved through JNDI maintained and not with help of data provided in these fields unless dynamic registering of the Data Source feature is available.
Table 3-3 Data Base Details
Field Description Data Base Instance Specify the valid database instance name. Data Base Port Specify database port number. Data Base IP Address Specify database IP address. Data Base Host Name Specify the hostname or IP address of the database. Data Base Name Specify schema name. Data Base password Specify schema password. If dynamic registering of Data Source feature is not available then the following should be taken care:- If the password of the FLEXCUBE schema is changed, merely changing the password in the Workbench environment wouldn’t be of any help. The developer will have to update the data source in the server with the latest credentials.
- If the JNDI of the data source is changed, the Application server has also to be updated with the same.
- Specify the following details under the Application Details section.The below figure shows a sample environment with data input.
Table 3-4 Application Details
Field Description Application URL Specify valid FLEXCUBE URL and this will be launched from Workbench. Application IP Address Specify the application IP address. Application Name Specify application name. This is the information field. Application Operating System Select the operating system on which FLEXCUBE is running; two options are provided: Windows or UNIX. Application transfer Type If the user requires the Deploy option (Refer to the Development WorkBench - Screen Development-II document to get more details about deploy option), file transfer type must be selected. File Transfer type depends on the operating system of the application server in which FLEXCUBE is hosted. - Windows: File manager/File
- Copy UNIX: File Manager
- File Copy: Directly copies files into the specified location.
- File Manager: It is a Servlet (please check the File manager section in the appendix to get more details) running in an app server where FLEXCUBE is deployed. This Servlet has to be deployed in the same server where FLEXCUBE is hosted for copying files from the Workbench server. This has to be selected if the operating system is UNIX. Refer Appendix section for further details on File Manager.
JS Directory Path Specify the shared path of JavaScript files in the FLEXCUBE server. This is also required for deploy feature of Workbench. All the system JavaScript files generated will be copied to the path mentioned in this field. For Example:- Windows: \\\\10.184.46.209\\js\\ (Each forward slash should be appended by one more).
- UNIX: /oraint1/web1034/Oracle/Middleware/user_projects/domains/FCUBSDevDomain/servers/FC114EXT/tmp/_WL_user/FC114EXT/eiq6wn/war/Script/JS/ (It should contain only single backward slash).
Note: Slash should be provided in the end of the path provided. Make sure write permission is provided on this folder.
UIXML Directory Path Specify shared path of UIXML (language XML) files. This is also required for the deploy feature of WORKBENCH. All the system JavaScript files generated will be copied to the path mentioned in this field. For Example:- Windows: \\\\10.184.46.209\\eng\\
- UNIX: /oraint1/web1034/Oracle/Middleware/user_projects/domains/FCUBSDevDomain/servers/FC114EXT/tmp/_WL_user/FC114EXT/eiq6wn/war/UIXML/ENG/.
Note: Slash should be provided in the end of the path provided. Make sure write permission is provided on this folder.
If Transfer Type is File manager then the below details have to be provided mandatorily.
Server User Name Specify application server user name. Serve Password Specify application server password. File Manager URL Specify file manager url as shown below. Format: http://<ipaddress>:<portnumber>/FileManager/FileManageServlet
For Example: http://10.184.74.143:7755/FileManager/FileManageServlet
File Manager User Name Specify a user name. This is an optional field. File Manager Password Specify password. This is an optional field. - Click Save to save the environment.
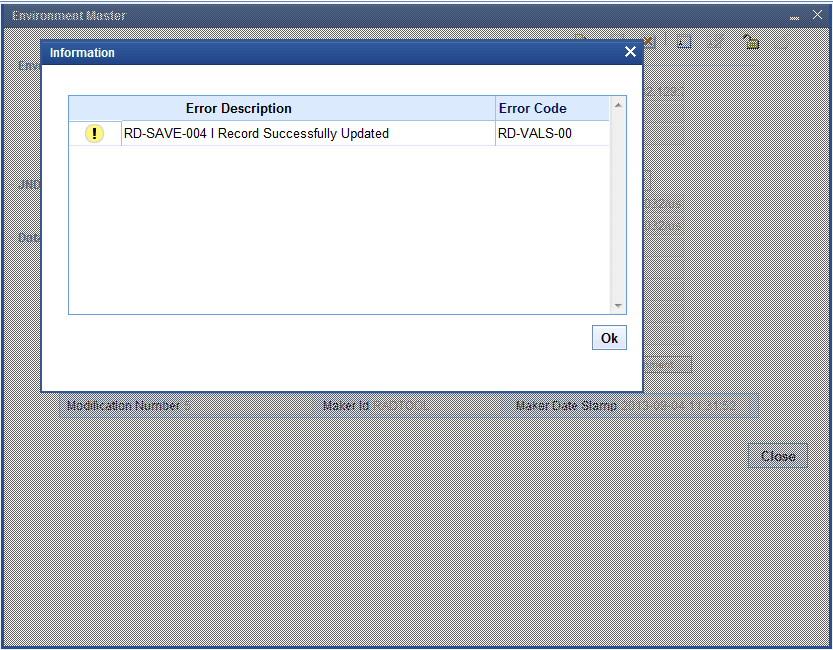
- Click OK to close the pop-up window.
- To modify the existing environment details, select an Environment code from Environment Master Summary screen and click the Enter Query button.
- If release name known already, specify directly or select release code from provided List of values.After selecting release code, the Execute Query button gets enabled.
- Click the Execute Query button.
- Click the Unlock button.
Except Environment Code, all fields are enabled.
- Modify the required fields and click the Save button.
Parent topic: Environment


