3.14.1.1 Create Alert Contact Details

This topic describes the systematic instruction to create contact details for sending alerts to a specific corporate.

Different contact persons can be set to receive different types of alerts. Newly created contact details take effect once authorized.
Specify User ID and Password, and login to Home screen.
  1. On Home screen, click Cash Management. Under Cash Management, click Alerts.
  2. Under Alerts, click Alert Contact Details. Under Alert Contact Details, click Create Alert Contact Details.
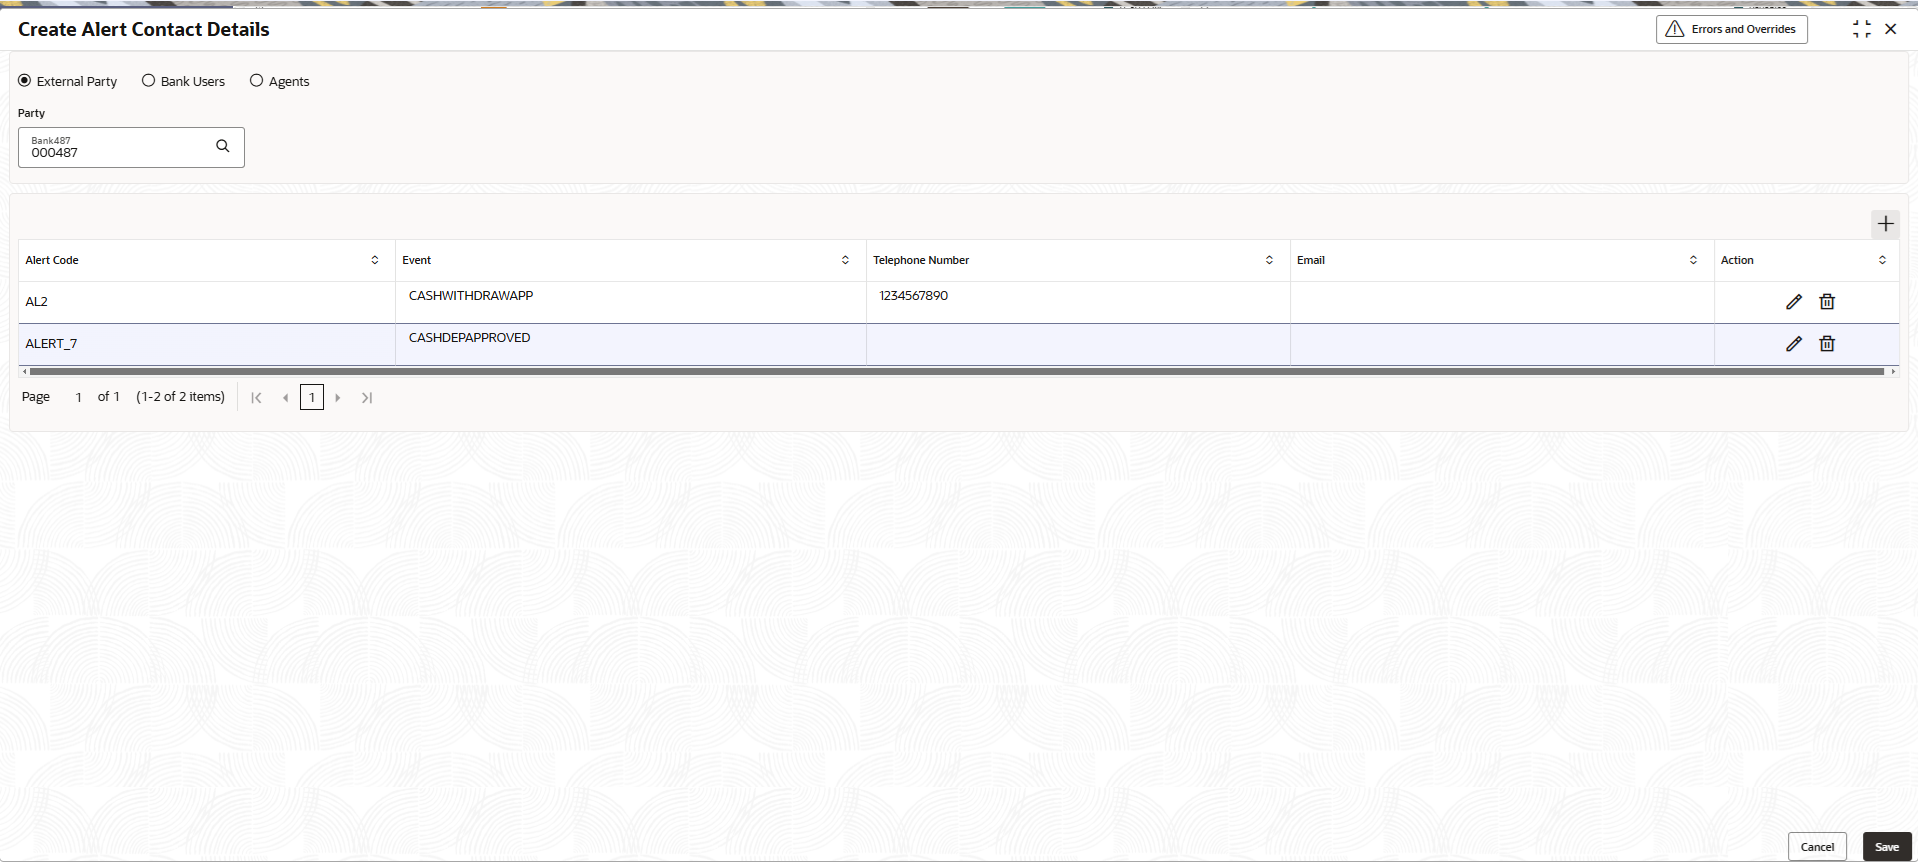
    The Create Alert Contact Details screen displays.

    Figure 3-49 Create Alert Contact Details


  3. Specify the fields on Create Alert Contact Details screen.

    Note:

    The fields marked as Required are mandatory.
    For more information on fields, refer to the field description table.

    Table 3-27 Create Alert Contact Details - Field Description

    Field Description
    External Party Select External party to enable Party search field.
    Bank Users Select bank user for maintenance of contact number or email ID for bank users.

    Note: The Party field will be disabled, if bank users is selected.

    Agents Select agent for maintenance of contact number or email ID for agents.

    Note: The Party field will be disabled, if agent is selected.

    Party Click the search icon and select the corporate party to create alert contact details.

    Note: This field will be enabled only on selection of external party option.

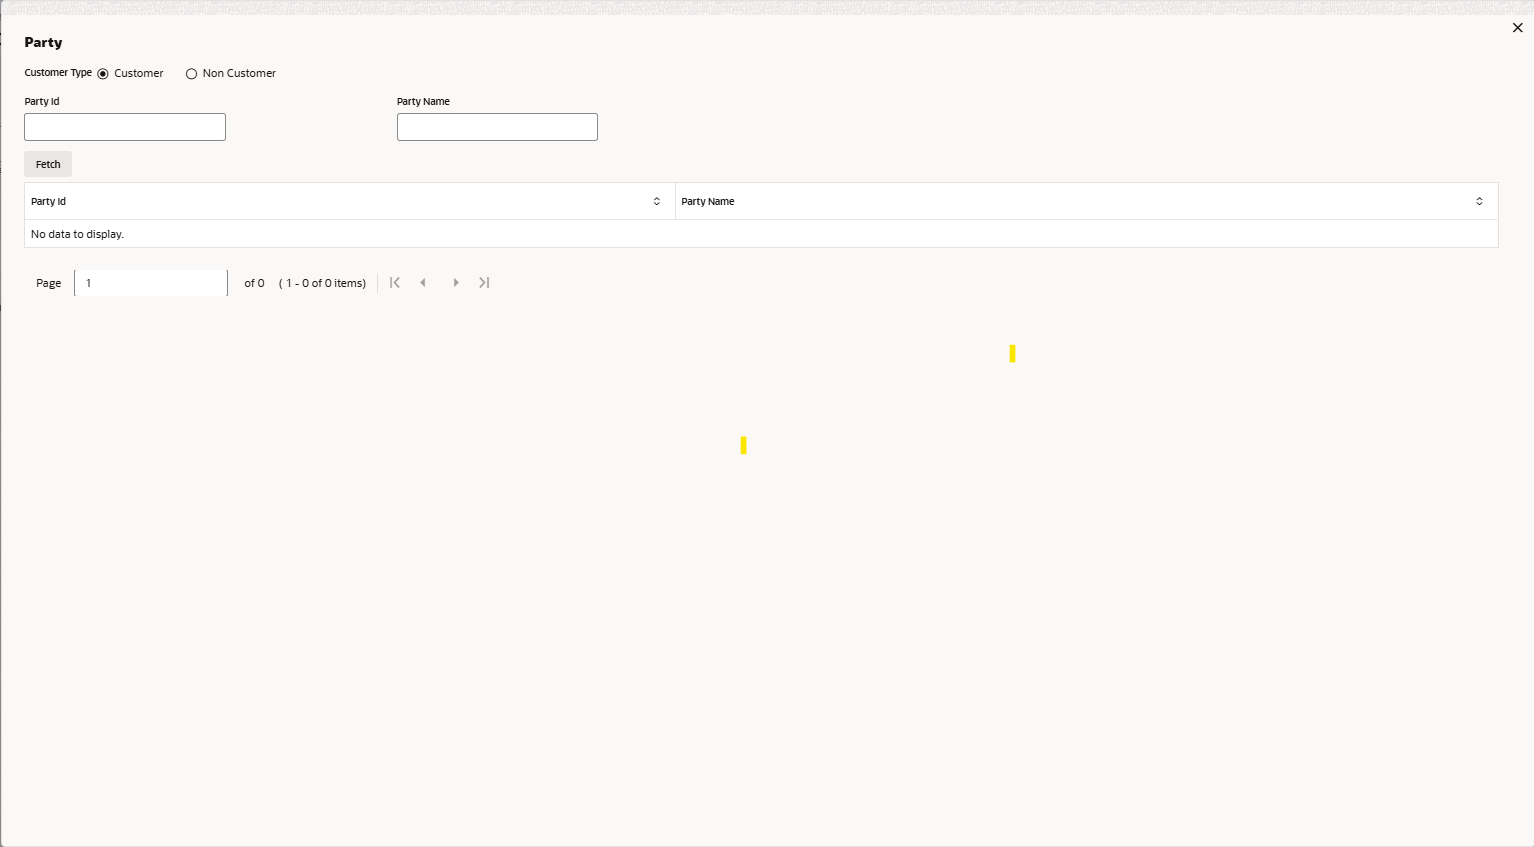
  4. Click Search icon in party field.
    The Party screen displays. Search and select a customer or non customer for which alert details needs to be created

    Figure 3-50 Create Alert Contact Details-Party


  5. Click Add icon to add a row for a contact that can be External Party, Bank user or Agent.
    1. Double click in the Alert Code column.
      Click the search icon and select the required alert code to map the contact details for.
    2. In the Telephone Number column, specify the contact person’s phone number.
    3. In the Email column, specify the contact person’s email ID.
    4. Click Add icon to add contact details for other alert codes and repeat the above steps.
    5. Click Edit icon under the Action column to edit the contact details entered.
    6. Click Delete icon under the Action column to delete a row.
  6. Click Save to save the record and send it for authorization.