5.1.1 Biller Onboarding - Search

This topic describes the systematic instruction to Biller Onboarding - Search screen.

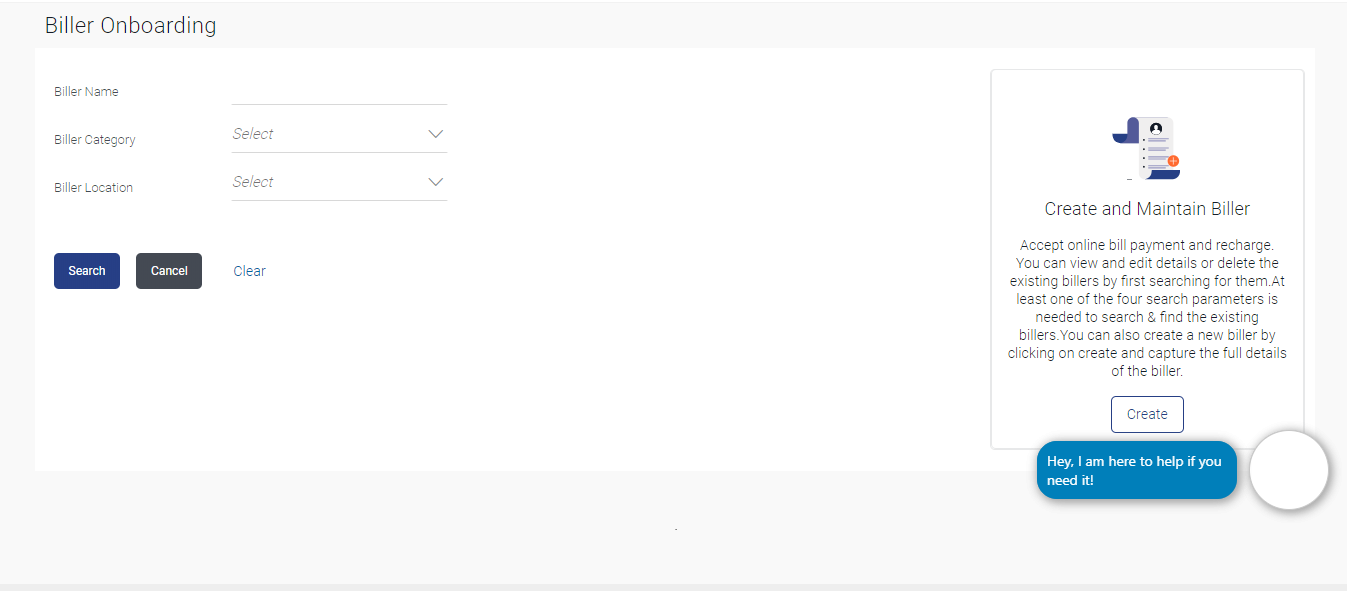
Using this option, System Administrators search the existing billers based on parameters like Biller ID, Biller Name, Biller Category and Biller Location. The search result displays a list of all biller types, that is Presentment only, Payment only and Presentment + Payment & Recharge type of billers.

Figure 5-2 Biller Onboarding - Search Biller


Note:

The fields which are marked as Required are mandatory.

For more information on fields, refer to the field description table.

Table 5-1 Biller Onboarding - Search Biller - Field Description

Field Name Description
Biller Name The name of the biller.
Biller Category The name of the biller category to which the biller belongs.
Biller Location Location of the biller

To search billers:

  1. Navigate to one of the above paths.
    The Biller Onboarding screen appears.
  2. Perform anyone of the following actions:
    • In the Biller Name field, enter the name of the biller that is to be searched.
    • In Biller Category field, enter the category to which the biller belongs.
    • In Biller Location field, enter the location of the biller.
  3. Perform anyone of the following actions:
    • Click Search to search the billers.
    • Click Clear, if you want to reset the search parameters.
    • Click Cancel, if you want to cancel the transaction.

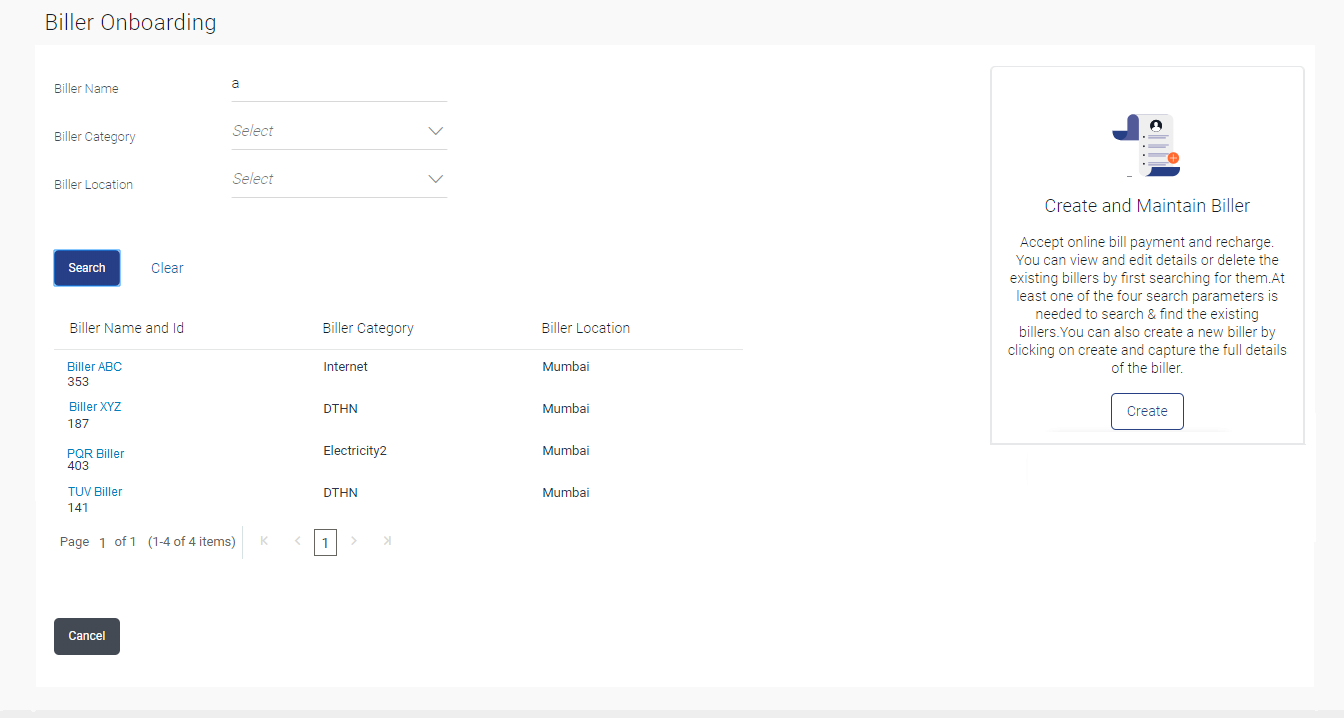
    Figure 5-3 Biller Onboarding - Search Result


    Note:

    The fields which are marked as Required are mandatory.

    For more information on fields, refer to the field description table.

    Table 5-2 Biller Onboarding - Search Result - Field Description

    Field Name Description
    Search Results Information specified in below fields are related to search results.
    Biller Name and Id The name of the biller.
    Biller Category The name of the biller category to which the biller belongs.
    Biller Location Location of the biller
  4. Click Create to create a new biller.