2.7 Create JMS Server and JMS Module
- Creating
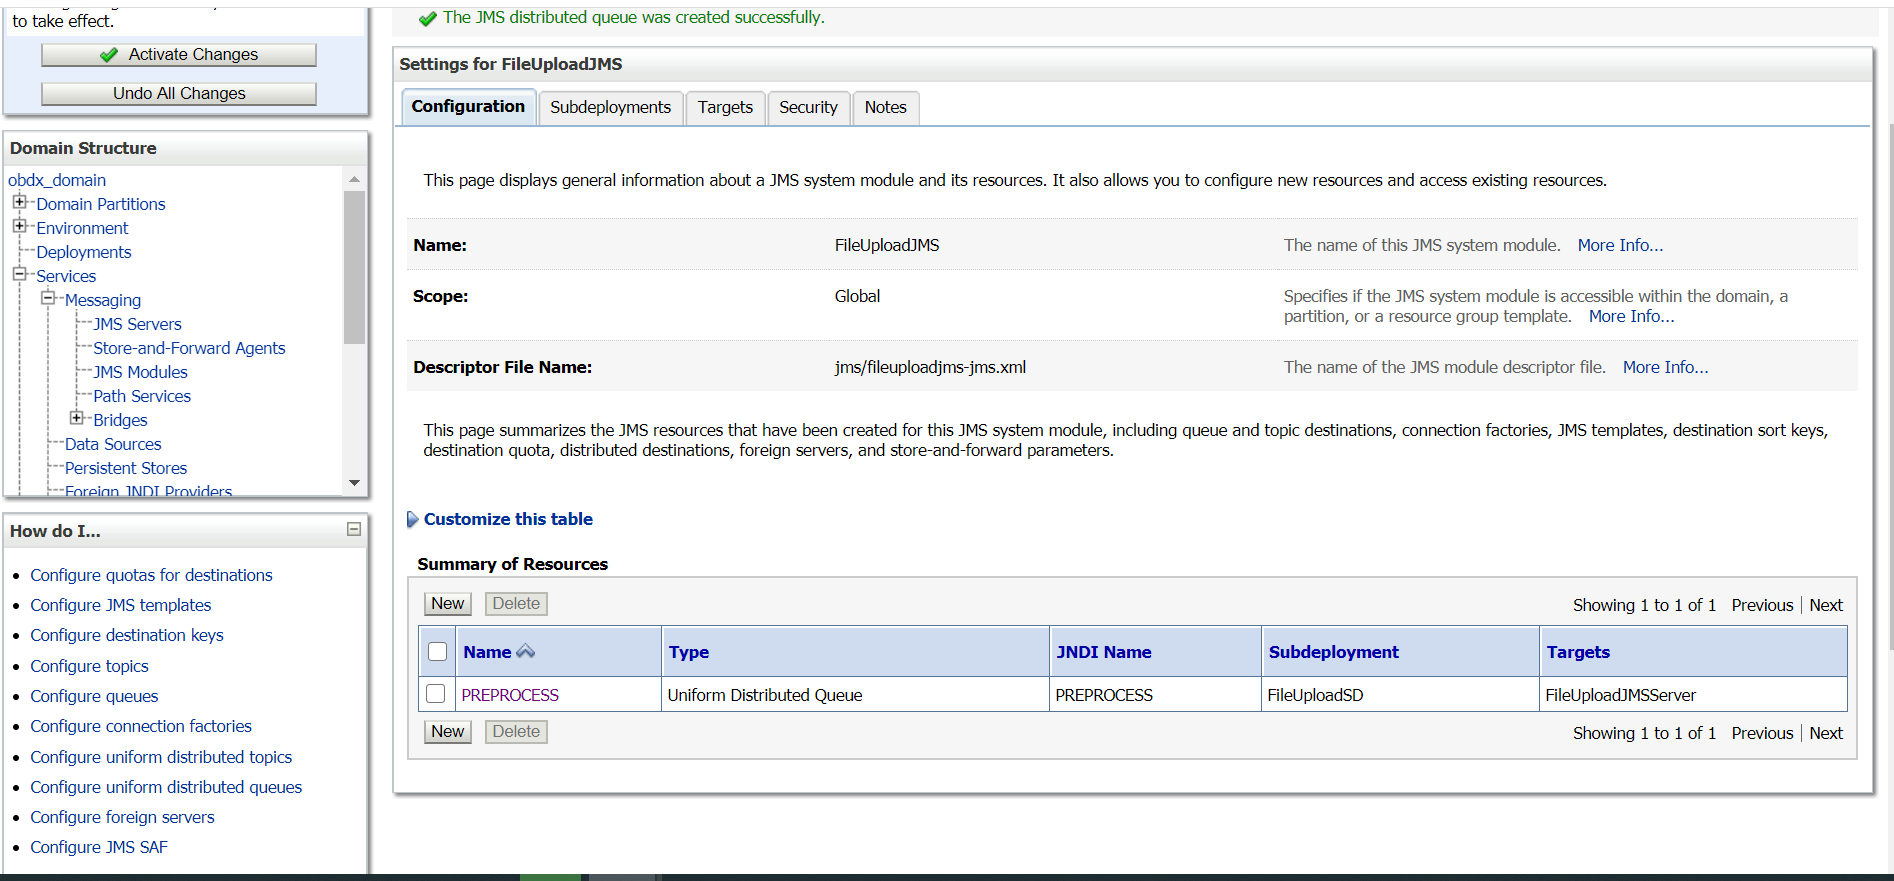
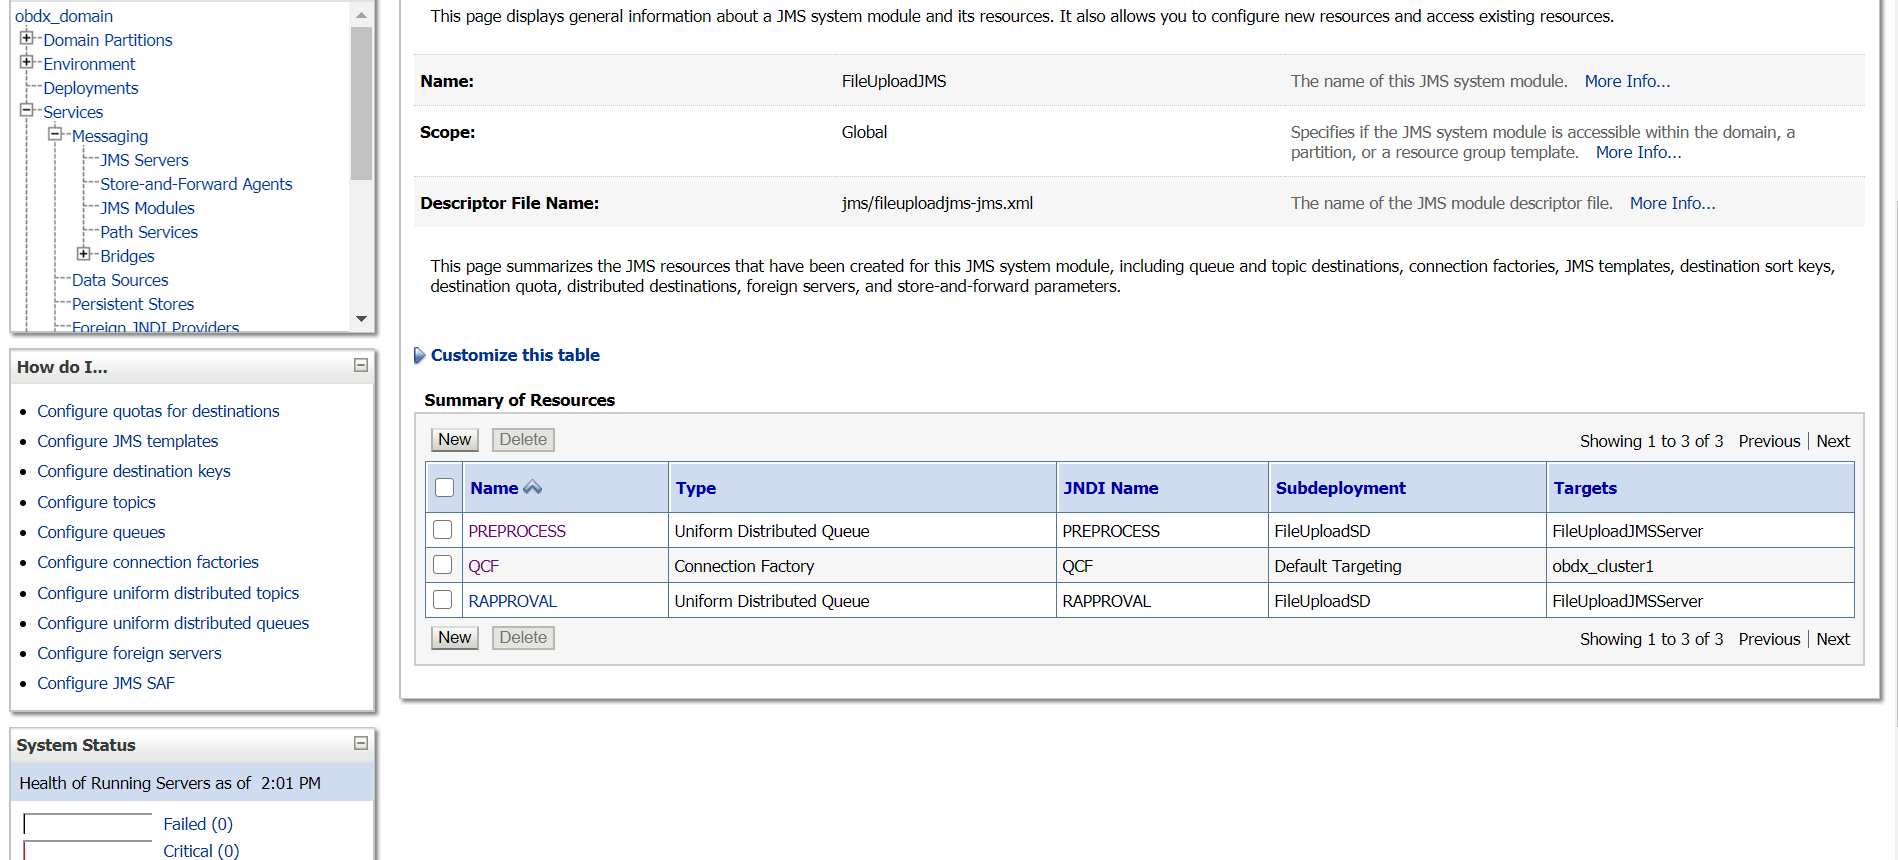
FileUploadJMS JSM Module - Creating
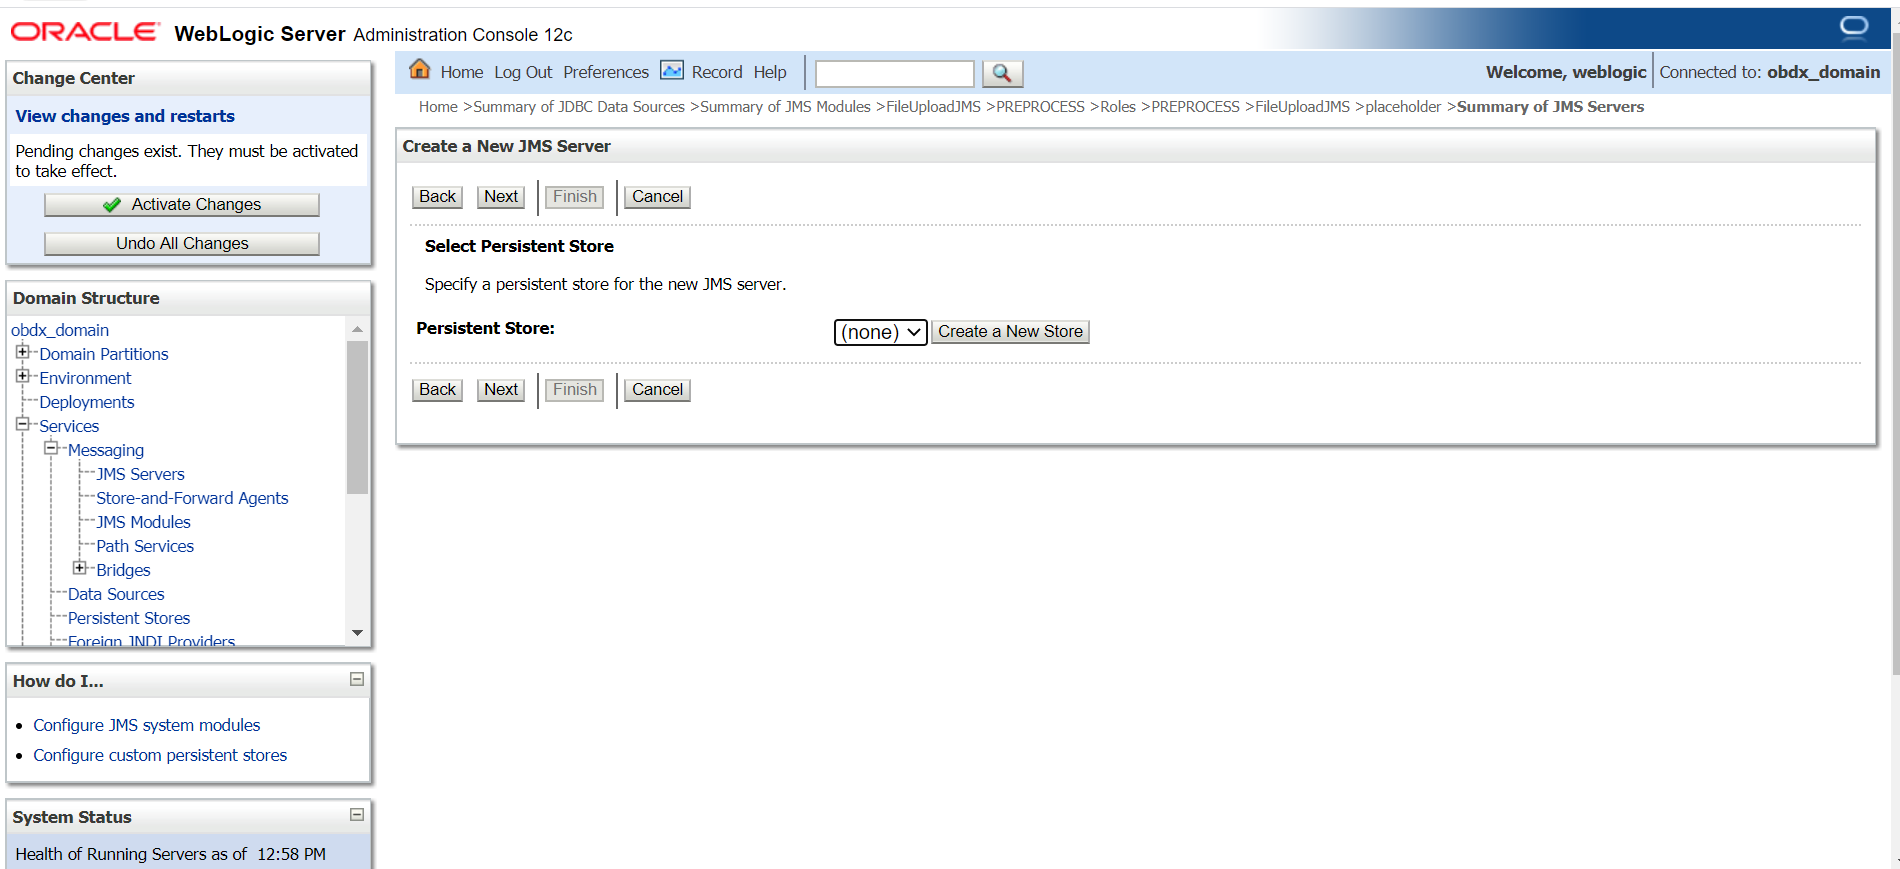
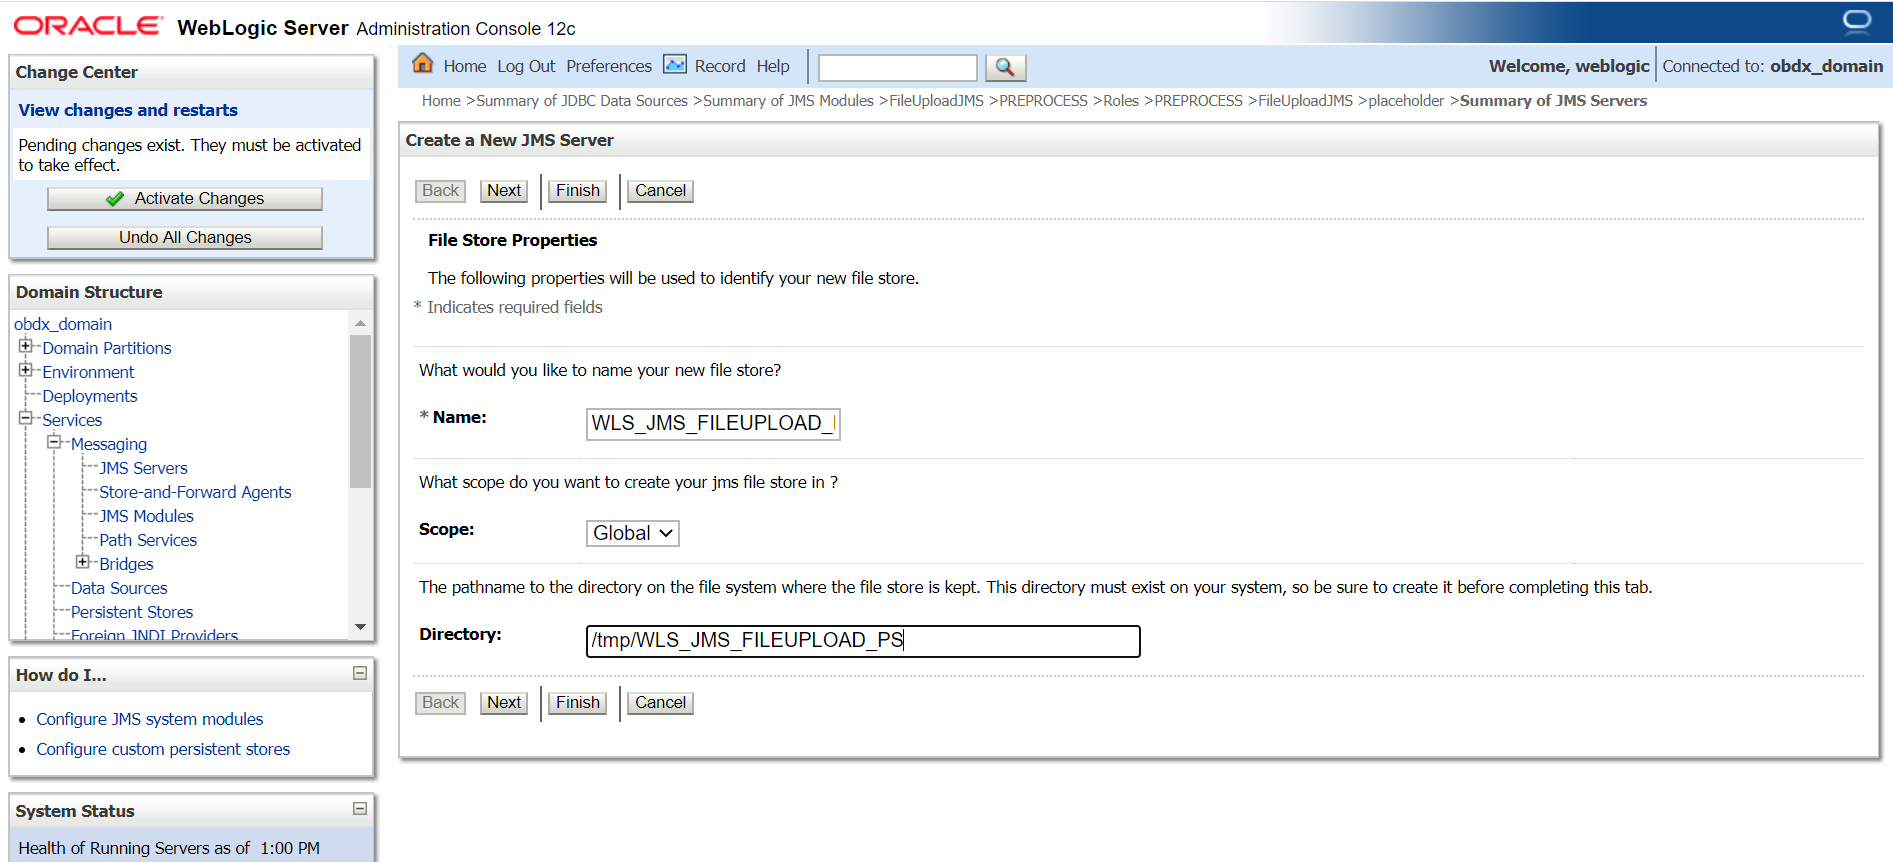
WLS_JMS_FILEUPLOAD_PS FileStore - Creating
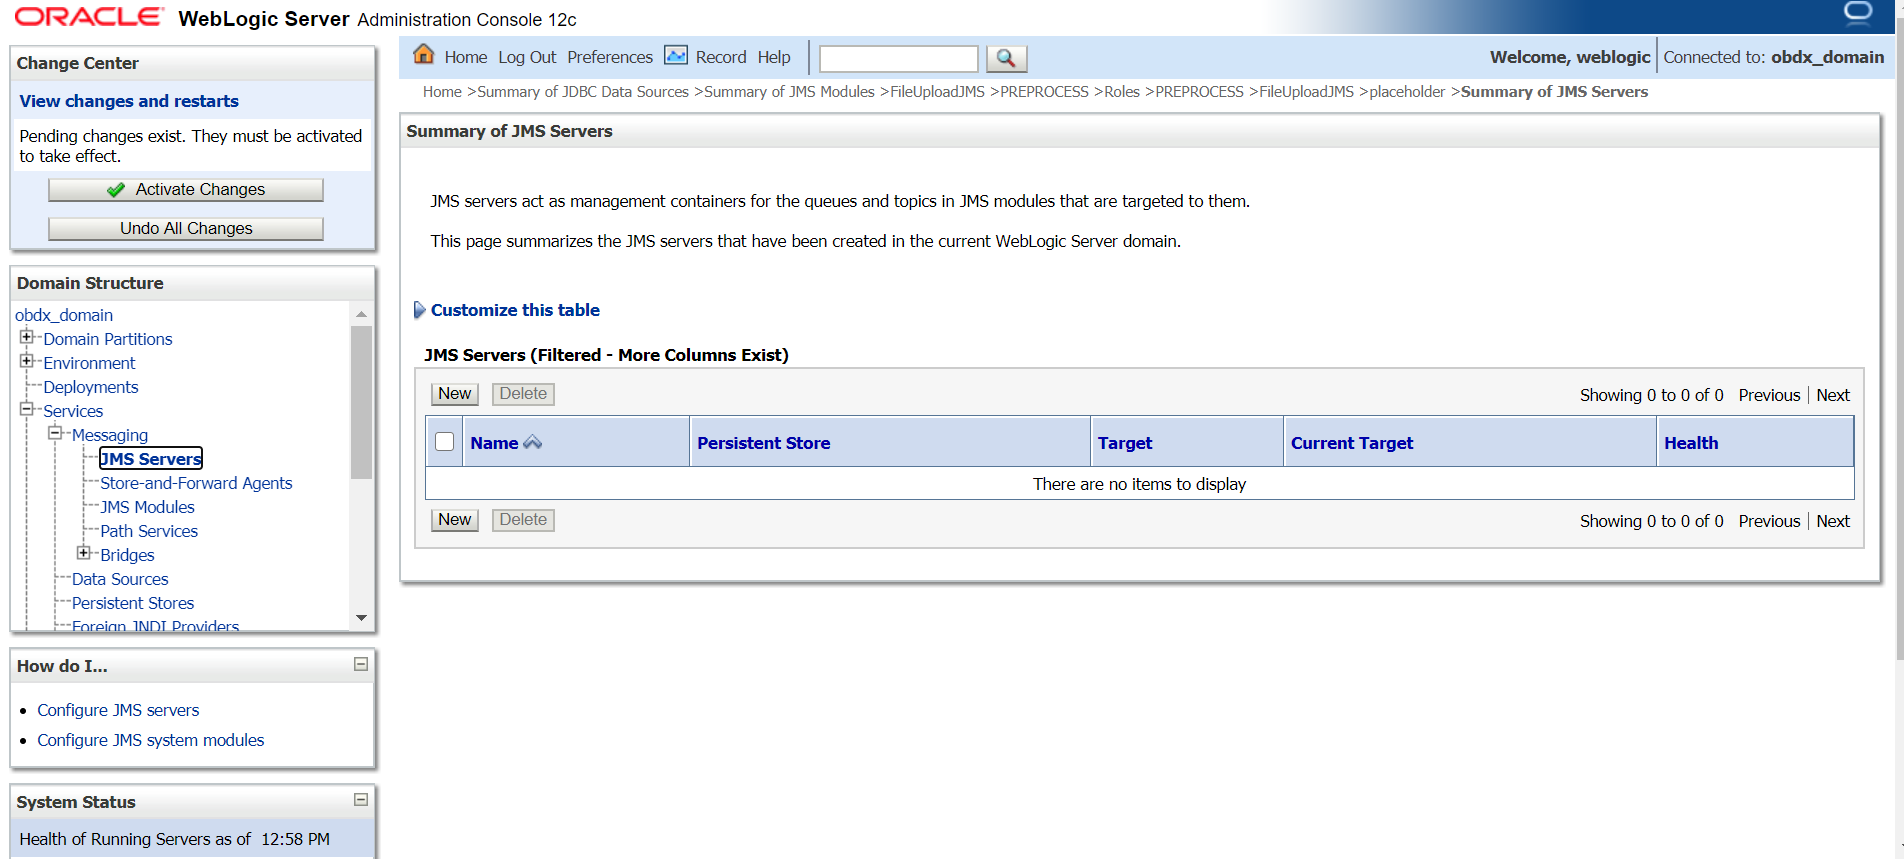
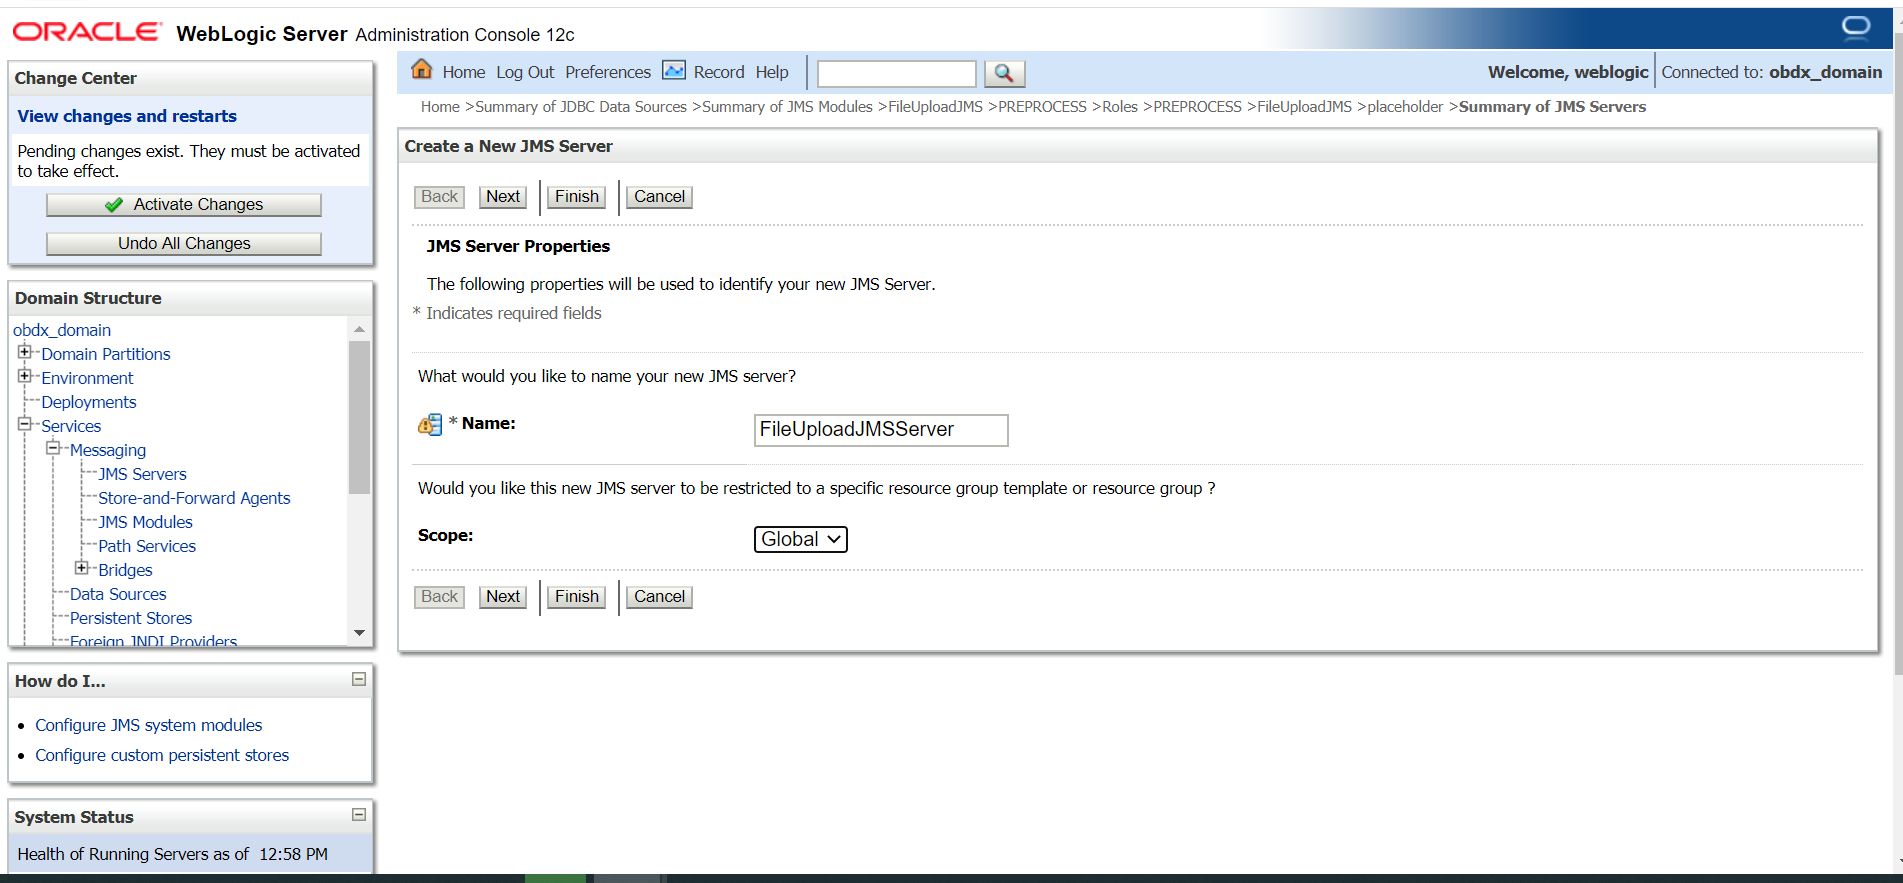
FileUploadJMSServer JMS Server
-
- Click on JMS Servers → Name – FileUploadJMSServer → Click
Next.
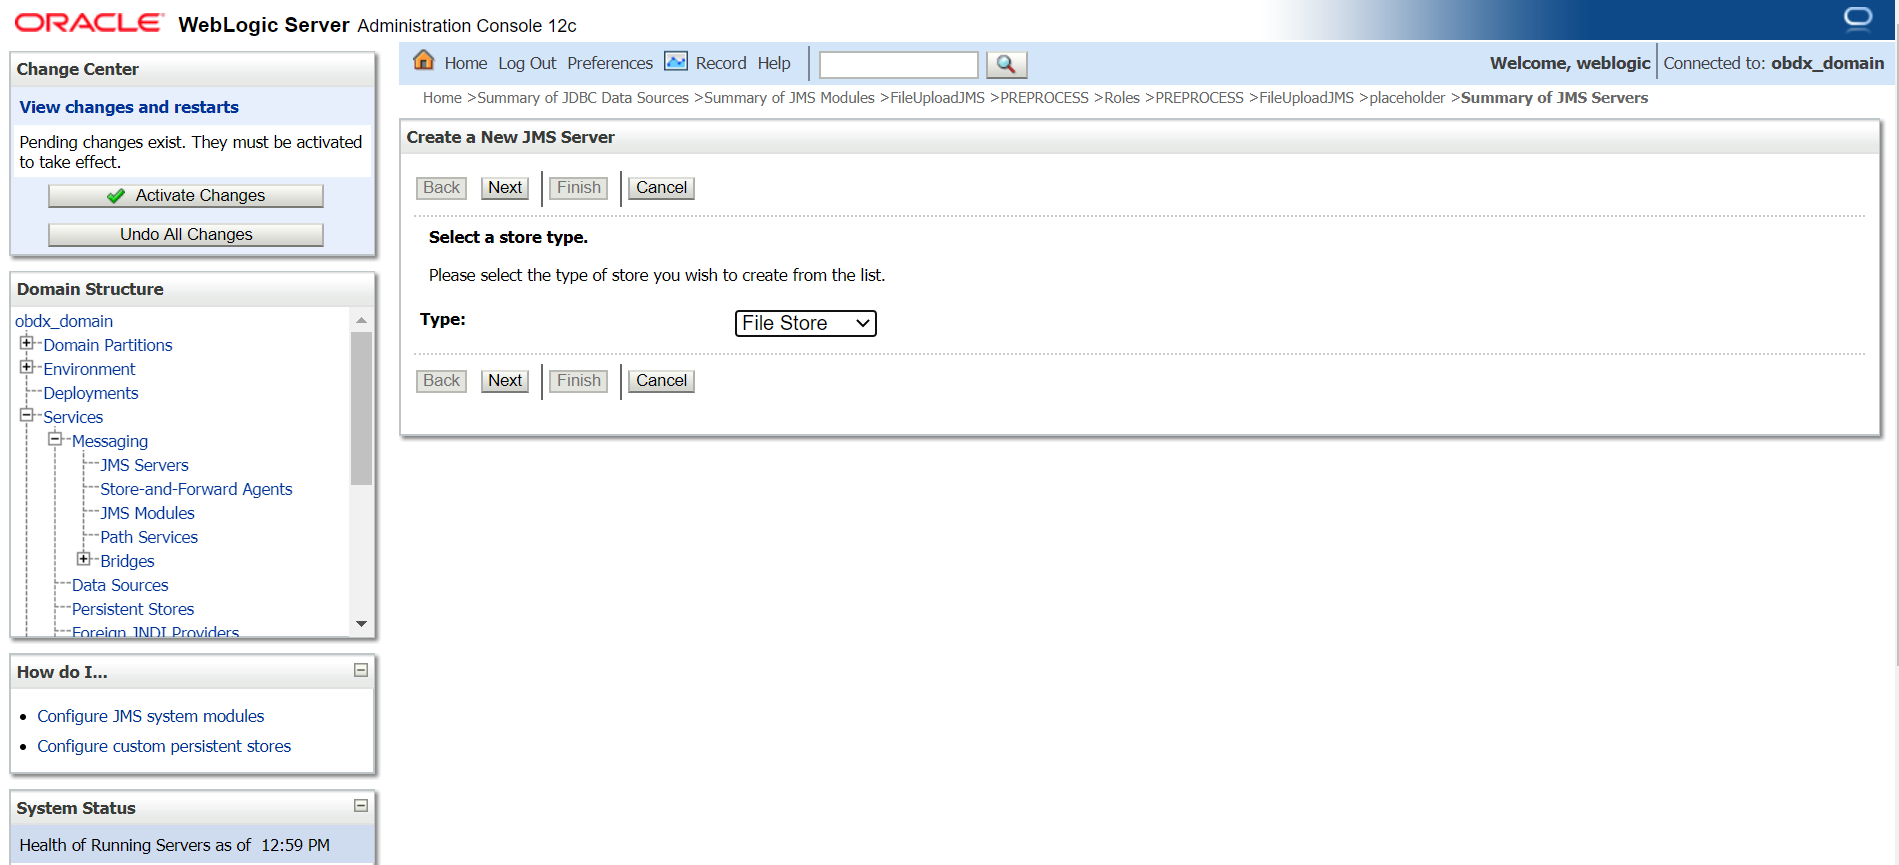
- Select Type as File Store and click
Next.
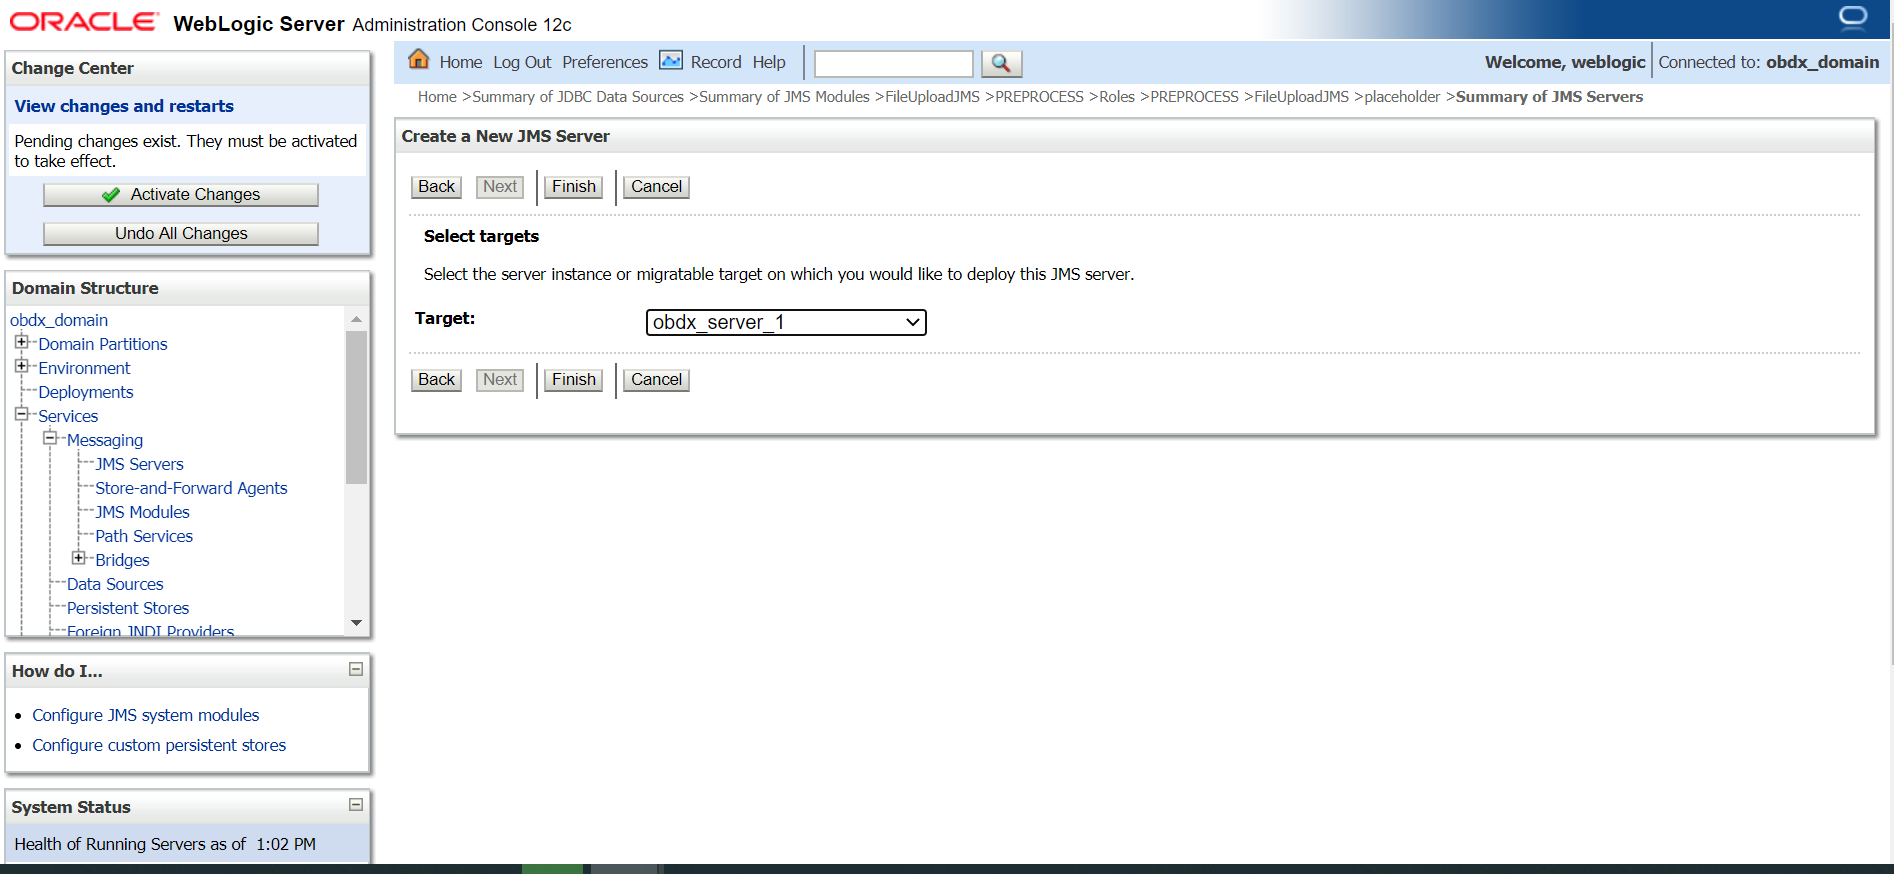
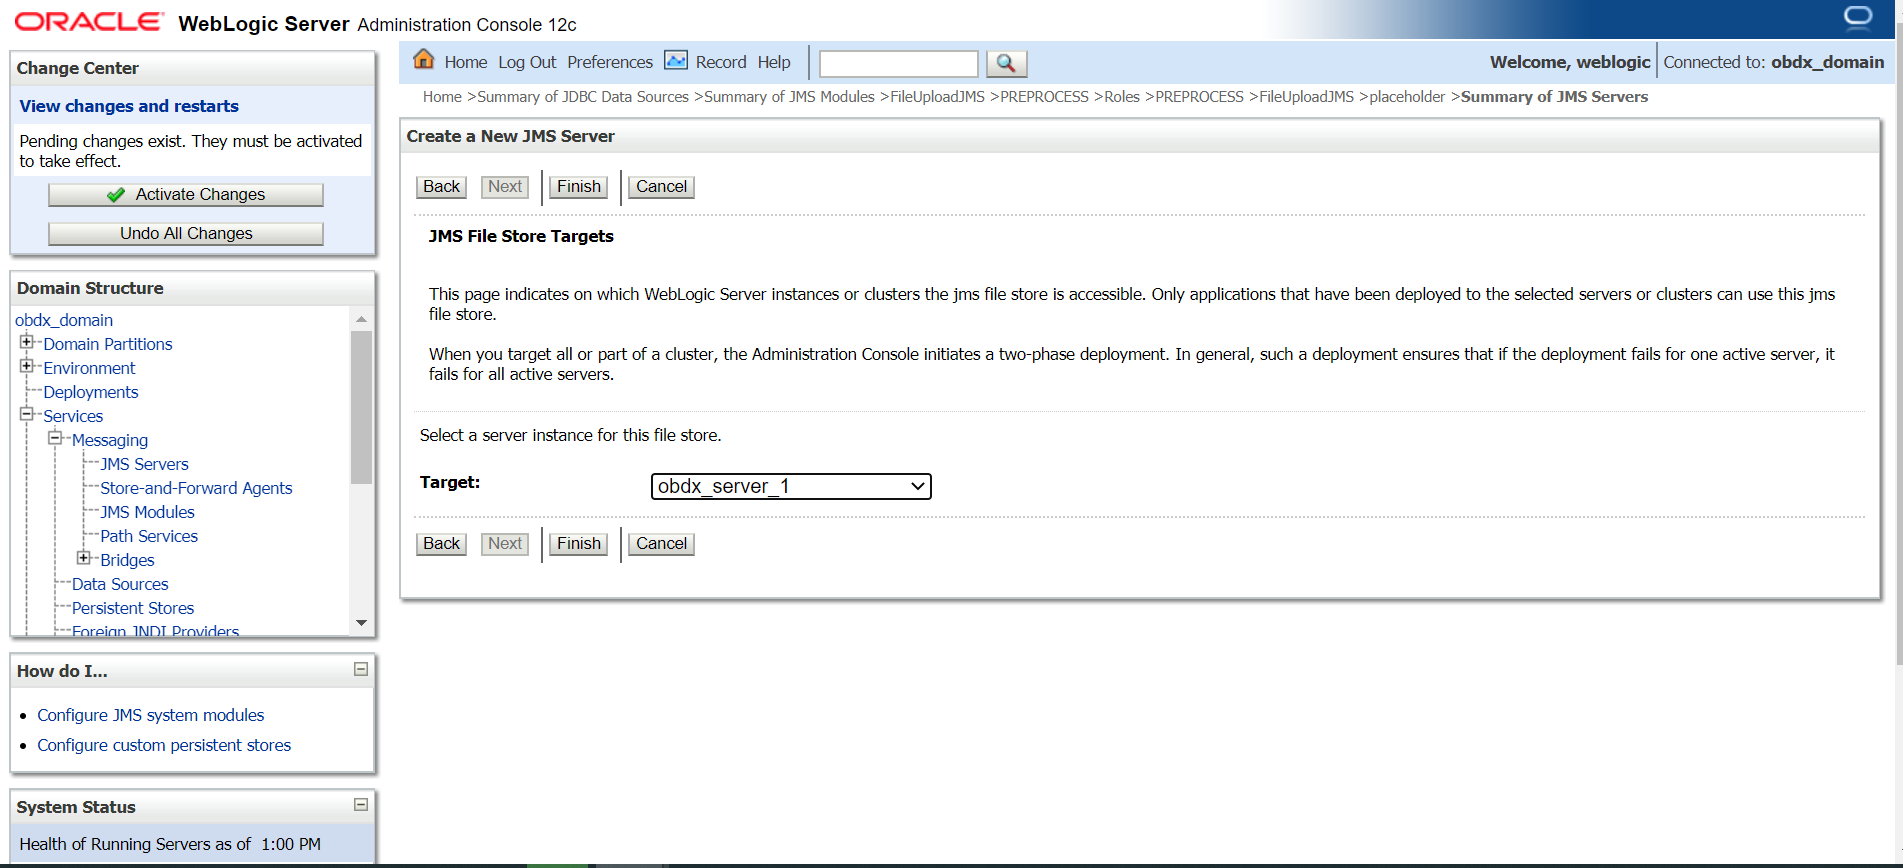
- Select target as managed server and click
Finish.
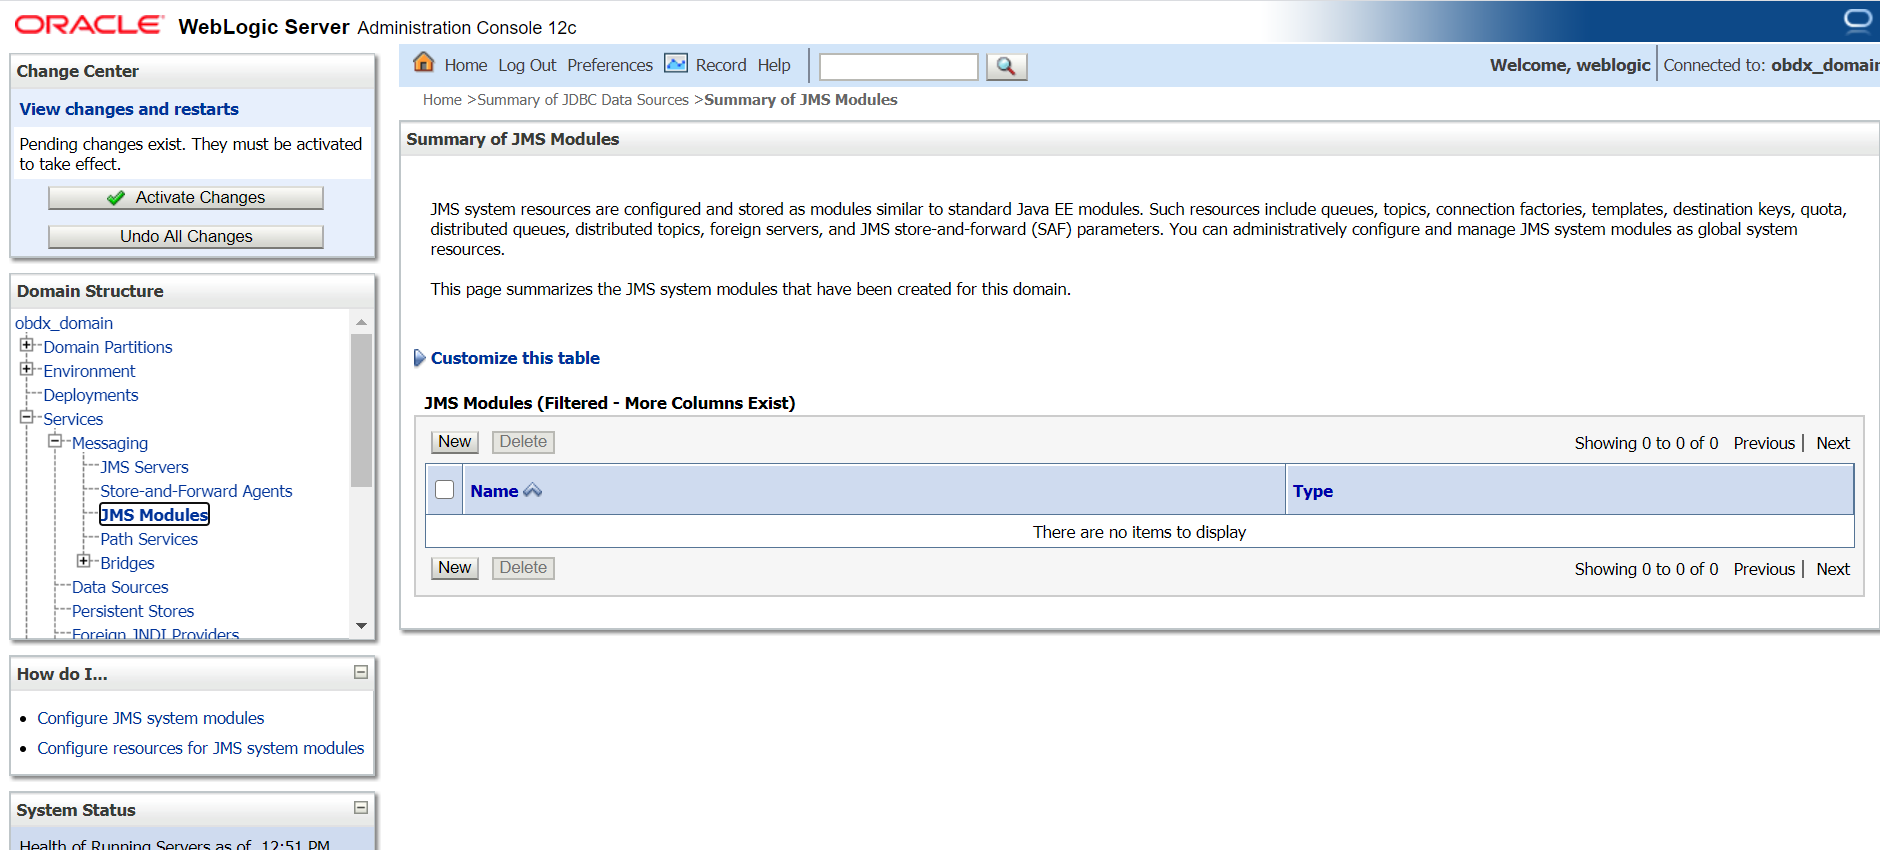
- Left hand side click on JMS Module → click
New.
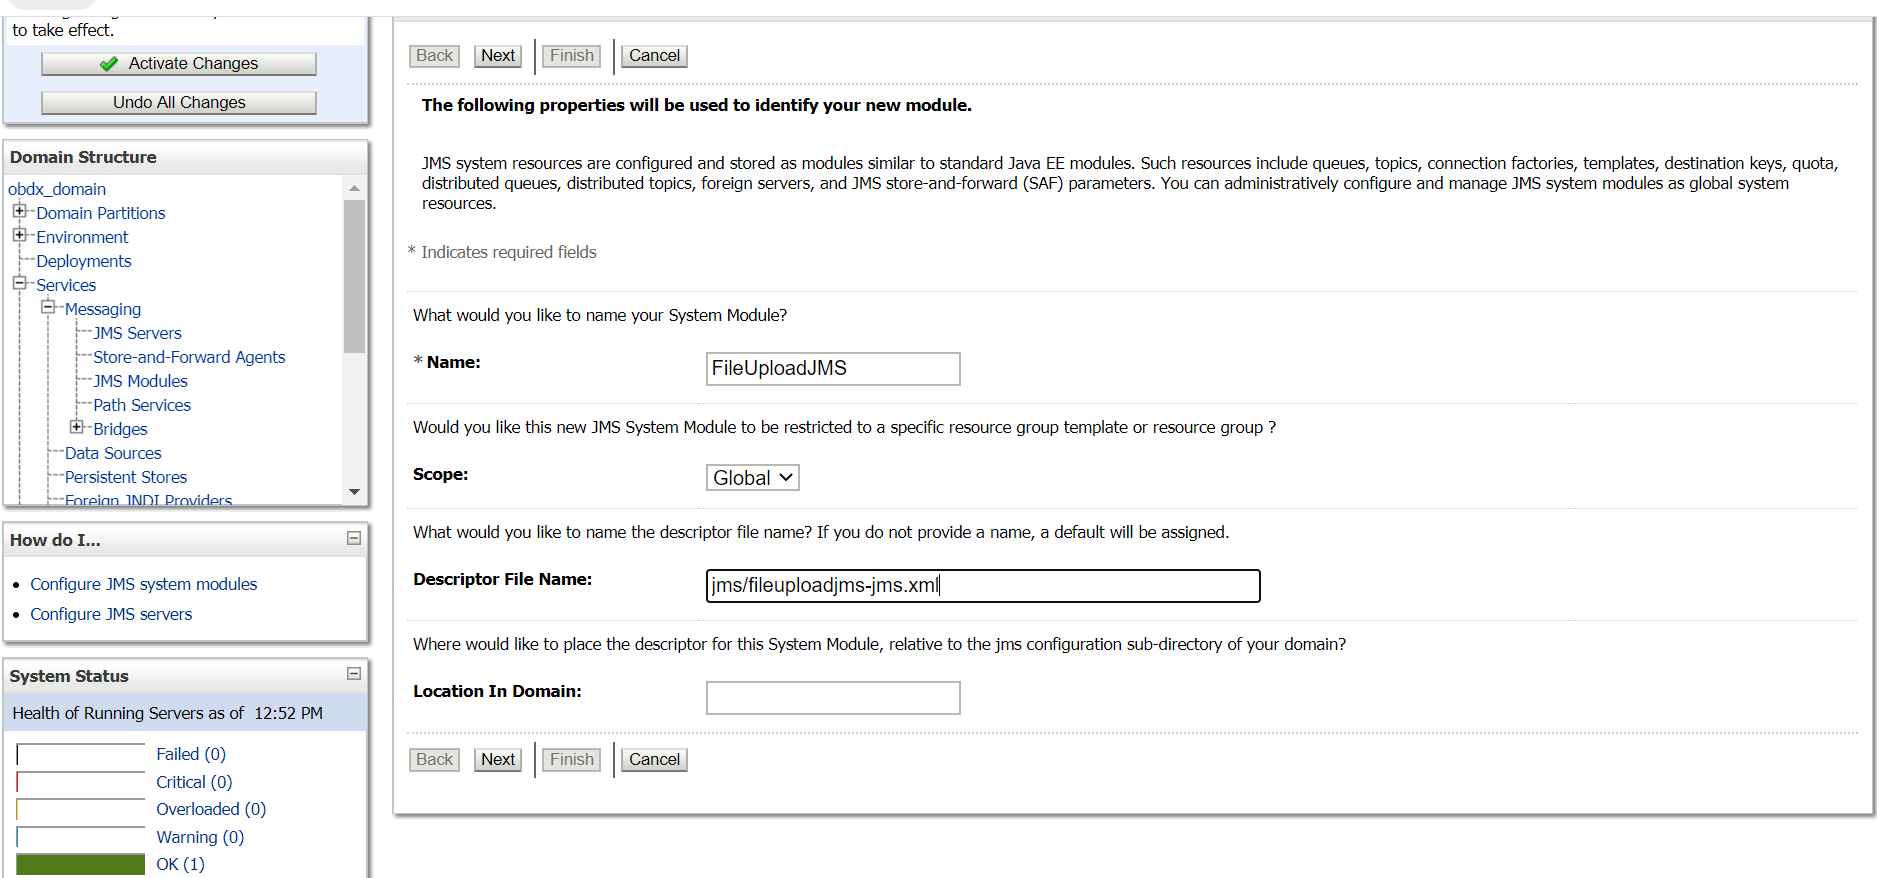
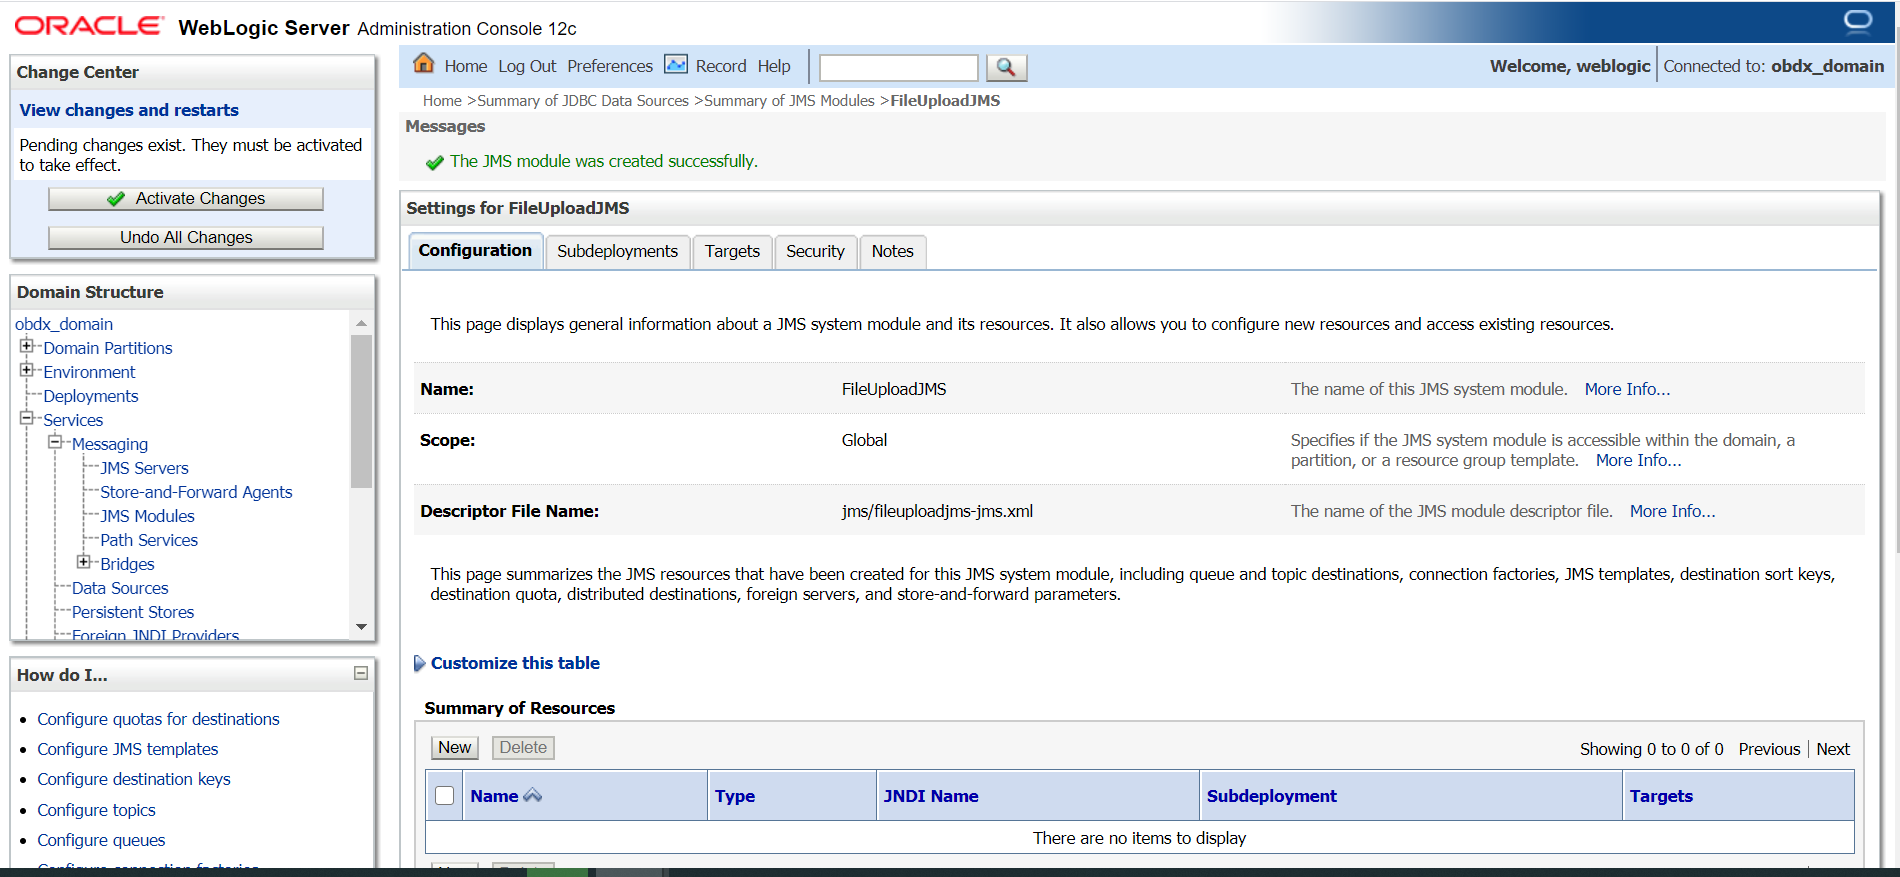
- Name :
FileUploadJMSScope: Global
Descriptor File Name:
jms/fileuploadjms-jms.xml - Click Next.
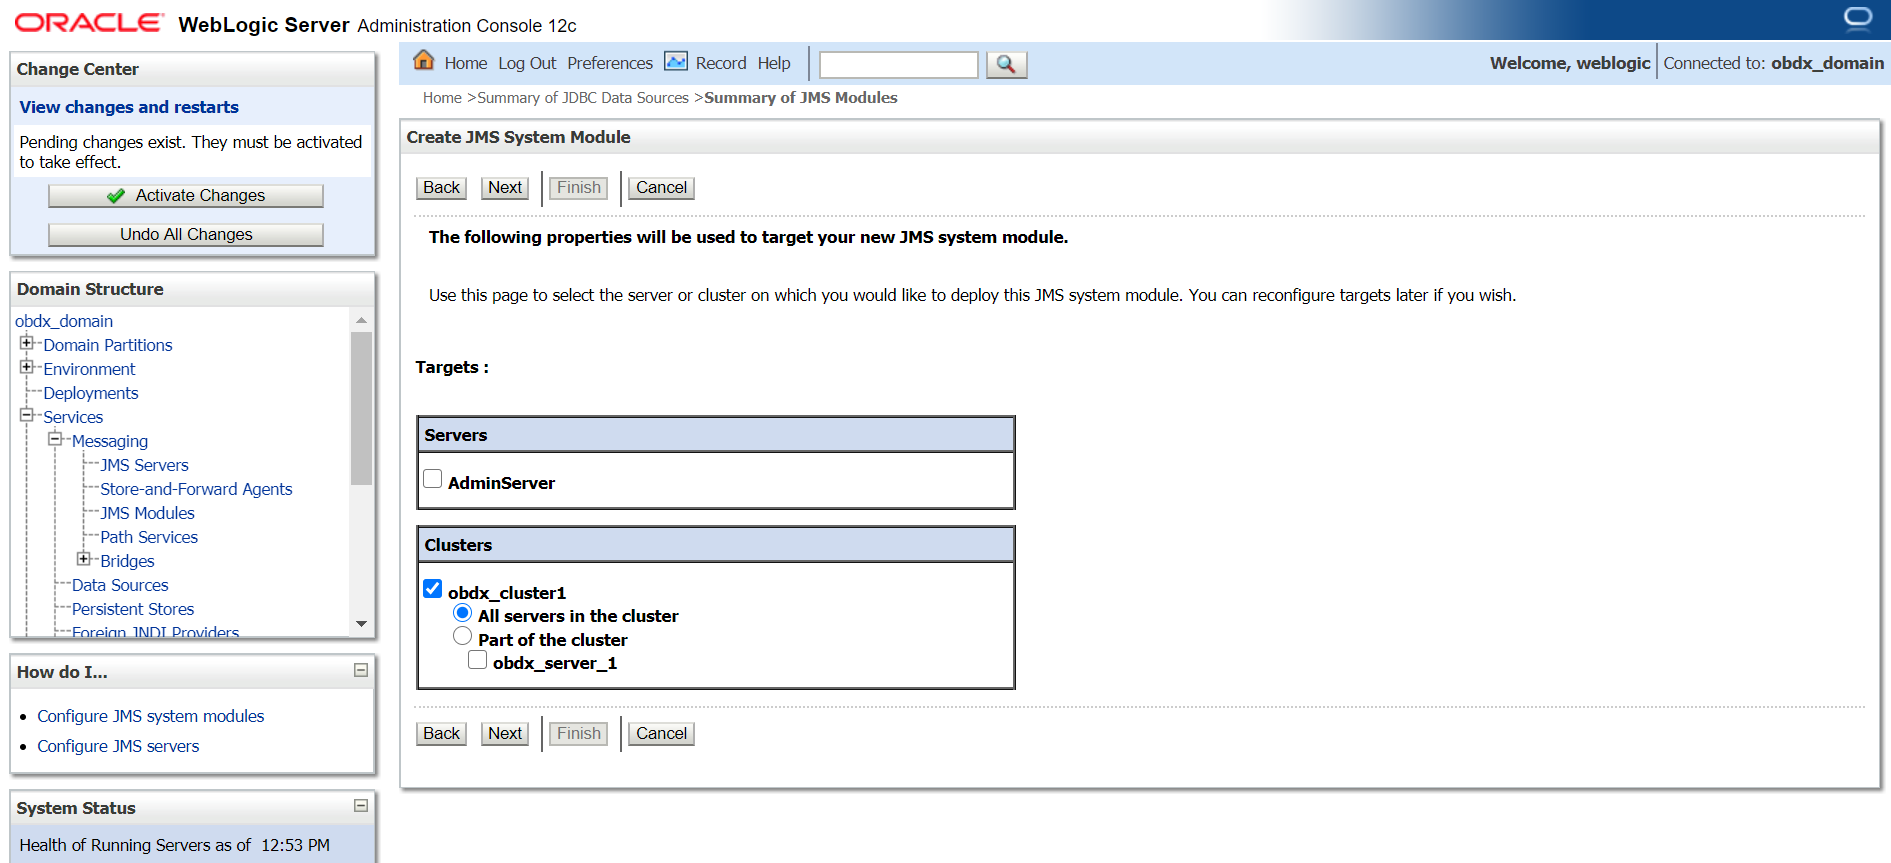
- Set target as cluster → click Next.
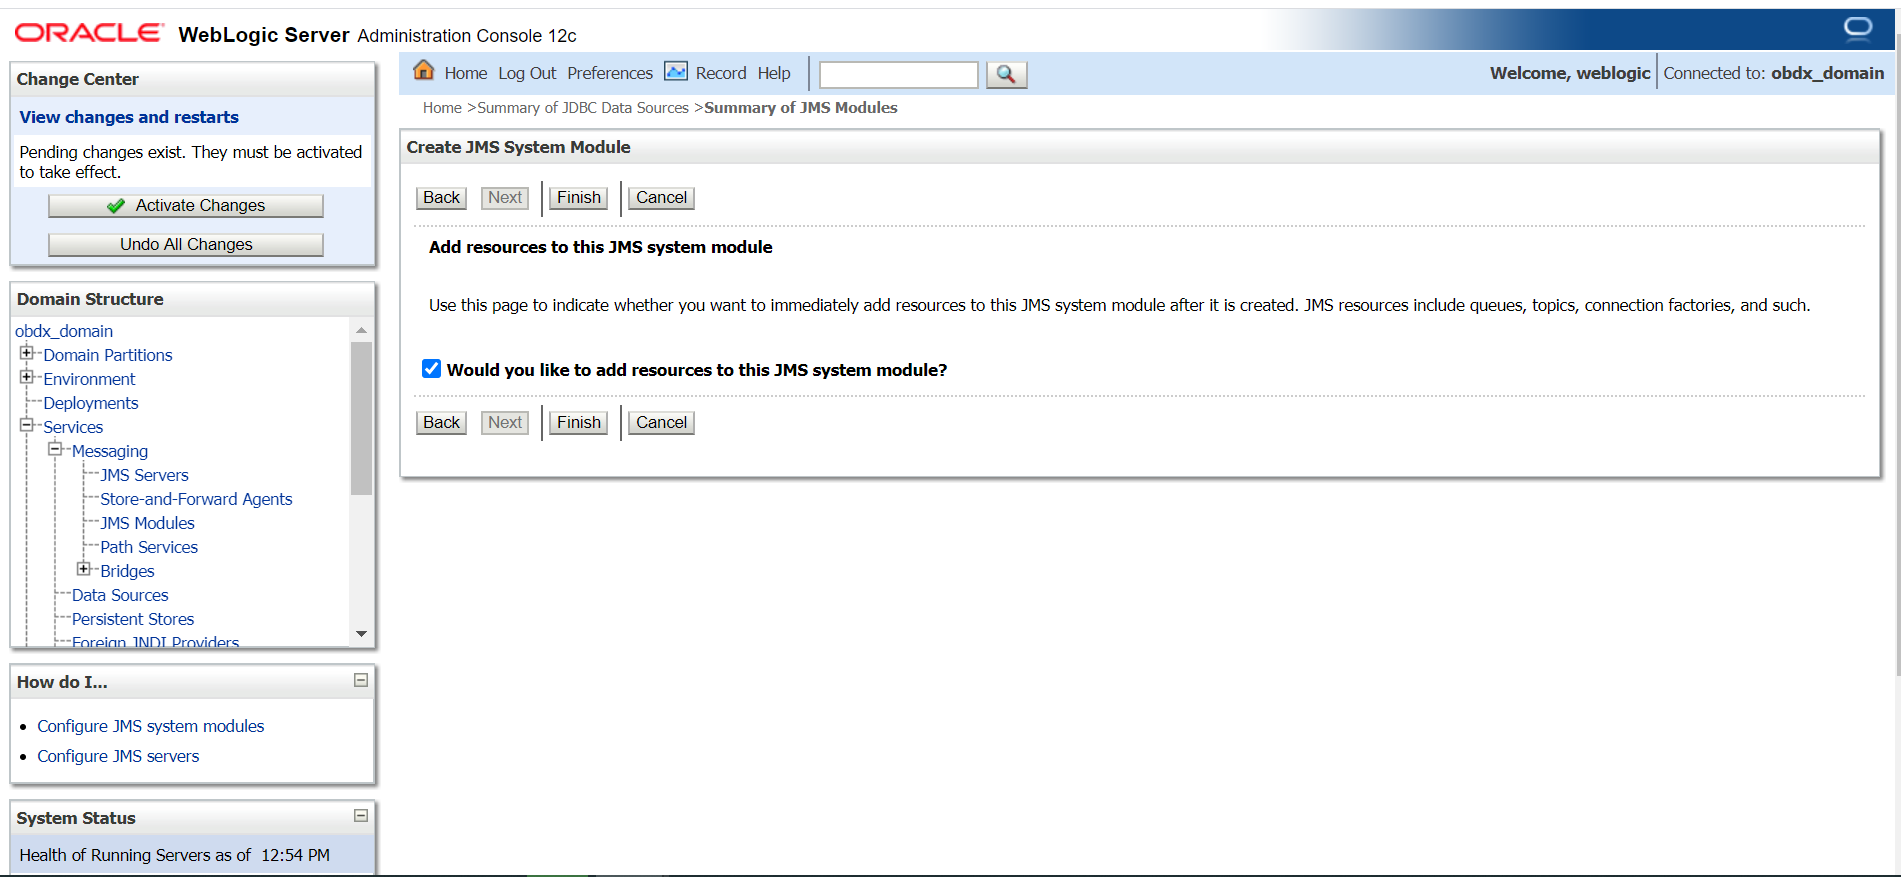
- Select Would you like to add resources to this JMS system
module and click Finish.
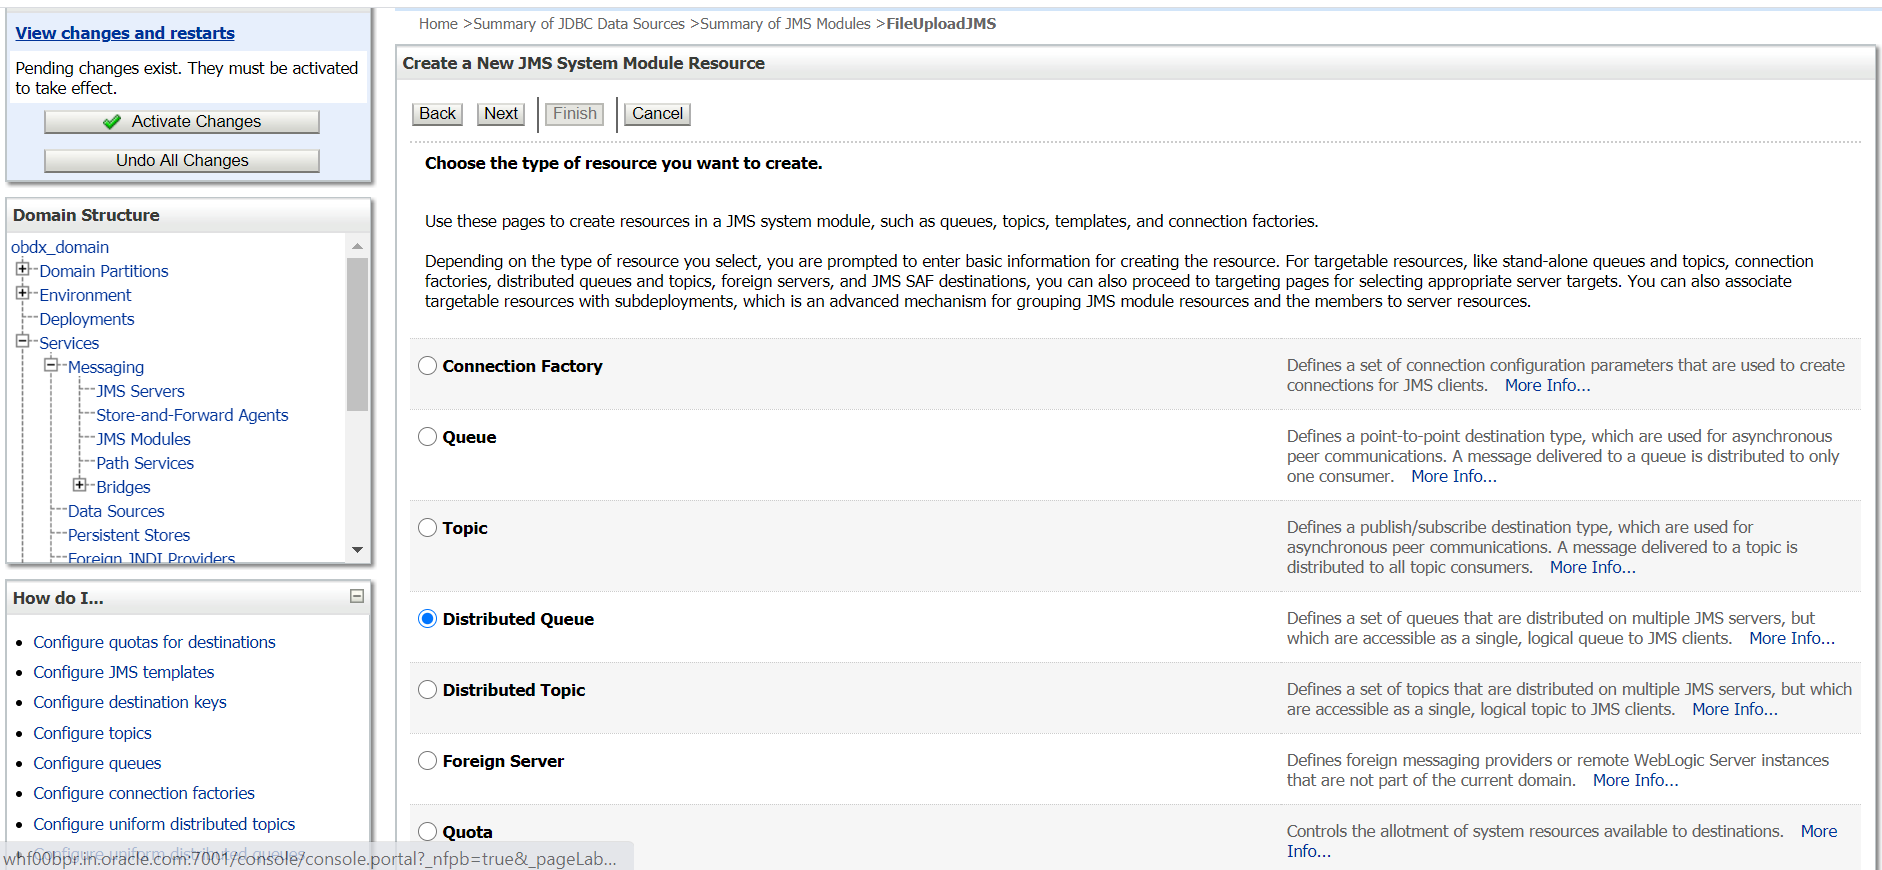
- Select New.
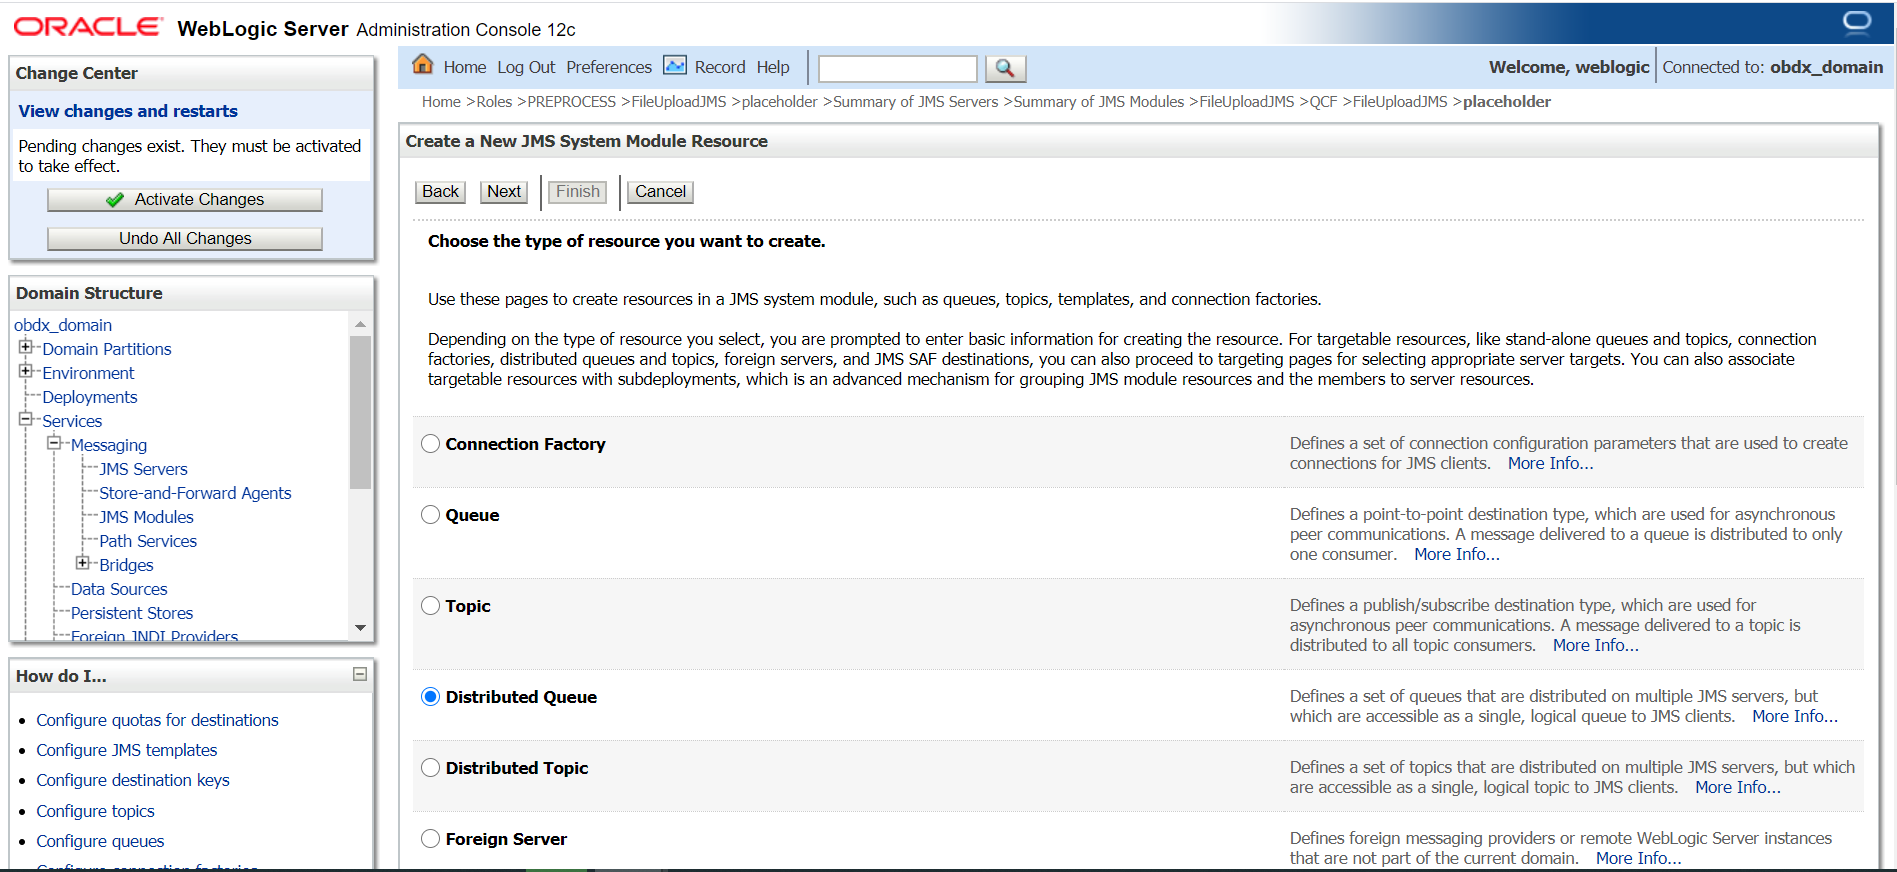
- Select Distributed Queue and
clickNext.
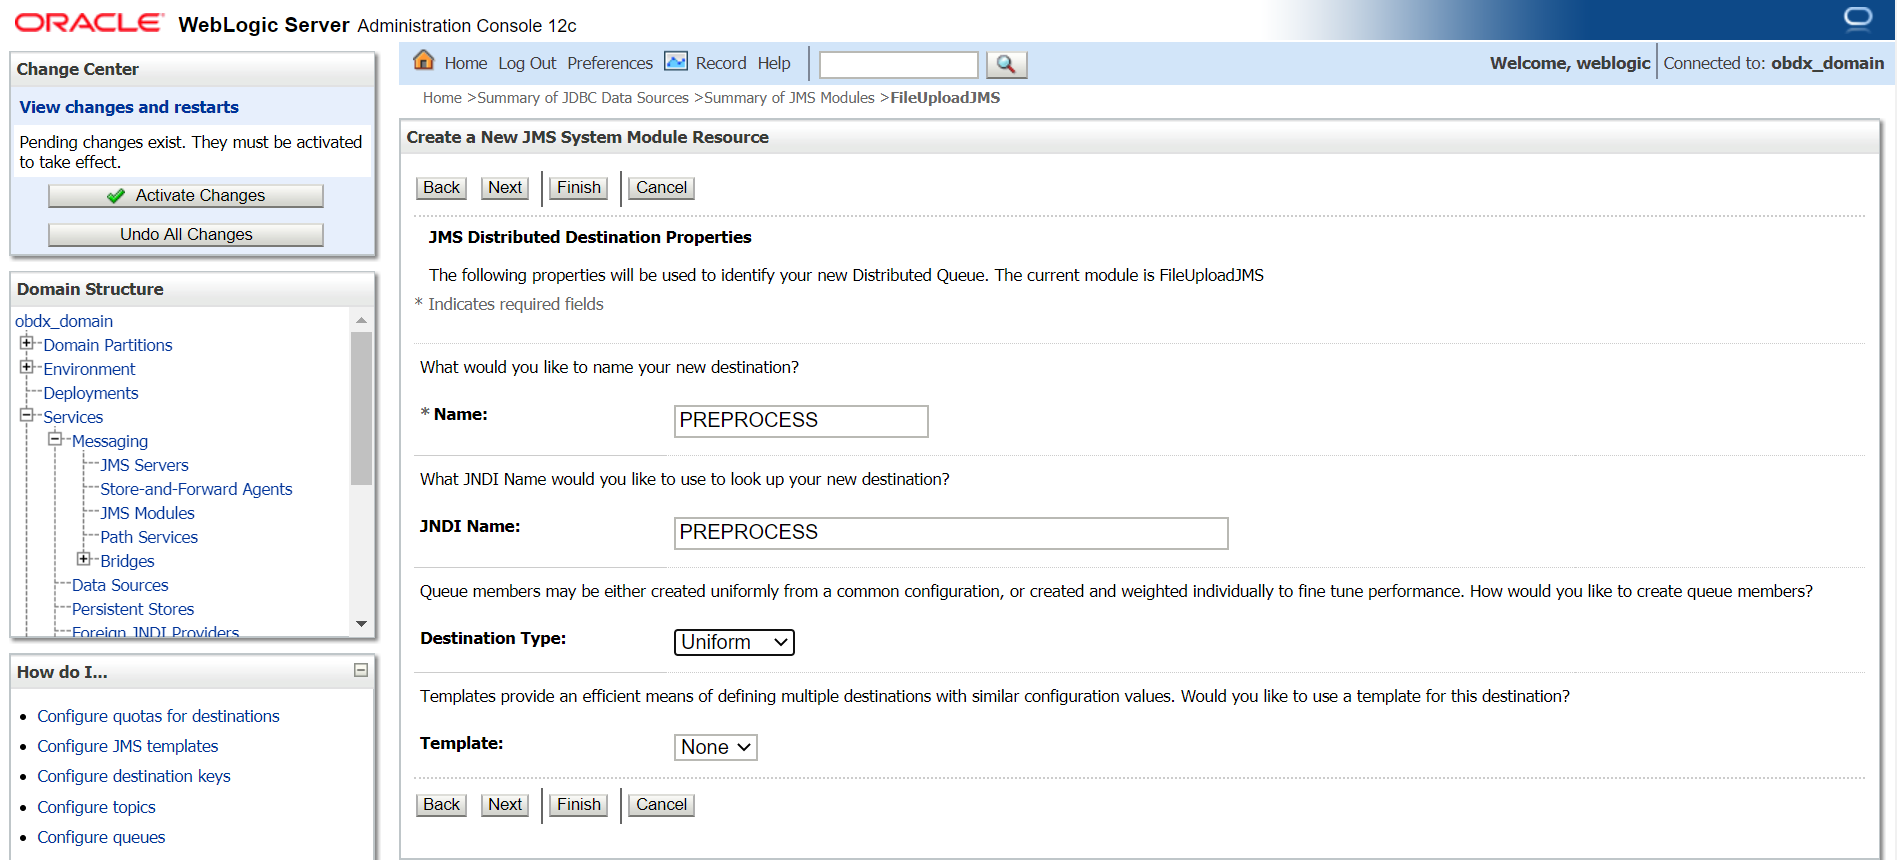
- Provide
Name:
PREPROCESSJNDI Name:
PREPROCESSDestination Type: Uniform
Template: None
- Name :
WLS_JMS_FILEUPLOAD_PSScope : Global
Directory :
/tmp/WLS_JMS_FILEUPLOAD_PS - Select target as managed server.
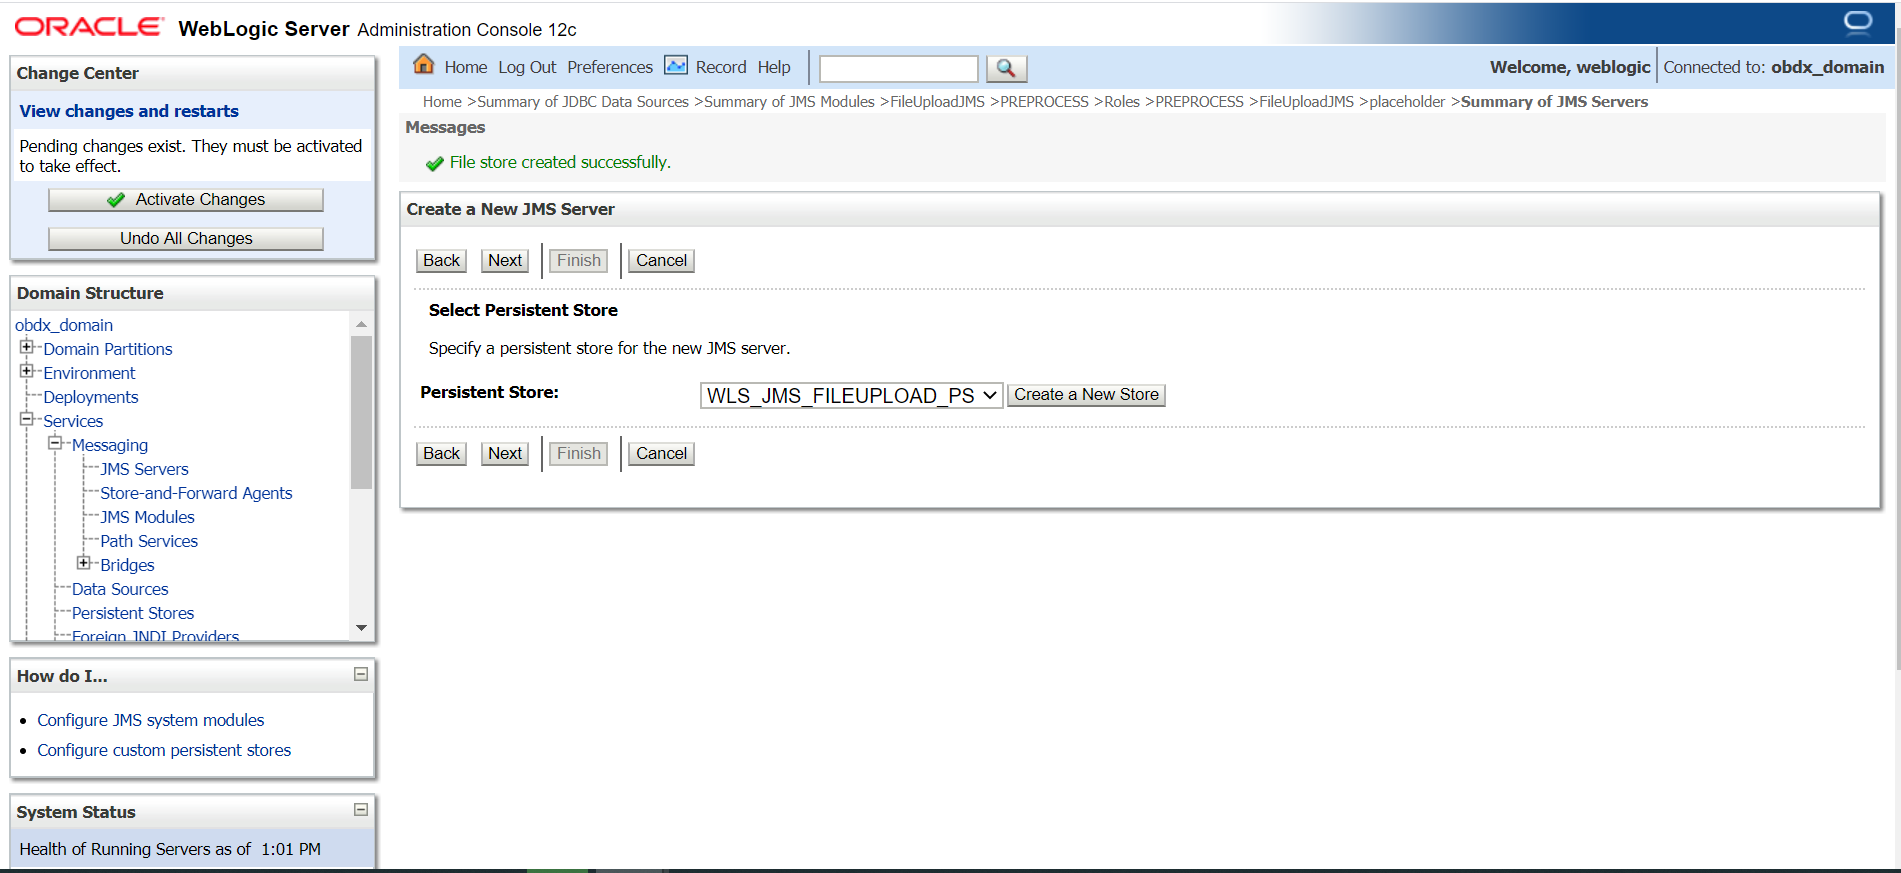
- Select
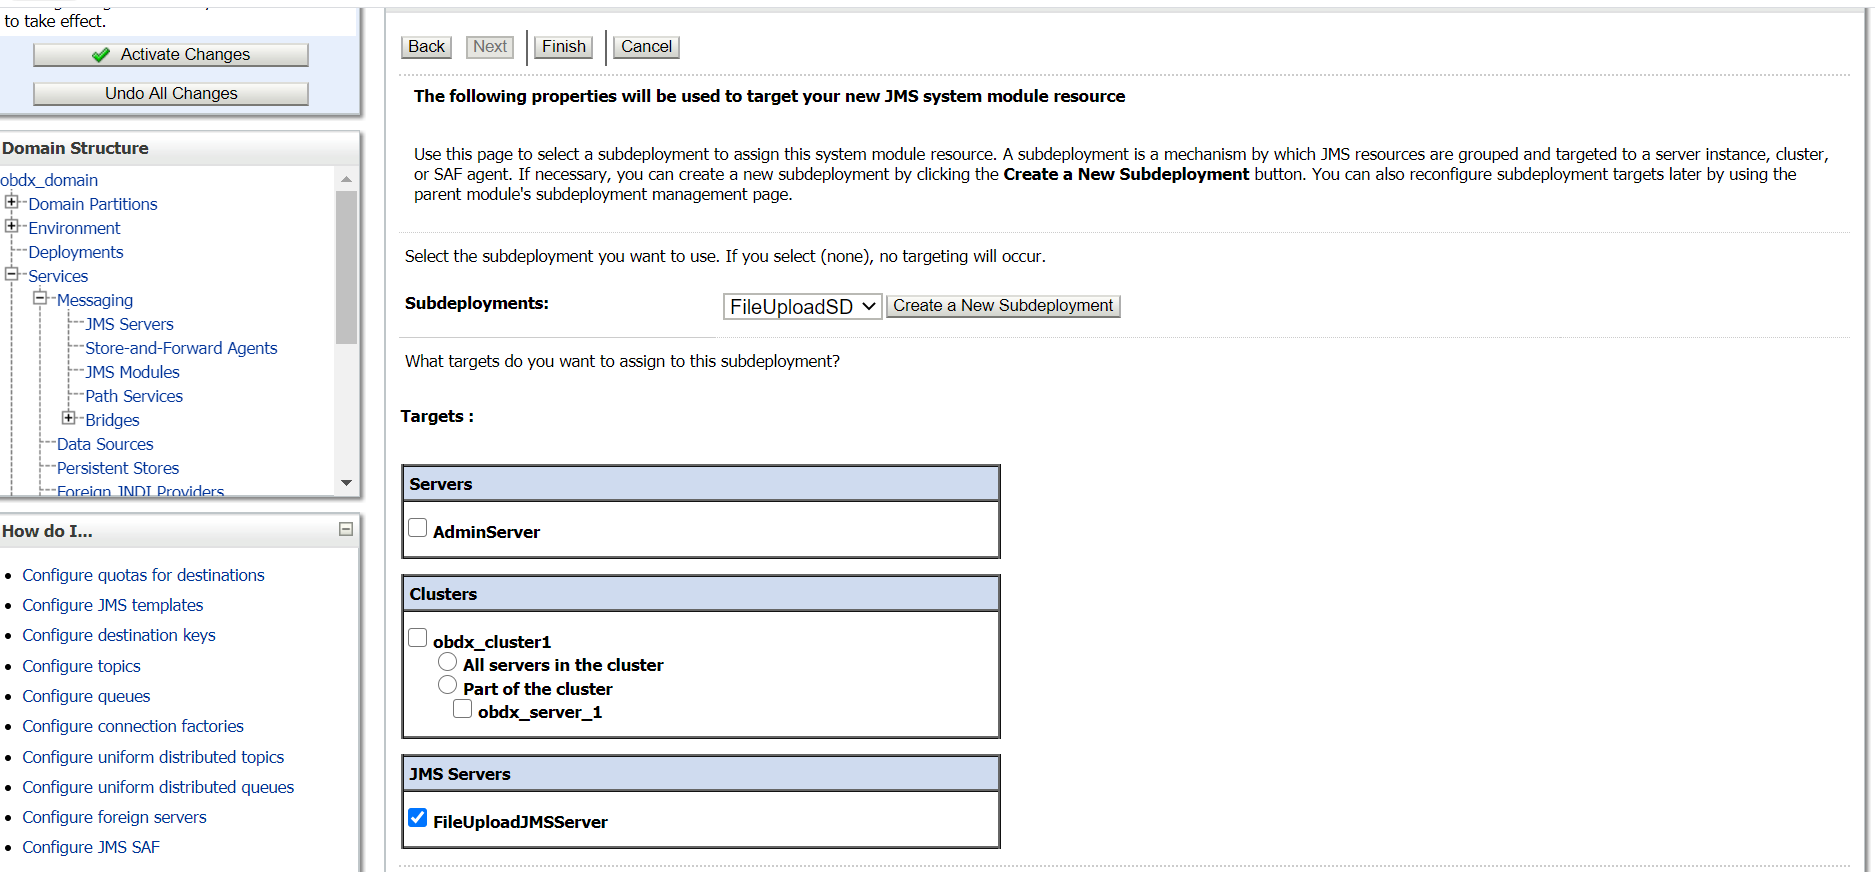
WLS_JMS_FILEUPLOAD_PSand click Next. - Select Create a New Subdeploymeny and create
FileUploadSD.
- Select FileUploadJMSServer and click
Finish.
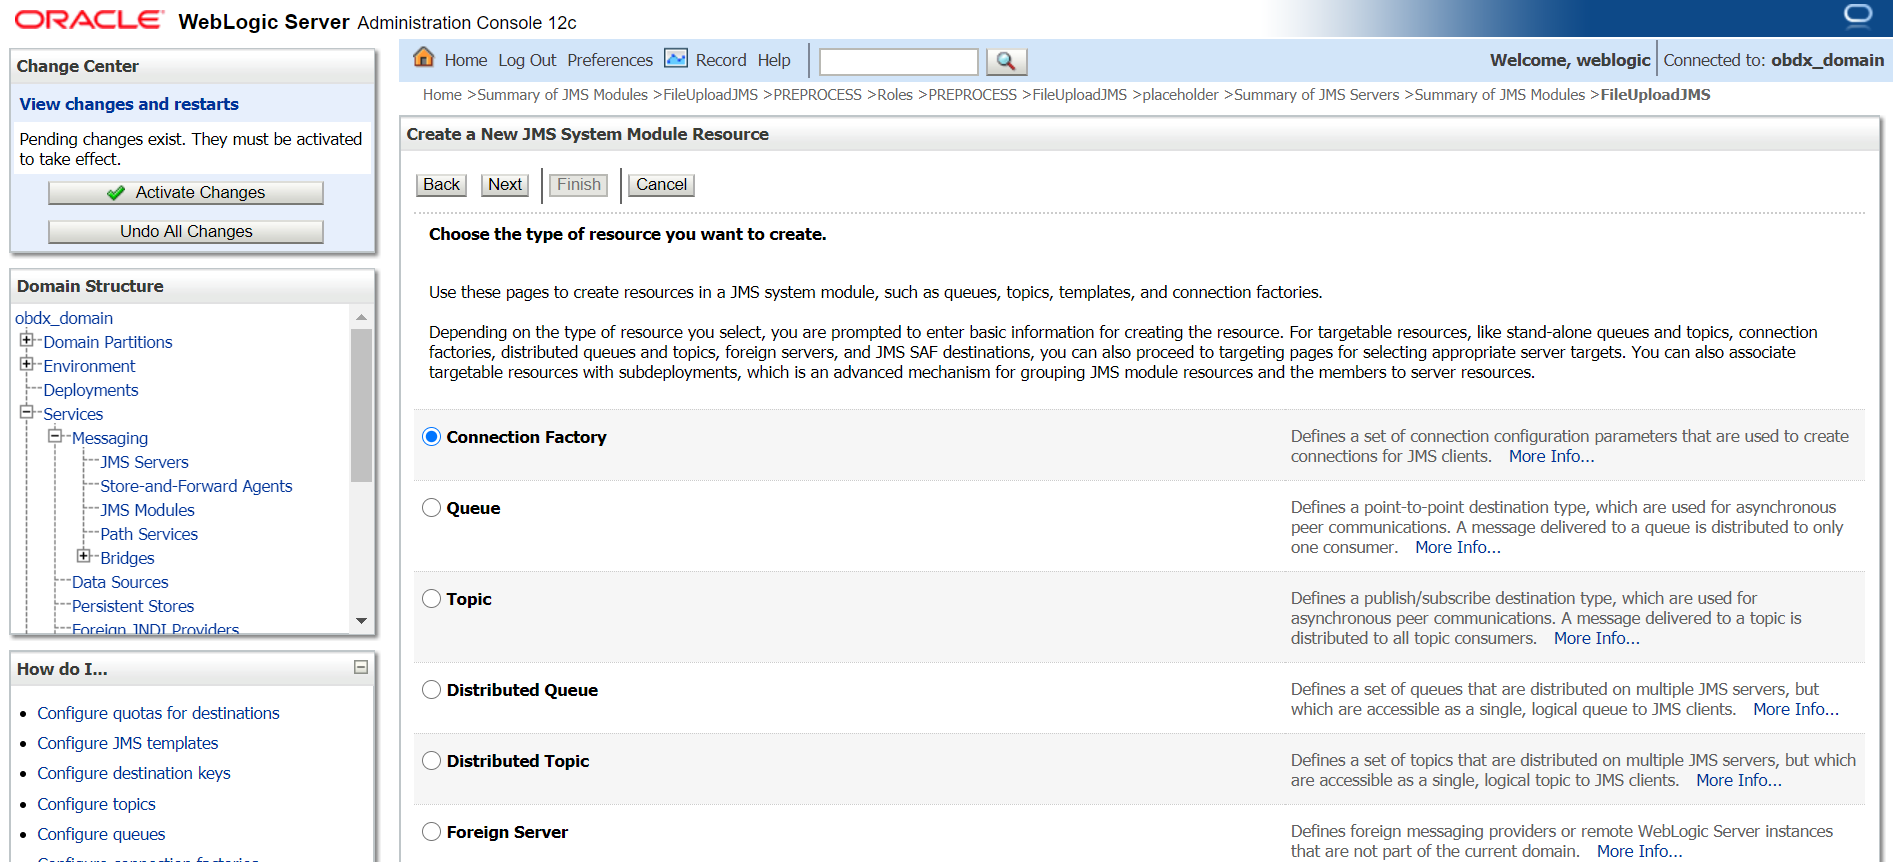
- Similarly Go into FileuploadJMS module and click
Next.
- Select Connection factory → Click Next.
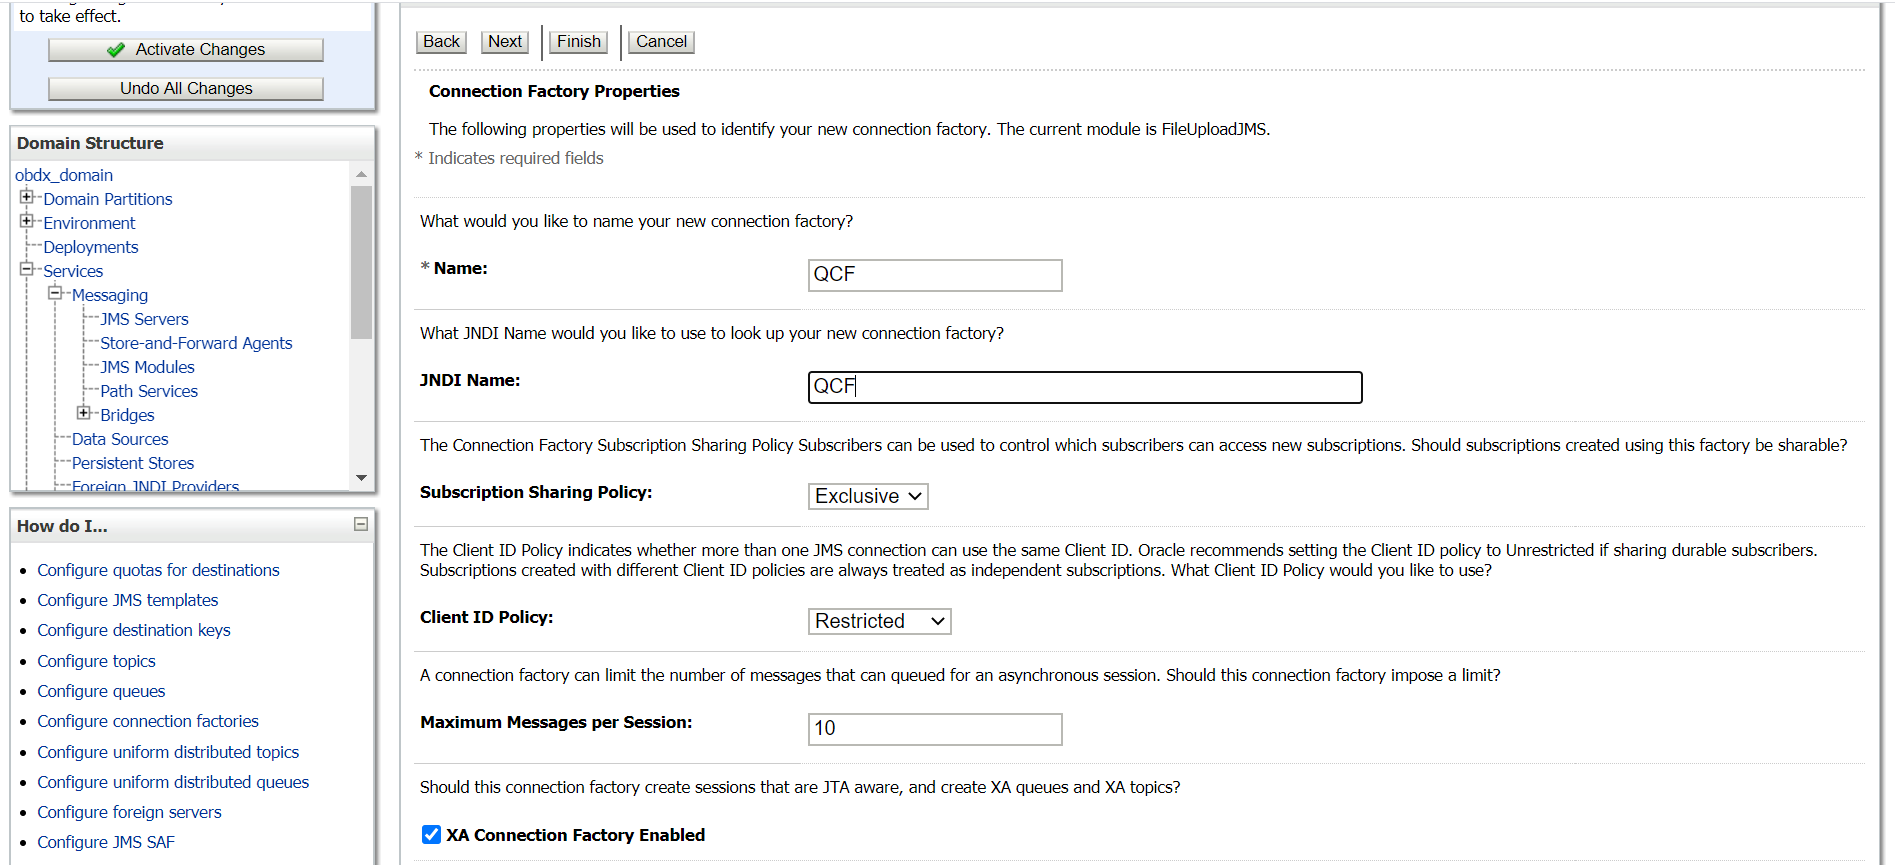
- Provide
Name :
OCFJNDI Name :
OCFSubscription Sharing Policy : Exclusive
Client ID Policy : Restricted
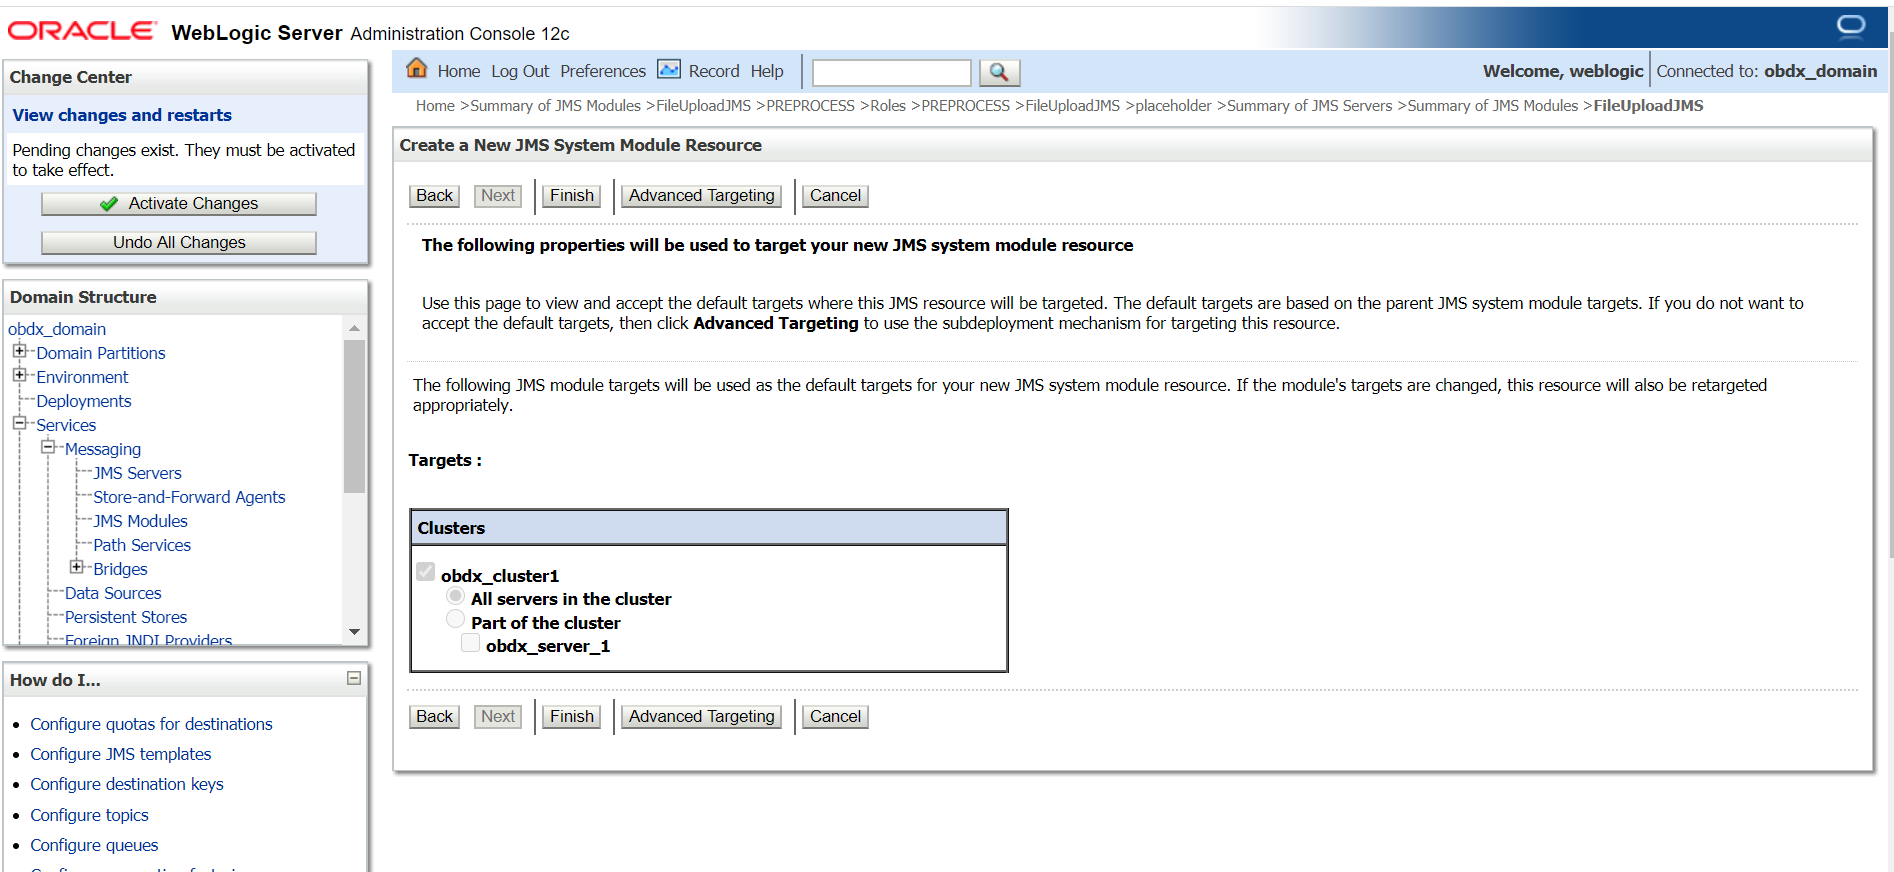
- Click on Advanced targeting.
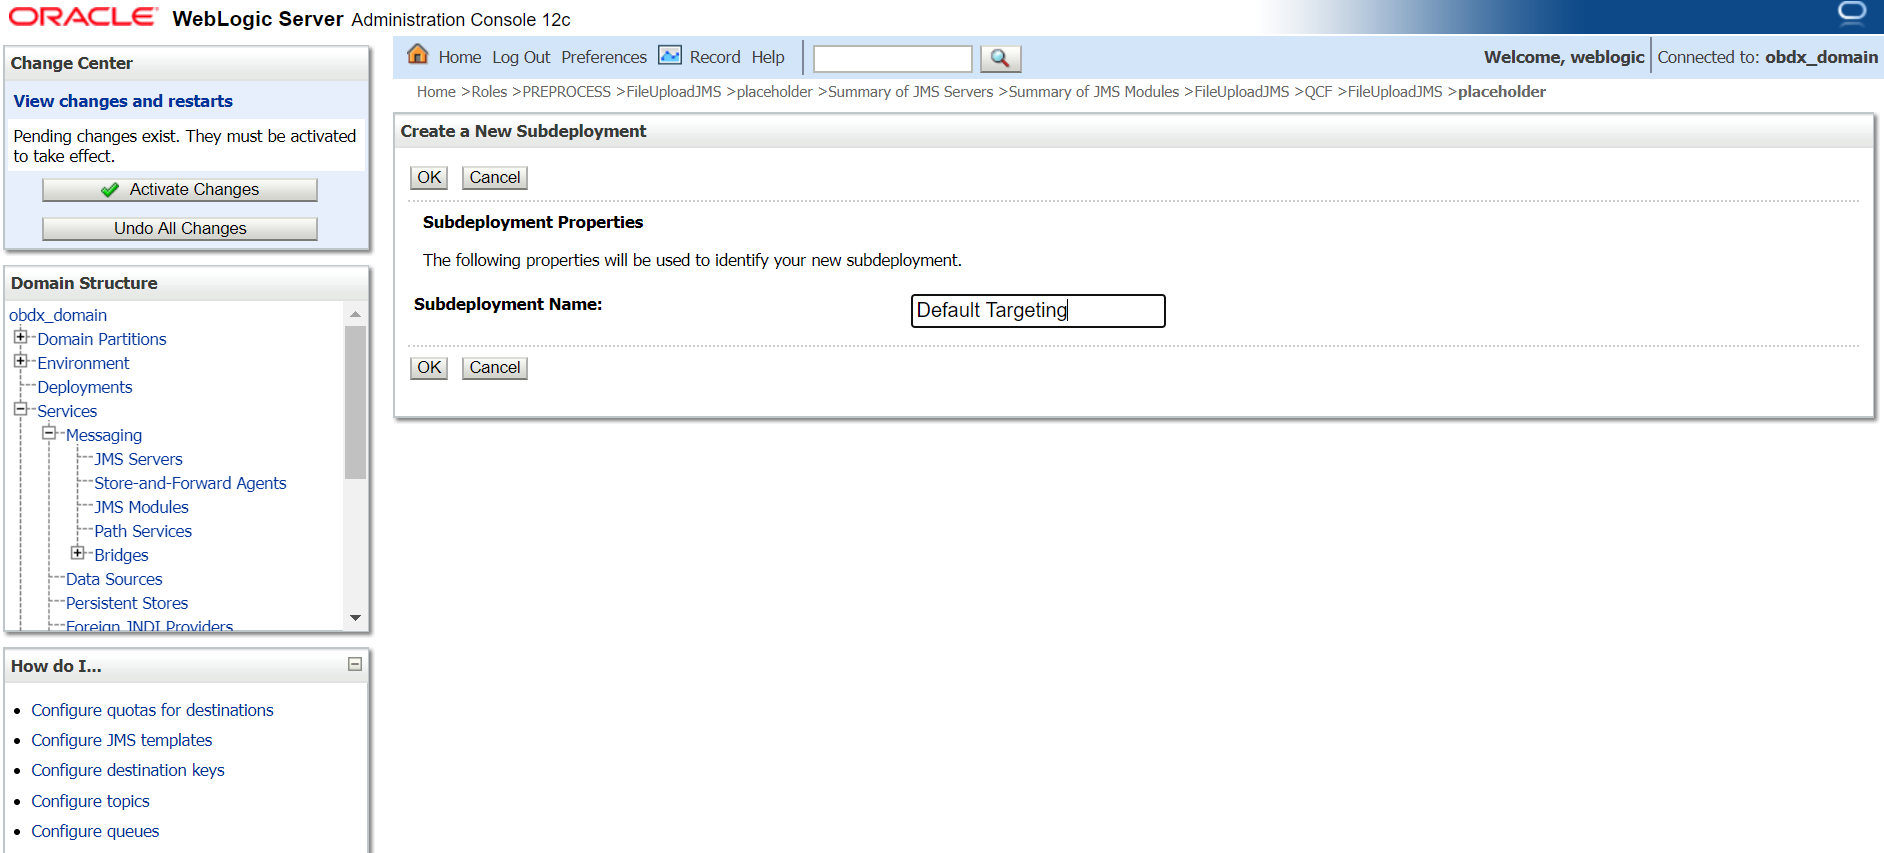
- Provide Subdeployment Name as Default Targeting.
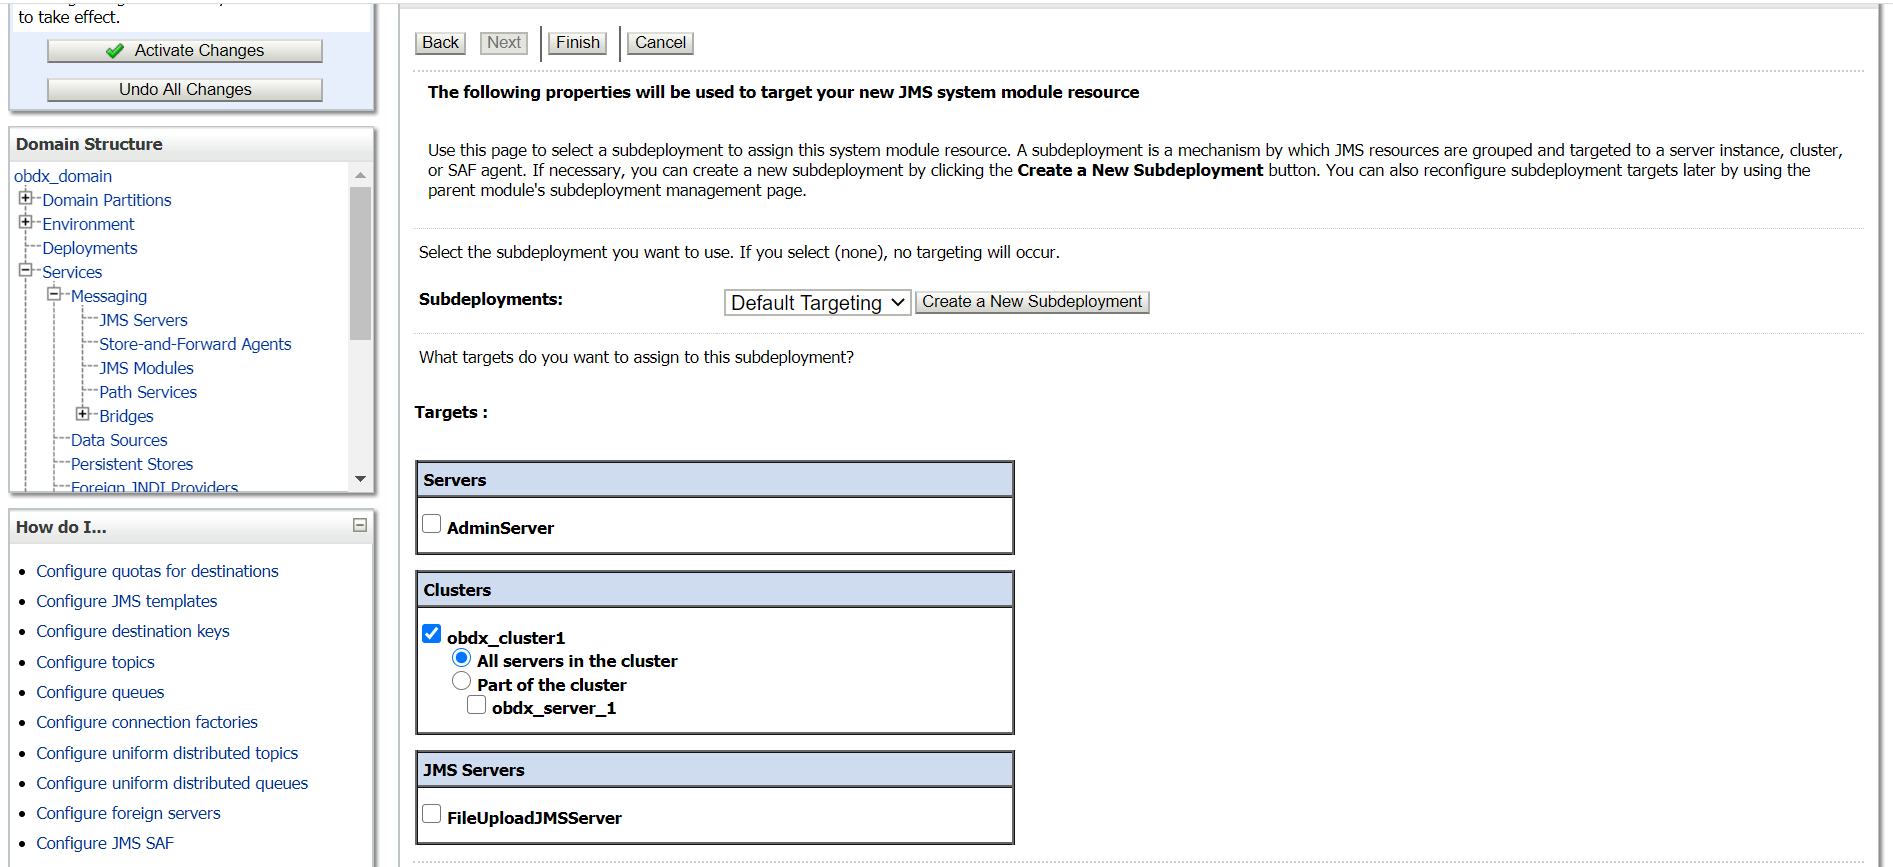
- Select cluster and click Finish.
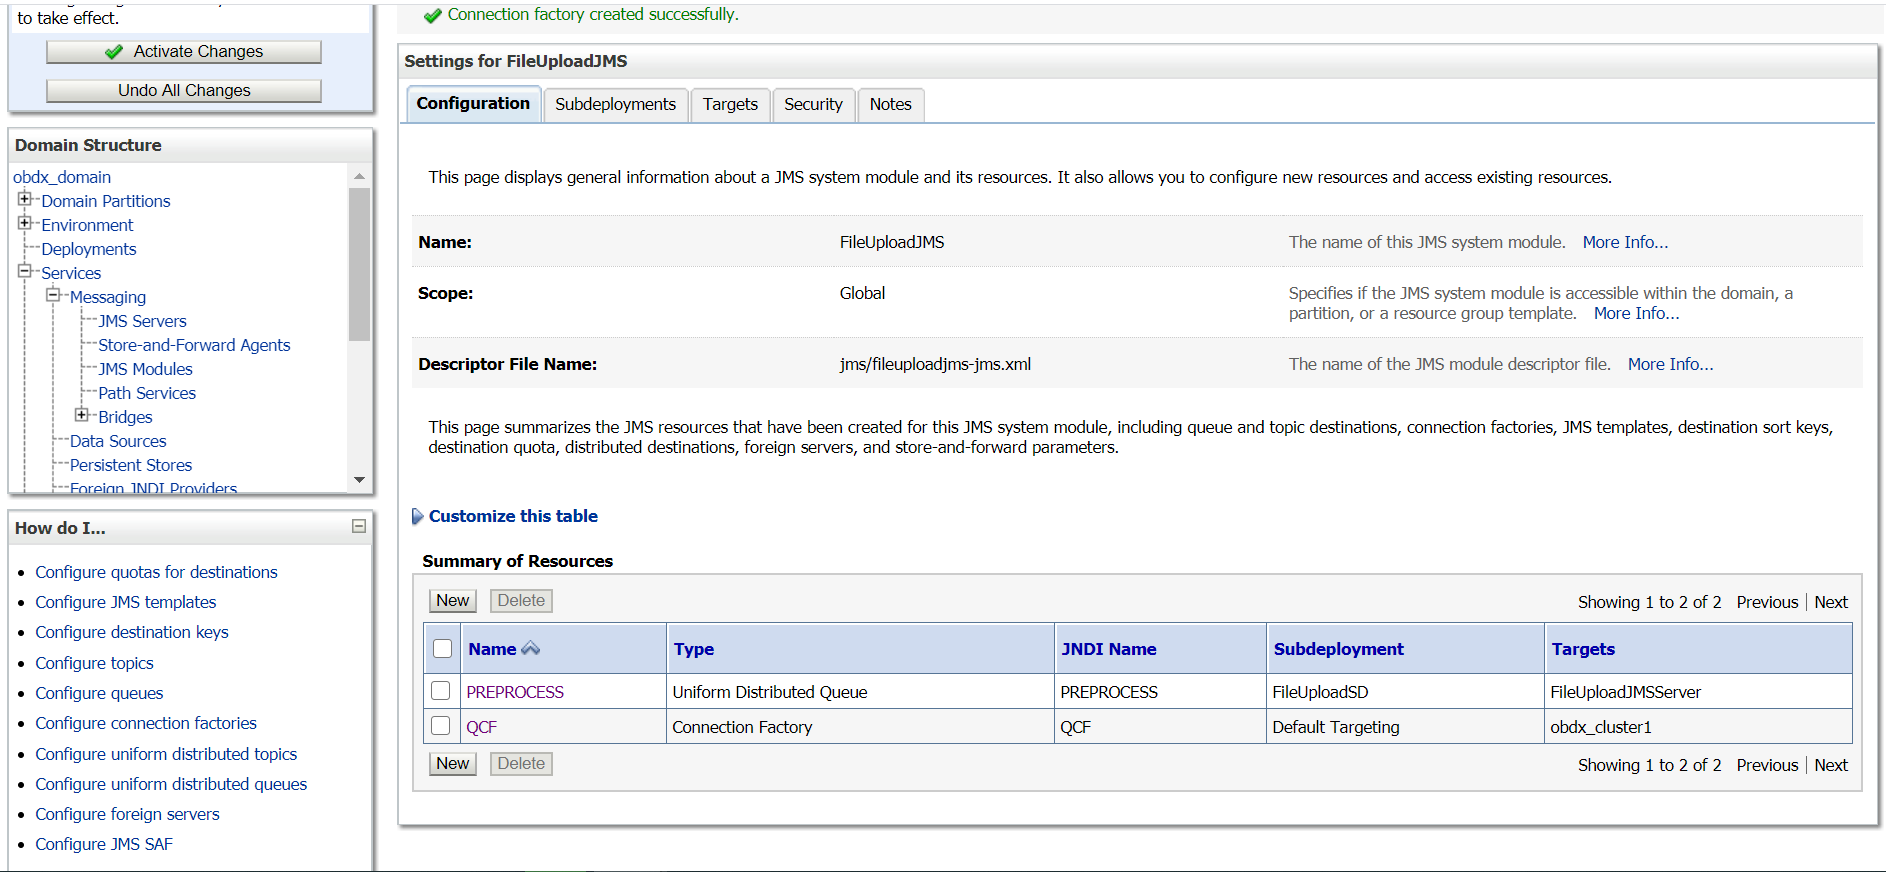
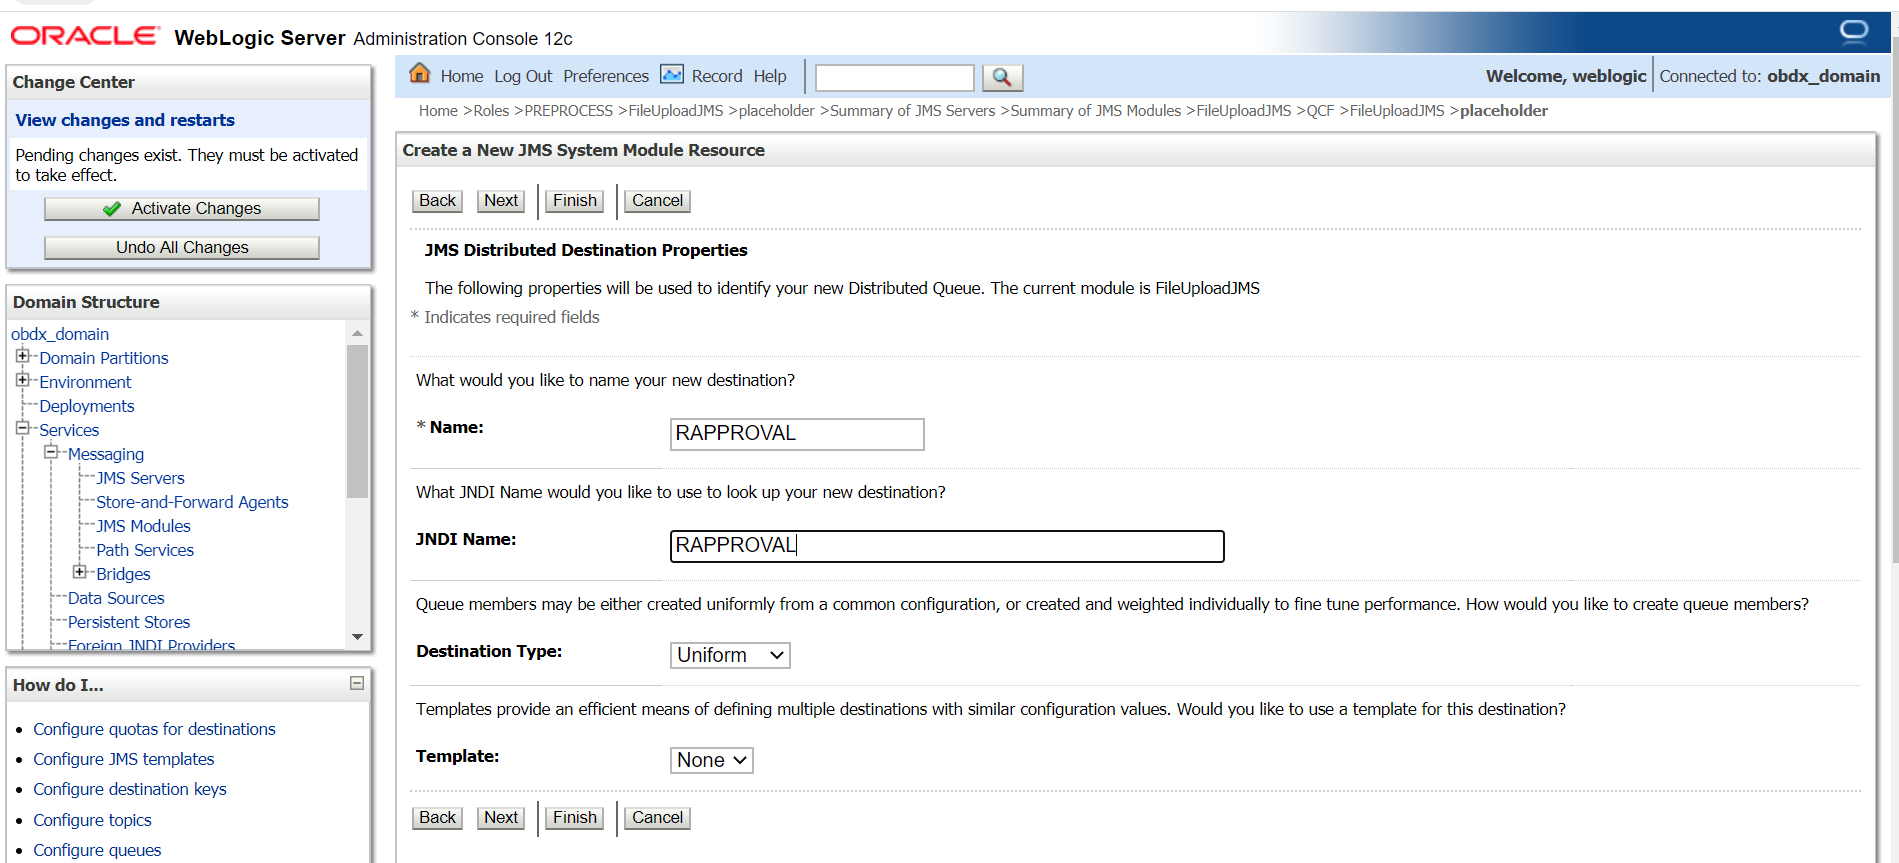
- Go to FileUpload JMS and click New.
- Select Distributed Queue.
- Provide
Name :
RAPPROVALJNDI Name :
RAPPROVALDestination Type: Uniform
Template : None
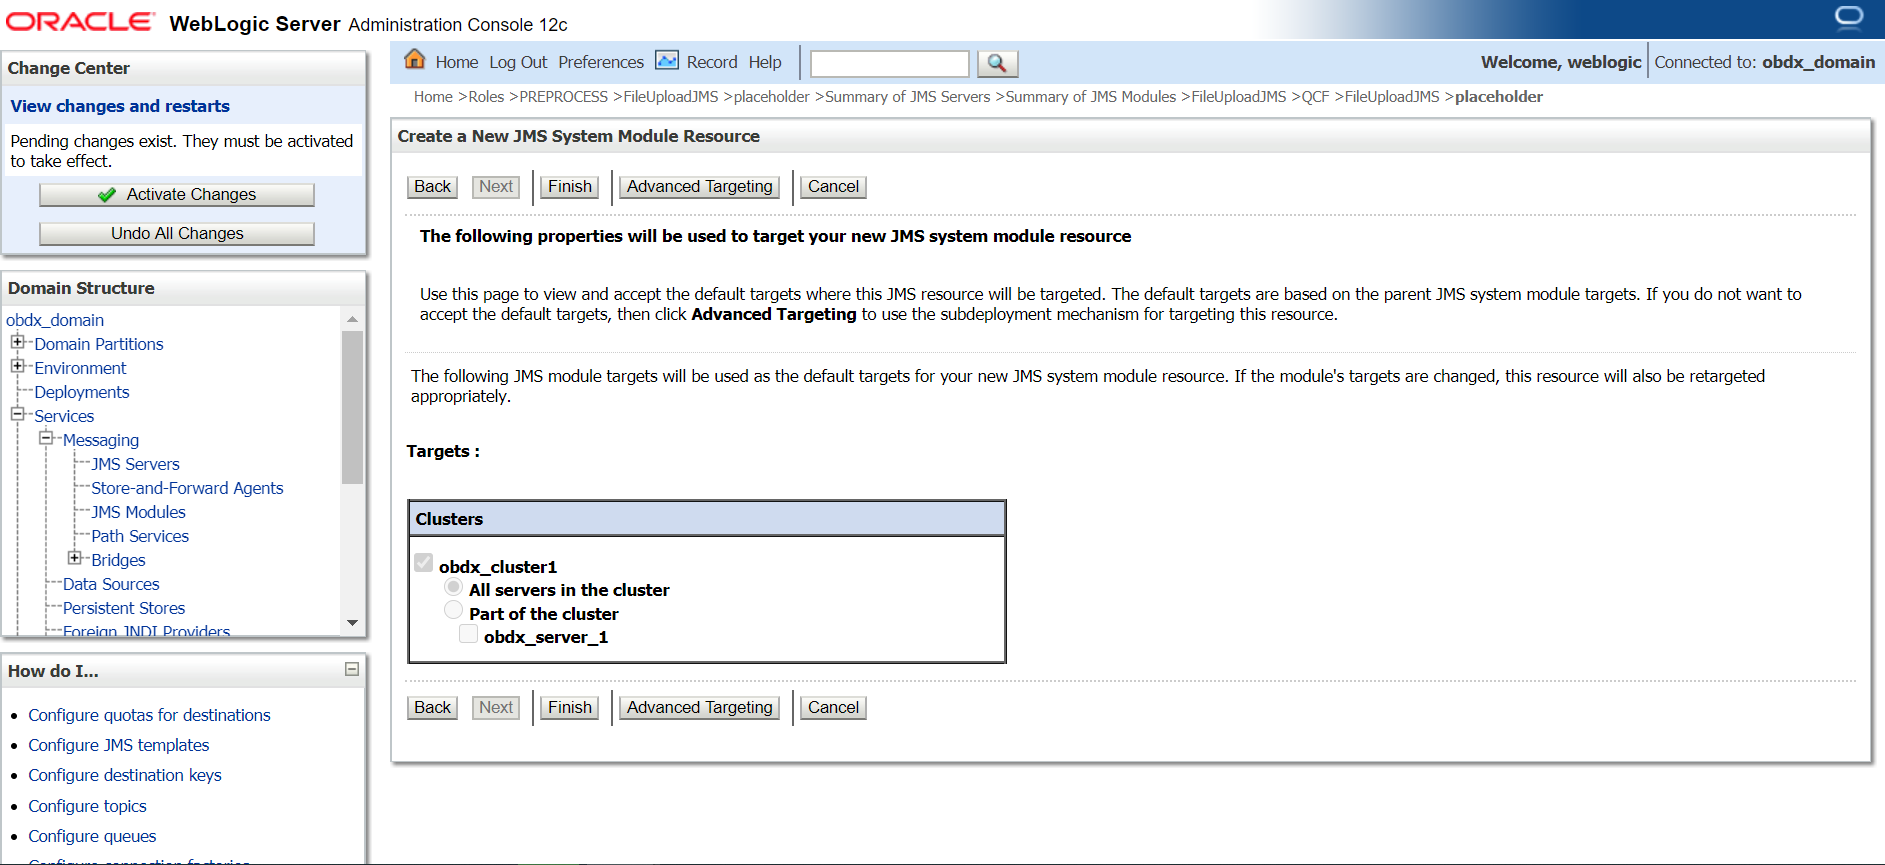
- Select Advance targeting.
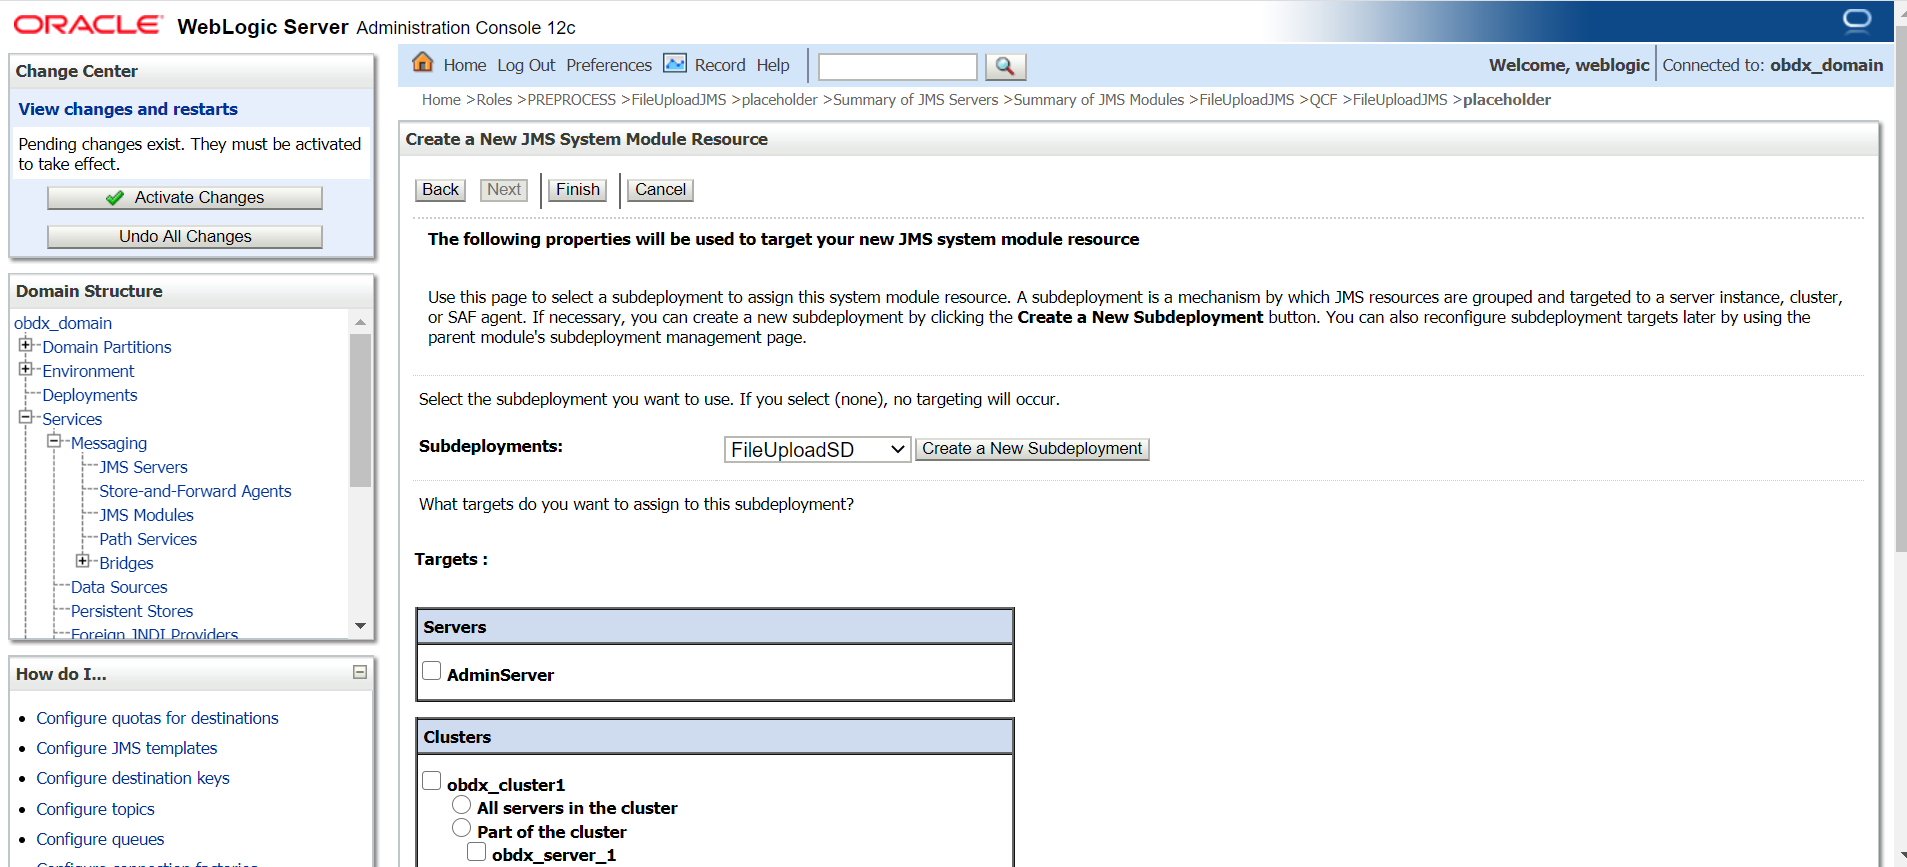
- Select Subdeployment: FileUploadSD.
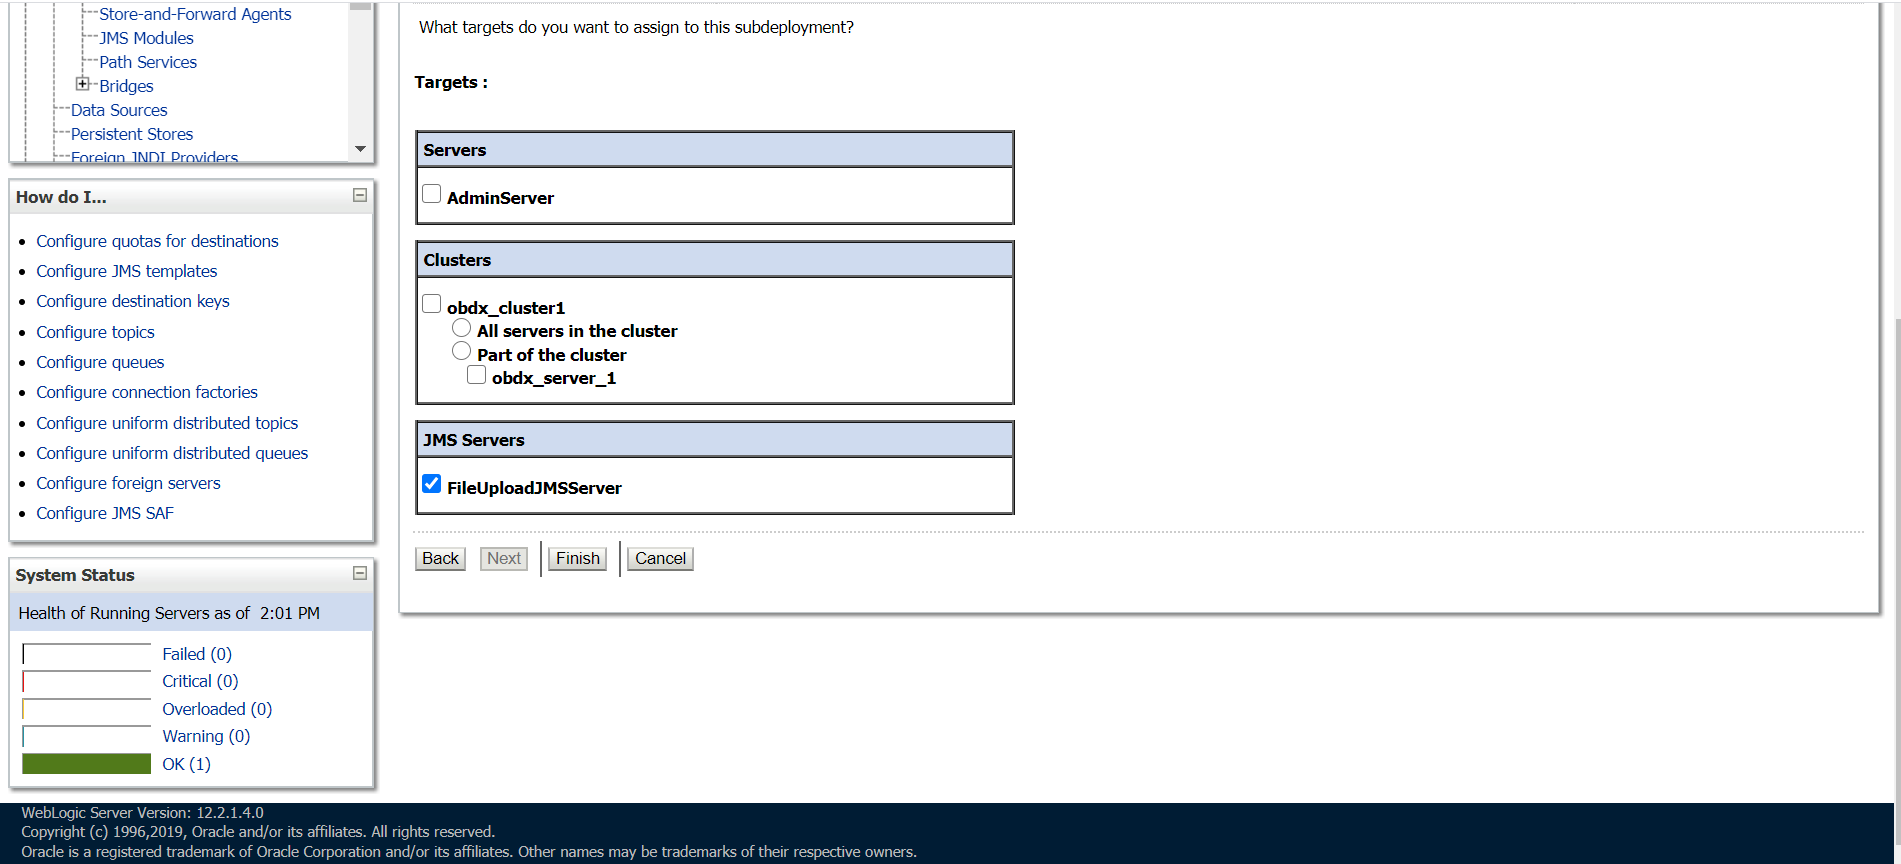
- Select FileUploadJMSServer and click
Finish.
Parent topic: WEBLOGIC Setup and Configuration
