3 Installation
Pre-Installation
- Install all the prerequisite software and packages mentioned above
Steps of Installation
- Download and extract the installer zip file (Base).
- Navigate to “<OBDX INSTALLER DIR>/core/config”
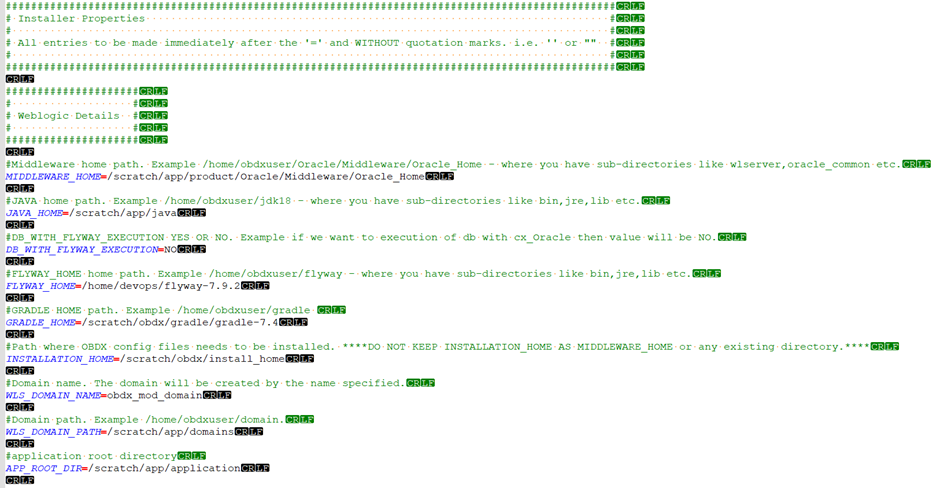
- Open the “installer.properties” file to maintain key configurations for BASE ENTITY (OBDX_BU)
IMPORTANT:
- Enter the values right after the “=”sign
- DO NOT change anything to the left of the “=”
- DO NOT change any of the flag values or pre-filled values (such as
WLS_JDBC_DIGX_NAME,WLS_JDBC_DIGX_JNDI, Flag values etc) available in “Factory Shipped” section. - Ensure there is no blank space after “=” sign, except specific flavor specific configuration.
- Throughout this document consider UBS as UBS core banking with OBPM as payments engine.
Only below parameters should be set in installer.properties file
| Component | Parameter | Description | Example |
|---|---|---|---|
| DB details (for OBDX schema) | OBDX_DATABASE_HOSTNAME |
Enter the hostname of the database server which would host the database schema for OBDX | abc.xyc.com |
OBDX_DATABASE_PORT |
Enter the port number of the database listener | 1521 | |
OBDX_DATABASE_SID |
Enter the Oracle Service Name for database instance | ||
OBDX_DATABASE_SYS_USER |
Enter the username with 'sys' privileges | Sys | |
POST_FIX |
For OBDX schema name like "OBDX_DEV" POST FIX is 'DEV'.
SHOULD BE IN UPPERCASE ONLY. |
DEV | |
OBDX_DBA_DIRECTORY_NAME |
Enter the directory name in which you want the OBDX
schema tablespace datafile to be created. Enter Logical name (i.e.
DIRECTORY_NAME column) from
DBA_DIRECTORIES table NOT the physical
path.
|
OBDX_DIR | |
OBDX_AUDIT_DBA_DIRECTORY_NAME |
Enter the directory name in which you want the OBDX AUDIT
tablespace datafile to be created. Enter Logical name (i.e.
DIRECTORY_NAME column) from
DBA_DIRECTORIES table NOT the physical
path.
|
OBDX_AUDIT_DIR | |
| EHMS DB details (to be configured only in-case of FLAVOR as UBS,FCORE&OBPM) | EHMS_DATABASE_HOSTNAME |
Enter the hostname for EHMS database server | abc.xyz.com |
EHMS_DATABASE_PORT |
Enter the port number of EHMS database listener | 1521 | |
EHMS_SCHEMA_NAME |
Enter the Complete OBDX-EXT (B1A1) HostInterfaceschema
name you want installer to create as new schema.
SHOULD BE IN UPPERCASE ONLY. |
EHMS182SCHEMA | |
EHMS_DBA_DIRECTORY_NAME |
Enter the directory name in which you want the OBDX-EXT
(B1A1) schema tablespace datafile to be created. Enter Logical name
(i.e.DIRECTORY_NAME column) from
DBA_DIRECTORIES table NOT the physical
path.
|
OPATCH_LOG_DIR | |
EHMS_DATABASE_SYS_USER |
Enter the username with 'sys' privileges | Sys | |
EHMS_DATABASE_SID |
Enter the EHMS database Service Name | ||
EHMS_HOST_SCHEMA_NAME |
Enter the EXISTING EHMS HOST schema name | OBDXUBS | |
EHMS_CCY(to be configured for UBS
and OBPM HOST only) |
Enter the Country code for EHMS HOME Branch | GB | |
EHMS_HB (to be configured for UBS
and OBPM HOST only) |
Enter the Branch code for code for EHMS HOME Branch | AT3 | |
EHMS_FCORE_FCUBS_SCHEMA_NAME (to be
configured for FCORE HOST only) |
FCORE-FCUBS schema name | FCRUBSHOST | |
| Weblogic server details | MIDDLEWARE_HOME |
Oracle Weblogic Server home path. Example /home/obdxuser/Oracle/Middleware/Oracle_Home - where you have sub-directories like wlserver,oracle_common etc. | /home/obdxuser/Oracle/Middleware/Oracle_Home |
JAVA_HOME |
Path where JAVA (JDK) is installed | /home/obdxuser/jdk11_0_14 | |
FLYWAY_HOME |
Path where FLYWAY is installed | /home/obdxuser/flyway-8.3 | |
DB_WITH_FLYWAY_EXECUTION |
Database execution type | YES or NO | |
GRADLE_HOME |
Path where GRADLE is installed | /home/obdxuser/gradle-7.9 | |
MavenRepositoryUrl |
Path where maven-repo under installer folder | $installerDir/installables/maven-repo | |
GradleRepositoryUrl |
Path where gradle-repo under installer folder | $installerDir/installables/gradle-repo | |
INSTALLATION_HOME |
Path where OBDX is to be installed. All configuration
files will be copied as a sub-directory “config” under this directory.
DO NOT KEEP INSTALLATION_HOME AS MiddlewareHome. |
/home/obdxuser/obapi | |
WLS_DOMAIN_PATH |
Path where OBDX Weblogic domain should be created. Users can now enter custom path as per their requirements. | /home/obdxuser/domains | |
WLS_CLUSTER_NAME |
Name of cluster; this cluster would have one single managed server. | obdx_cluster | |
WLS_CLUSTER_NODE_HOSTNAME |
Host name or IP address of managed server participating in the cluster. Currently only single node is supported. | abc.xyz.com | |
WLS_ADMIN_SERVER_PORT |
Weblogic AdminServer port. It is the port to access the administration console of the Weblogic server. Generally port 7001 is used as the AdminServer port. Custom port are supported. | 7001 | |
WLS_ADMIN_SERVER_SSL_PORT |
AdminServer SSL port. It is the port used to securely access (https) the administration console of the Weblogic server. | 7002 | |
WLS_NODE_PORT |
Node Manager Port. It is the port used by Node Manager to be configured for OBDX domain. Generally, 5556 is utilized as Node Manager Port. Custom ports are supported. | 5556 | |
WLS_MS_SERVER_NAME |
Managed server name. This will be the name of the managed server created in the cluster followed by indexes. eg- If this is set as 'clip' managed servers would be clip1. | Clip | |
WLS_MS_SERVER_PORT |
Managed Server Port. Managed server will utilize this port for hosting OBDX components and associated resources. Custom ports are supported. | 9001 | |
WLS_DOMAIN_NAME |
Enter Weblogic Domain name. | obdx_domain1 | |
WLS_DOMAIN_ADMIN_USER |
Domain user ID. The user id will be used to access the Weblogic Administration console. | weblogic | |
| WLS_NODE_TYPE | Weblogic Node Manager type | Plain/SSL | |
| WLS_MACHINE_NAME | Weblogic Node Manager machine name | obdx_machine | |
| APP_ROOT_DIR | Any empty directory path | /scratch/app/dir | |
WLS_JMS_FILEUPLOAD_PS (to be
configured for all OBDX supported HOST) |
Set the paths for the persistent store of the FileUpload
JMS modules.
DO NOT KEEP path as INSTALLATION_HOME or as sub directory inside INSTALLATION_HOME. |
/scratch/obapi/ FileUpload | |
WLS_JMS_AUDIT_PS (to be configured
for all OBDX supported HOST) |
Set the paths for the persistent store of the Audit JMS
modules.
DO NOT KEEP path as INSTALLATION_HOME or as sub directory inside INSTALLATION_HOME. |
/scratch/obapi/Audit | |
WLS_JMS_REPORT_PS (to be configured
for all OBDX supported HOST) |
Set the paths for the persistent store of the Reports JMS
modules.
DO NOT KEEP path as INSTALLATION_HOME or as sub directory inside INSTALLATION_HOME. |
/scratch/obapi/Reports | |
WLS_JMS_JPA_PS (to be configured for
all OBDX supported HOST) |
Set the paths for the persistent store of the JPA JMS
modules.
DO NOT KEEP path as INSTALLATION_HOME or as sub directory inside INSTALLATION_HOME. |
/scratch/obapi/JPA | |
WLS_JMS_EXTSYSRECEIVER_PS (to be
configured for all OBDX supported HOST) |
Set the paths for the persistent store of the
ExtSystemReceiver JMS modules.
DO NOT KEEP path as INSTALLATION_HOME or as sub directory inside INSTALLATION_HOME. |
/scratch/obapi/Receiver | |
WLS_JMS_EXTSYSSENDER_PS(to be
configured for all OBDX supported HOST) |
Set the paths for the persistent store of the
ExtSystemSender JMS modules.
DO NOT KEEP path as INSTALLATION_HOME or as sub directory inside INSTALLATION_HOME. |
/scratch/obapi/Sender | |
| OBDX Application Administrator user details | OBDX_ADMIN_USERNAME |
Set username for OBDX application Admin user. USERNAME IS CASE SENSITIVE. In-case of OUD as provider username should be the User ID mentioned during user creation steps mentioned in pre-requisite document (refer To create User and mapping it to the Group section) | superadmin |
OBDX_ADMIN_EMAIL |
Enter the Email ID for OBDX application admin user. | ||
OBDX_ADMIN_CONTACT_NO |
Enter the mobile number for OBDX application admin user.
COUNTRY CODE IS MUST. |
+911234567890 |
Note:
Apart from above any other property values should not be modified.Ensure ORACLE_HOME, JAVA_HOME variable are set and their
binaries are available in PATH variable before proceeding.
Login with OS user which was used to perform OBDX pre-requisite software installation (or has ownership on Oracle Weblogic home directory)
Ensure OBDX Installation home and filestore path’s maintained in installer.properties exists and user running the installer has read-write permissions.
Installation Steps:
- From your terminal navigate to <OBDX INSTALLER DIR>/
- Enter the following
command
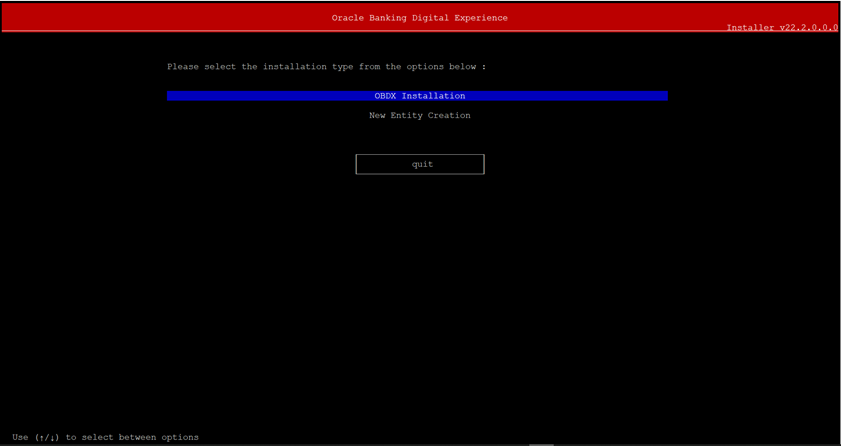
python3.8 runInstaller.pySelect the appropriate host system for Installation
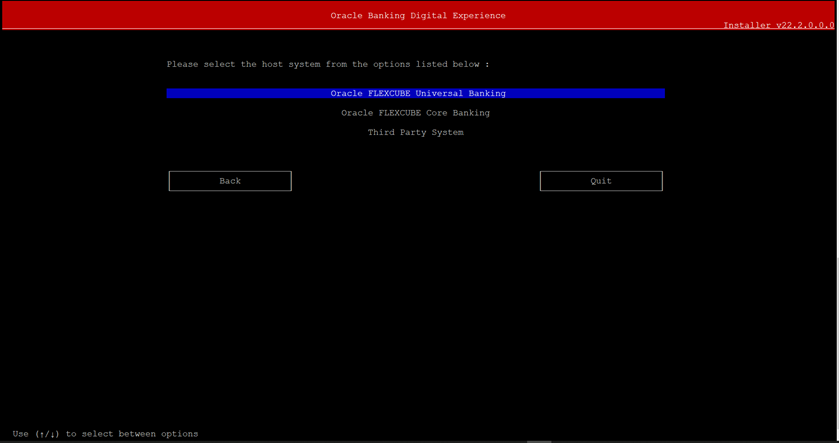
Select the appropriate host system for Installation
Oracle FLEXCUBE Universal Banking (OBDX with UBS)
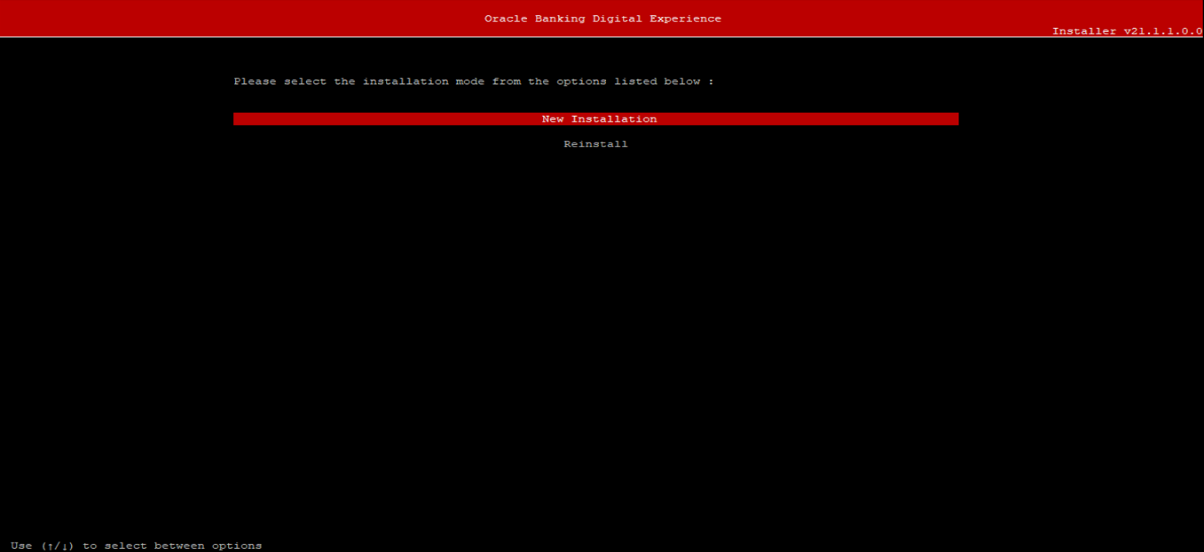
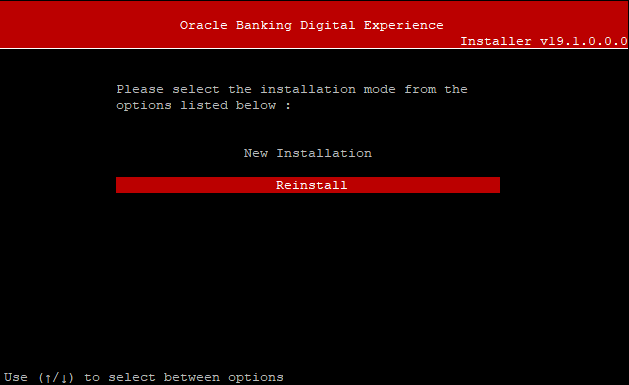
Select Installation mode
Mode of Installation - New Installation
- New installation
In-case of a fresh installation of OBDX with appropriate host system for the first run on server.
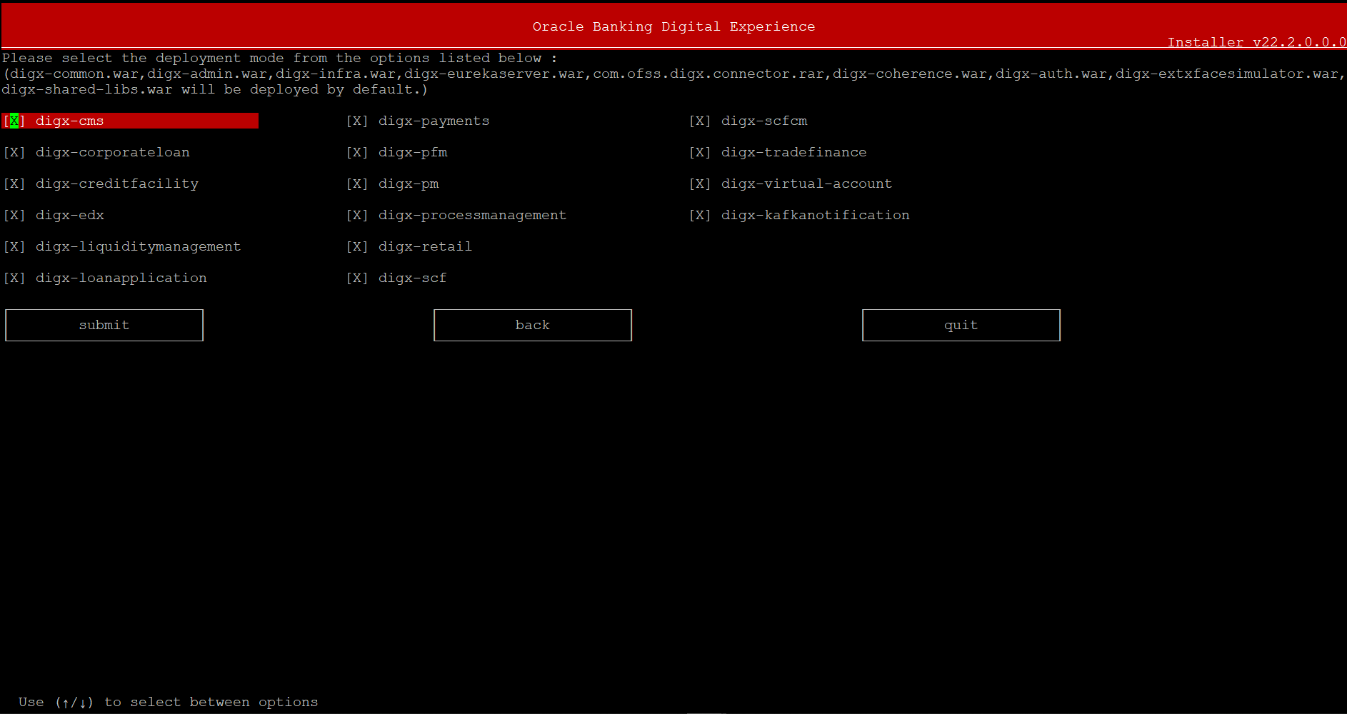
Type of Deployment
Select the wars which you want to deploy. Some wars will be deployed by default. There are in total 25 wars.
Below screens would appear to taken end-user input
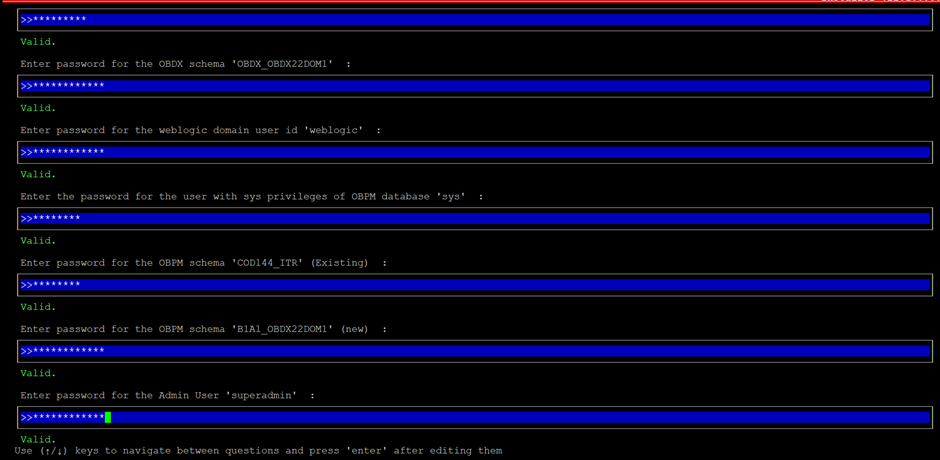
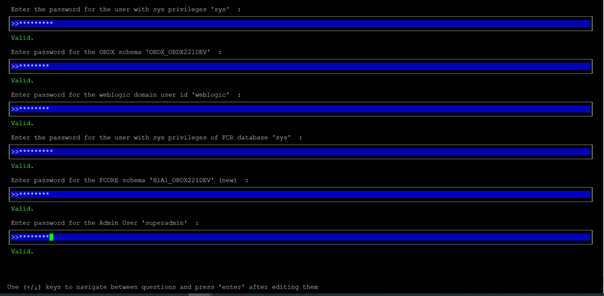
Enter below passwords:
- SYS privilege user password where OBDX schema would be created
- OBDX schema password
- Weblogic console administrator user password
- SYS privilege user password where UBS host schema exists
- Existing UBS HOST schema password
- New OBDX EHMS schema password
- Password for OBDX application administrative user (In-case of OUD as provider, password should be similar to one used while user creation in OUD (or User Password field))
Third Party System (OBDX with THP)
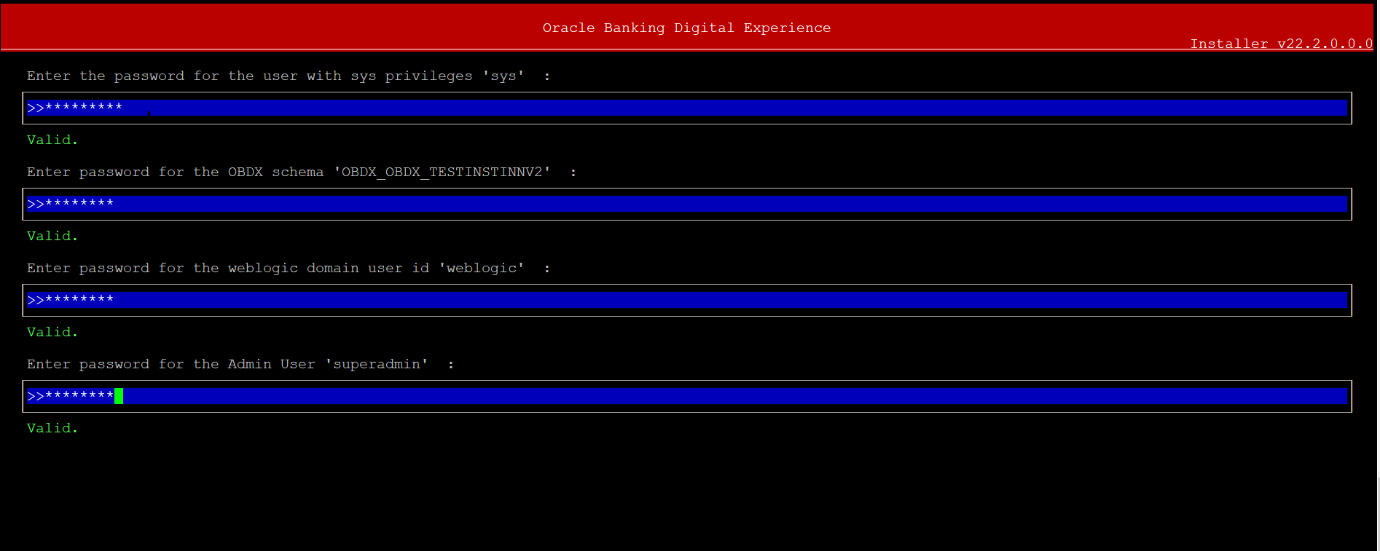
Post Third Party System selection, enter the required credentials details
Enter below passwords:
- SYS privilege user password where OBDX schema would be created
- OBDX schema password
- Weblogic console administrator user password
- OBDX application admin user password
Oracle FLEXCUBE Core Banking (OBDX with FCORE)
Post Oracle FLEXCUBE Core Banking, enter the required credentials details
Enter below passwords:
- SYS privilege user password where OBDX schema would be created
- OBDX schema password
- Weblogic console administrator user password
- SYS privilege user password where FCORE host schema exists
- New OBDX EHMS schema password
- Password for OBDX application administrative user
Oracle FLEXCUBE Universal Banking with Oracle Banking Payments (OBDX with OBPM)
Enter the required credentials details
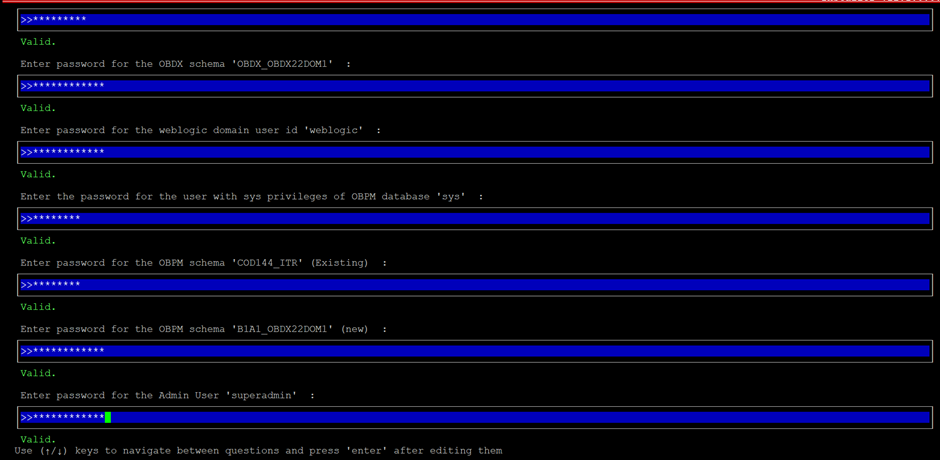
Enter below passwords:
- SYS privilege user password where OBDX schema would be created
- OBDX schema password
- Weblogic console administrator user password
- SYS privilege user password where OBPM host schema exists
- Existing OBPM HOST schema password
- New OBDX EHMS schema password
- Password for OBDX application administrative user
Mode of Installation – Reinstall
In-case of an existing OBDX installation that you want to overwrite OR in case of a previously failed installation user can opt for this option.
Pre-requisites
- Weblogic domain processes should be down (i.e. AdminServer, NodeManager, Managed Servers, Derby etc)
- No open session (user should not be logged-in) with OBDX database schema (and OBDX EHMS schema in-case of OBDX UBS;OBPM and FCORE flavor).
Over-write the policies files (Day0Policy.csv; Entitlement.csv; Resources.csv and Task.csv) from OBDX Product zip into <OBDX INSTALLER DIR>/installables/policies directory
Key pointers
- OBDX schema (and OBDX EHMS schema in-case of OBDX UBS flavor) would be dropped and recreated (as per installer.properties). Tablespace would be re-used.
- Weblogic domain (as per installer.properties) would be deleted and created again.
- Installation Home would be cleaned up (all files/ sub-directories would be deleted) and re-created again.
Note:
All input screens are similar to new installation option and as per the host system opted.Installation Status
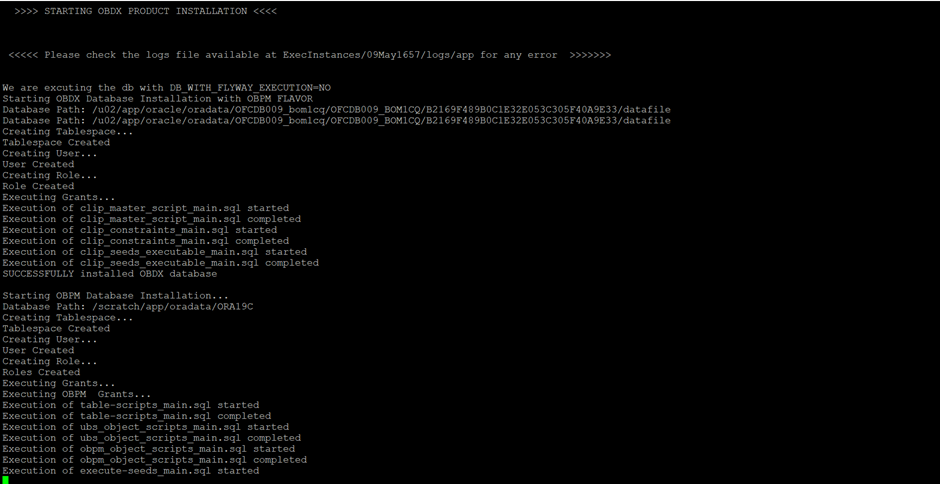
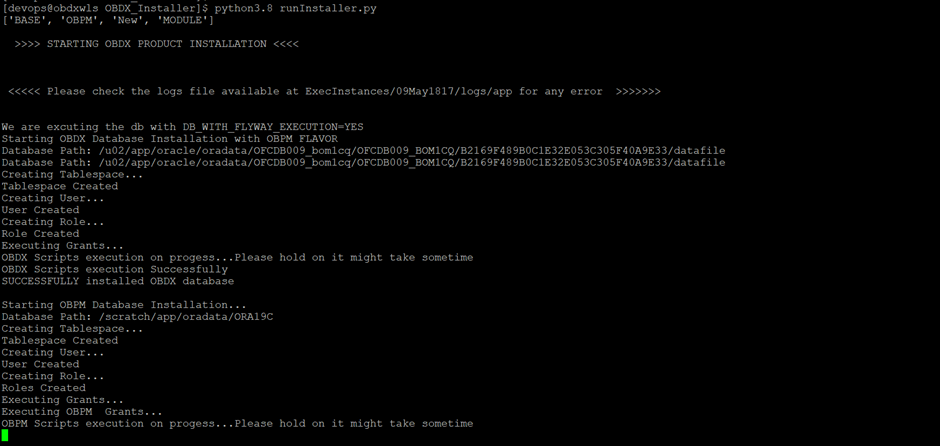
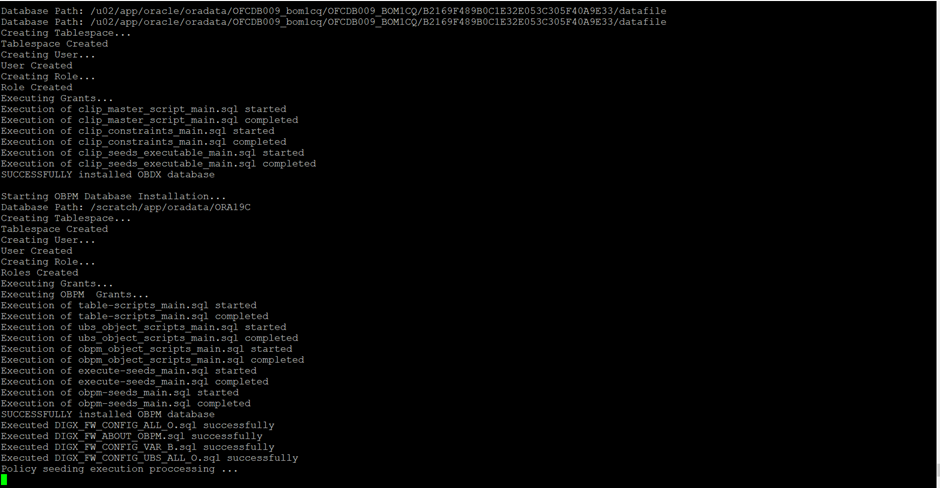
After selecting the mode and entering all required details, the status is displayed (as shown below) on the terminal to indicate the progress of the installation.
If DB_WITH_FLYWAY_EXECUTION set to NO
If DB_WITH_FLYWAY_EXECUTION set to YES
When the installation completes, the below message is displayed
When the installation completes, the below message is displayed
