6.6 Online Interest Liquidation
This topic describes the systematic instructions to online interest liquidation.
The Online Interest Liquidation screen allows users to Liquidate the accrued interest for Single or Multiple accounts.
- Click Corporate Account Transactions, and under Corporate Account Transactions, click Online Interest Liquidation.The Online Interest Liquidation page displays.
- Specify the fields on the screen.
Table 6-14 Online Interest Liquidation - Field Description
Field Description Account Type Select the required account type. User can select from the following options: - Single
- Multiple
Note:
The Account Number field displays only when user select the Single Account type.
Customer Number All the active customers should be listed. Customer Name Customer name should be displayed based on the customer number selection. Multi Currency Account Enable this feature to filter the multi-currency account. Note:
This field displays only when user select the Single Account type.
Account Number Specify the Account number. Account Currency Select the required currency from the drop-down list. Alternatively, type to narrow the listed items and select the required currency. Note:
This field displays only when Multi-Currency Account is enabled.
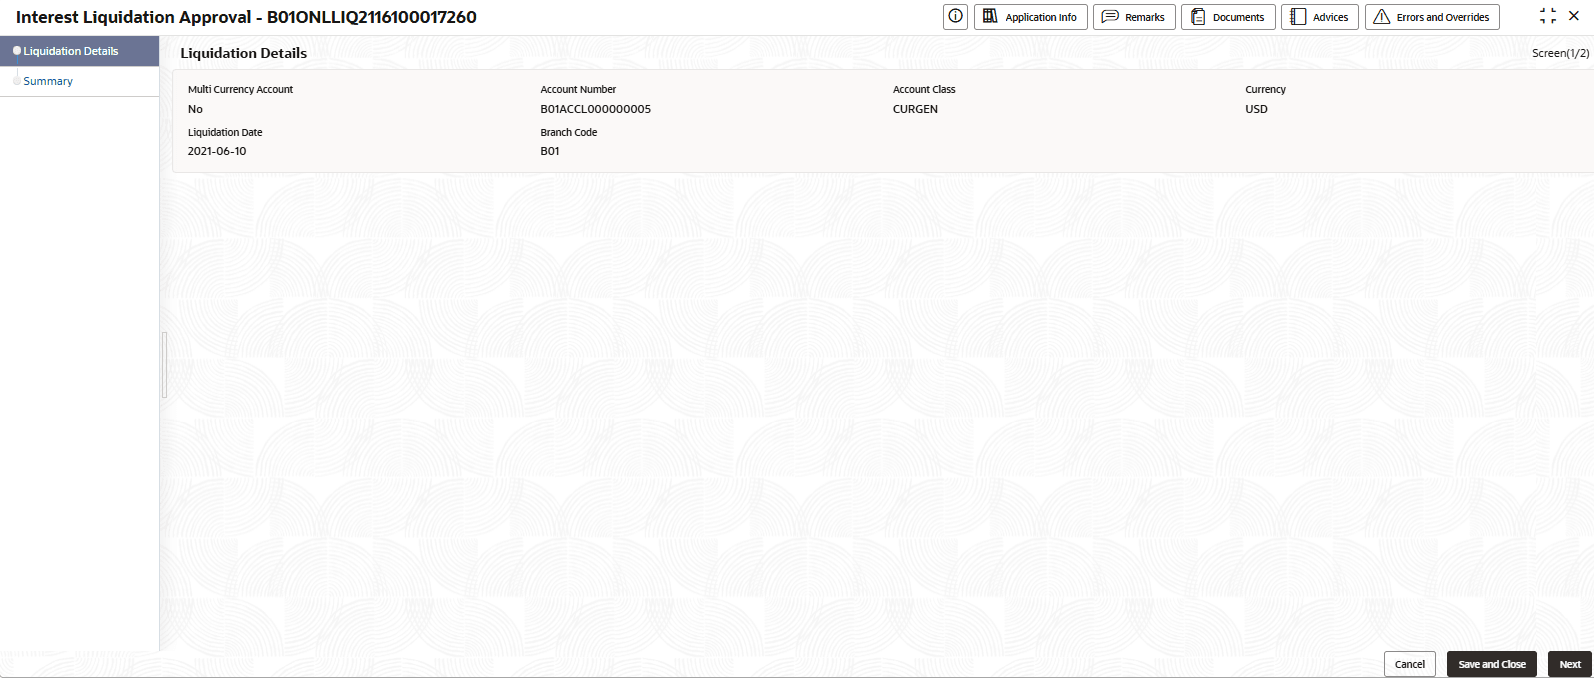
Liquidation Date User must select a liquidation date. Interest will be applied from the last liquidation date to the selected date across all chosen accounts. - Select the required account and click Initiate.The Interest Liquidation Approval - <Application Number> page displays the Liquidation Details screen.
Tip:
Note the Application Number. It is needed to identify the tasks on the Free Tasks page. - Review the liquidation details and ensure the correct account is selected.
- Click Next.The Summary screen displays.
Note:
Click the summary tab to see the liquidation details. - Click Submit.The Stage Movement Submission dialog for the Online interest liquidation Approval stage displays the Overrides present in this stage.
- Complete the Stage Movement Submission process.
- Accept any Overrides generated and click Proceed Next.The Checklist stage fetches and displays checklists mapped to the liquidation process.
- Confirm the checklist items and then click Proceed Next.The Outcome stage displays.
- Select one of the Outcome from the drop-down:
- Proceed: To proceed with the submission.
- Cancel: To cancel the submission.
- Click Submit.The Online Interest Liquidation is approved.
- Accept any Overrides generated and click Proceed Next.
Parent topic: Corporate Account Transactions

