5.10.1 Customer Transfer
This topic describes the systematic instructions to Transfer Customer Account.
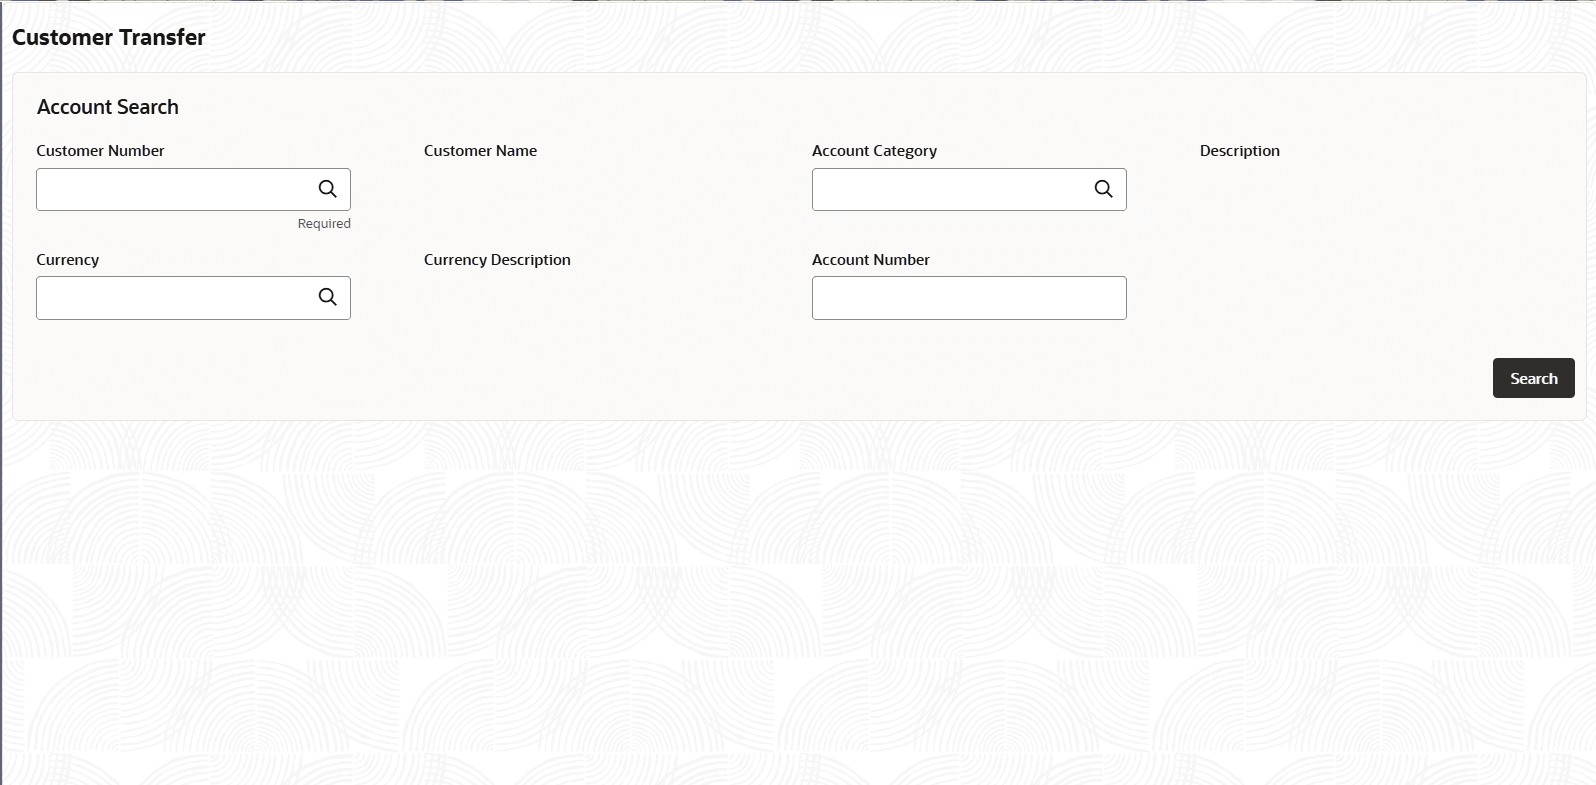
- Click Corporate Account Services, and under Corporate Account Services, click Customer Transfer.The Customer Transfer page displays.
- Specify one or more fields in the Account Search section.
Table 5-36 Account Search- Field Description
Field Description Customer Number Specify the CIF number of the customer owning the account. Customer Name The name of the selected customer is auto-populated. Account Category Specify the account category to which the account belongs. Description The description of the selected account category is auto-populated. Currency Specify the operating currency of the account. Currency Description The description of the operating currency is auto-populated. Account Number Specify the Account number. - Click the Fetch icon.
The Account Number dialog displays.
- Search for the required account by providing some or all of the following details: Account Number, Account Name, or Account Currency.
- Select the required account from the results.
The Customer Transfer page displays. - Click the Fetch icon.
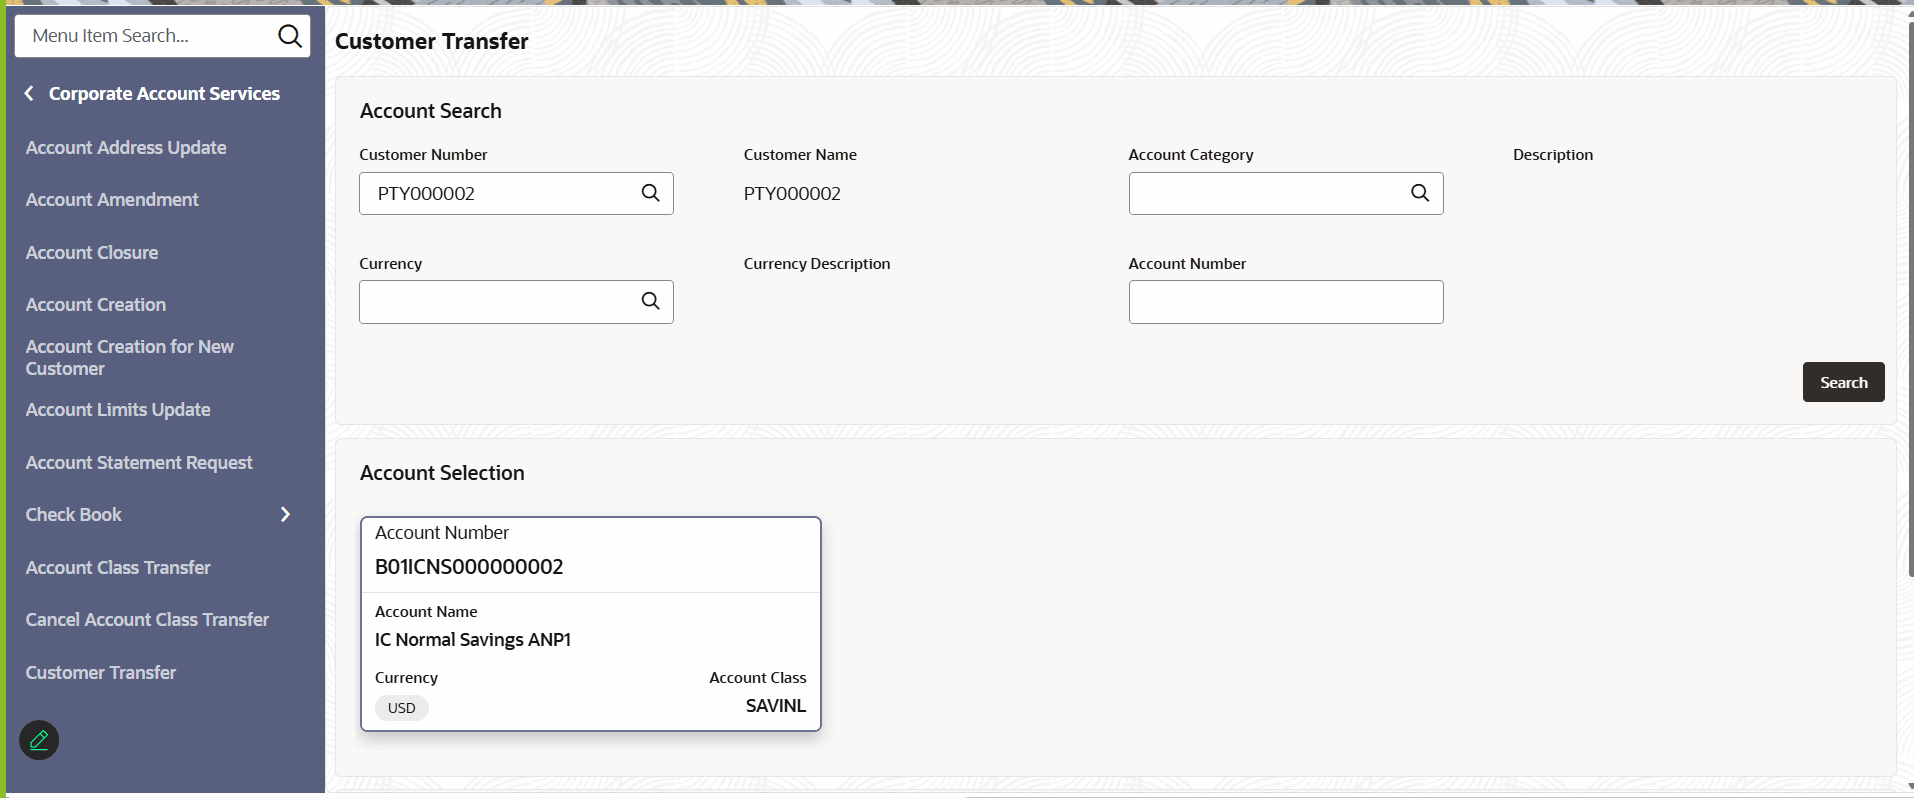
- Click Search.The accounts matching the search filters display in the Account Selection section.
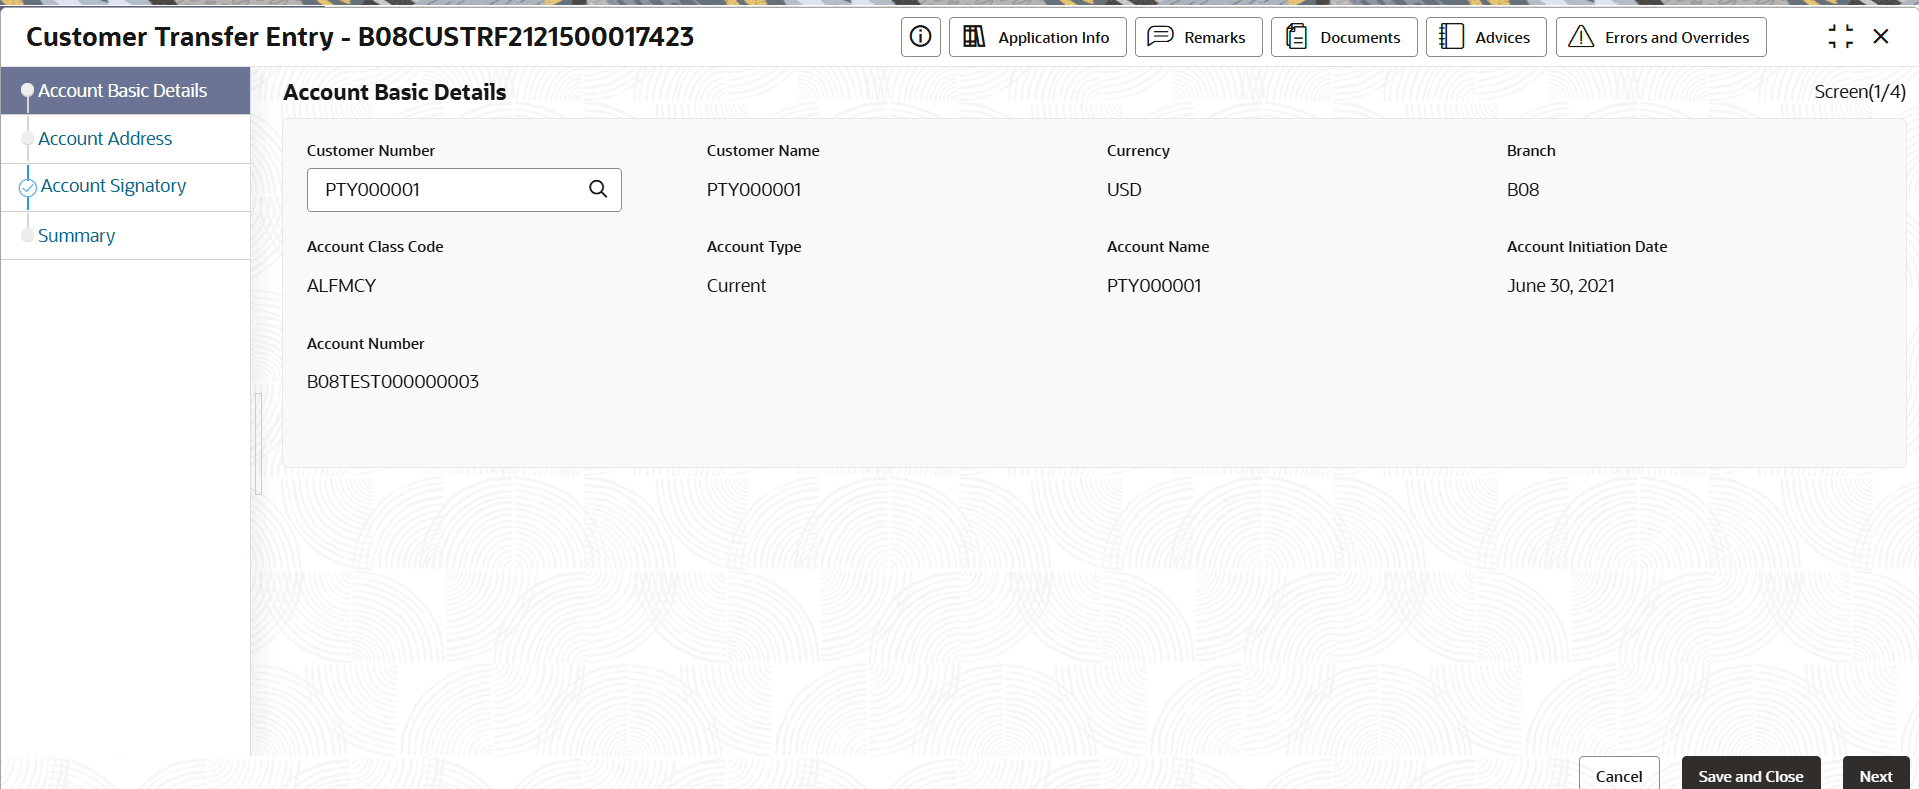
- Click an account tile to select it, then click Initiate.The Customer Transfer Entry page displays the Account Basic Details screen.
- Review the account details on each tab and click Next.The Account Address page displays.
- Review the account details on each tab and click Next.The Account Signatory page displays.
- Clear all the existing signatures and add the new set of signatures as required and Click Next.The Summary page displays.
- Click Submit from the Summary screen.
- Complete the Stage Movement Submission process.
Parent topic: Customer Transfer


