2.5.2 View Rule Decisions
View the Rule Decisions by following the instructions in this topic.
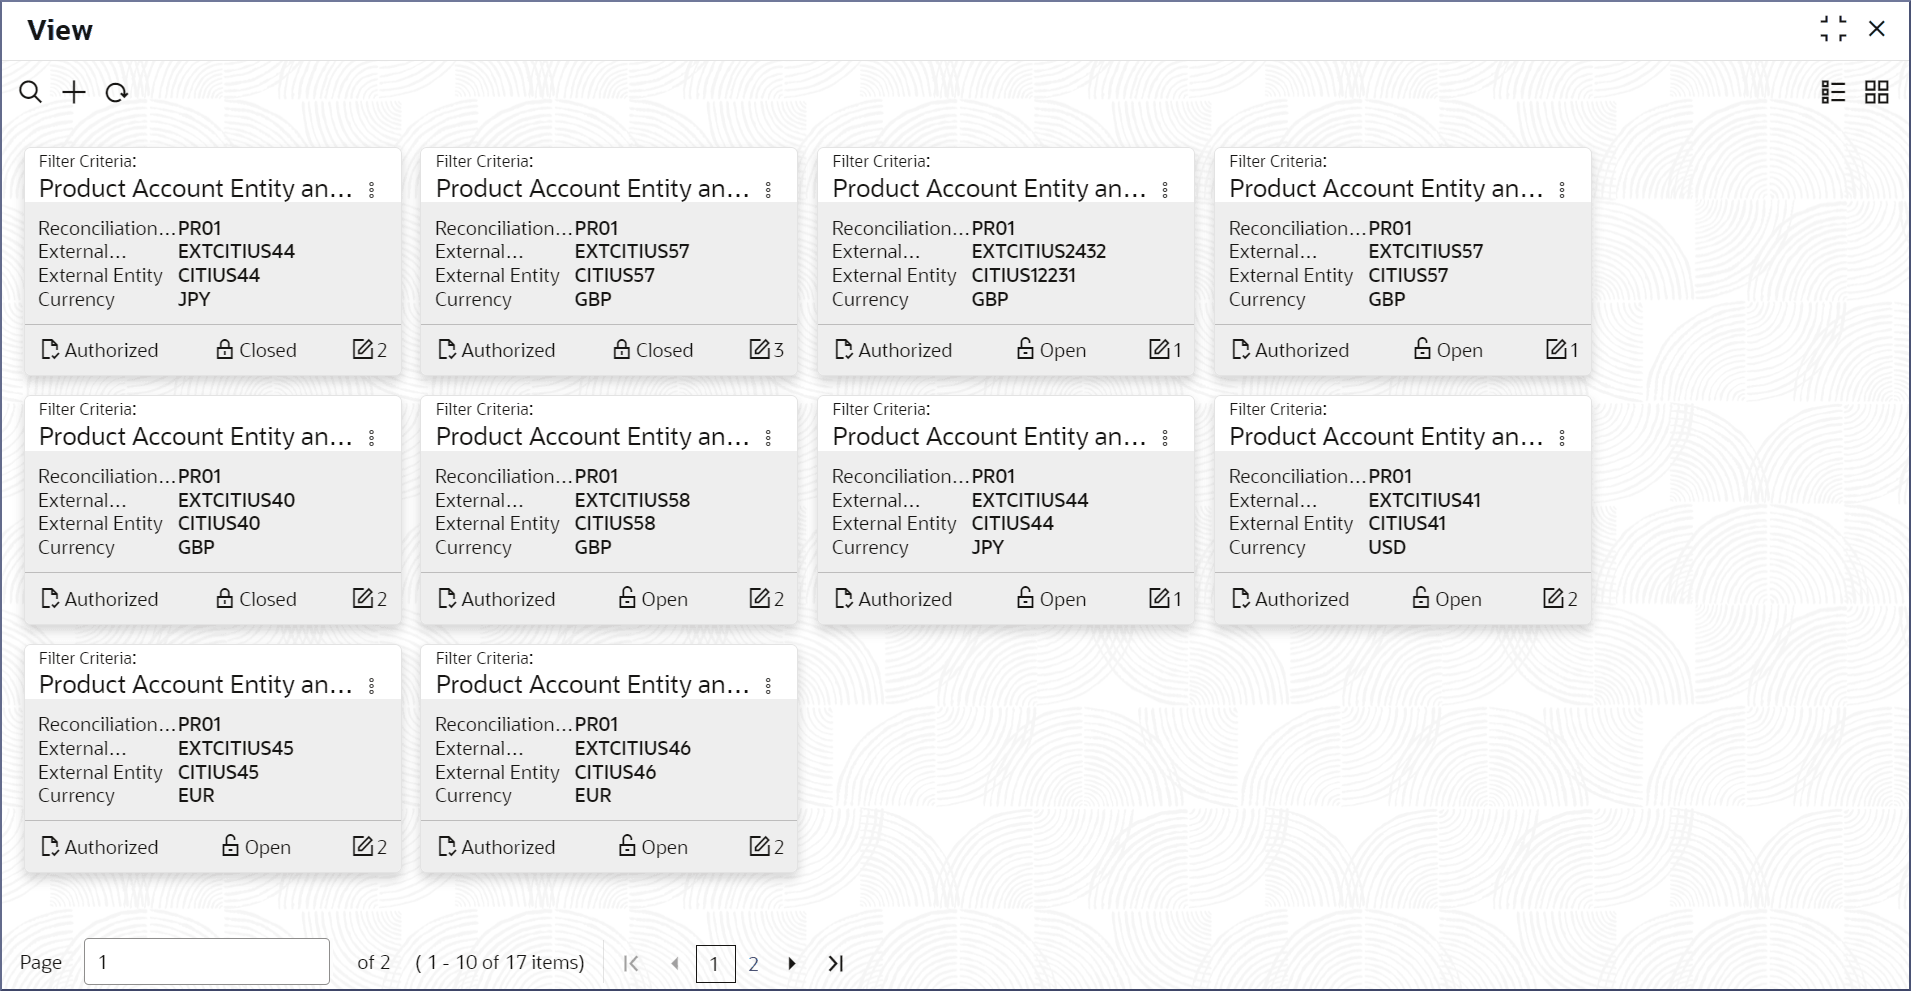
- From Nostro Account Configuration click Reconciliation Rule Decision and then View.The View page displays the Rule Decisions in the tile view.
Figure 2-41 Reconciliation Rule Decisions -- Tile View
Tip:
Click or
or  to switch between the Tile view and the List view.
For more information on fields, refer to the field description table:
Table 2-20 Reconciliation Rule Decisions Tile - Field Description
Field Description Filter Criteria Displays the Filter criteria used by the Rule Decision. Reconciliation Product Displays the four characters code for the reconciliation product. External Account Displays the account number of the external entity. External Entity Displays the identity of the external entity. Currency Displays the standard currency to be used for the rule decision. Status Displays the status details of the record. The following table describes the action items in the More Options (
 ) menu and the action items on the page.
Note:
The actions the user can perform depend on role and the record status. - View the details of a Rule Decision.
- Click
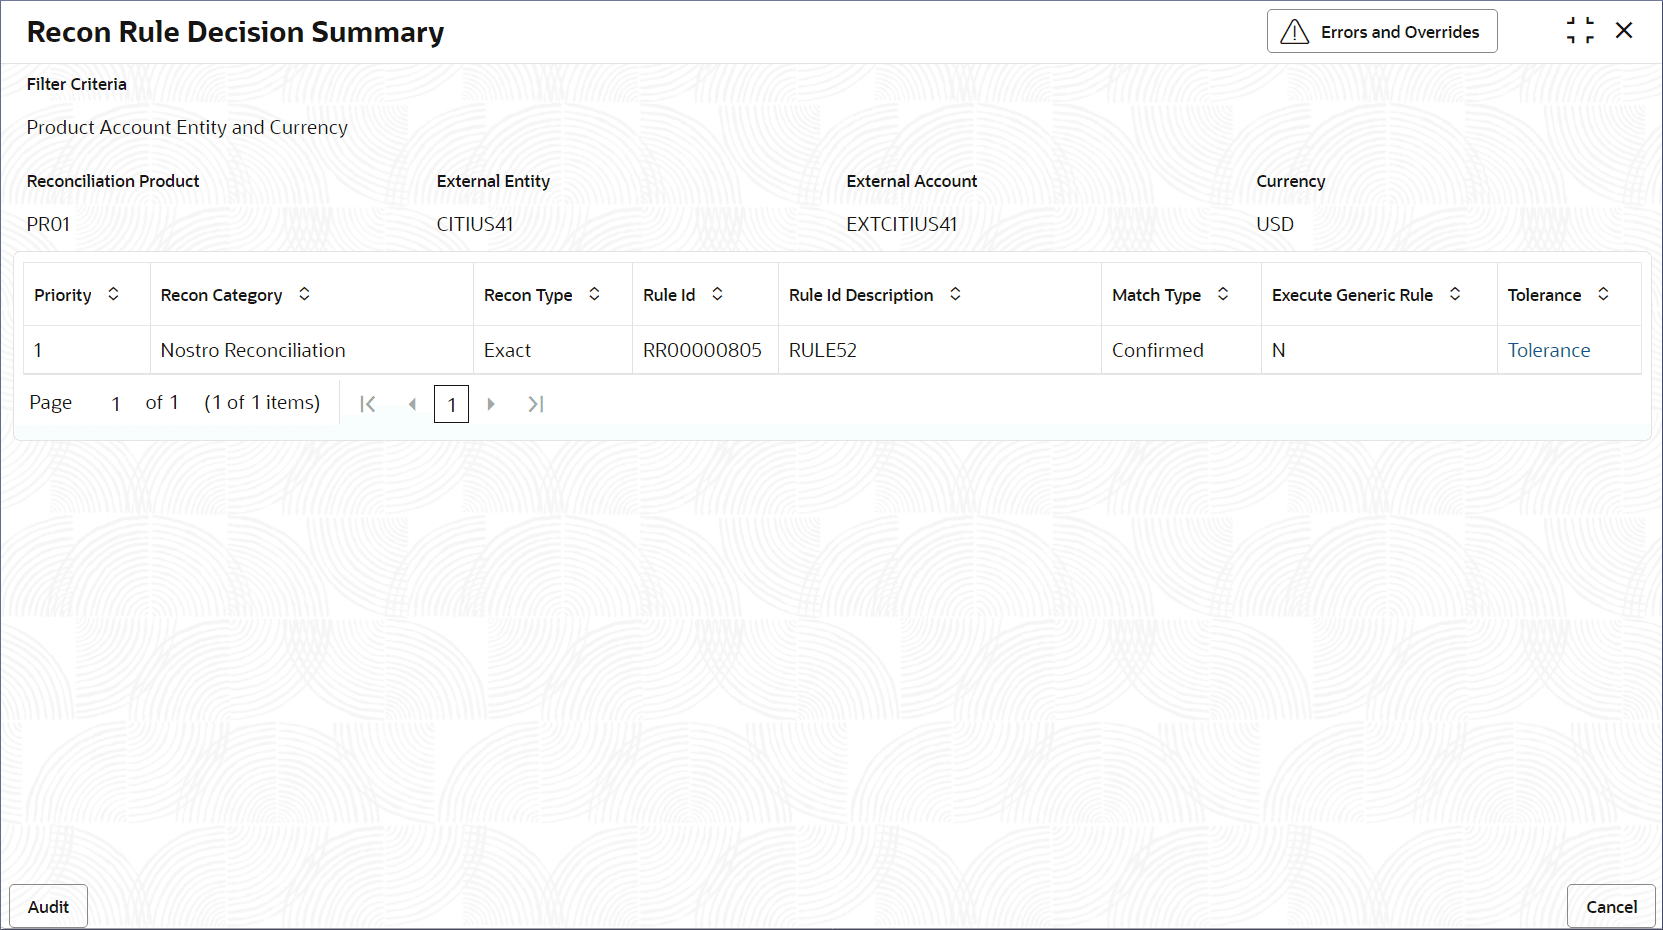
 and select View.The rules applied by the rule decision display.
 - Click the Tolerance link.The Tolerance page displays the tolerance applied to different currencies.
- Click
- Click
 and select Unlock.
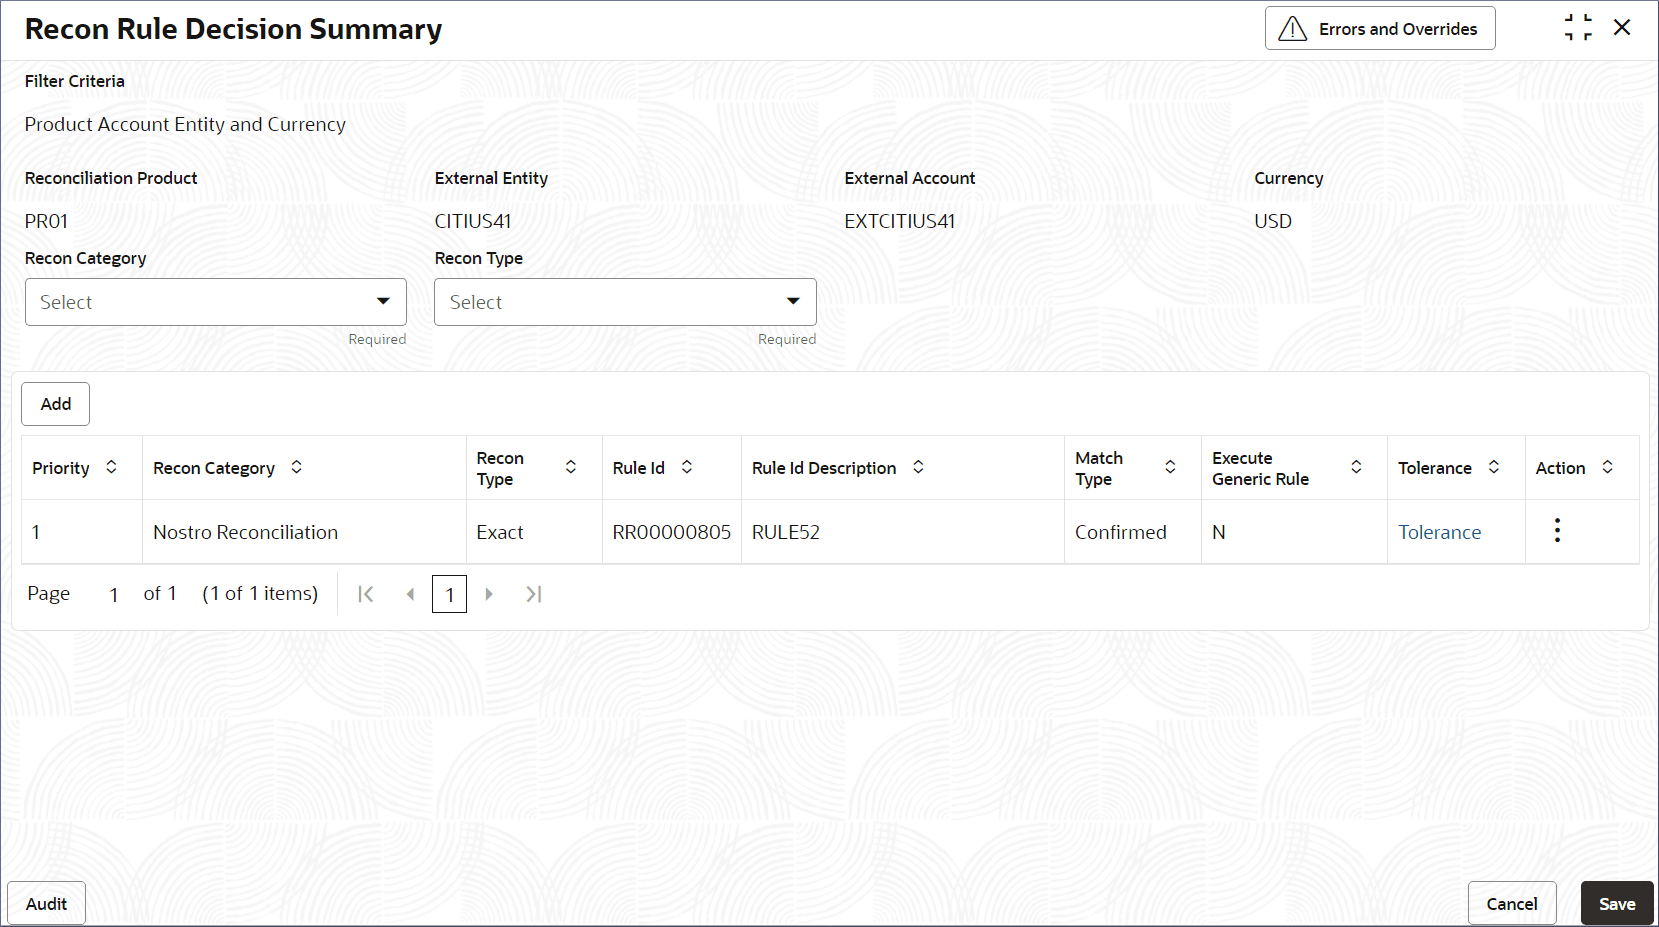
- Select Unlock from the More Options menu of the required Rule Definition tile.A page displays the rules applied by the Rule Decision.
- Add new rules or edit existing rules along with the Tolerances.To add and edit rules to a Rule Decision, see Create Rule Decision.
- Click Save.
- Select Unlock from the More Options menu of the required Rule Definition tile.
- Approve or Reject an Unauthorized Rule Decision.
- From the Search Filter, search for Rule Decisions that are Unauthorized and are in Open status.
- Click
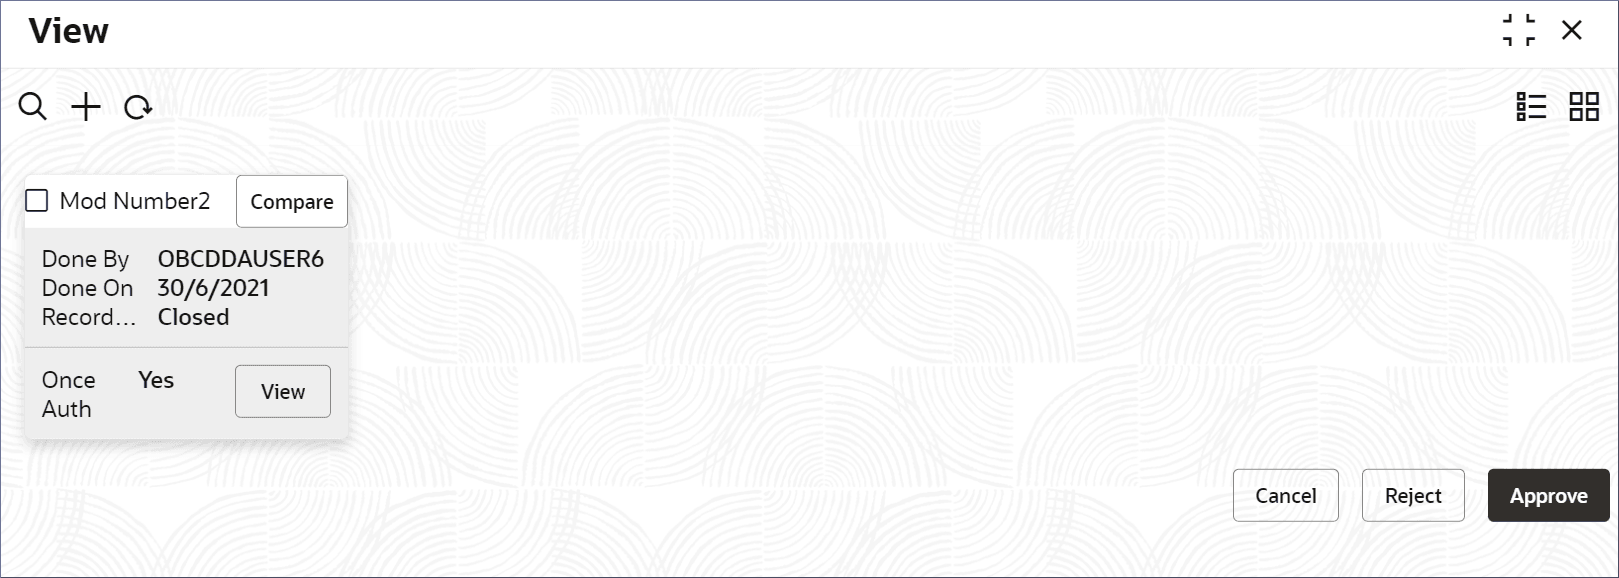
 and select Authorize.The View page displays.
For more information on fields, refer to the field description table:
Table 2-21 Authorize View
Field Name Description Mod Number<N> Indicates the number of times the record was modified. Where N represents the number of modifications. Note: For a newly created record the modification number is
1.Done By Name of the user who performed the latest modification. Done On Date on which the record was modified. Record Status The status of the record. Note: To authorize a record, its status should be Open.
Once Auth Specifies if the record was authorized at least once. Note: For a newly created record, the value is No.
Compare (Button) Click to compare the modified record with the previous version of the record. View (Button) Click to display the record details. - Click the check box besides Mod Number<N> to select the modified record.
- Click Approve or Reject.The Confirm dialog displays.
- Specify any remarks and click Confirm.A toast message confirms the successful approval or rejection of the record.
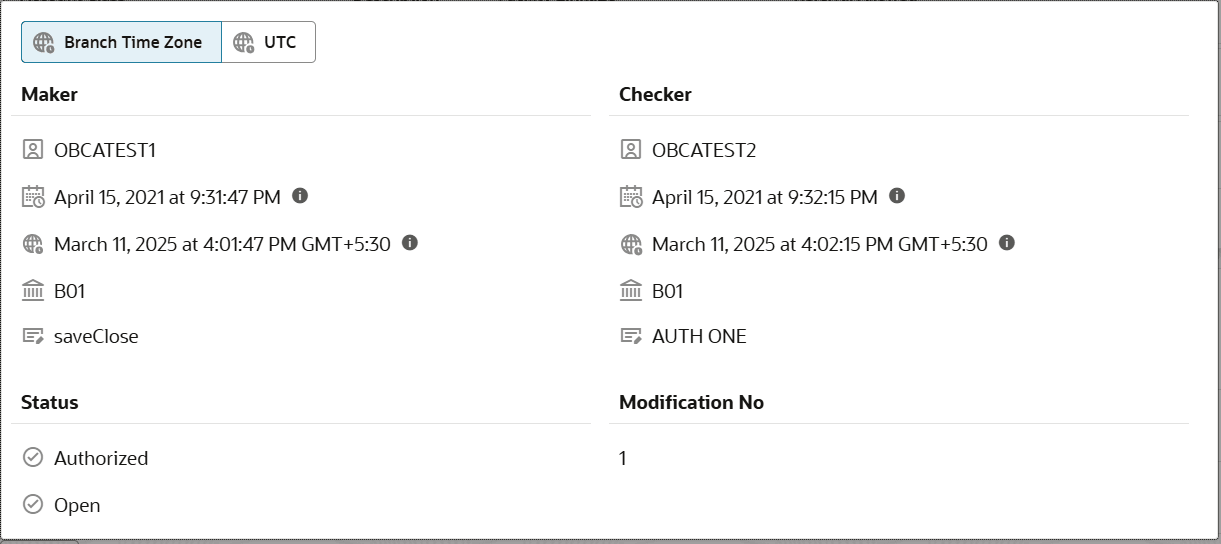
- On the View screen, click Audit.The following screen displays. This screen displays Date and Time details of the Branch.
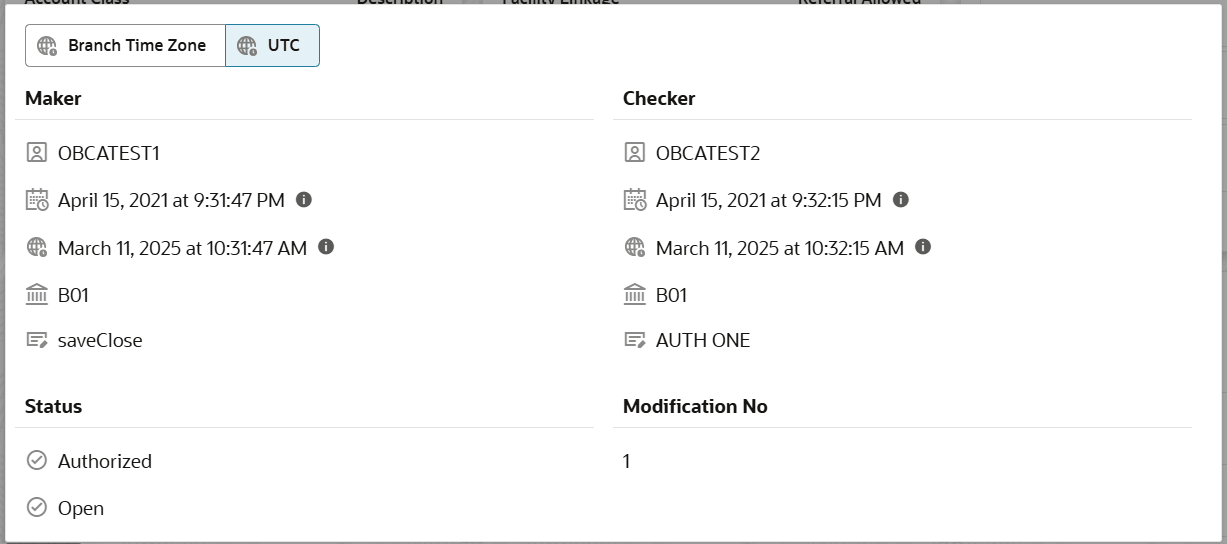
- Click the UTC tab.The following screen displays. This screen displays Universal Date and Time.
Parent topic: Nostro Rule Decisions
