- Retail Accounts User Guide
- Operations
- Limits
- Unsecured Overdraft Limits
3.9.1 Unsecured Overdraft Limits
This topic provides systematic instructions to create an unsecured limit for an account and to update, modify, or delete the existing unsecured limits on the account.
Note:
The fields marked as Required are mandatory.To create or update unsecured limit for an account:
- On the Home screen, from Retail Account
Services, under Limits, click
Unsecured Overdraft Limits, or specify the
Unsecured Overdraft Limits in the Search icon
bar.The Unsecured Overdraft Limits screen is displayed.
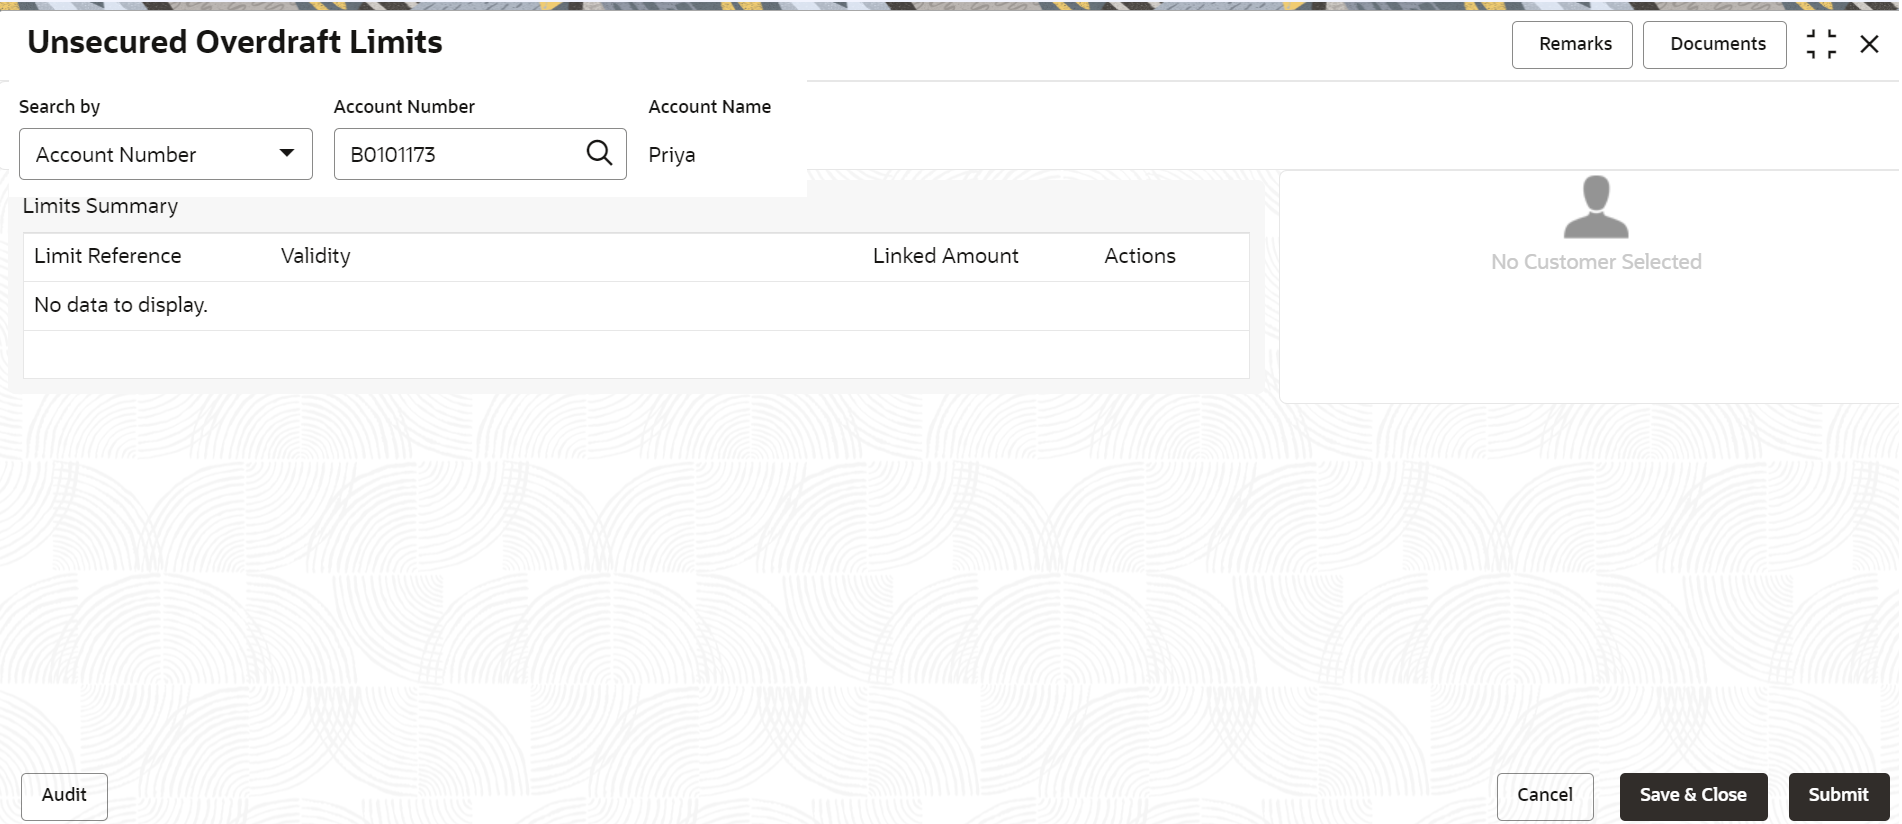
- On Unsecured Overdraft Limits screen, specify the
fields. For more information on fields, refer to the field
description table below.
Table 3-30 Unsecured Overdraft Limits - Field Description
Field Description Search By Users can search for an account number by using any of the available search criteria. The account number is set as the default search option. Users can specify the account number directly in the adjacent field or search for an account number by clicking the Search icon. Users can also search for the specific account number by providing customer ID, account number, or account name.
Other search options available in the Search by field are Customer ID, SSN, Mobile Number, and Email.
A specific customer ID can be searched by providing the customer name or customer ID. If SSN, mobile, or email IDs are chosen to find an account number, the respective IDs have to be input entirely in the adjacent field for the system to display the account number. For a given search criteria, multiple account numbers may be linked.
For example, two or more account numbers can be linked to a single mobile number. In such cases, the system displays all the account number matches and the user can select the relevant account number on which to perform a servicing operation.Note:
The label of the field adjacent to the Search by field changes dynamically. For example, if the Account number is chosen as the search criteria, the label of the adjacent field is displayed as the Account Number. If SSN is chosen as the search criteria, then the adjacent field would display the label as SSN.Customer Information and Limits Summary is displayed for the selected Account Number with existing records.Figure 3-51 Customer Information - Unsecured Overdraft Limits
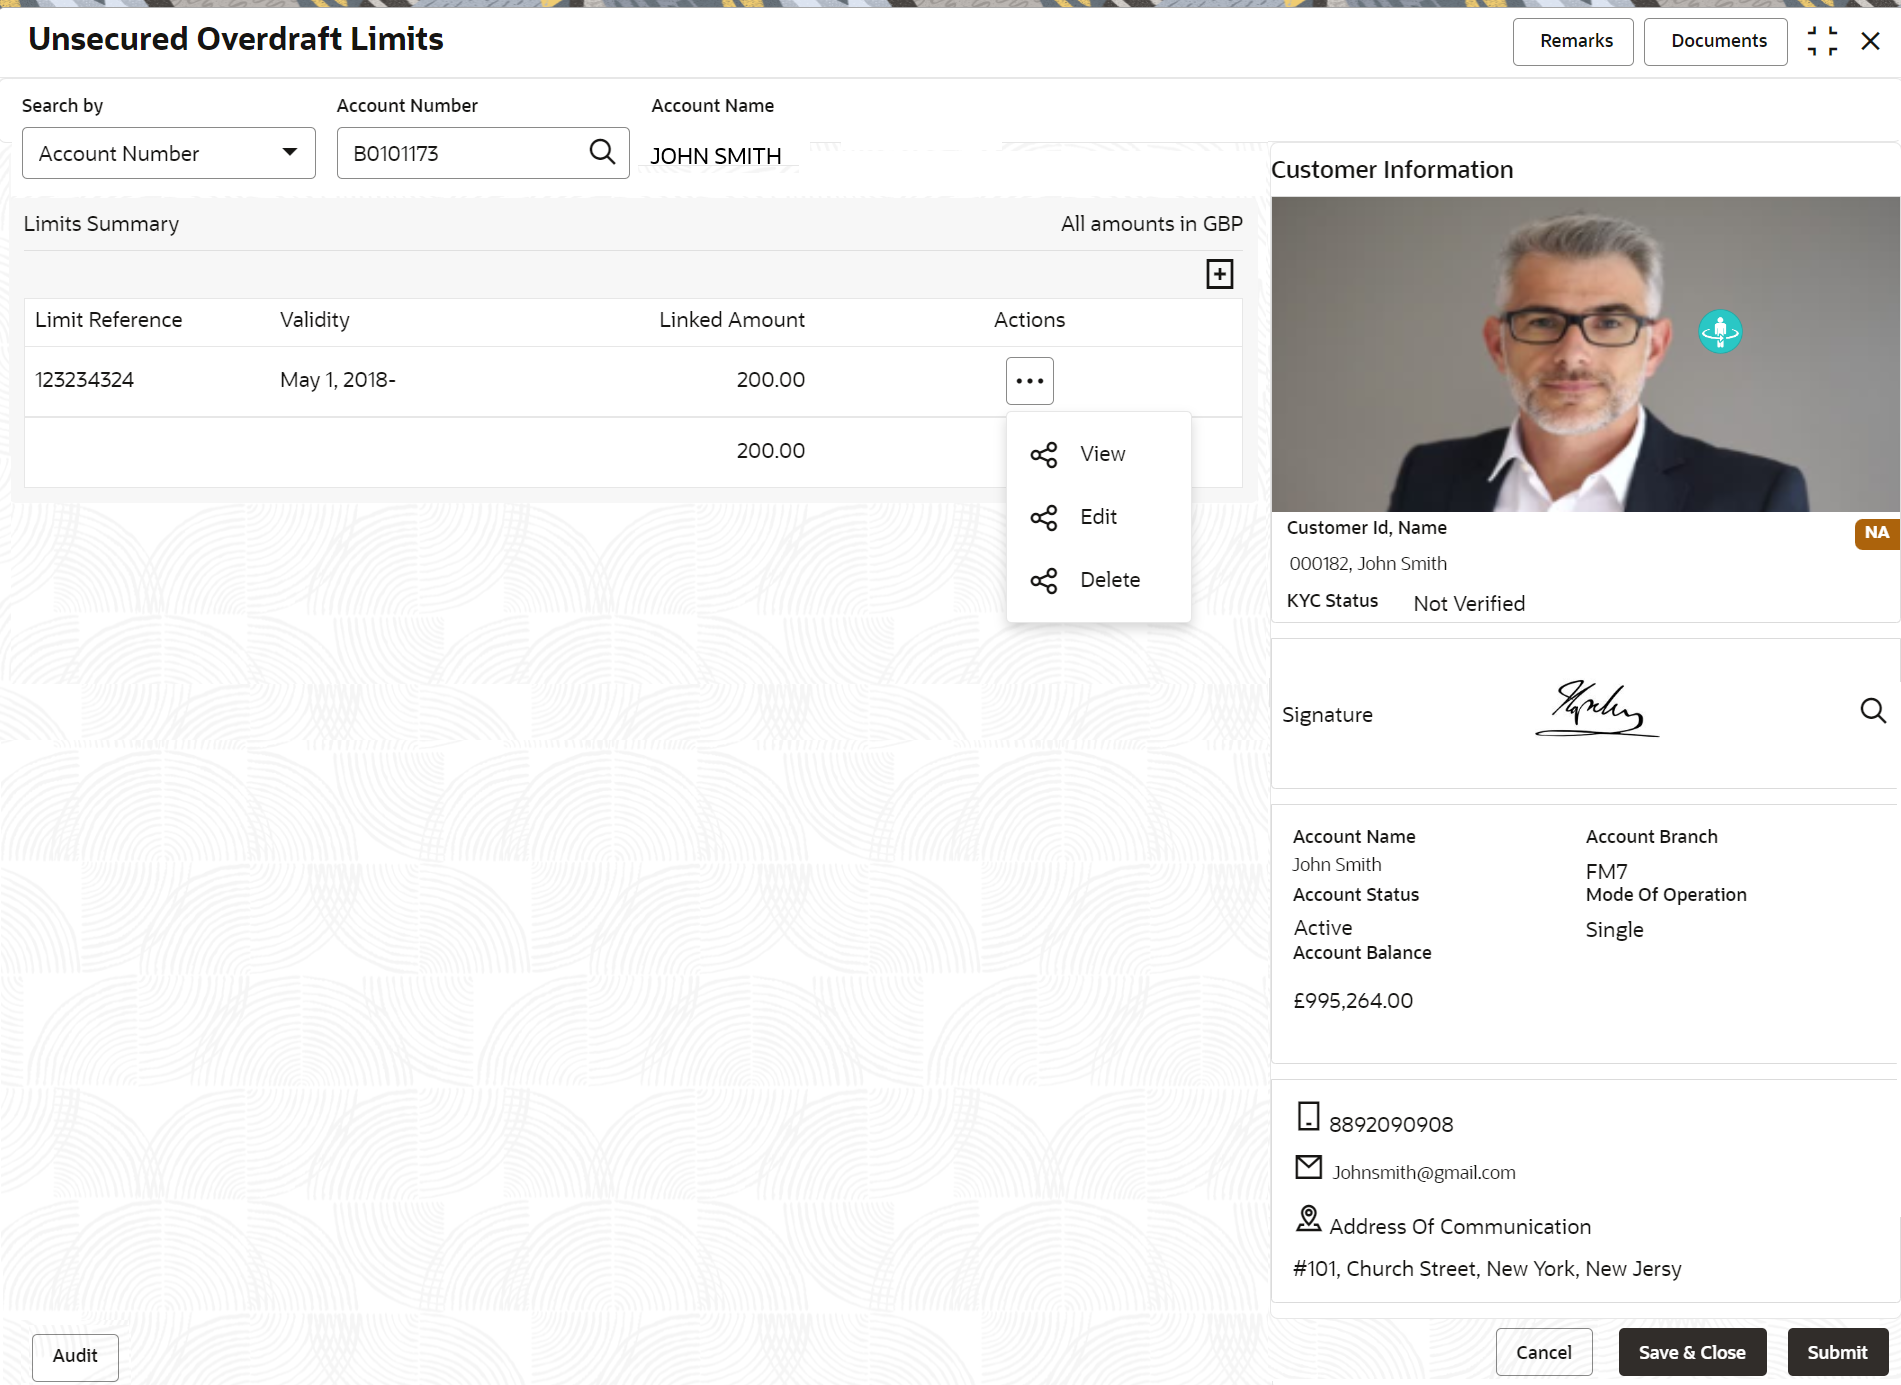
Description of "Figure 3-51 Customer Information - Unsecured Overdraft Limits" - On Unsecured Overdraft Limits screen, under
Limits Summary, click the
Action icon.The system displays the following options:
- View
- Edit
- Delete
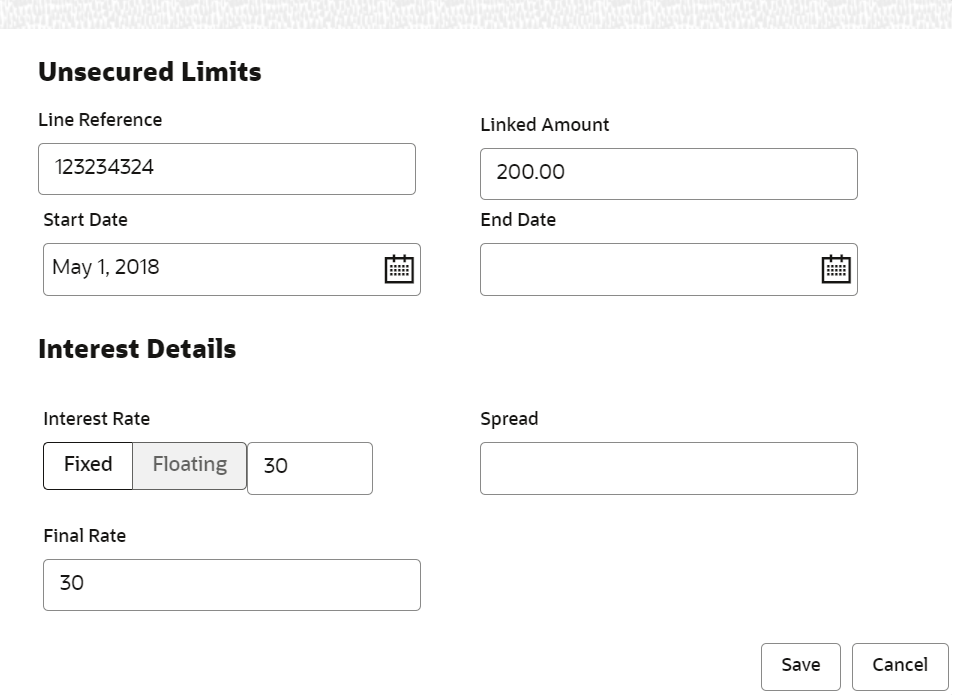
- Click the View or Delete option
to view or delete the existing unsecured limits record.The non- editable Unsecured Limits window is displayed.
Figure 3-52 Unsecured Limits - View or Delete
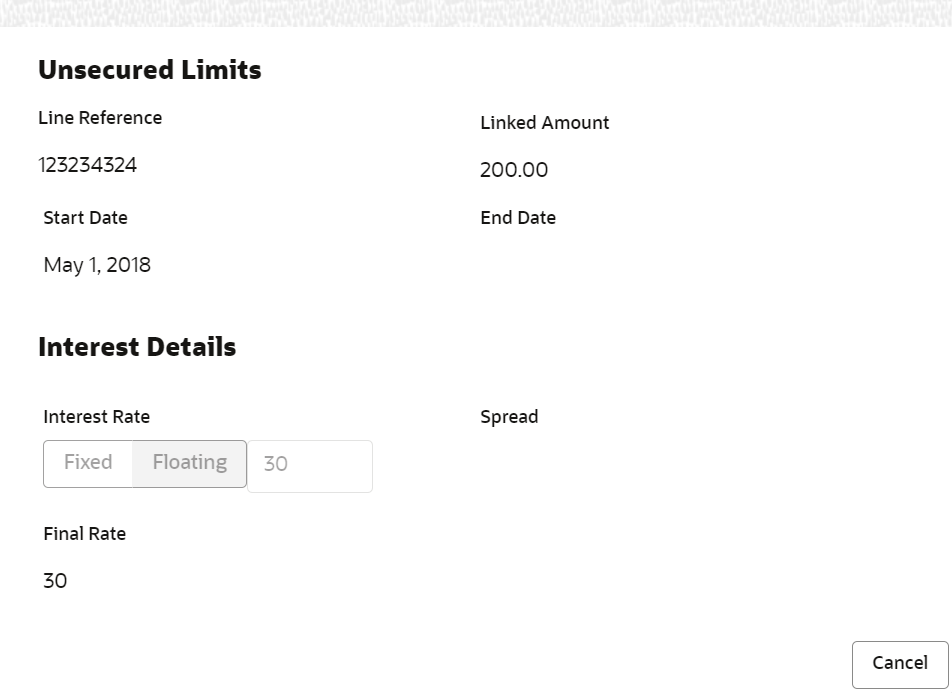
Description of "Figure 3-52 Unsecured Limits - View or Delete" - Click the Edit option to modify the existing unsecured
limits record.The editable Unsecured Limits window is displayed.
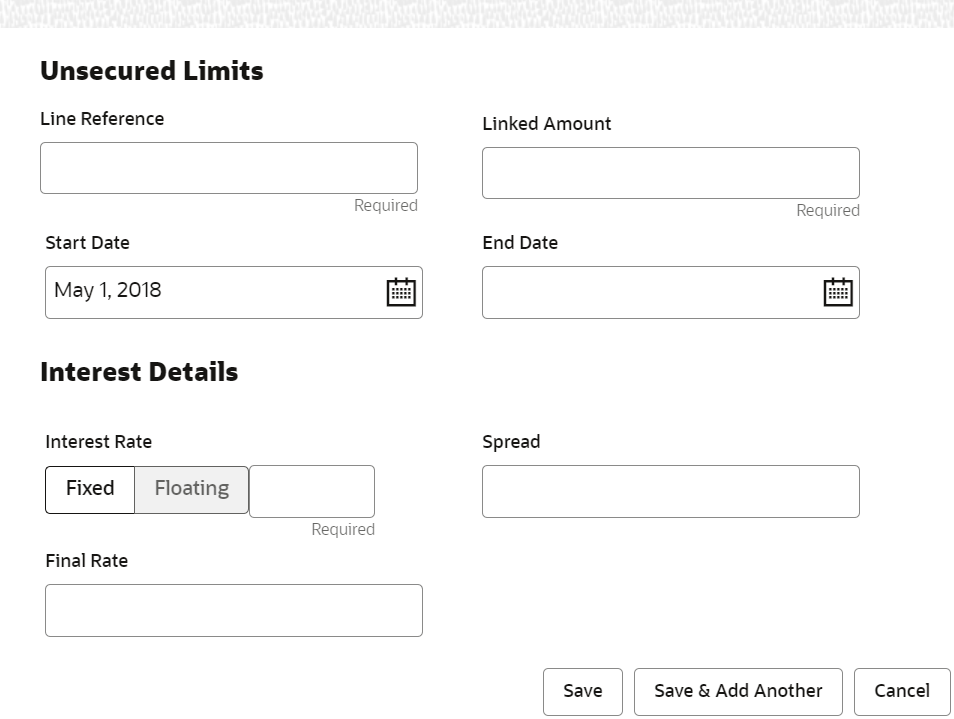
- To add new unsecured limits, click the Add icon.Unsecured Limits window is displayed.
- On Unsecured Limits window, specify the fields. For more information on fields, refer to the field
description table below.
Table 3-31 Unsecured Limits - Field Description
Field Description Line Reference Enter any reference number to identify the clean unsecured limit being granted to the account holder. Linked Amount Enter the amount of unsecured limit being granted to the customer. Start Date The system defaults the Start date as the current branch date. You can modify the Start Date to any future date using the adjoining calendar button. Note:
The Start Date cannot be backdated.End Date Click on the adjoining calendar icon and specify the End Date of the unsecured limit. Interest Rate Displays the interest rate as Fixed. Note:
Interest Rate Type and actual Interest Rates defaults from the account class level if defined. In such cases, the Interest Rate Type and Interest Rates automatically defaults in these fields.Spread This is an optional field and can be Positive Spread or Negative Spread. Final Rate The system defaults the Final Rate by adding the Interest rate. Note:
The additional of interest rate can be +/- spread.On clicking Save button, newly added unsecured limit is displayed in the Limits Summary.
Parent topic: Limits
