Creating SBC Stack
A SBC stack instantiates a standalone or HA pair on OCI with Day-0 configurations, for example: loading product type and entitlements, configuring cores, setting up HA configuration, SNMP etc.
The Day-0 configurations include:
- Configuring product type and entitlements.
- Configuring default REST interface (using self-signed certificates).
- Configuring network mapping.
- Configuring disk partitions.
- Changing user/admin password.
- Configuring CPU core assignments.
- Configuring SNMP/NTP service.
- Redundancy configuration for HA.
To create a SBC stack:
- From the Navigation menu, click Oracle Cloud Developer Services .
- Under Resource Manager, click Stacks.
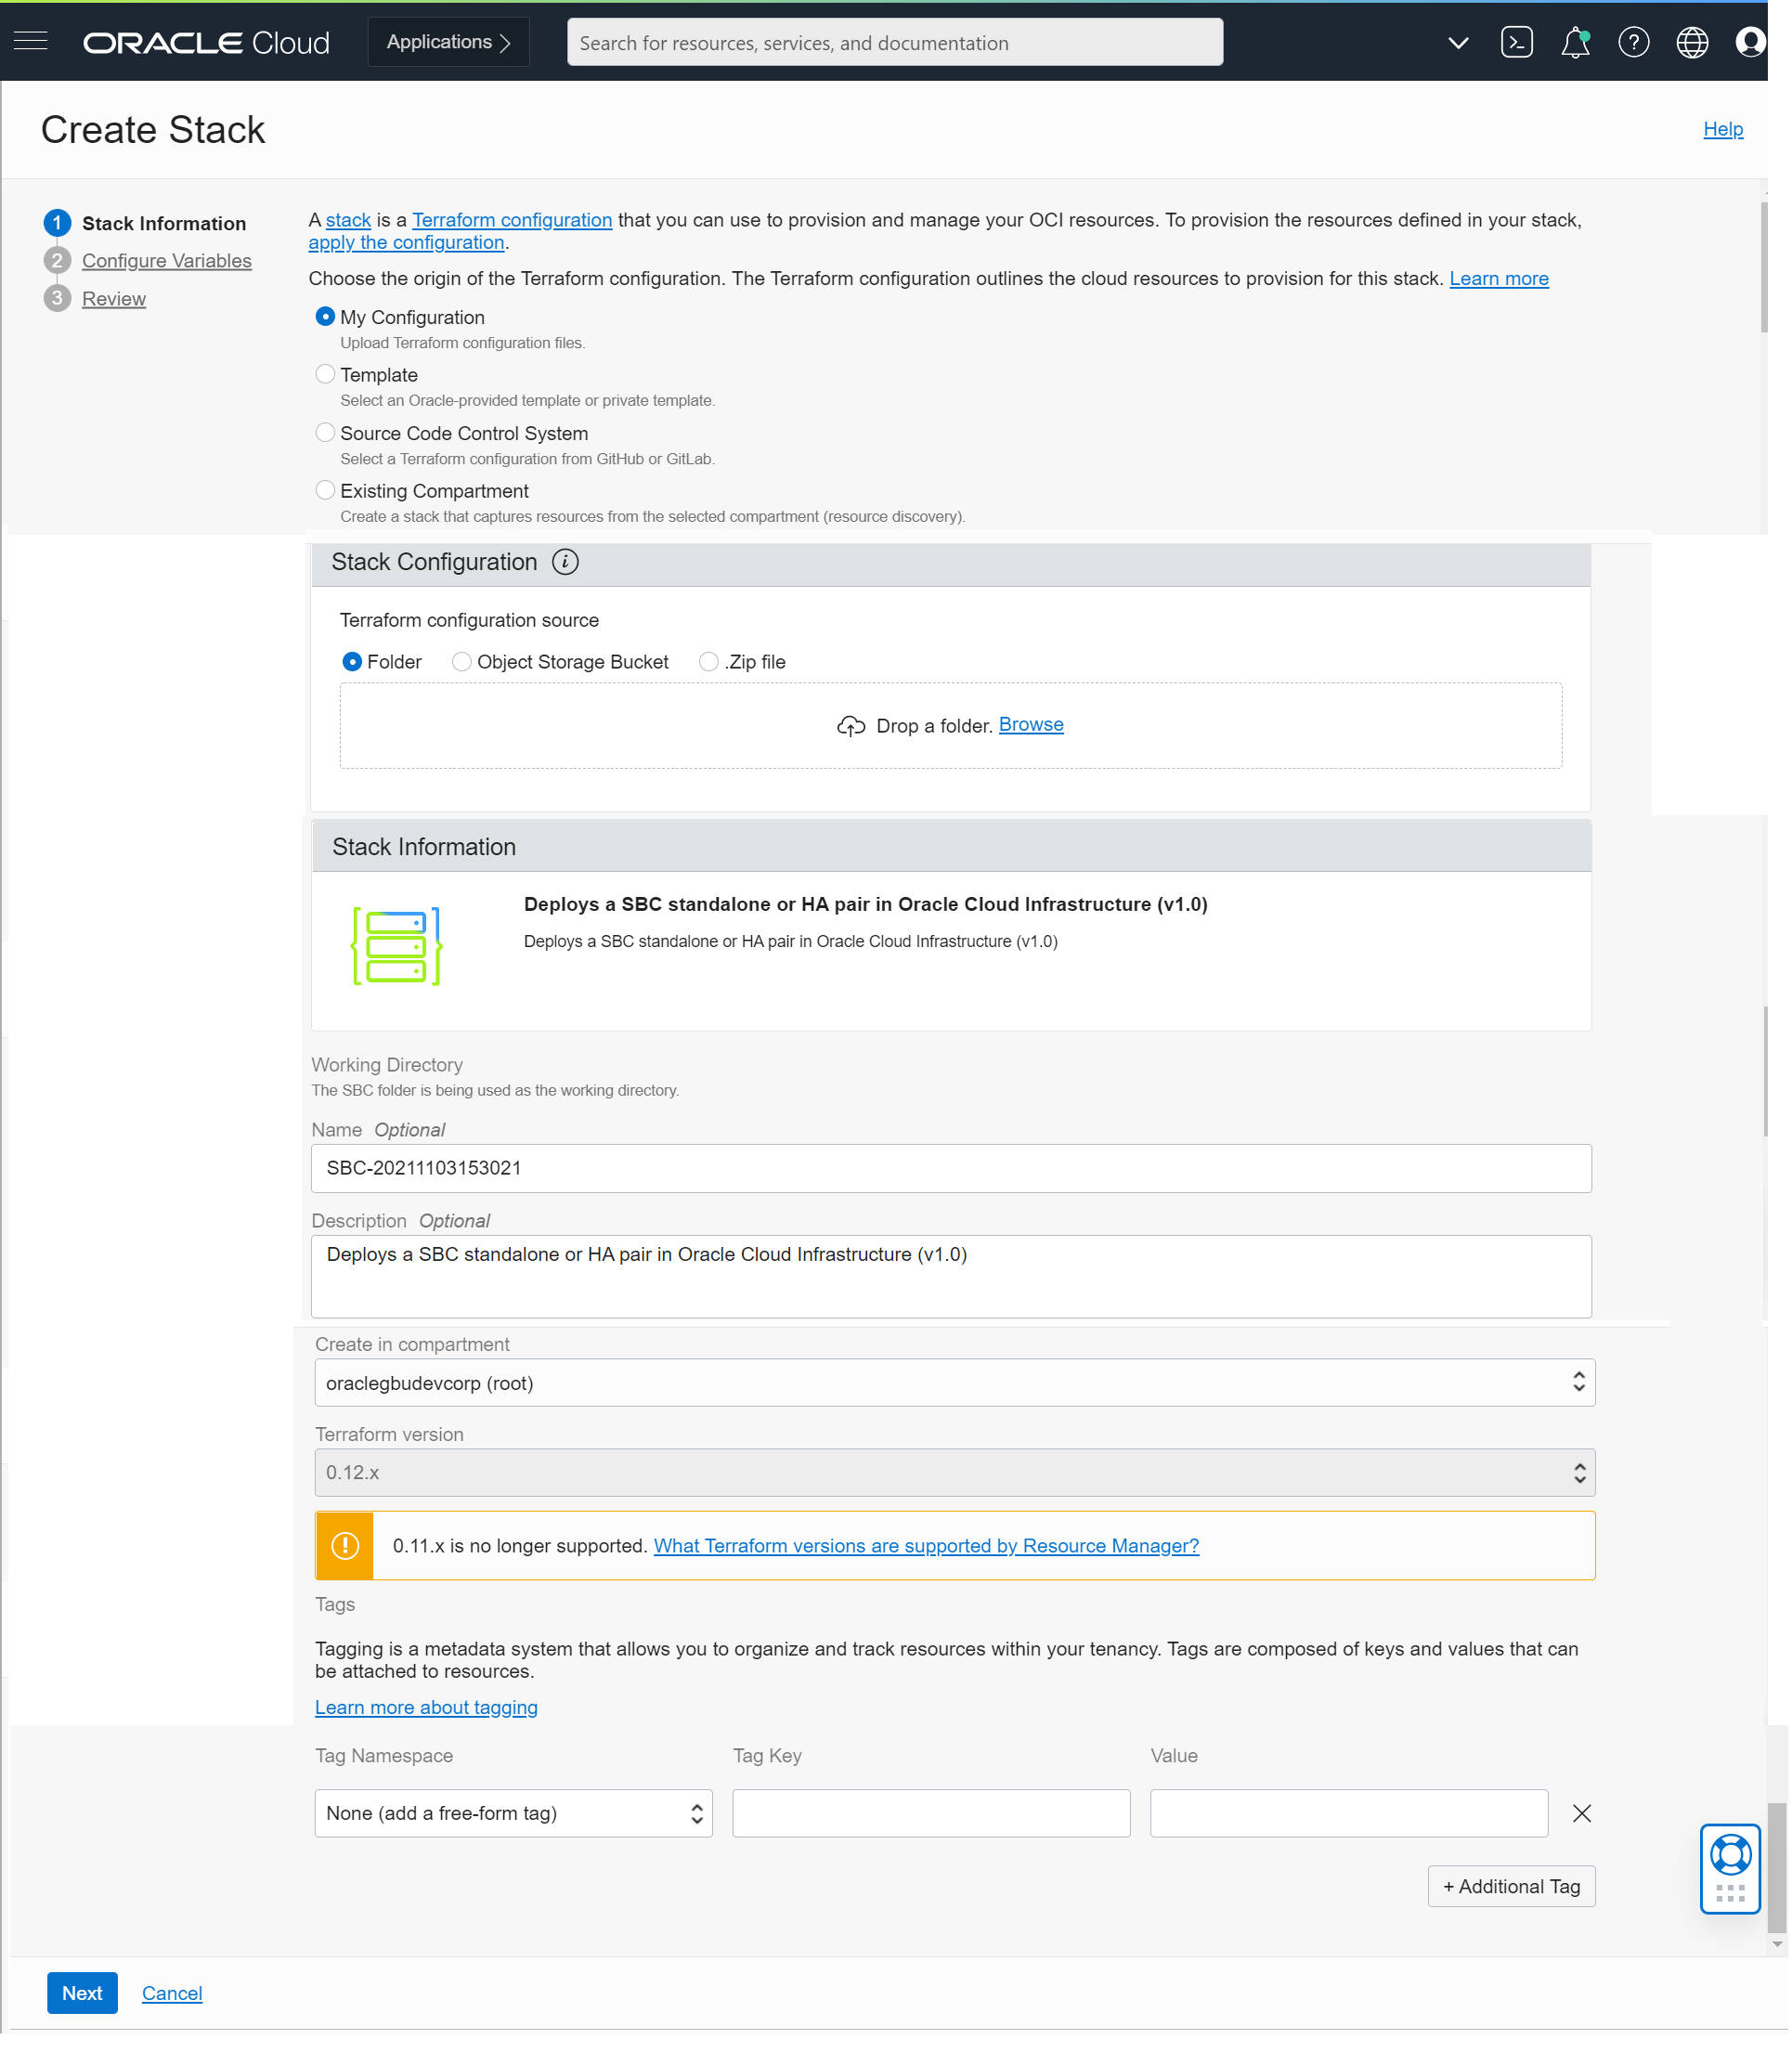
- In the Create Stack dialog, under Choose the origin of Terraform configuration, select the option My Configuration.
- Under Stack Configuration, select
Folder option,
- Drag and drop a folder or click Browse and navigate to the location of the SBC folder.
- Upload the SBC folder.
- Enter a Name for the stack or accept the default name.
- Enter a Description.
- Select the Compartment you want to create the stack.
- Select the Terraform version.
- Apply tags to the stack, if required.
- Click Next.
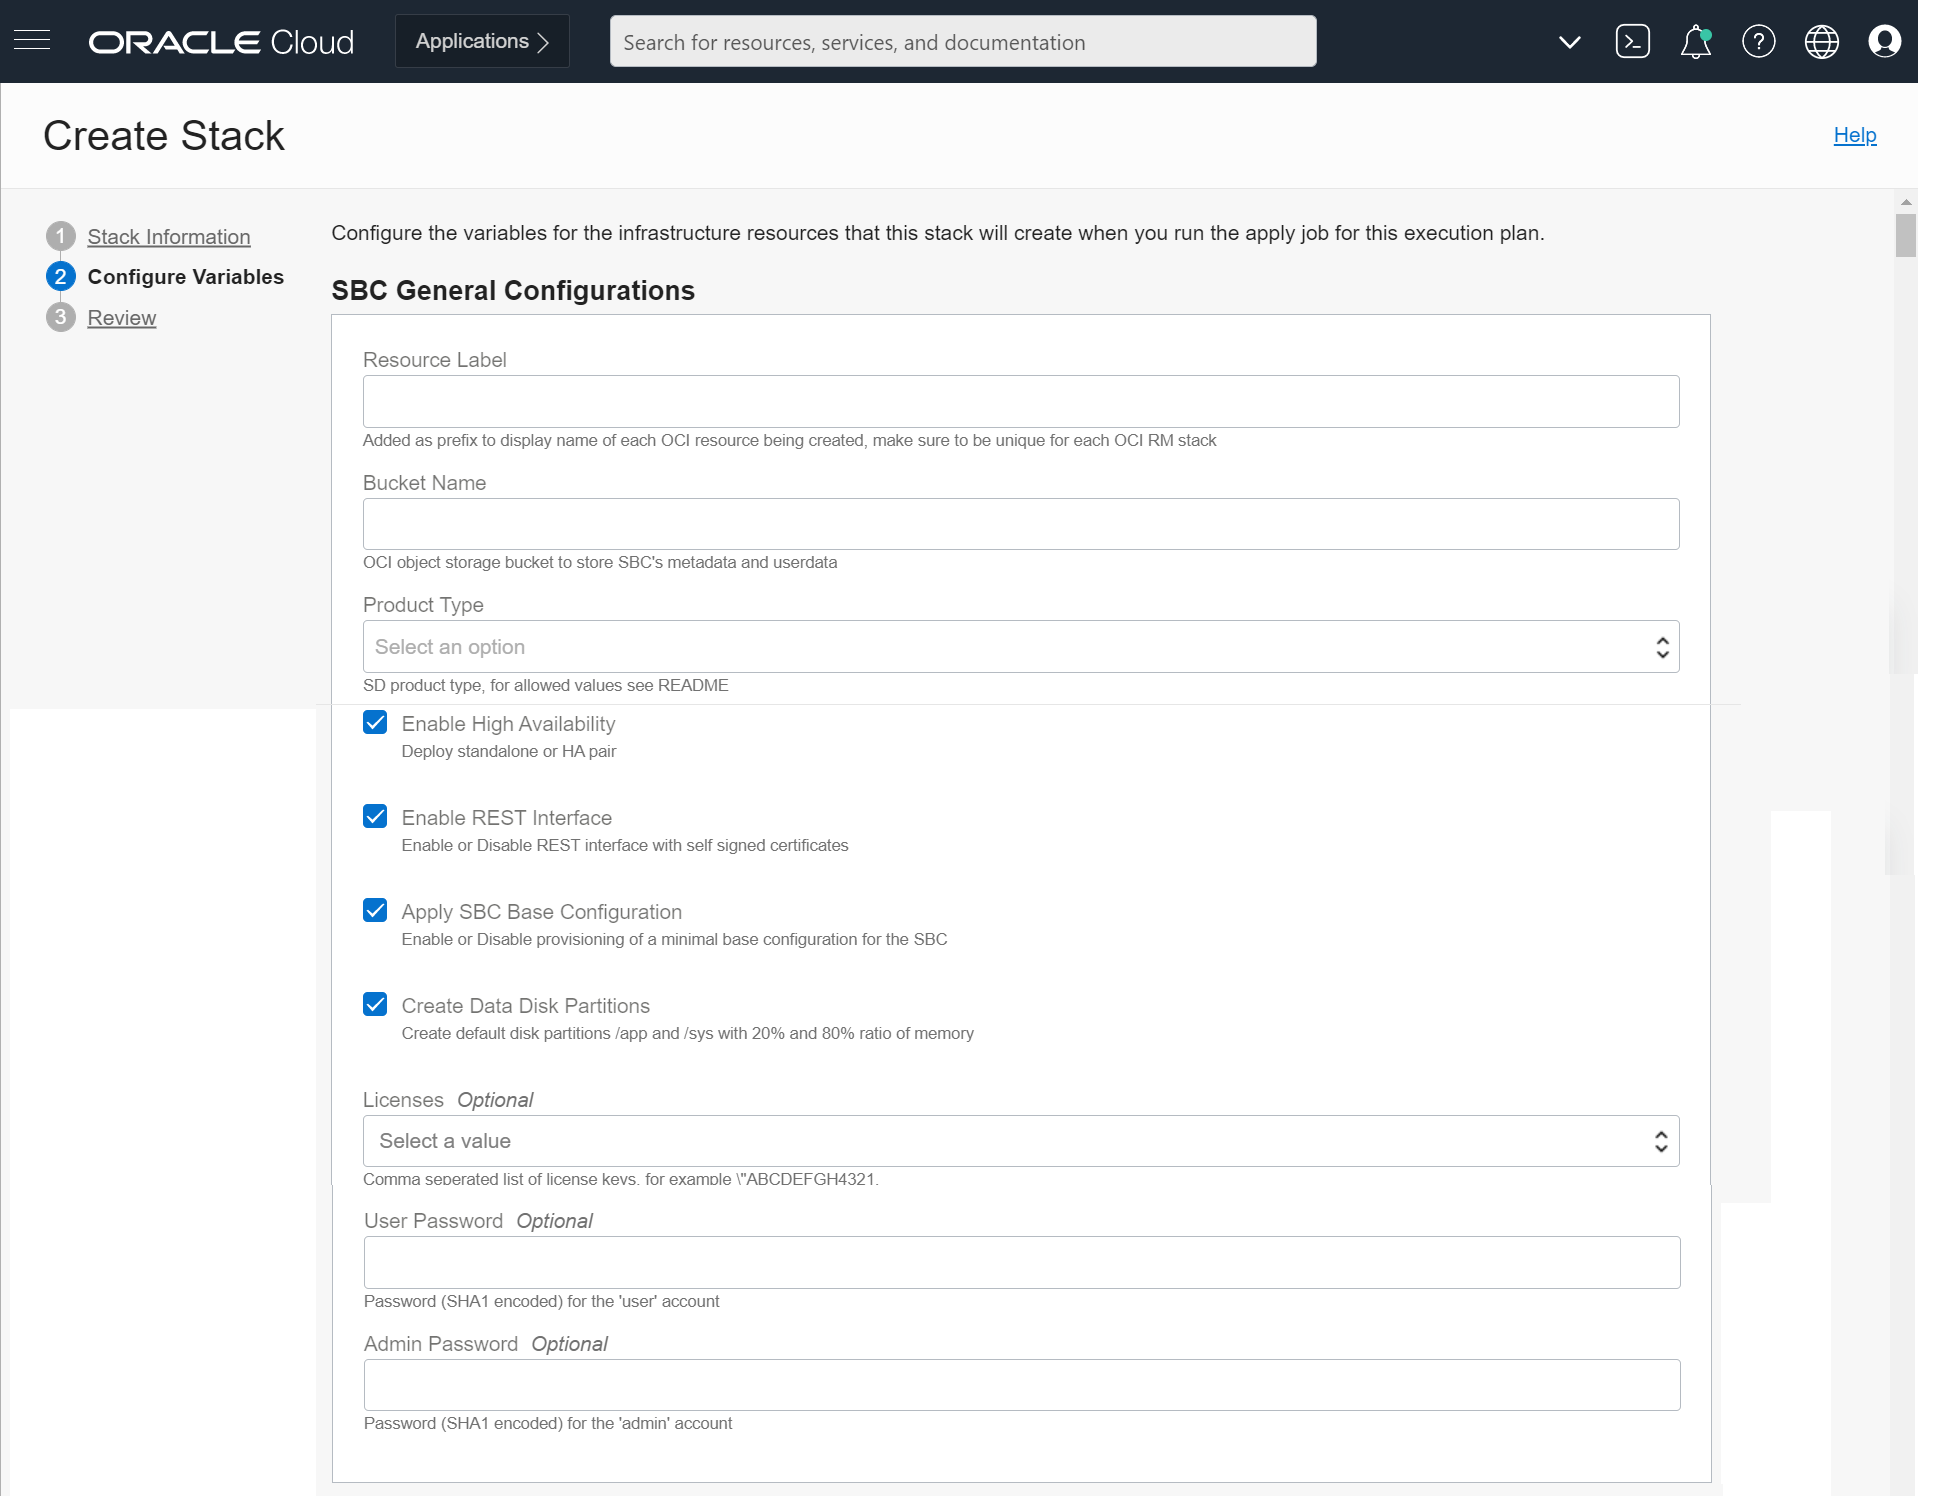
- From the Configure Variables panel, select the variables from the Terraform configuration.
- Under SBC General Configurations, enter the Resource Label.
Note:
The Resource Label precedes every resource name in the SBC. - Enter the Bucket Name .
- Select the Product Type.
- Select Enable High Availability to create HA pair.
- Optionally, select Enable Rest Interface to enable the SBC ports to serve REST API requests with self-signed certificates.
- Select Apply SBC Base Configuration to apply Day-0 configurations while creating the SBC.
- Select Create Data Disk Partitions to create default disk partitions.
Note:
The default disk partitions are: /app - 20% of memory and /sys - 80% of memory. - Select the Licenses .
- Optionally enter the User Password.
- Optionally enter the Admin Password.
- Under SBC General Configurations, enter the Resource Label.
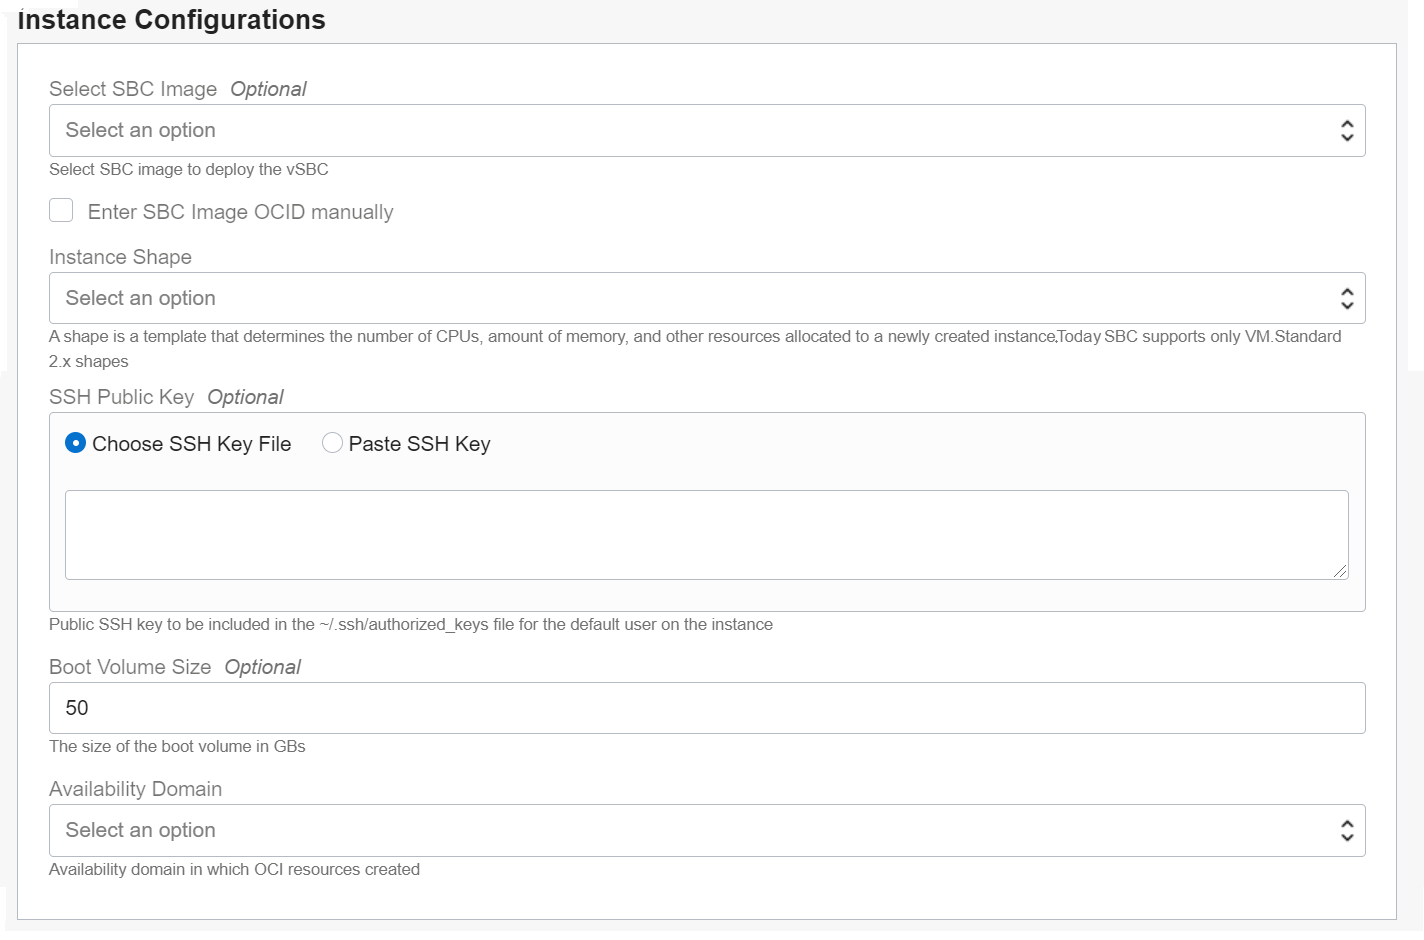
- Under Instance Configurations ,
- Optionally select the SBC Image from the list.
- Select Enter SBC Image OCID Manually, if you want to enter an OCID for SBC Image manually.
- Select an Instance Shape.
Note:
Instance Shape determines the number of CPUs, amount of memory, and other resources allocated to a new instance. SBC only supports VM Standard 2.x shapes. - Optionally, enter a SSH Public Key
- Optionally, enter a Boot Volume Size .
- Optionally, enter a Availability Domain that is available based on the OCI region.
- Optionally, select a Fault Domain, if you choose to create a standalone SBC.
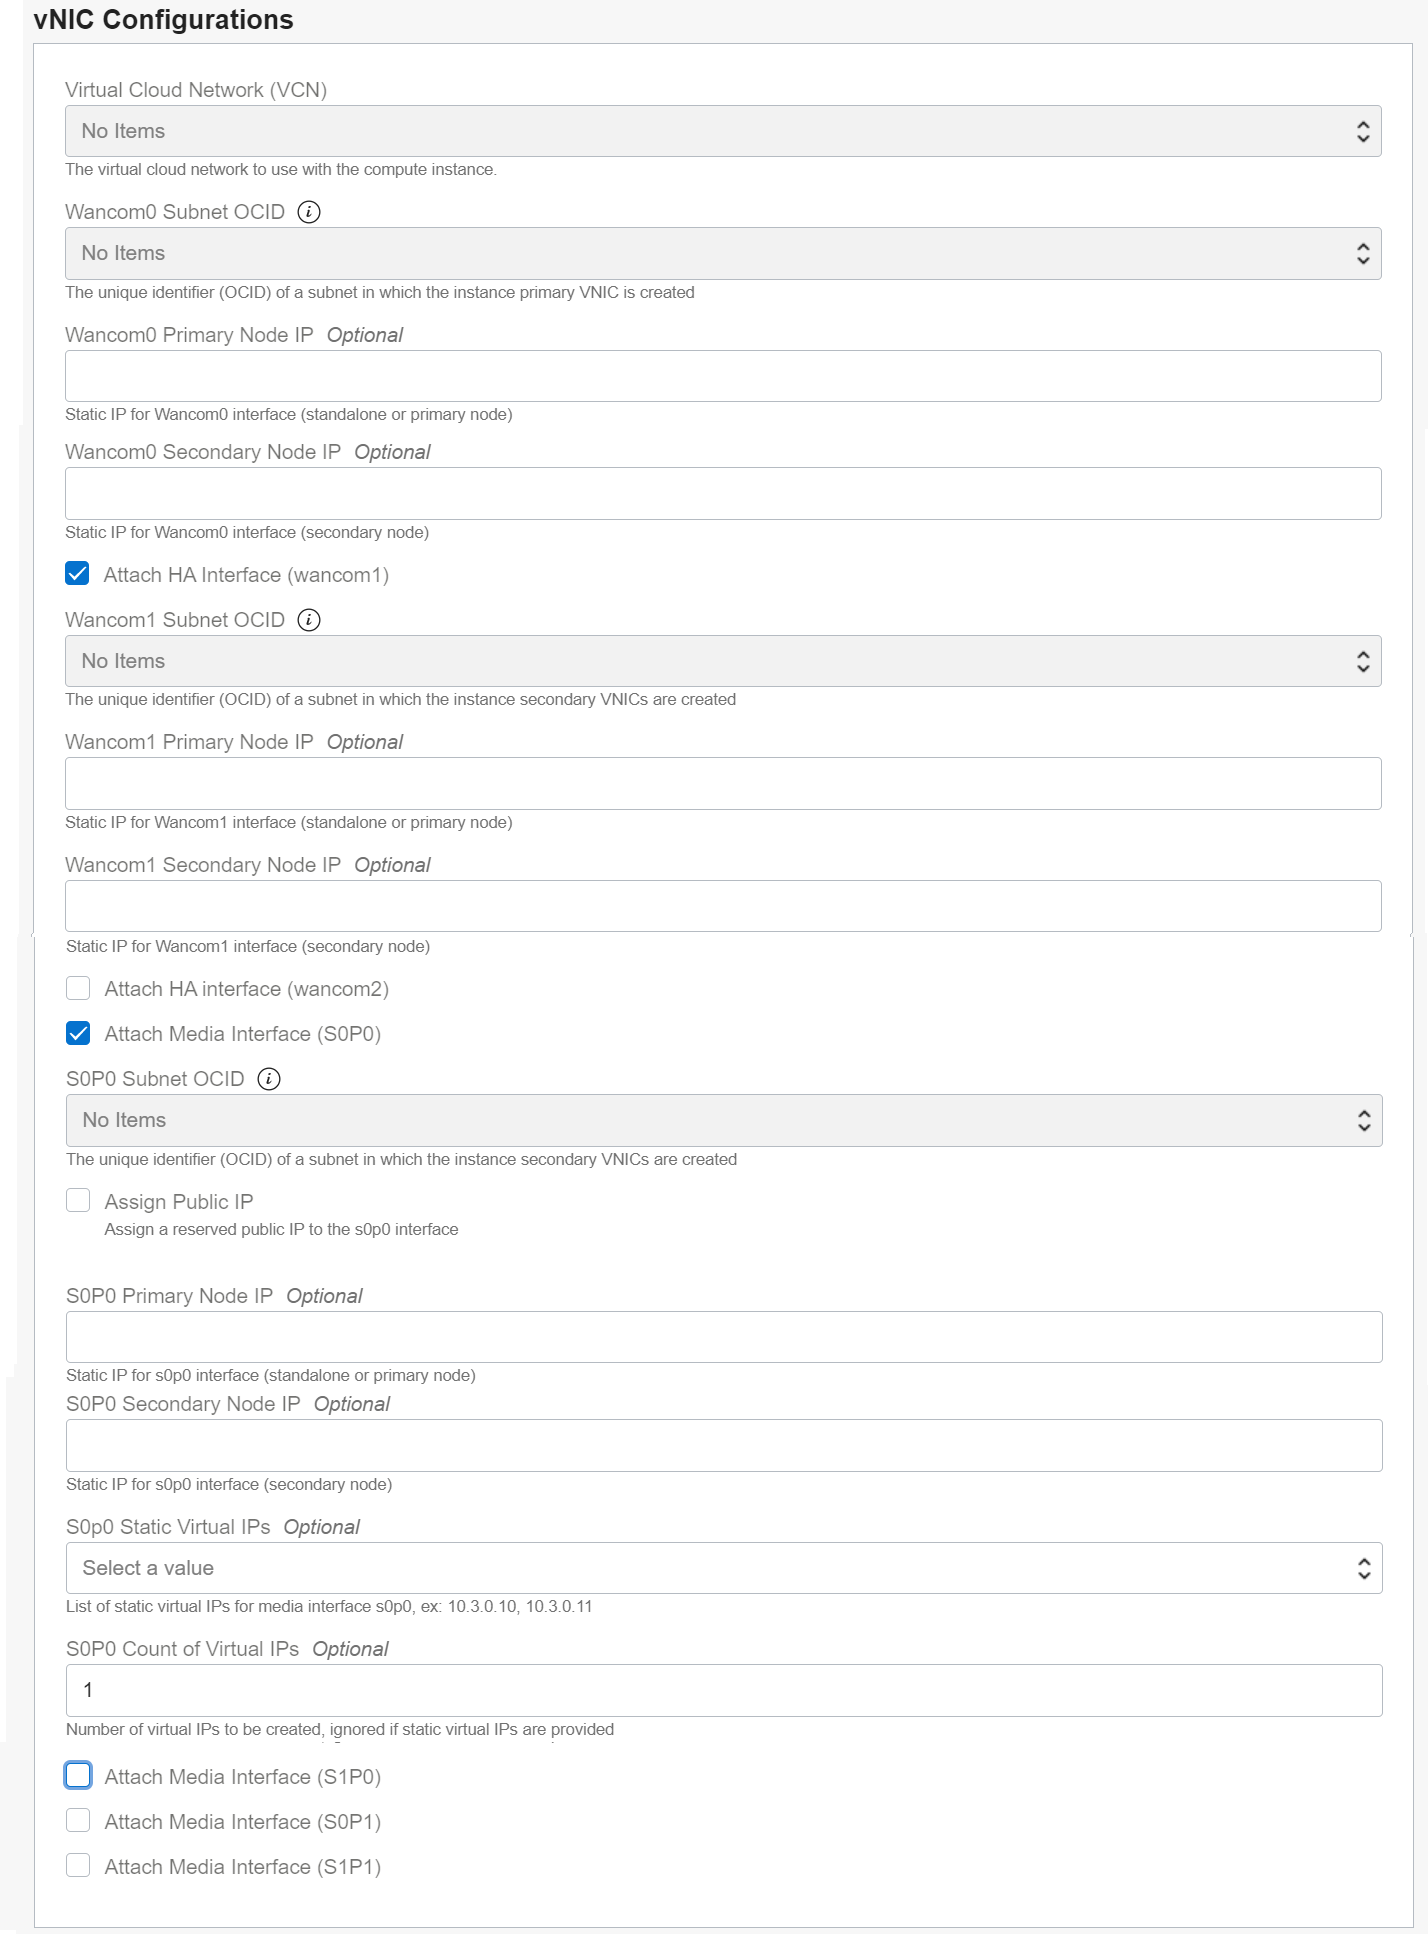
- Under vNIC Configurations,
- Select the Virtual Cloud Network from the list.
- Select the Wancom0 subnet OCID.
- Optionally, enter a static IP address for wancom0 interface (standalone or primary node) in theWancom0 Primary Node IP.
- Optionally, enter a static IP address for wancom0 interface (secondary node) in theWancom0 Secondary Node IP.
- Select Attach HA interface (wancom1) to add a HA interface.
- Select the Wancom1 subnet OCID.
- Optionally, enter a static IP address for wancom1 interface (standalone or primary node) in Wancom1 Primary Node IP.
- Optionally, enter a static IP address for wancom1 interface (secondary node) in Wancom1 Secondary Node IP.
Note:
Similarly for wancom2, add the HA interface. - Select the Attach Media Interfaces (S0p0) to add a media vNIC.
- Select the S0P0 Subnet OCID.
- Select Assign Public IP to assign a public IP address to the media interface. This must a public subnet.
- Optionally, enter a static IP address for S0P0 interface (standalone or primary node) in S0P0 Primary Node IP.
- Optionally, enter a static IP address for S0P0 interface (secondary node) in S0P0 Secondary Node IP.
- Optionally, select a value for static IP address in the S0P0 Static Virtual IPs
- Optionally, enter the S0P0 Count of Virtual IPs for the media interface.
Note:
Similarly for other media interfaces, select the static IP address for primary and secondary nodes.
- Under CPU Core Configurations, optionally
- Select the number of CPU Forwarding Core dedicated for forwarding frames.
- Enter the number of CPU DOS Cores dedicated for Denial-of-Service Protection.
- Enter the number of CPU Transcoding Cores dedicated for transcoding media.
- Select Use Sibling Cores, if you want to use sibling core for data-path and virtual SBC uses SMT topology.
Note:
The sum of number of Forwarding Core, DOS Cores, Transcoding Core and two Signaling Cores must be less than or equal to the number of virtual CPUs. - Under SNMP Configurations, optionally
- Enter the SNMP Community Name used for SNMP management.
- Enter the SNMP IP Address.
- Under NTP Configurations, optionally
- Enter the NTP Server 1 used for time synchronization.
- Enter the NTP Server 2.
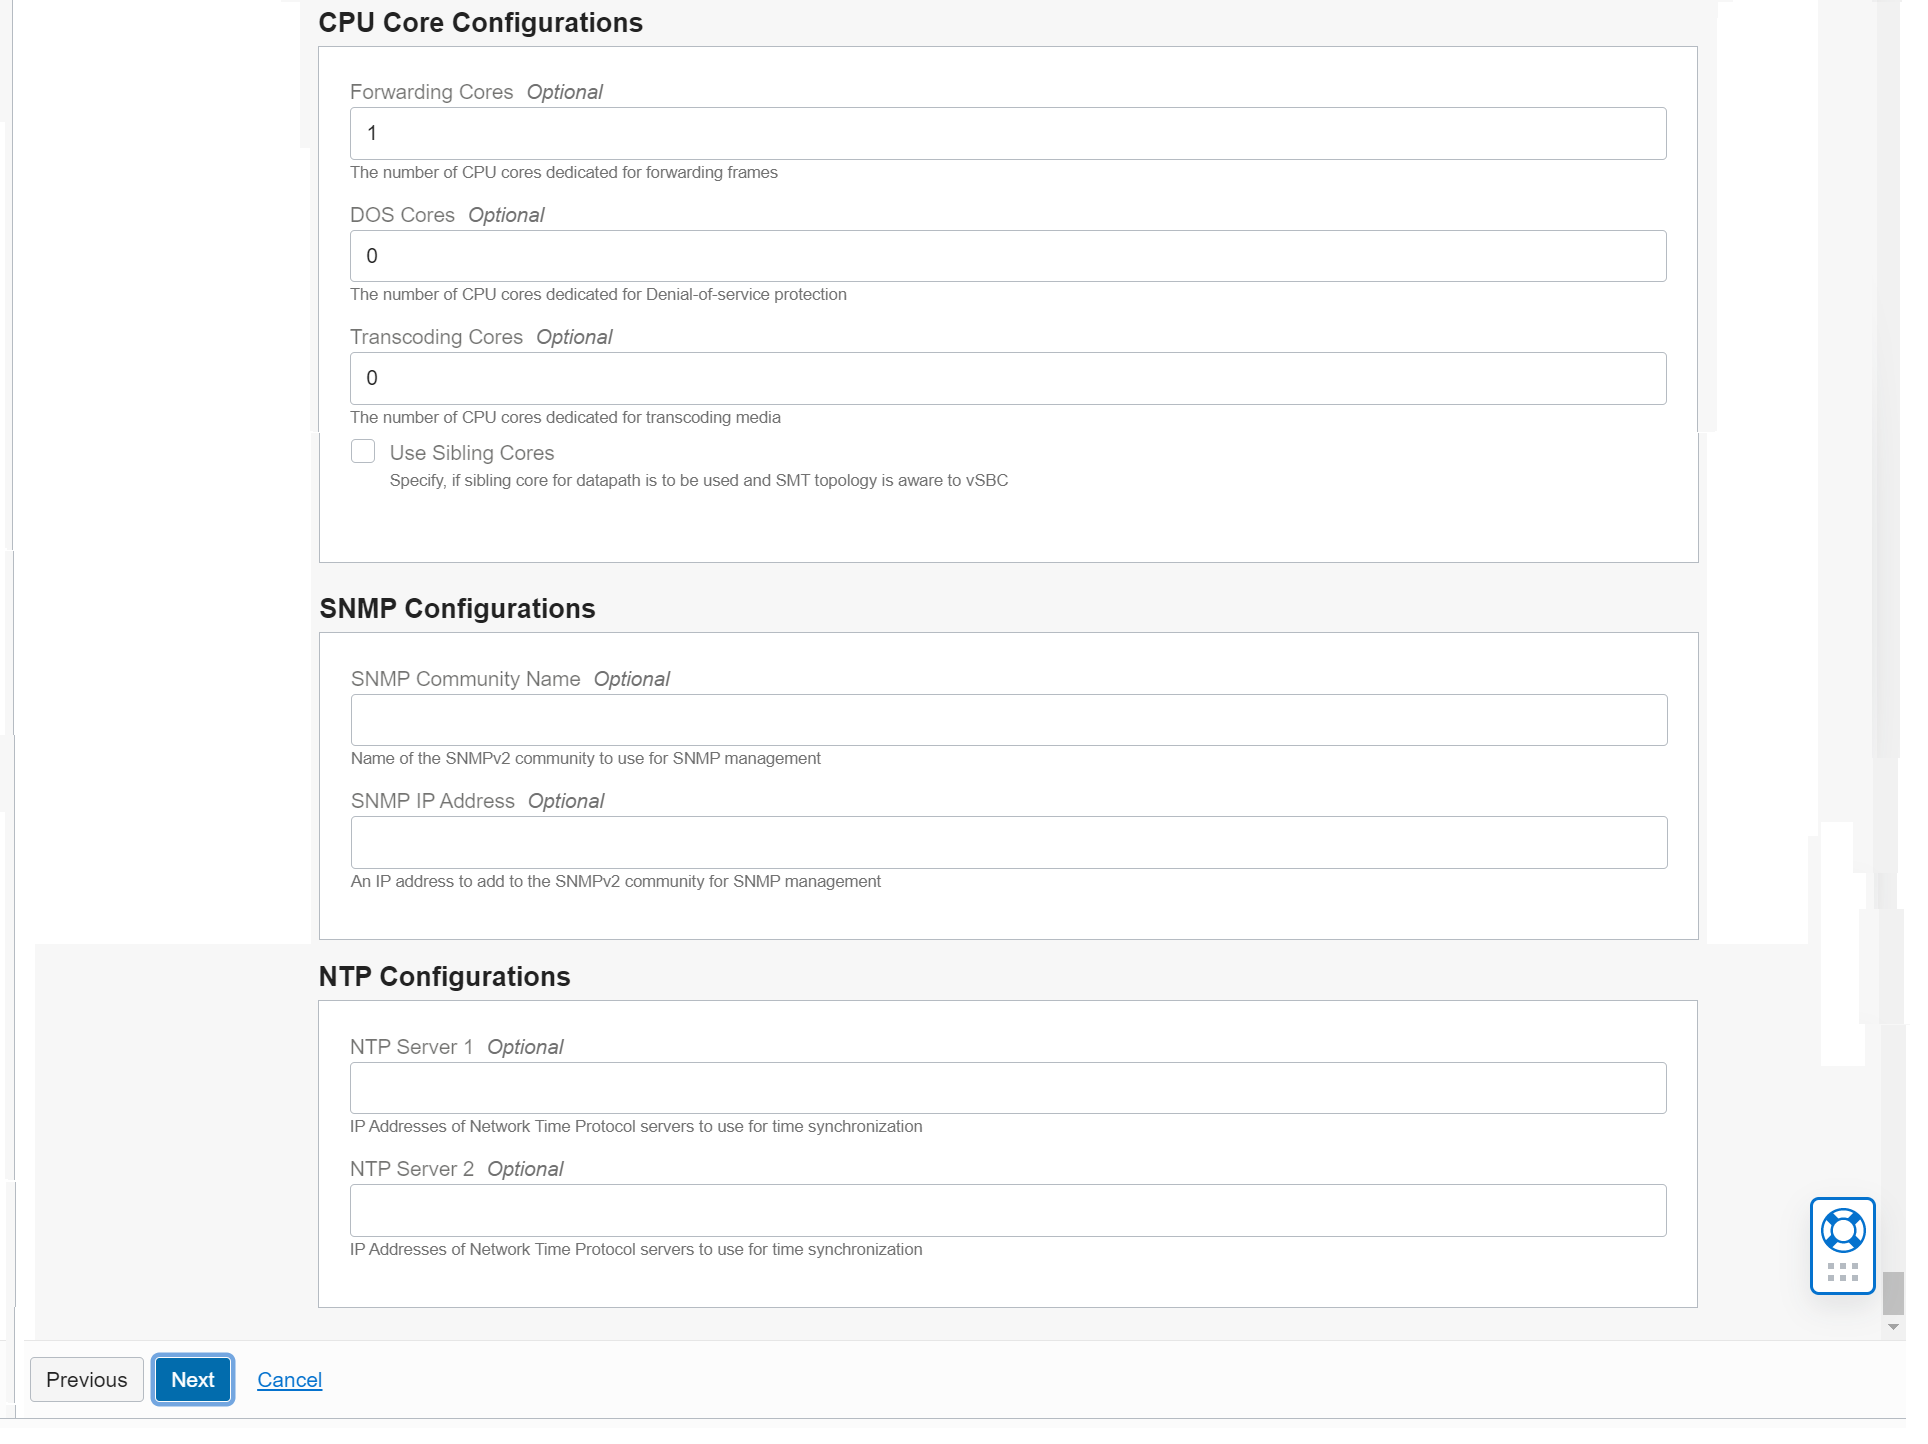
- Click Next.
From the Review panel, verify the configuration variables.
Note:
You can only view the variables whose default values have changed. - Select Run Apply to automatically provision the OCI resources, when the SBC stack is created.
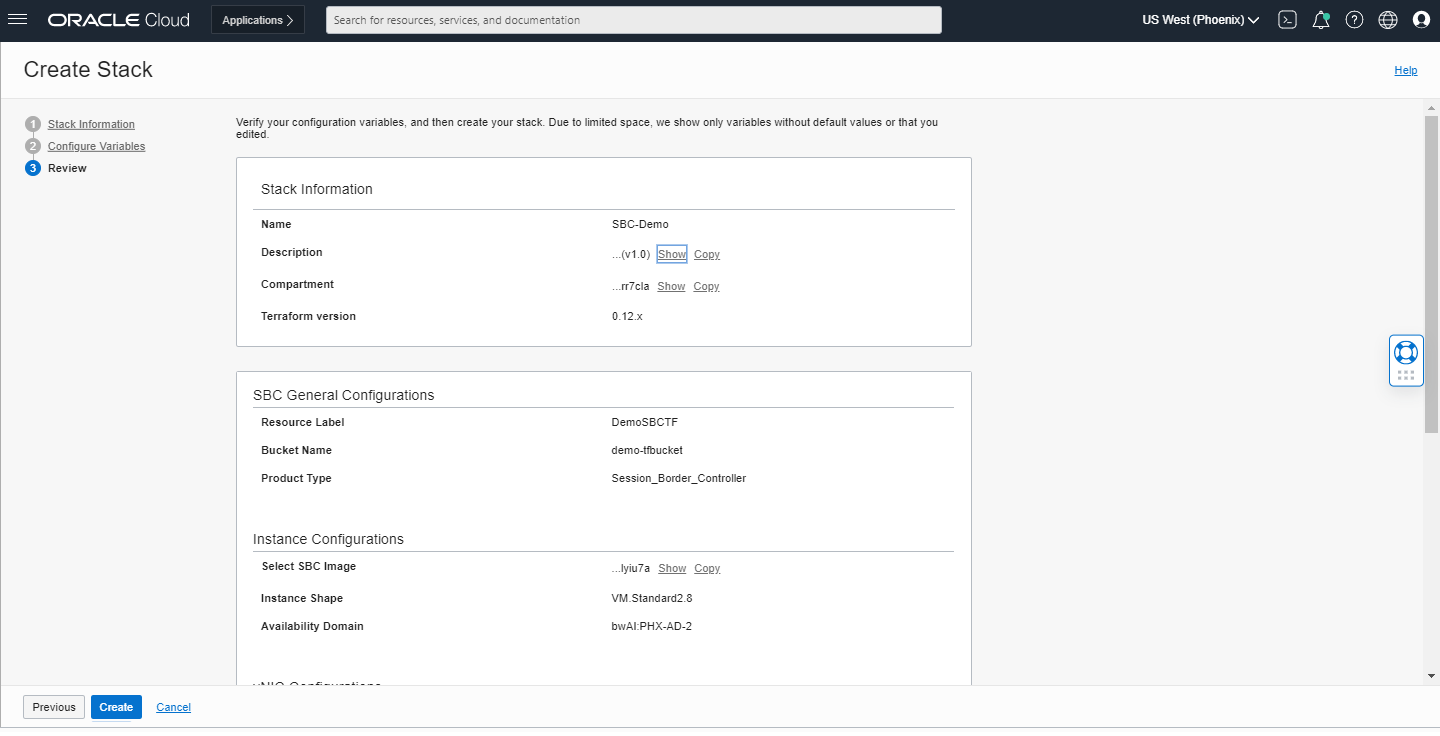
- Click Create to create the SBC stack.
The new stack details appear. If you click Plan, you can view the resources that will be created based on the configuration variables.
- Click Apply to create the OCI resources.