Create and Download Software Package

  1. Log into the NCN Controller appliance
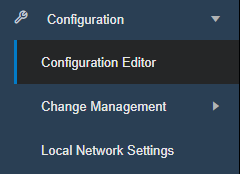
  2. Add the new appliance by navigating to Configuration > Configuration Editor
    Image showing where the configuration editor is on the menu
  3. From the Configuration Editor, export the new configuration to the Inbox of the NCN Controller appliance by selecting the Publish to SD-WAN Controller action.
    Image showing configuration management options
  4. Create the software package for the new appliance by applying the new configuration to your system using the following Full Network Update steps:
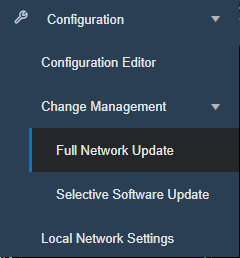
    1. Go to Configuration > Change Management > Full Network Update
      Image showing where the full network update is on the menu
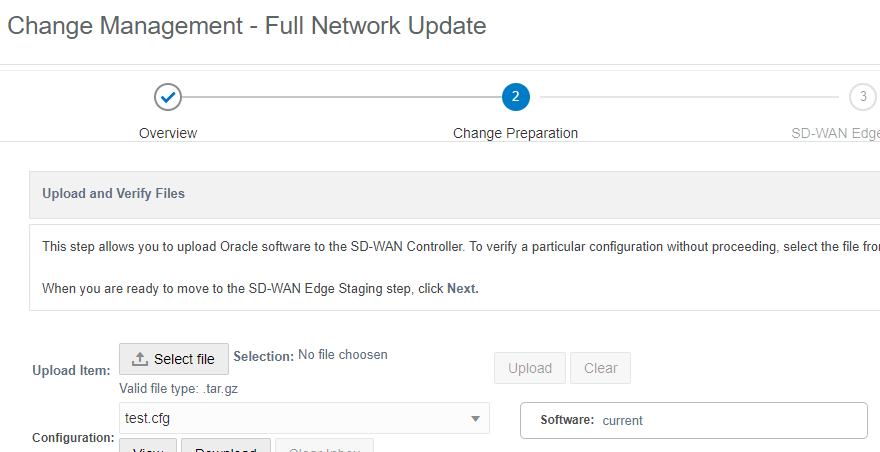
    2. The configuration file appears in the Configuration pull-down selector.
    3. The software should remain current. Continue to Staging and Activation steps to fully apply the configuration.
      Image showing the upload and verify files menu
  5. After the new configuration is installed and fully activated on the NCN, go back to Configuration > Change Management > Full Network Update.
    Image showing where the full network update page is on the menu
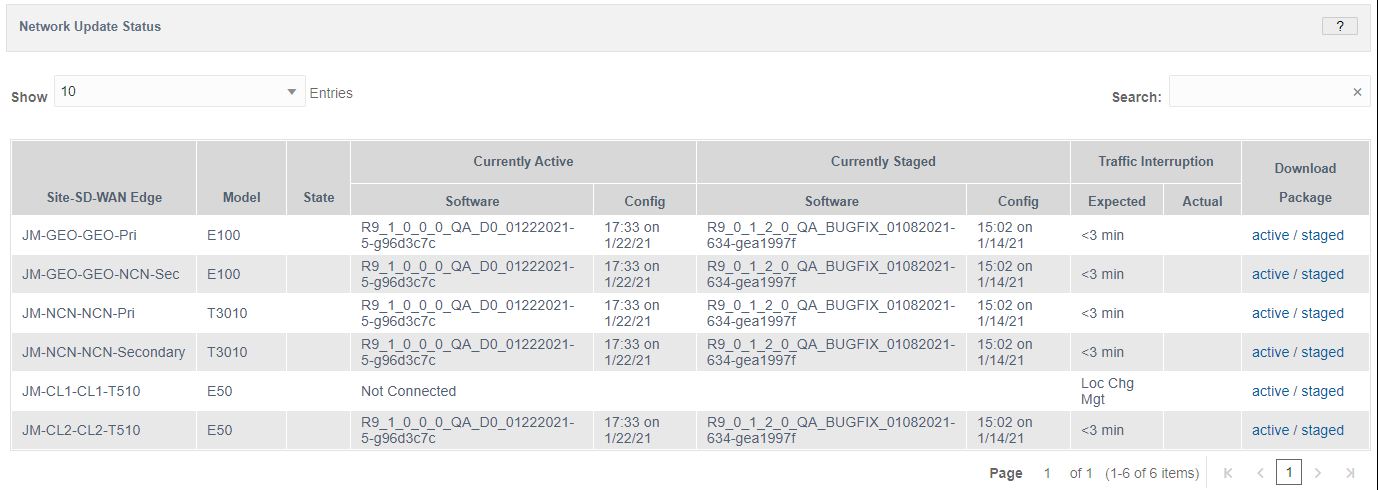
    The new appliance should show up in the Network Update Status table at the bottom.
  6. In the Download Package column there are links to download the Active and Staged software packages needed to configure the appliance. Select the Active link.
    Image showing the active/staged status
  7. The software package for the client appliance is downloaded to the computer’s Download folder/location. (ex. Package name: <ApplianceName>-A-R9_1_0_0_0_GA_<date>.zip)
  8. Copy the downloaded active package to the FAT32 formatted USB drive with the label of ZTP.
  9. Ensure that this is the only software package on the USB drive. If not, remove other software packages.

Formatting the USB Drive

Oracle recommends use of a new USB drive to ensure there are no partitions on the device. The SD-WAN appliance expects a single partition with the specified label.

For Windows

  1. Insert the USB drive into your computer
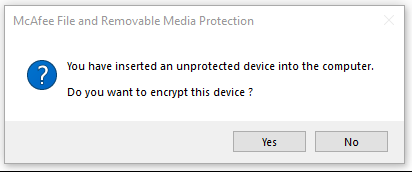
  2. If asked, do not encrypt your USB drive
    Image showing the window asking to encrypt the device
  3. Open your Windows or File Explorer to locate the USB drive
  4. Ensure the USB drive is at least 100 MB.
  5. Select This PC to show the USB drive under the Devices and drives section
    Image showing the devices and drives section
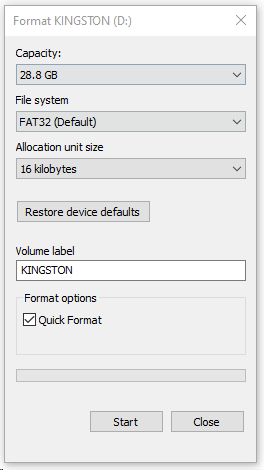
  6. Right click on the USB drive and select Format… to display the format menu
    Image showing the format menu
  7. In the Format dialog box, do the following:
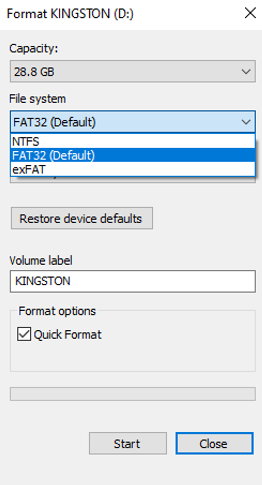
    1. Select FAT32 in the File system field if not already selected. It is often the default option.
      Image showing how to select FAT32
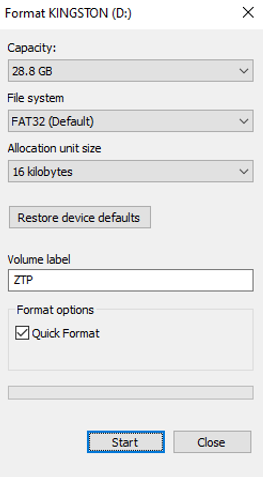
    2. Type ZTP in the Volume label field
    3. Select Start button to confirm show the confirmation box
      Image showing the formatting menu
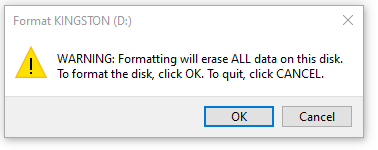
    4. Select OK to confirm and being formatting
      Image showing formatting warning
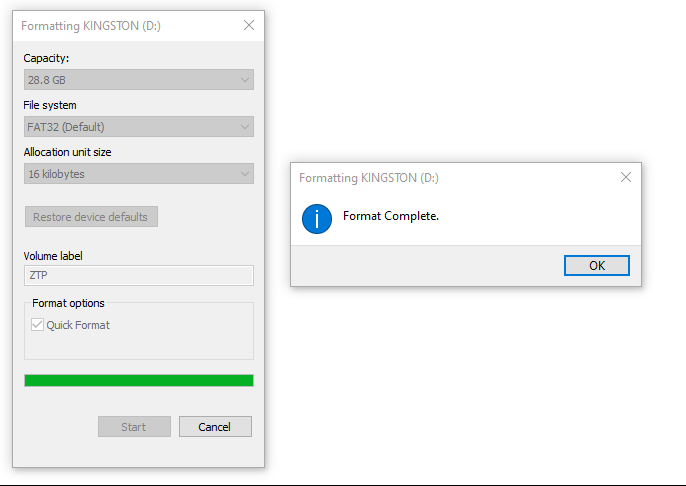
  8. After formatting completes, click OK.
    Image showing format complete window
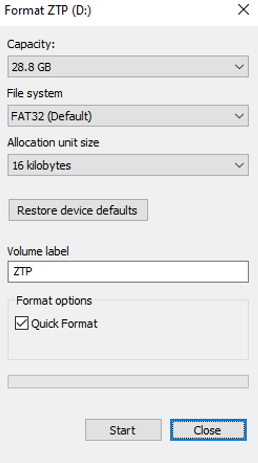
  9. Confirm the Format dialog box by doing the following:
    1. The Volume label field and dialog box name shows ZTP.
    2. The File system type is FAT32
    3. After above is confirmed, select the Close button at the bottom.
      Image showing the format dialog box
  10. Locate the downloaded software package (.zip file) on your computer. (ex. Package name: <ApplianceName>-A-R9_1_0_0_0_GA_<date>.zip)
  11. Copy the file over to the ZTP USB drive. You should have a single software package on the drive in the top directory. Do not create any folders for the file.
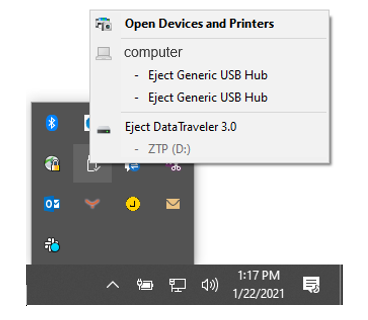
  12. Eject the ZTP USB drive.
    Image showing how to eject the drive
  13. Continue to the instructions to Configure SD-WAN using out-of-band ZTP.

For Linux

  1. Insert the USB drive into the computer
  2. Ensure the USB drive is at least 100 MB.
  3. Check the device name. These instructions assume it is /dev/sdb.
  4. Clear the USB using command sgdisk –Z /dev/sdb
  5. Create a single partition using command sgdisk /dev/sdb –n 1::0 –t 1:ef00
  6. Format the partition as FAT32 format using command mkfs.vfat –F32 /dev/sdb1
  7. Format the USB drive for NTFS, naming the volume ZTP
  8. Copy the downloaded software package (.zip file) onto the USB drive. It should be the ONLY software package on the USB drive. (ex. Package name: <ApplianceName>-A-R9_1_0_0_0_GA_<date>.zip)
  9. Eject the ZTP USB drive.
  10. Continue to the instructions to Configure SD-WAN using out-of-band ZTP

For Mac

  1. Insert the USB drive into the Mac
  2. Launch Disk Utility, located in Applications > Utilities
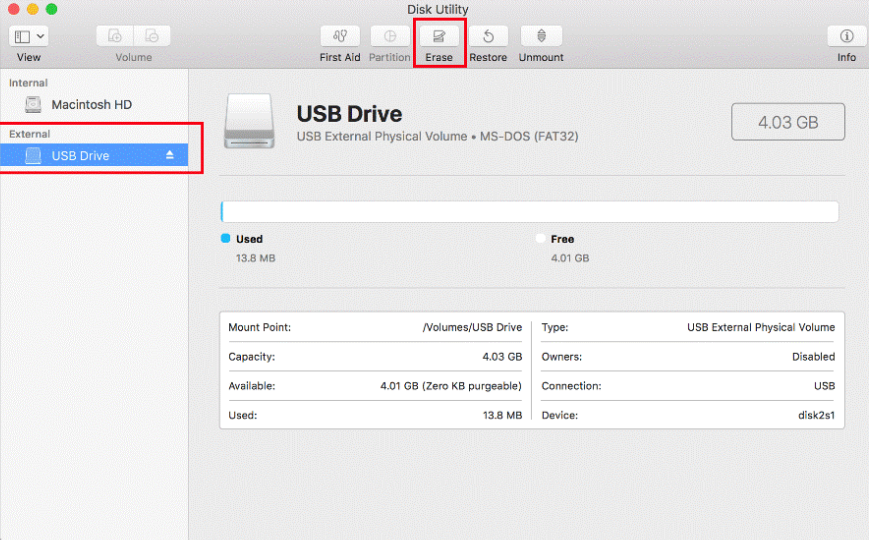
  3. Locate the USB drive name on the left hand side of Disk Utility window and select it
    Image showing the USB drive window
  4. Ensure the USB drive is at least 100 MB.
  5. In the Disk Utility window for your USB drive, do the following:
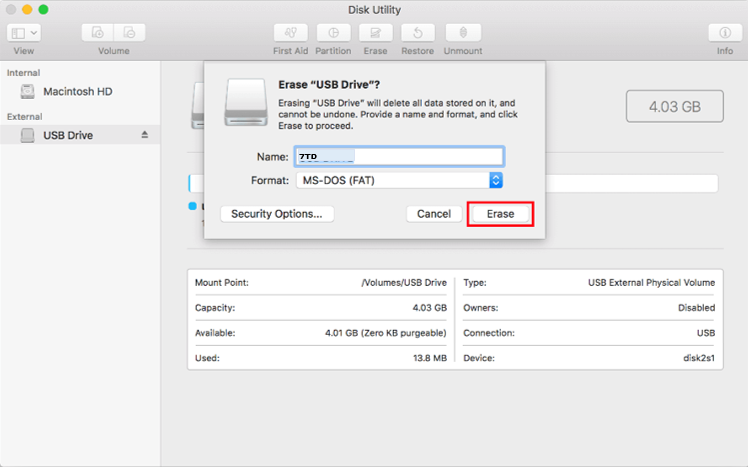
    1. Select FAT if it is not already the default option in the Format field
    2. Type ZTP in the Name field
    3. Select Erase to begin formatting
      Image showing the erase dialog box
  6. Once Erasing is complete, select the Done button in the Erasing and creating dialog box
  7. Locate the downloaded software package (.zip file) on your computer. (ex. Package name: <ApplianceName>-A-R9_1_0_0_0_GA_<date>.zip)
  8. Copy the file over to the ZTP USB drive. You should have a single software package on the drive in the top directory. Do not create any folders for the file
  9. Eject the ZTP USB drive.
  10. Continue to the instructions to Configure SD-WAN using out-of-band ZTP

Create Mapped Drive on Hypervisor

  1. Format the USB drive as FAT32 with the label of ZTP as detailed in the Format your USB drive instructions for your computer type.
  2. Ensure the VM is powered off
  3. Assign Host USB device to a guest VM using instructions for your host.

Assign Host USB Device on KVM

  1. Insert USB into a port on the hypervisor
  2. Open the virt-manager application and select the desired VM
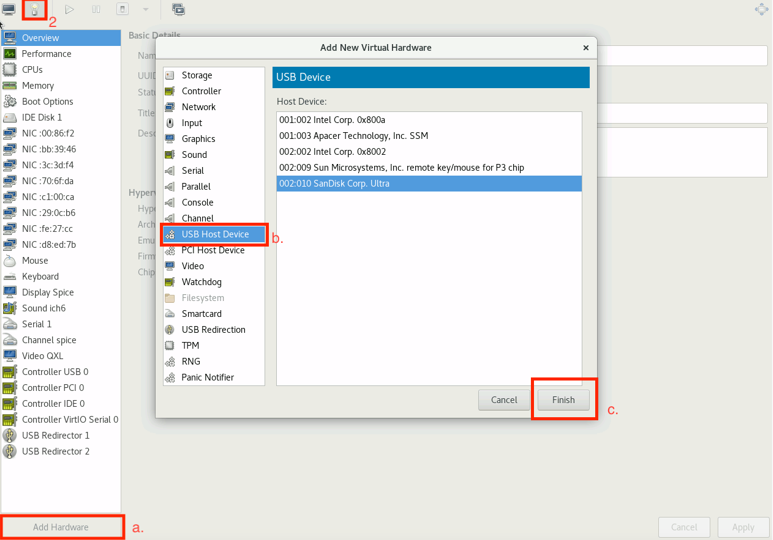
  3. Open the VM settings by selecting the bulb Icon in the top left
    1. Select the Add Hardware option at the bottom left
    2. Select USB Host Device
    3. Select the desired device and click Finish
      Image showing the add new virtual hardware dialog box
  4. Click Apply and power on the VM

Assign Host USB Device on ESXi

  1. Insert the USB into a port on the hypervisor.
  2. From the Webui, select the Virtual Machines tab on the left and select the desired VM.
  3. Open the VM settings by selecting Edit at the top.
  4. In the Virtual Hardware menu, select Add other device and do the following:
    1. Select USB device.
    2. At the bottom of the settings page, confirm that the correct USB device is connected to the VM.
    3. Select Save.

Configure SD-WAN Using Out-of-Band ZTP

  1. If not powered, plug in your appliance without a USB drive.
  2. After it starts, insert the formatted USB drive with single software package for this appliance into the USB port of your SD-WAN appliance/hypervisor.
  3. After installation, remove the USB drive from your SD-WAN appliance/hypervisor.