Assigning RMC Conversion to Specific Locations

The ISR recordings are stored at locations you specified during the installation process of the CIS and RSS. If you enable the RMC license on your ISR, each location containing files that could require conversion must have an RMC set to handle conversion of the files for playback.

By default, a converter is configured on every location that is created. Some locations, like SANs, do not have a converter installed and should be configured to use an existing converter.

To specify RMC conversion to a specific location:
  1. Open your Internet Web browser.
  2. Enter the IP address of the ISR Dashboard. For example:
    http://172.54.66.7

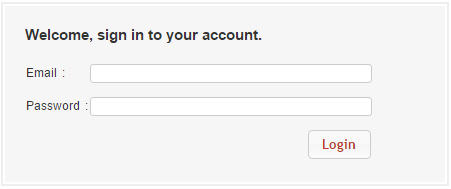
    The Login page displays.

    This screenshot shows the login page.
  3. Enter your email and password, respectively, in the Email and Password fields.

    The default user name and password are:

    User name: isradmin@acmepacket.com

    Password: admin123

    The following page displays.

    This screenshot shows the ISR home page.
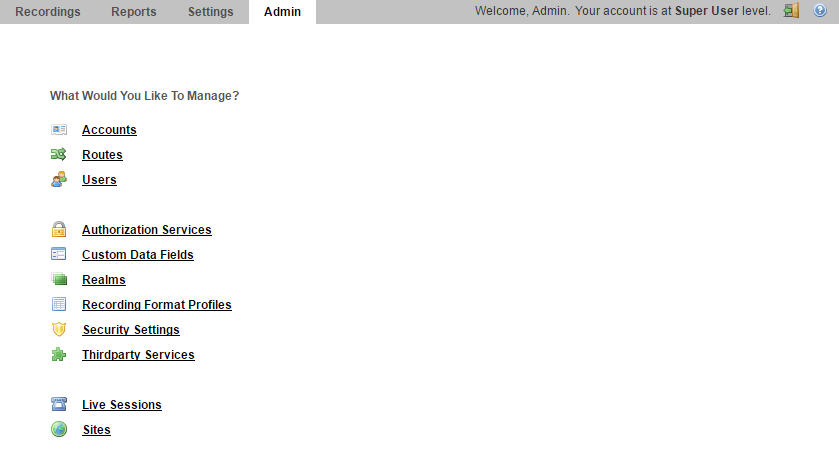
  4. From the Main Menu, click Admin. The following page displays.
    This screenshot shows the Admin page.
  5. Click Sites.
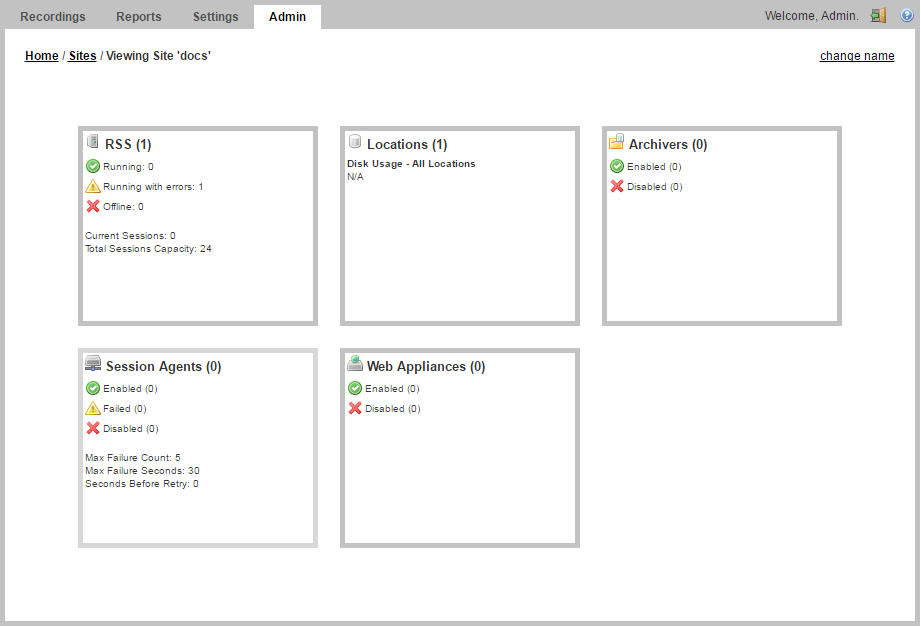
  6. Click the Details icon (This image shows the Details icon.) associated with a site that you want to edit. The following pages displays.
    This screenshot shows the Sites page.
  7. Click on the Locations component. The following page displays.
    This screenshot shows the Locations page.
  8. Click the Search icon to edit the configuration of that location. The following dialog box displays.
    This screenshot shows the Location configuration page.
  9. In the "Recording Converter" section, in the Converter IP Address field, specify the RMC IP address.
  10. If the RMC is listening to XML-RPC requests on a port other than the default (Port 8890), specify the correct converter port number in the Converter Port field.
  11. Click Update to update the location with the RMC information.