Adding CDB and PDB Targets By Using the Declarative Process
To add a CDB target and its associated PDB (and Application Root) targets by specifying target monitoring properties, follow these steps:
Note:
A database system is automatically created on discovery of an Oracle Database. The system is built on the new target and association model that can be used to monitor the database's storage, connectivity, and high availability. This also enables you to monitor and manage applications that are dependent on the database. Database System topology can be used to view relationship between various entities within the database system as well as external dependencies.
A database system contains a primary database and related targets such as Listener and Automatic Storage Management. It also includes standby databases and their related targets if the database is in a Data Guard configuration. However, you cannot create database systems for standby databases.
-
From the Setup menu, select Add Target, then select Add Targets Manually.
-
On the Add Targets Manually page, select Add Target Declaratively.
-
In the Add Target Declaratively dialog box, select Pluggable Database, and click Add...
For Monitoring Agent, specify the Management Agent present on the CDB host. Click Add Manually.
-
On the Add Pluggable Database: Specify Container Database page, specify the CDB or click the search icon to select the CDB to which the target will be added.
Click Continue.

-
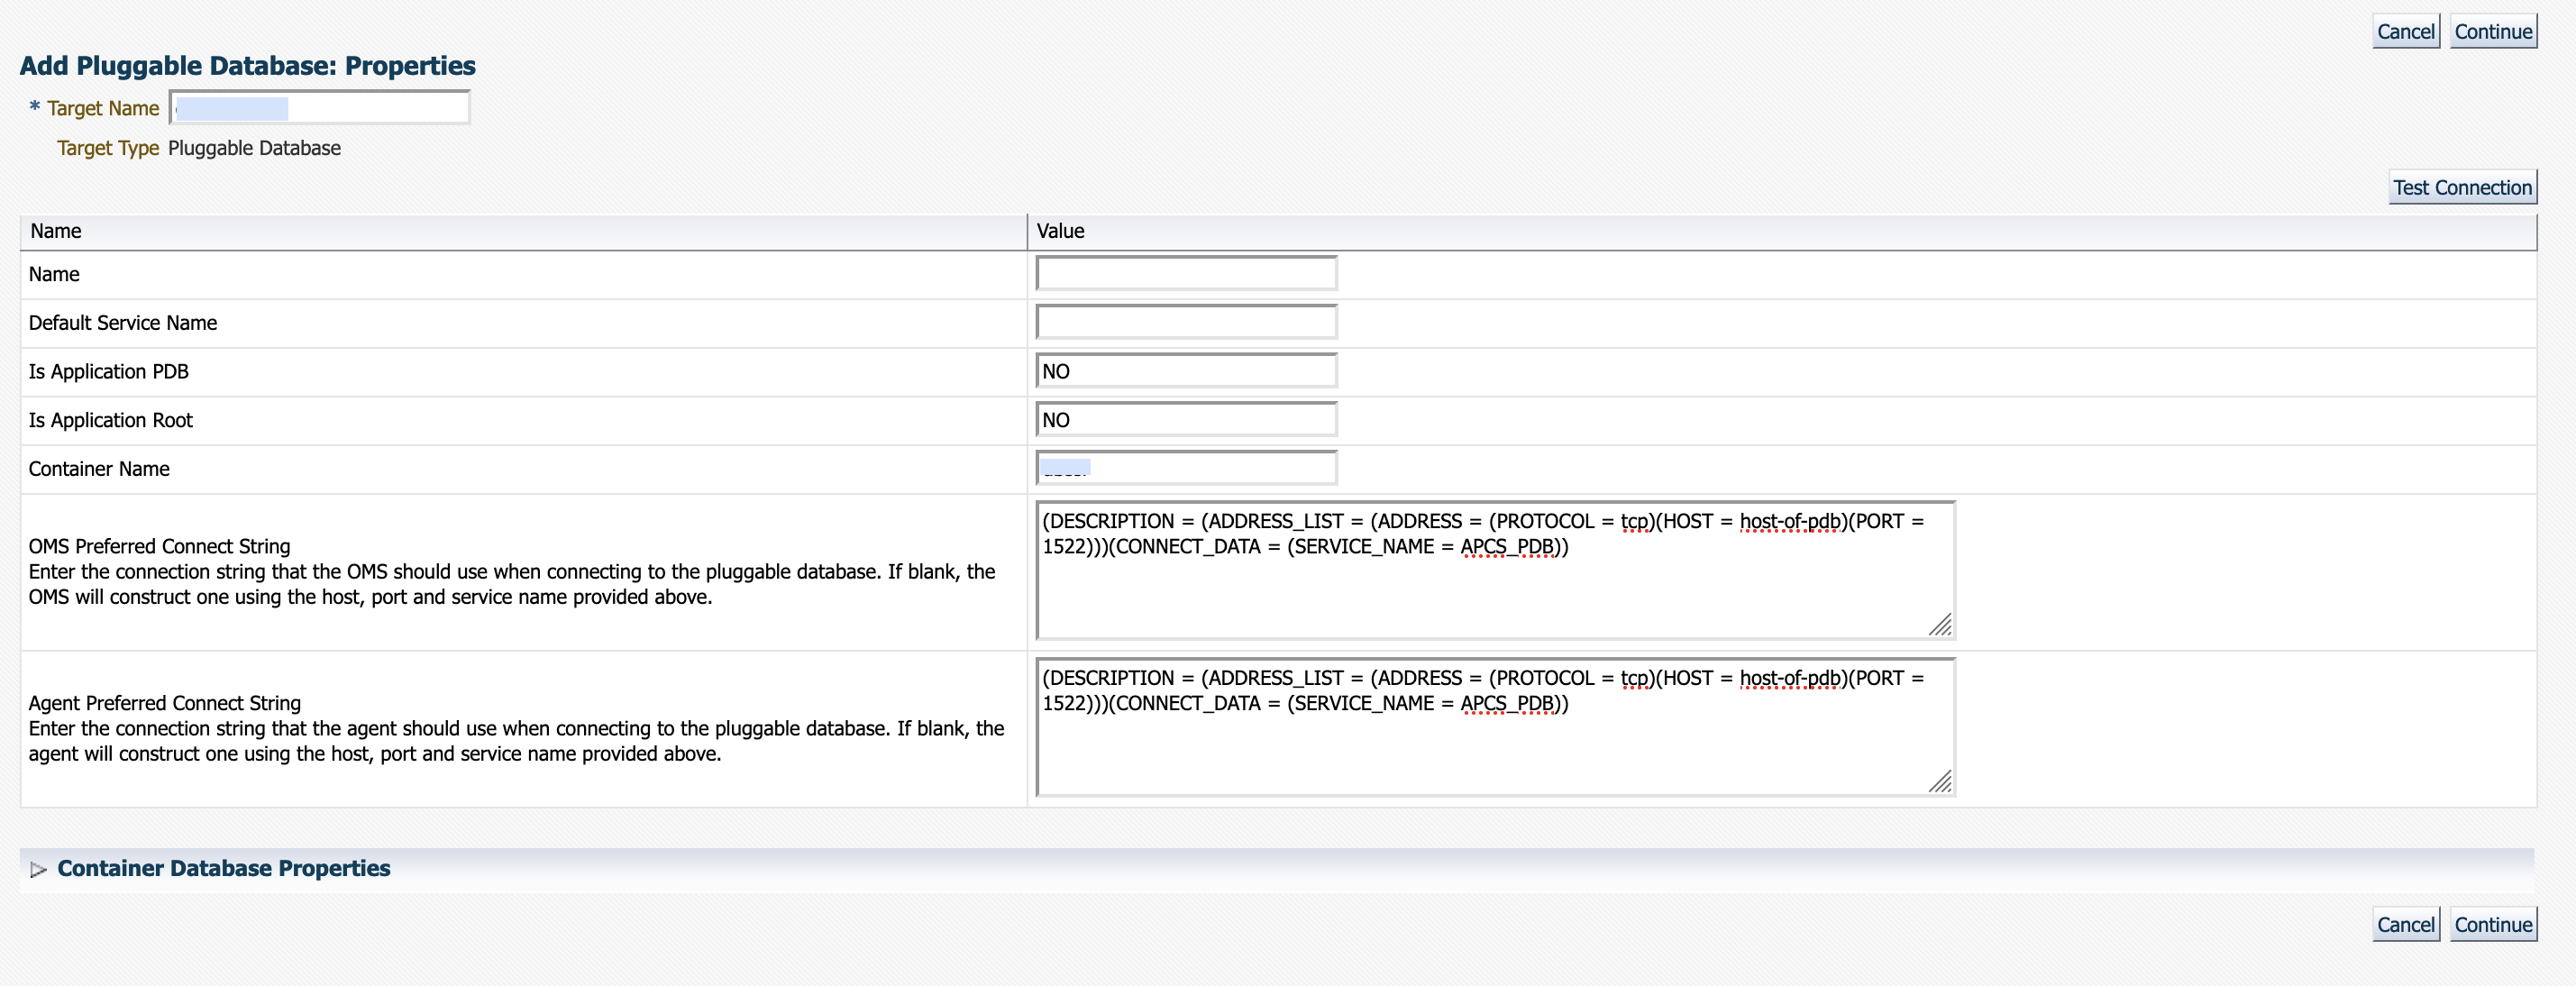
On the Add Pluggable Database: Properties page, specify a unique name for the target, the name, the default service name, the OMS preferred string connection, and the Agent preferred connect string.
Note:
In Enterprise Manager Release Update 12 and later, Service Name is now supported through Preferred Connection Strings. For more information, please view the following Preferred Connect Strings.

Expand the Container Database section to verify the properties of the CDB.
Click Test Connection to test the connection made to the CDB target using the specified monitoring credentials.
Click Continue.
-
Specify the required information on each page and then click Next, until you reach the Review page.
-
Review the displayed information, and then click Submit.