Auditing and Managing OAuth 2.0 Authorizations
Account administrators can use web services reports to audit and revoke authorizations granted by SuiteProjects Pro users to integration applications utilizing OAuth 2.0 to connect to SuiteProjects Pro data.
-
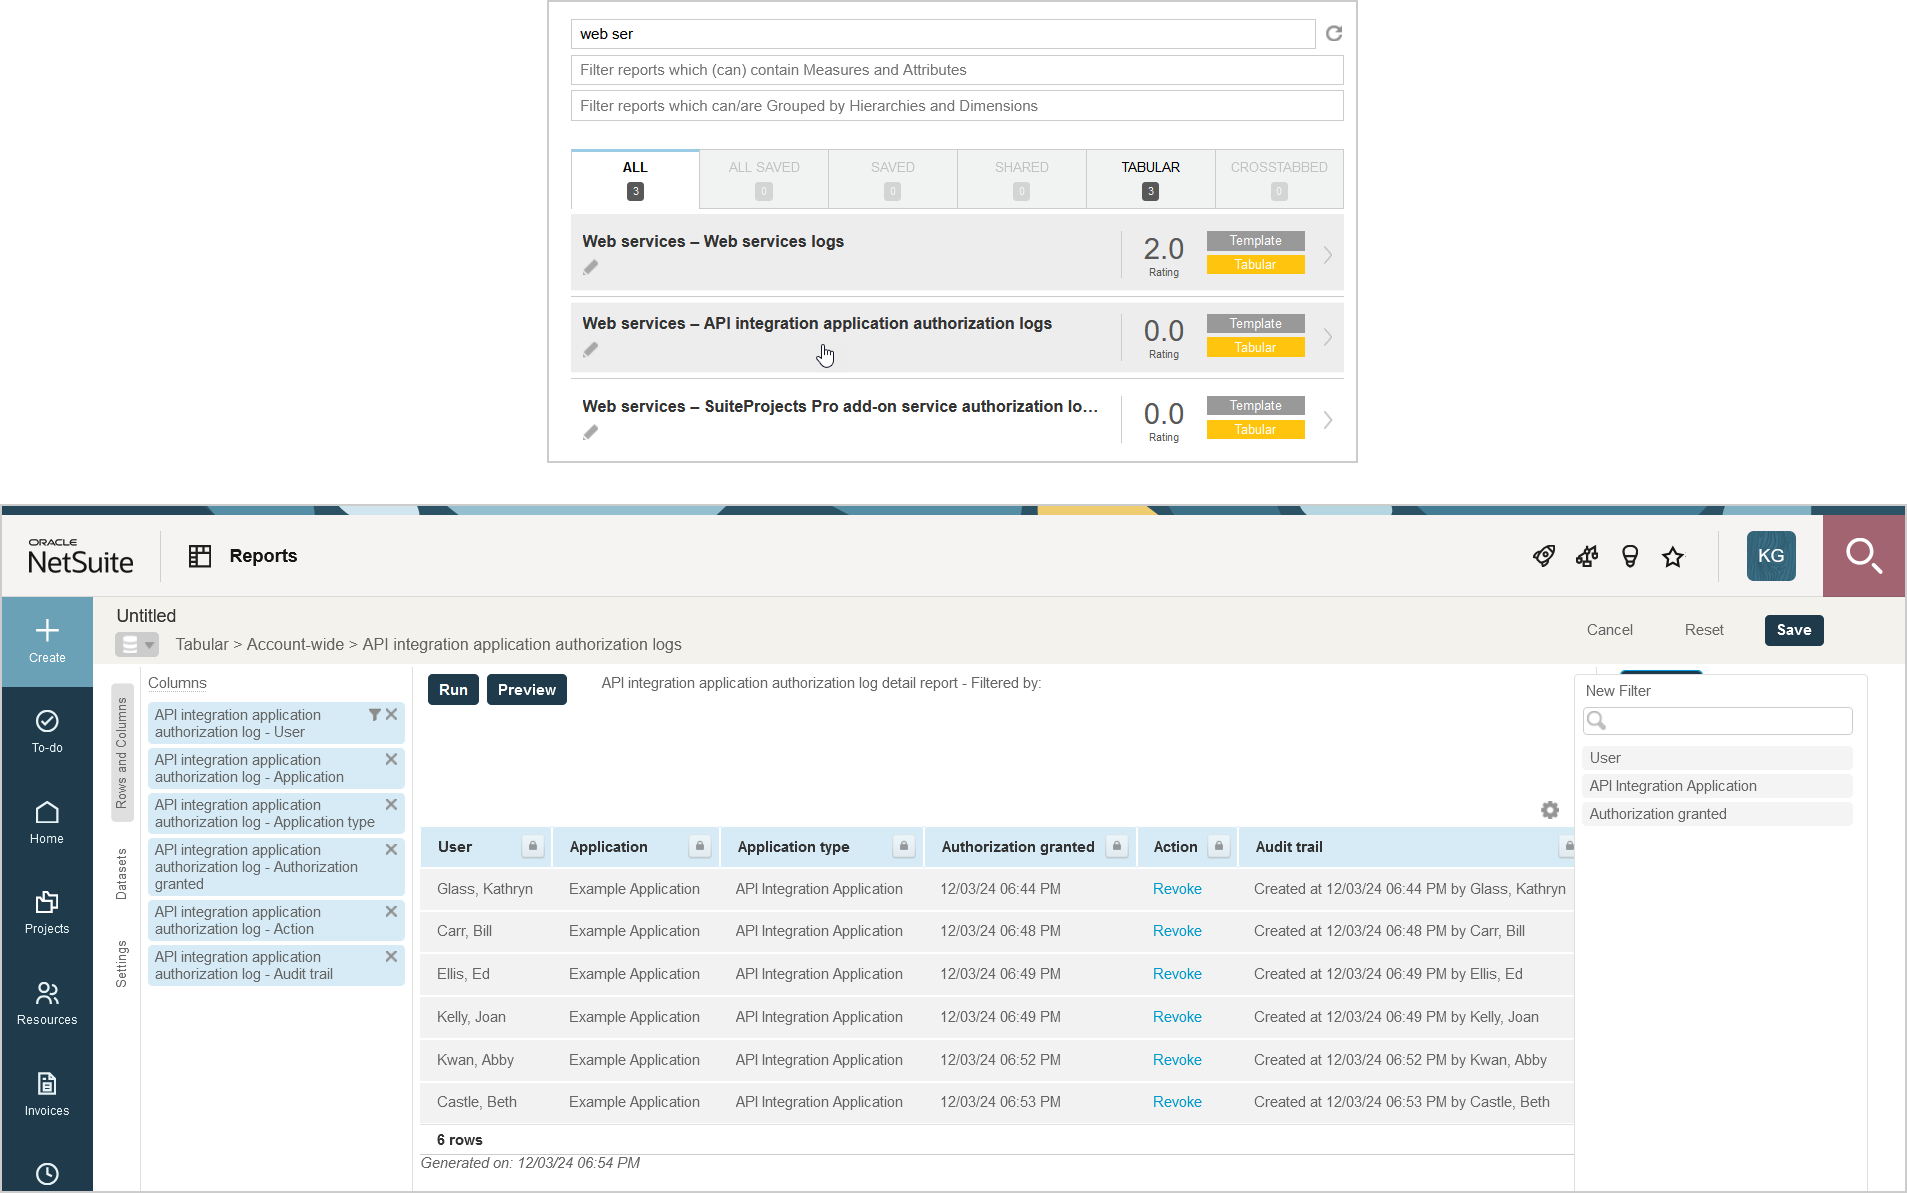
API integration application authorization logs - User authorizations granted to custom or third party applications registered with your SuiteProjects Pro account in Administration > Account > API integration applications.
-
SuiteProjects Pro add-on service authorization logs - User authorizations granted to SuiteProjects Pro add-on services (SuiteProjects Pro Mobile and other add-on service applications).
The reports include information about which integration applications were authorized, when, and by which users. The reports also include a link to revoke the authorization given for an integration application by a user.
To access the OAuth 2.0 authorizations logs (if the Report Management feature is enabled):
-
In SuiteProjects Pro, go to Reports > Management.
-
Enter 'web services' in the Search saved reports by name box. The Report Management UI shows the list of web-services tabular reports.
-
Click the report name, then click New to create a new report.
-
Add columns and define filters as required.
-
(Optional) Click Untitled in the top bar and enter a name for your report.
-
(Optional) Click Save to save the report you created for later use. The Report Management UI will list the report under on Saved reports tab.
-
Click Run to run the report.
To access the OAuth 2.0 authorizations logs (if the Report Management feature is not enabled):
-
In SuiteProjects Pro, go to Reports > Detail.
-
Click the report name under the Web services heading. The report options form appears.
-
(Optional) Set a date range for the Authorization granted filter. Defaults to All.
-
Click Report layout and select the columns to include, or keep the default layout.
-
(Optional) Click Employee and select the employees to include in the report.
-
(Optional) Click API integration application and select the applications to include in the report.
-
(Optional) Check the Save this report as box and enter a name for the report
-
(Optional) Click Save to save the report. The report will be accessible in Reports > Saved reports.
-
Click Run to run the report.