PreviousNext
JavaScript must be enabled to correctly display this content
Modify a Subject Area
Modify a custom subject area using these instructions.
Sign in to your service.
In Oracle NetSuite
Analytics WarehouseConsole, click Semantic Model
Extensions under Application
Administration.
On the Semantic Model Extensions page, click User Extensions.
You see the main and existing customization branches.
In the User Extensions region, under Customization Branches, click a branch to open the Branch page.
On the Branch page, click Add Step.
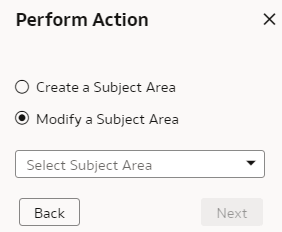
In Add Step, select Modify a Subject Area.
You see the wizard sequence to modify a subject area.
In step 1 of the wizard, enter a name for your customization step, for example, Custom AP Invoices and add a brief description.
Select a subject area that you had created using the instructions in Create a Subject Area.
You see the details of the selected subject area.
Click Next.
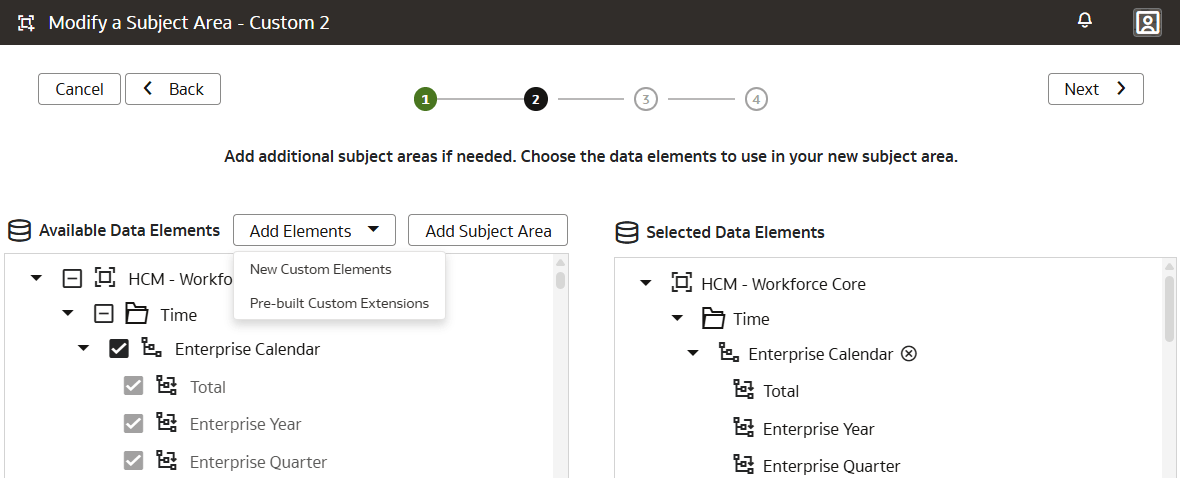
In step 2 of the wizard, from the Available Data Elements pane, select or deselect the data elements that you want to use or don’t want in the selected subject area.
Optional: Click Add Subject Area to select and add data elements from multiple subject areas.
Click Next.
In step 3 of the wizard, organize and rename the data elements in your modified subject area.
Optional: Click the Advanced Properties icon next to the custom subject area to select an implicit fact that allows dimensions to be used for analytic queries even when not joined to a logical fact table.
Click Next.
In step 4 of the wizard, review your modified subject area and click Finish.