Brand Your App UI with a Custom Root Page
A root page brands the pages in your App UI with a common header, footer, background, or other elements, to provide a consistent look and feel.
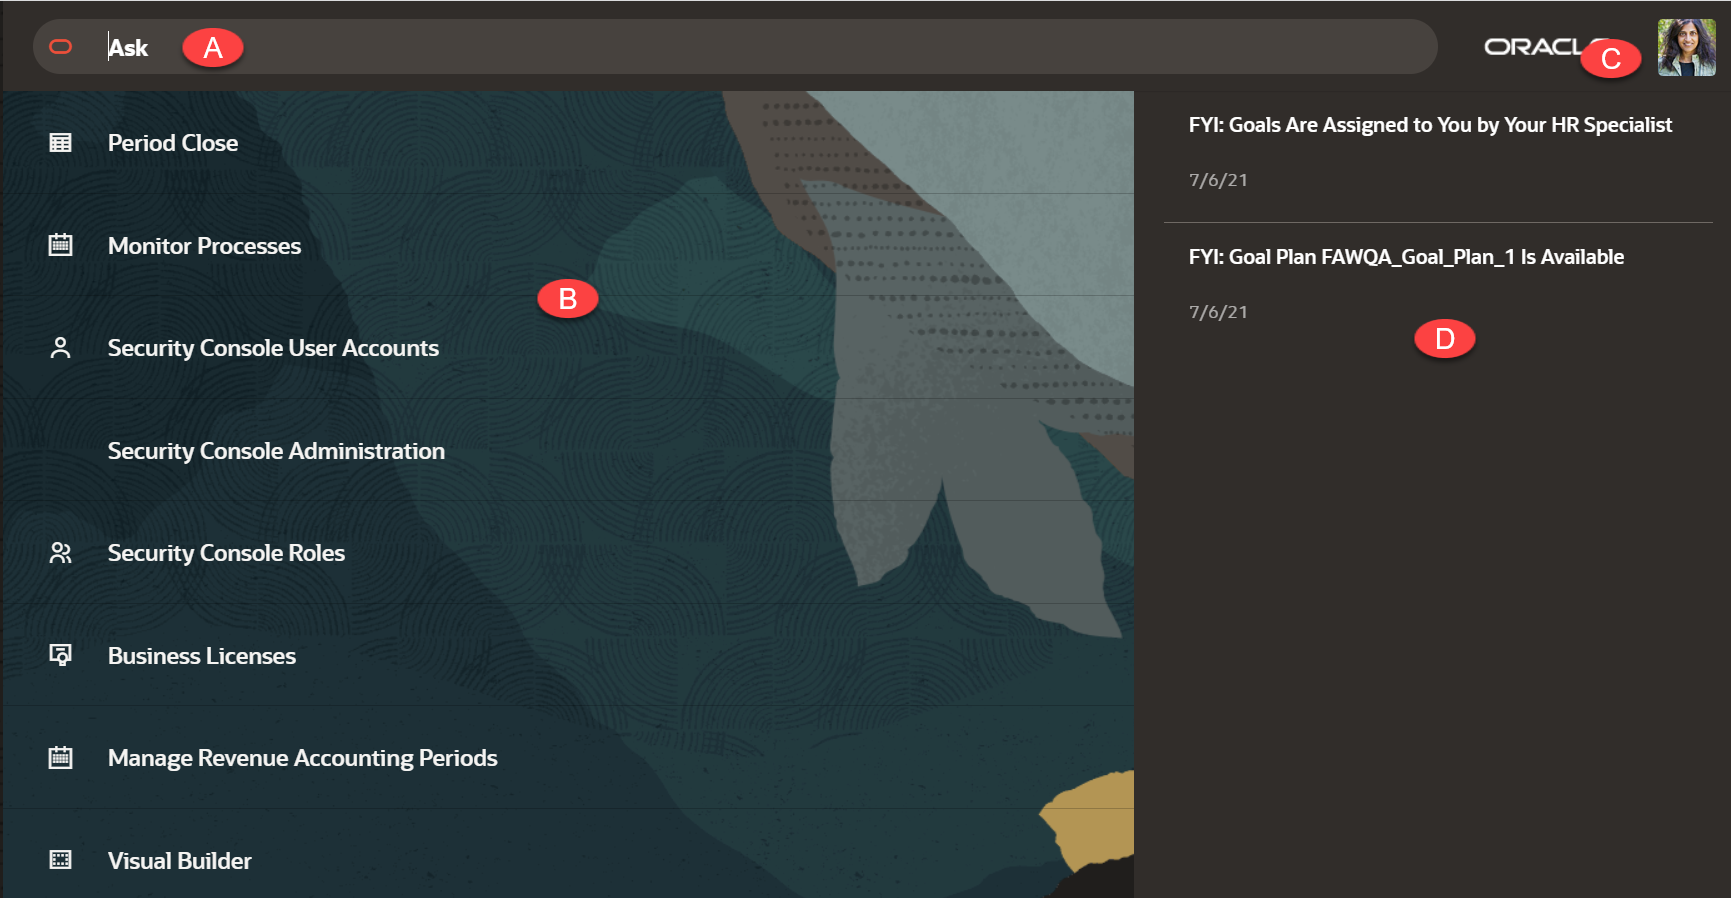
By default, the root page for all your App UIs is the redwood root page, which is provided by the Unified Application. The redwood page contains design elements from Oracle's new Redwood design platform, and looks like this: 
Description of the illustration redwooddefault.png
| A | Search, offering type-ahead support to filter the Navigation List |
| B | Navigation List, a menu of suggested applications |
| C | User Profile, providing access to preferences, help, log out, and other user-specific actions |
| D | Notifications, a list of actionable and information-only items from various services |
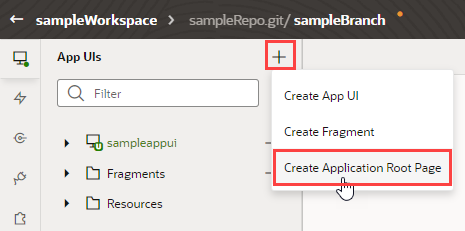
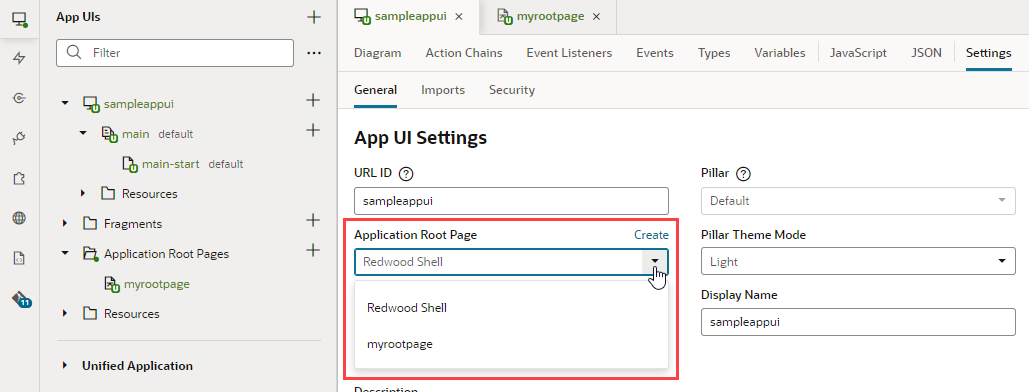
You can override the redwood root page by creating your own custom page, then specifying that page in the App UI's Settings panel. To do this:
hostRootPage property to the App UI's JSON metadata. For example, here's what you might see in the app.json file:{
"id": "sampleappui",
"urlId": "sampleappui",
...
"hostRootPage": "myrootpage"
}hostRootPage's value myrootpage identifies your custom root page's ID. This value can also be an expression. Say you wanted to switch root pages between anonymous and authenticated users; you would create two root pages: one called anonymousRoot for anonymous users and another called authenticatedRoot for authenticated users, then update hostRootPage as follows:{
...
"hostRootPage": "{{ $application.user.isAuthenticated ? 'authenticatedRoot' : 'anonymousRoot' }}"
}Remember, only $application, $global, $initParams, and existing global JavaScript variables can be evaluated at the time the expression needs to be resolved.
Note:
A custom root page is typically used by App UIs within the same extension. To use a custom root page across extensions, you must configure the App UI in the other extension to point to the extension where the custom root page is defined. To do this:- Open the App UI in the other extension and select its JSON tab.
- Add the
hostRootPageproperty to the JSON metadata in the format"hostRootPage": "extId:customRootPage", where:- extId is the ID of the extension where the custom root page is defined (look for this value in the extension's Settings), and
- customRootPage is the name of your custom root page.
{
  "id": "sampleappui",
  "urlId": "sampleappui",
    ...
  "hostRootPage": "site_myAppUiExtension:myrootpage"
}

