Installing the WebSphere 7.0 Plug-ins Fix Pack
To install the WebSphere 7.0 Plug-ins Fix Pack:
Ensure that all WebSphere and IBM HTTP or Microsoft IIS Services are stopped prior to updating the software.
Ensure that all WebSphere and IBM HTTP Services are stopped prior to updating the software.
Download and copy the fix pack file for the WebSphere Plug-ins to the
\UpdateInstaller\maintenancedirectory.For example:
7.0.0-WS-PLG-WinX32-FP00000029.pakFor example, on Solaris:
7.0.0-WS-PLG-SolarisSparc-FP0000005.pakNote: The example filename is specific to Solaris. Other versions of UNIX with have their own unique filenames.Run the
updateexecutable from the copiedUpdateInstallerdirectory using these commands:cd Z:\IBM\WebSphere\UpdateInstallerZ:\IBM\WebSphere\UpdateInstaller > update.execd /u01/IBM/WebSphere/UpdateInstaller./update.sh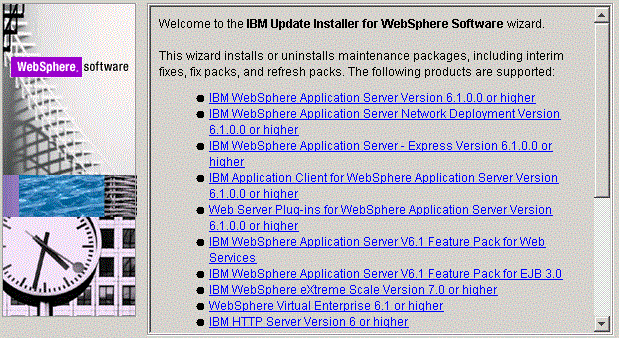
Once is wizard is restarted, select the Plugins component.
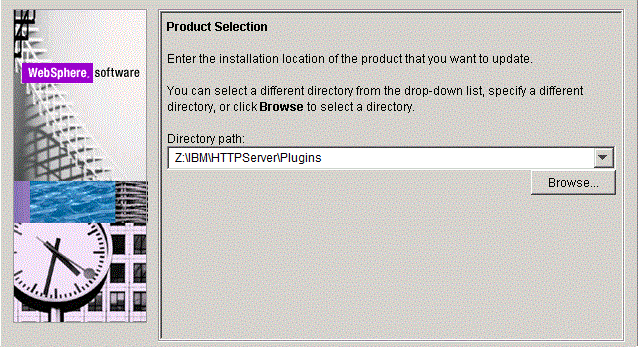
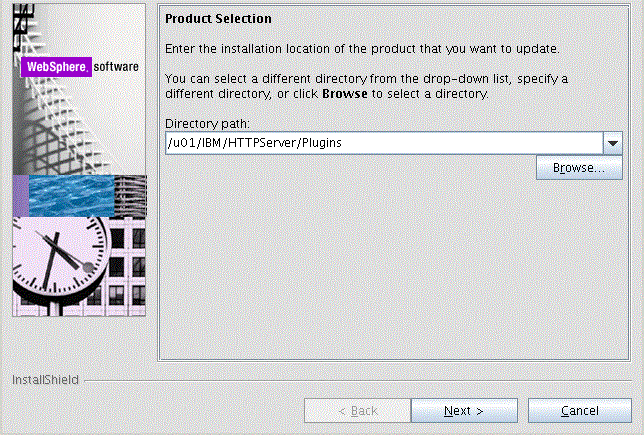
On Product Selection, use the drop down to select the installation location of the Web server plugin. For example:
Z:\IBM\HTTPServer\Plugins/u01/IBM/HTTPServer/PluginsClick the Next button to continue.
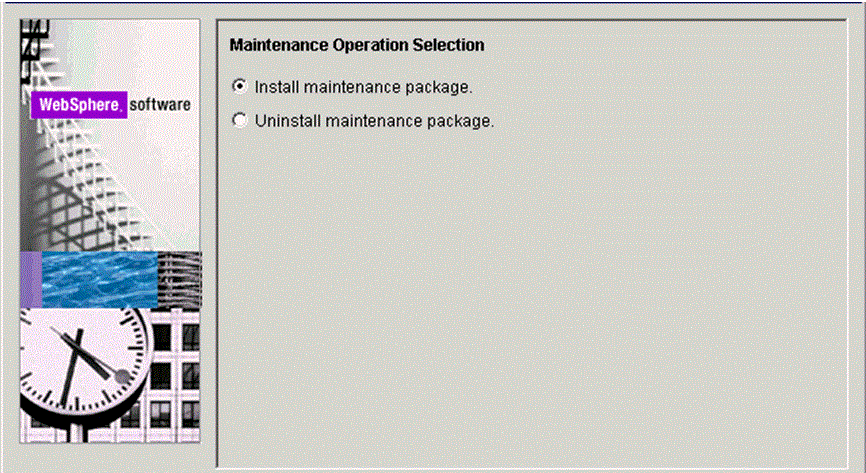
On Maintenance Operation Selection, select the following radio button:
Install maintenance package
Click the Next button to continue.
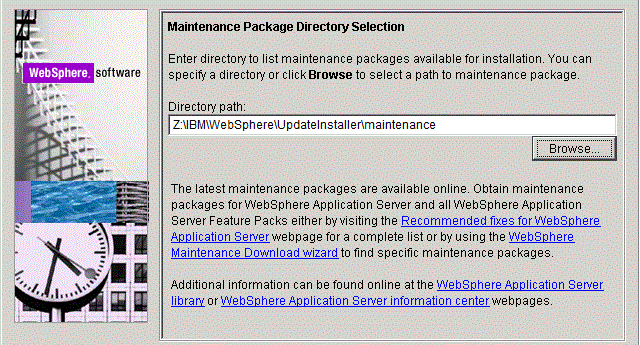
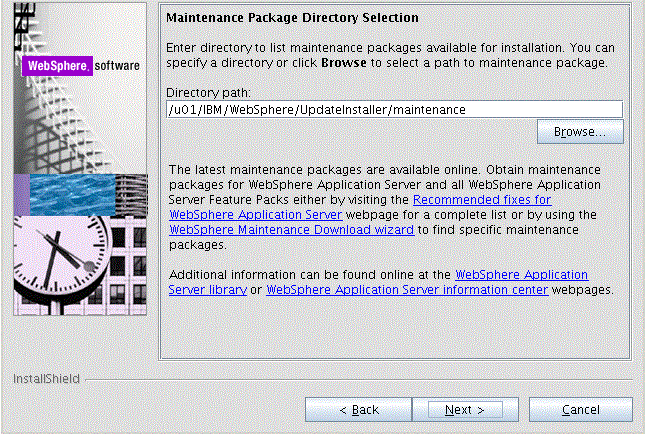
On Maintenance Package Directory Selection, validate the directory path that was located by the Installer wizard.
Note: The installer inspects the\UpdateInstaller\maintenancedirectory for maintenance packages (.pakfiles).Click the Next button to continue.
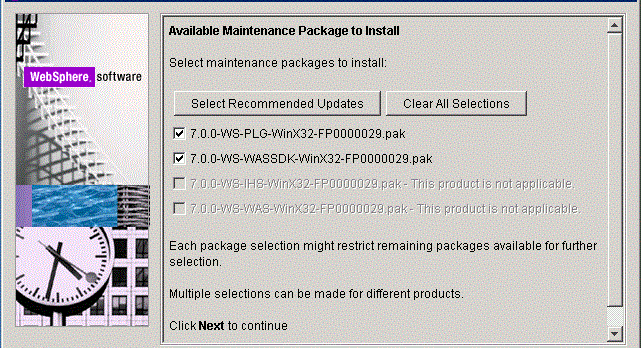
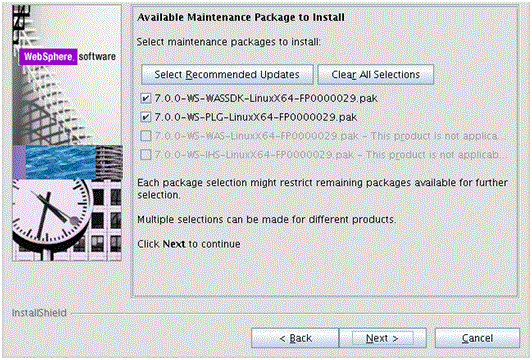
On Available Maintenance Package to Install, ensure that the PLG and WASSDK fix pack files are checked since the WebSphere Plugin components are being updated.
Click the Next button to continue the update for the WebSphere Plug-ins.
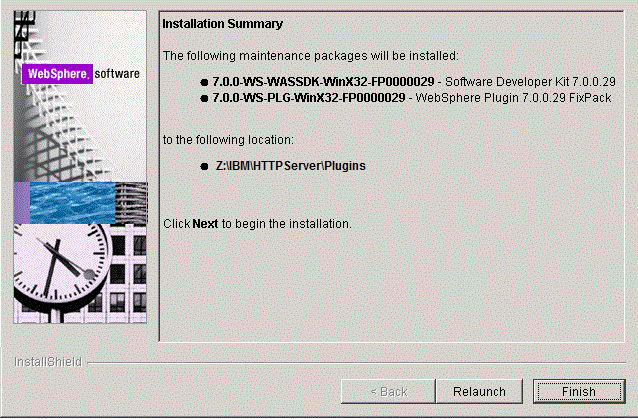
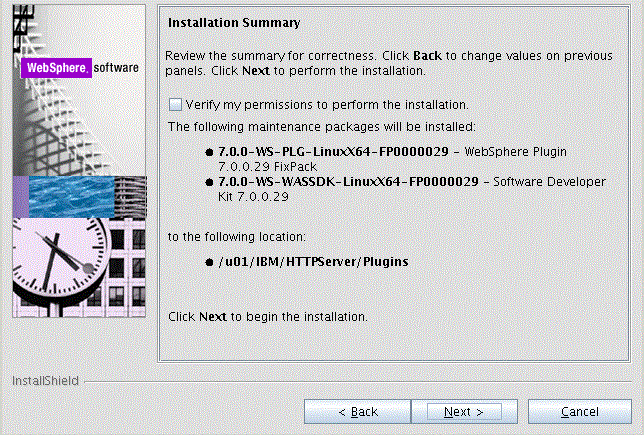
On the Installation Summary screen, review the information and click the Next button to begin the installation.
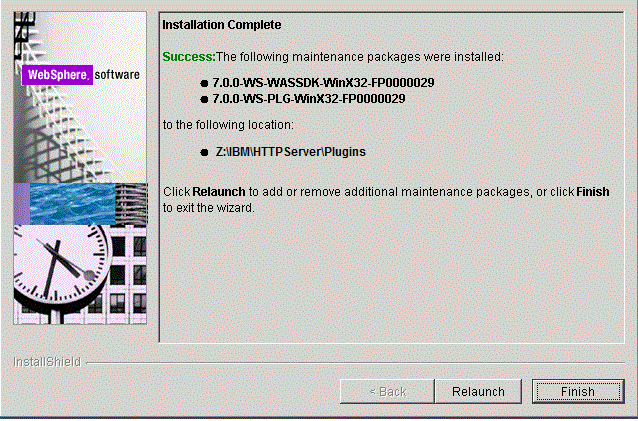
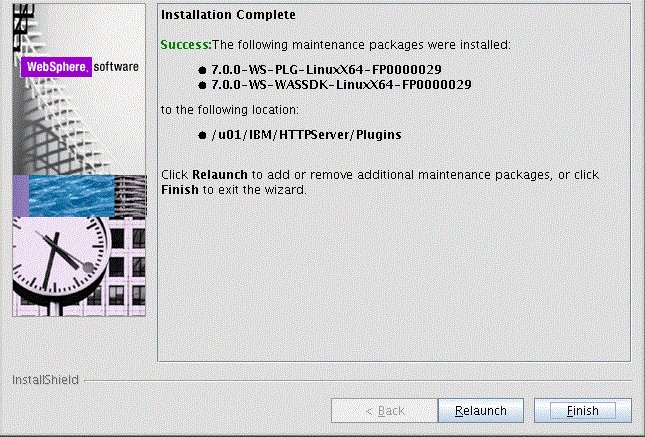
After the Plug-ins update is complete, the Success screen indicates the status of the maintenance package installation.
Click the Finish button to exit the Update Installer wizard.