Using Fusion Middleware Configuration Wizard to Configure Oracle WebLogic Server 12.1.3
You can use QuickStart to create a starter domain using the Configuration Wizard. These instructions guide you in the creation of a domain for JD Edwards EnterpriseOne.
If you selected the Run Quickstart check box on the Installation Complete menu of the installer, QuickStart is automatically launched.
To manually launch the QuickStart configuration wizard, run this executable:
<ORACLE_HOME>/oracle_common/common/bin/config.sh
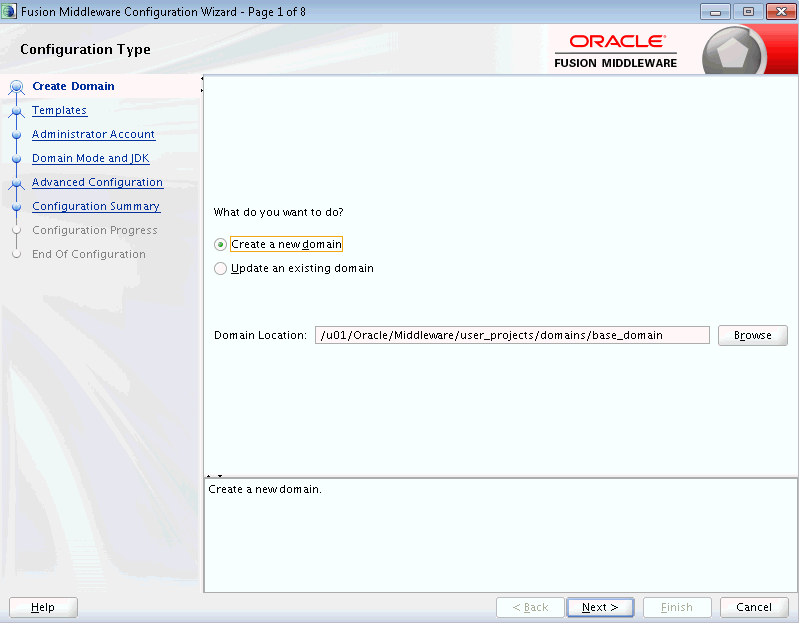
On Configuration Type, enter or browse to your domain location. For example:
/u01/Oracle/Middleware/user_projects/domains/base_domainwhere in this example
base_domainis the domain name.Tip: The typical default domain location is:<ORACLE_HOME>/user_projects/domainsClick the Next button.
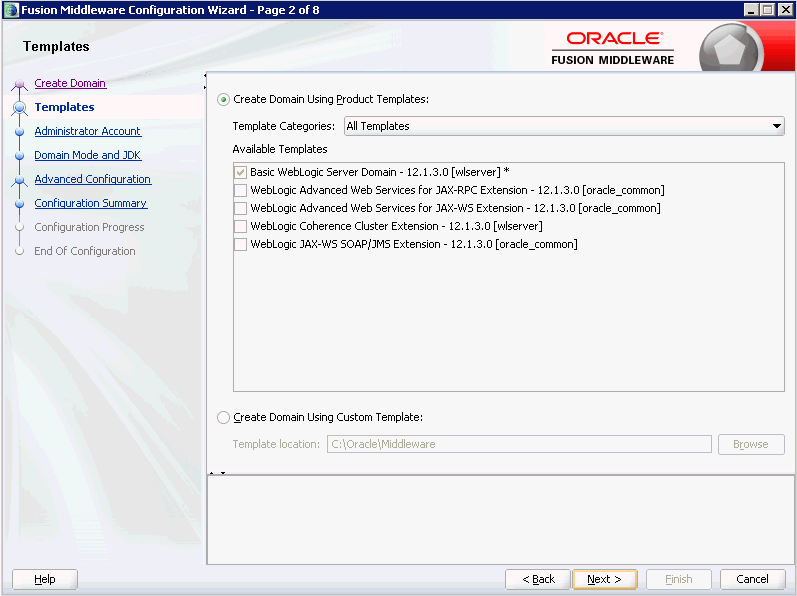
On Templates, select the checkbox for this template:
Basic WebLogic Server Domain - 12.1.3.0 [wlserver]*
Click the Next button.
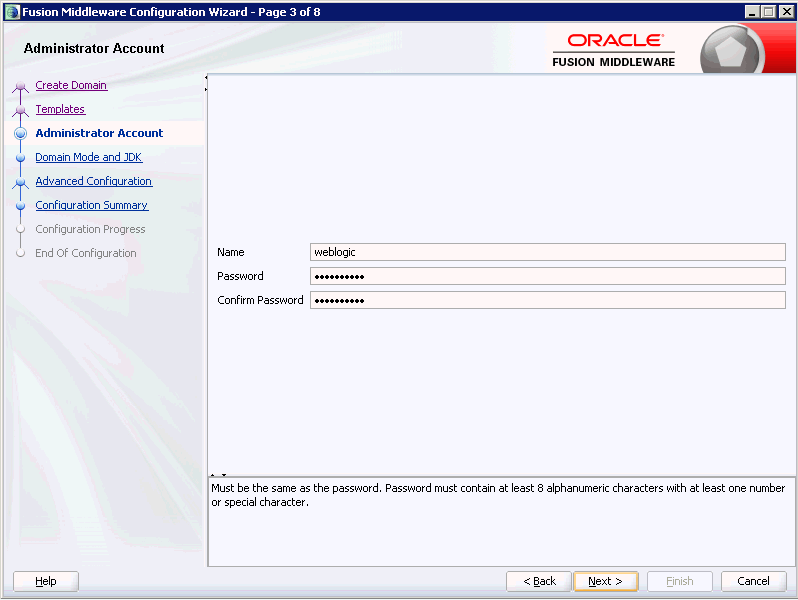
On Administrator Account, complete the fields for user name and password for the default user that will start the domain.
Tip: For this example the default user is:weblogicClick the Next button.
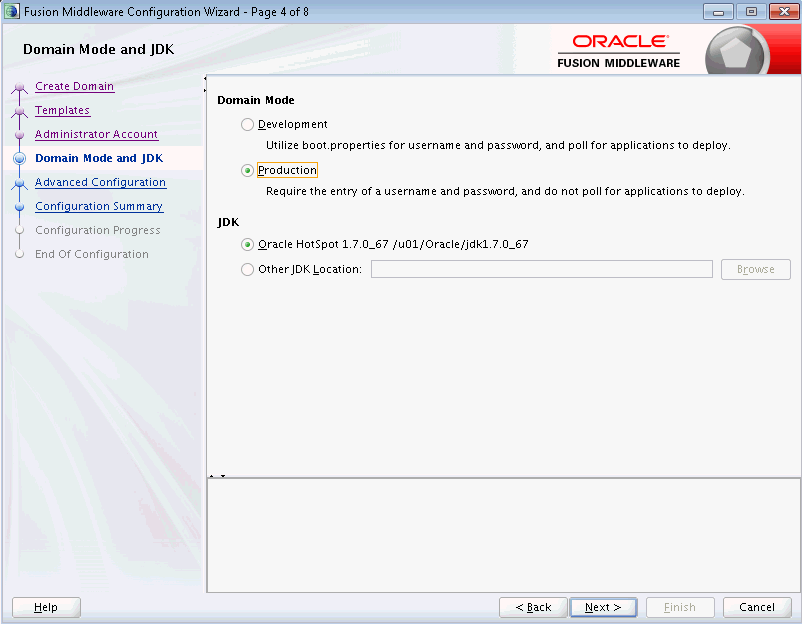
On Domain Mode and JDK, for use with JD Edwards EnterpriseOne you must select this radio button in the Domain Mode section:
Production
In the JDK section, ensure the radio button is selected for the available JDK. For example:
Oracle HotSpot 1.7.0_67 /u01/Oracle/jdk1.7.0_67
Click the Next button.
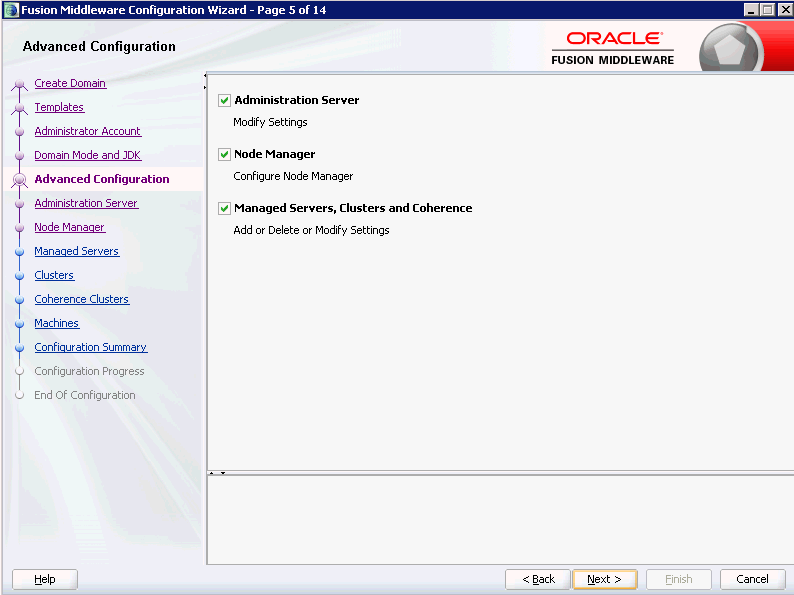
On Advanced Configuration, check these boxes to modify their settings:
Administration Server
Node Manager
Manager Servers, Clusters and Coherence
Click the Next button.

On Administrative Server, complete these fields:
Server Name
Enter a name for the Administration Server. For example:
AdminServer
Listen address
You can accept the default selection, which is:
All Local Addresses
Note: If you have multiple Network Addresses on the server ensure that you select the correct Listen Address.Listen Port
Tip: The default port value is 7001. You can override the default value if desired.Caution: The port number you specify here must be at least 1024 or higher. Port numbers below 1024 require -root- privileges.You must specify this same port number in the URL that starts the Admin Console.
Click the Next button.
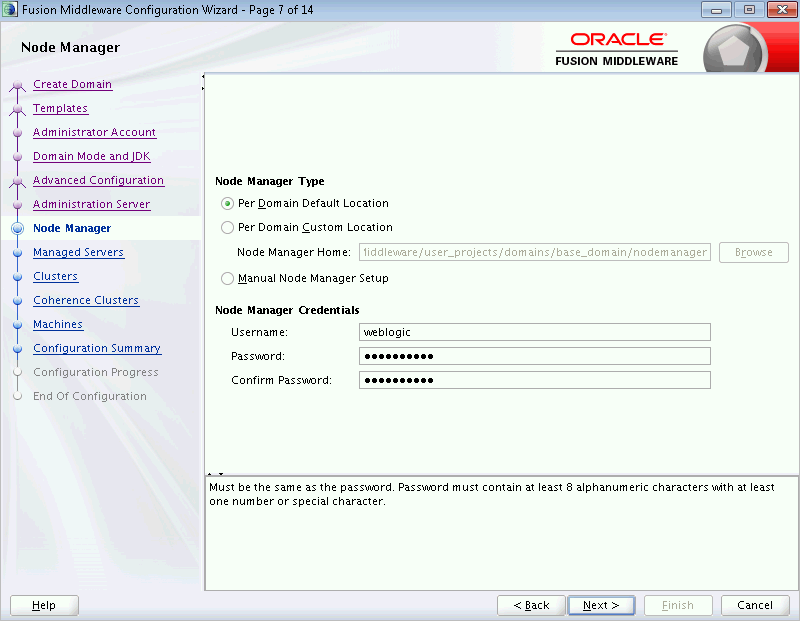
On Node Manager, in the Node Manager Type section, select this radio button:
Per Domain
Note: The Per Domain value is the only supported Node Manager Type for use with JD Edwards EnterpriseOne.On Node Manager, in the Node Manager Credentials section, enter valid values for your Node Manager.
Note: A valid username and password are required to start the node manager.Click the Next button.
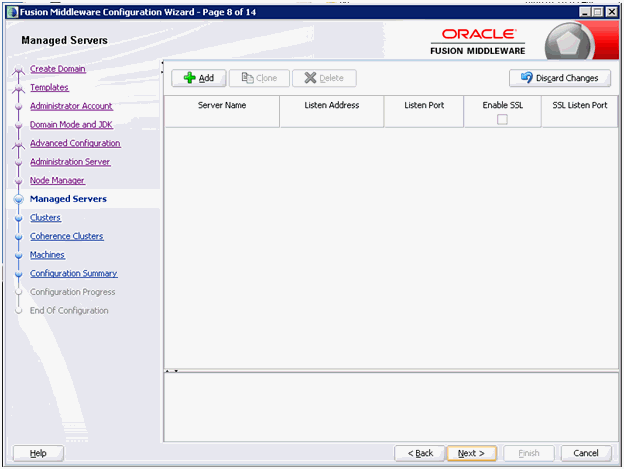
On Managed Servers, click the Next button since we will be creating the managed server from the JD Edwards Enterprise Server Manager Console.
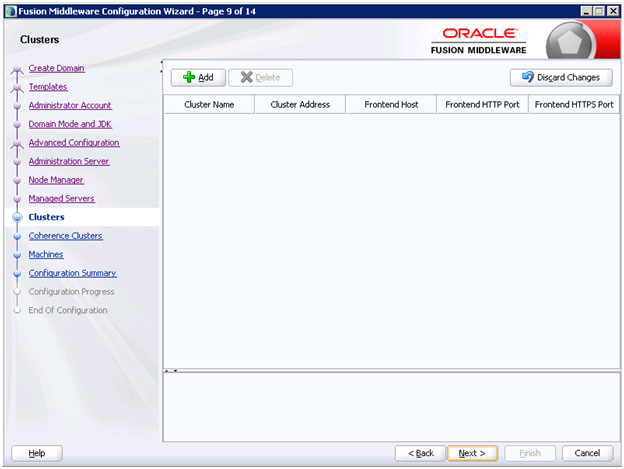
On Clusters, click the Next button to skip this step for purposes of this guide. Refer to the Note below.
Caution: Clustering is not part of the basic Oracle WebLogic Server 12.1.3 License. In order to use the Clustering feature you must obtain a license for an Oracle Enterprise WebLogic Server.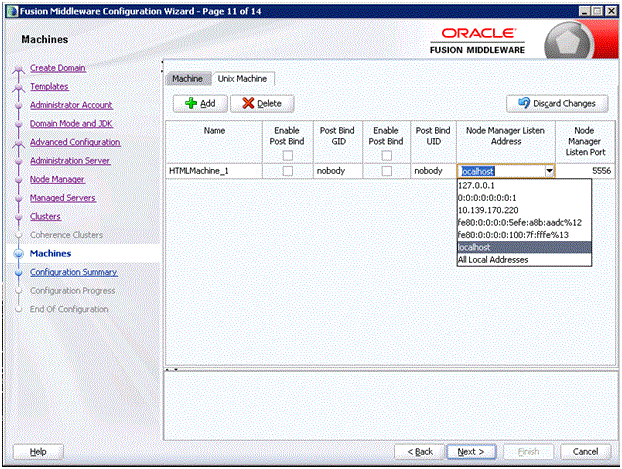
On Machines, click the UNIX Machine tab and then click the Add button to define a machine name.
Note: If you have multiple Network Addresses on the server ensure that you select the correct Listen Address.Note: You also can define the Machine from the Oracle WebLogic Server 12.1.3 Administration Console after the configuration.Click the Next button.
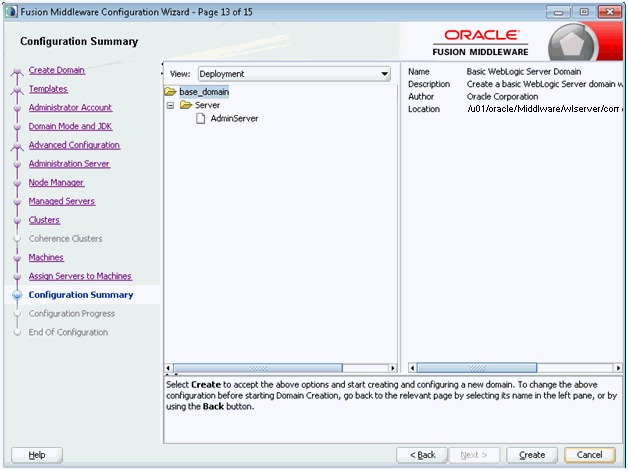
On Configuration Summary, review your selections.
Click the Create button.
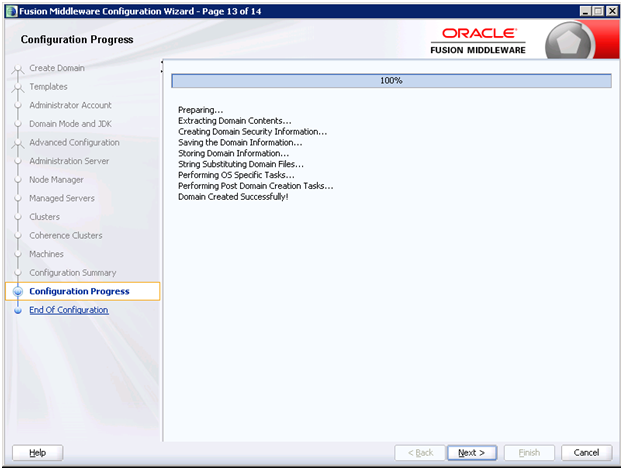
On Configuration Progress, when the Progress bar indicates the process is 100% complete, click the Next button.
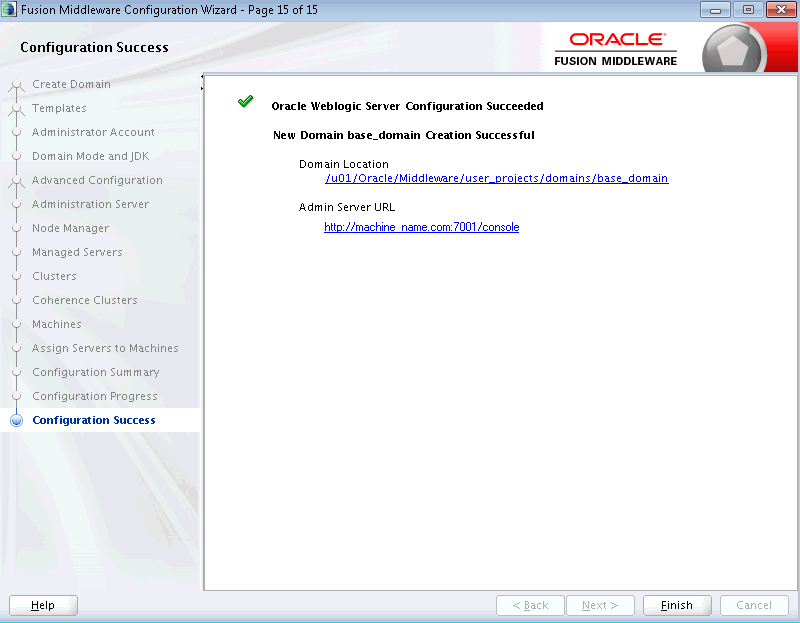
On Configuration Success, click the Finish button to exit the wizard.