Installing WebSphere 7.0 Fix Pack 29
To install the WebSphere 7.0 Fix Pack:
Ensure that all WebSphere and HTTP Services are stopped prior to updating the software.
Download all the fix pack files to the "maintenance" directory under the installation directory of the Update Installer, such as:
Z:\IBM\WebSphere\UpdateInstaller\maintenance/u01/IBM/WebSphere/UpdateInstaller/maintenanceFor example:
7.0.0-WS-WAS-WinX32-FP0000005.pakFor example, on Solaris the files are named:
7.0.0-WS-WAS-SolarisSparc-FP0000005.pak7.0.0-WS-WASSDK-SolarisSparc-FP0000005.pak7.0.0-WS-IHS-SolarisSparc-FP0000005.pak7.0.0-WS-PLG-SolarisSparc-FP0000005.pakThe complete list of WebSphere 7.0 Fix Pack 29 (7.0.0.29) files is shown in the screen sample below:
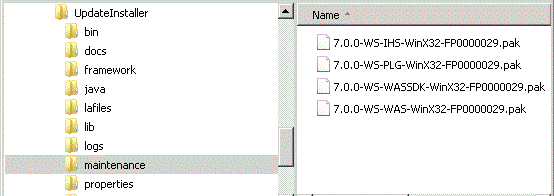 Note: The example filename for the
.pakfile is specific to Solaris. Other versions of UNIX will have their own unique filenames. You do not need to untar these files, just put them in the\UpdateInstaller\maintenancedirectory.Note: You do not need to uncompress these files, just put them in the "maintenance" directory.Run the
updateexecutable from theUpdateInstallerdirectory using these commands:cd x:\IBM\WebSphere\UpdateInstallerx:\IBM\WebSphere\UpdateInstaller > update.exewhere
x:is the drive on which you downloaded the Update Installer.cd /u01/IBM/WebSphere/UpdateInstaller./update.sh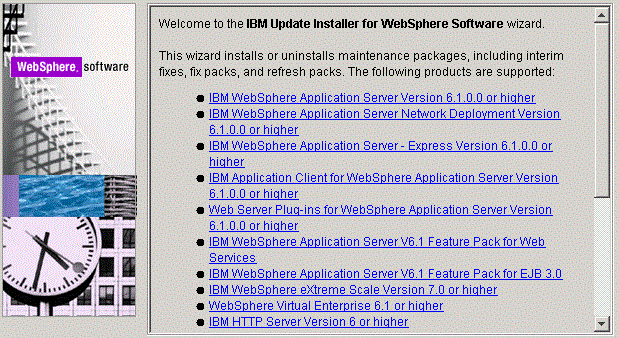
Click the Next button to continue.
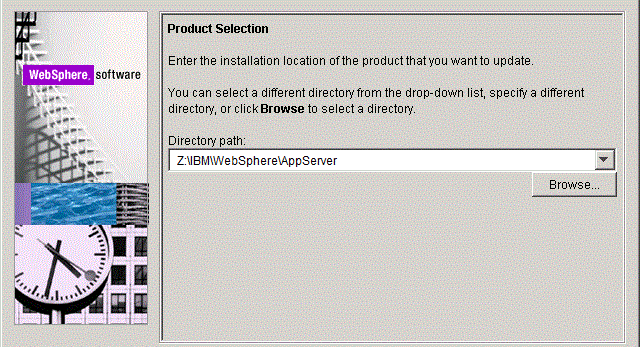
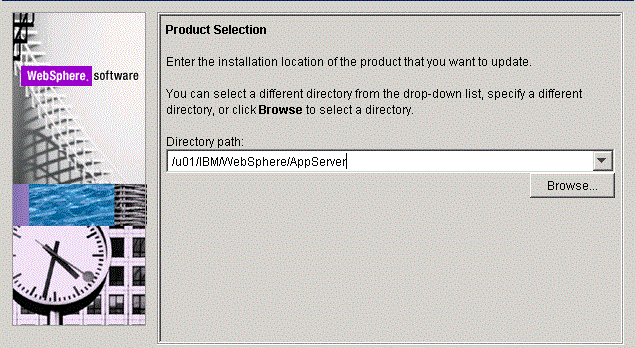
On the Product selection screen, use the drop down to select the installation location of the WebSphere Application Server. For example:
Z:\IBM\WebSphere\AppServer/u01/IBM/WebSphere/AppServerClick the Next button to continue.
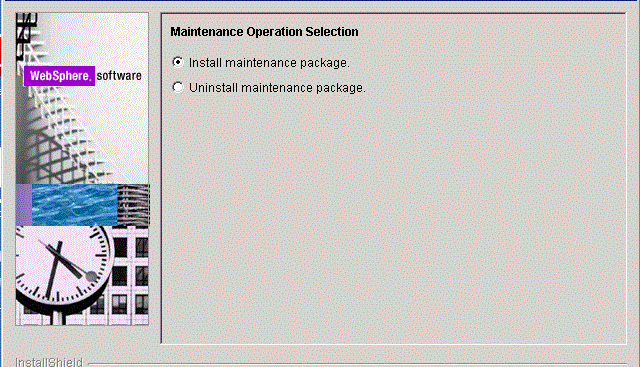
On Maintenance Operation Selection, select the following radio button:
Install maintenance package
Click the Next button to continue.
The installer inspects the
UpdateInstallerdirectory for maintenance packages (.pak files); specifically in themaintenancesub-directory.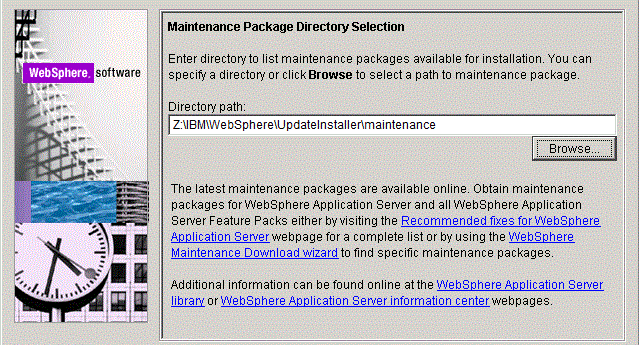
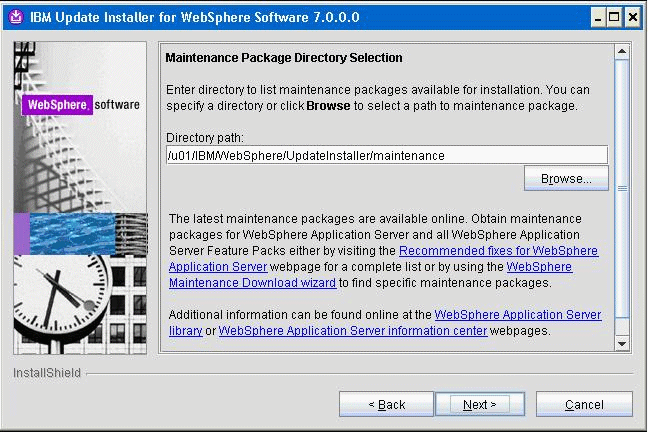
On Maintenance Package Selection, validate the directory name that was located by the Installer wizard.
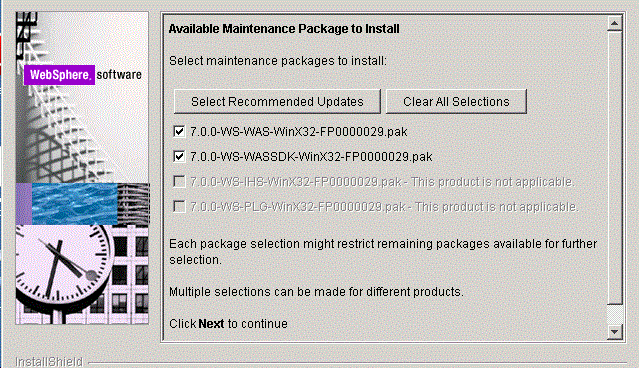
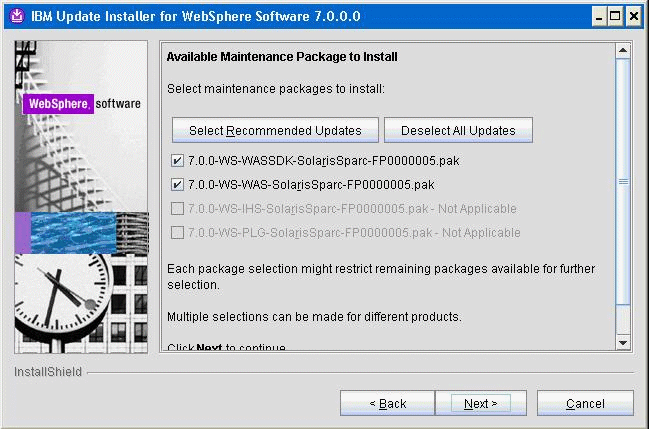
On Available Maintenance Package to Install, check the WAS and WASSDK fix pack files since the WebSphere Application Server components are being updated.
Click the Next button to continue.
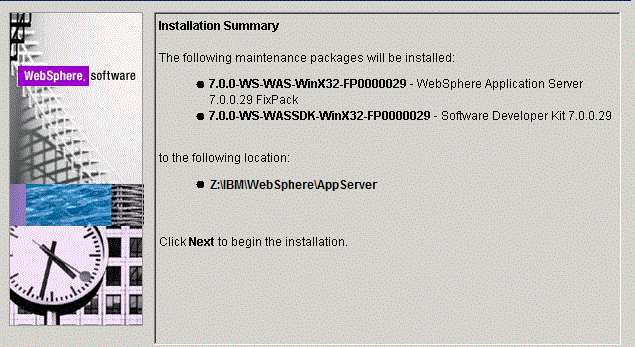
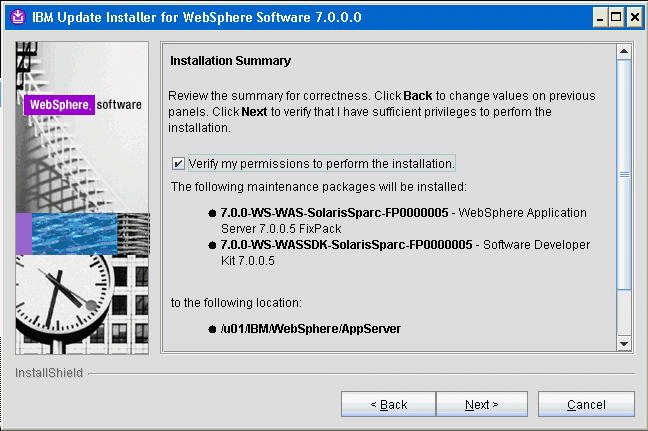
On Installation Summary, review the information and click the Next button to begin the installation.
Note: You should check the Verify my permissions to perform the installation check box in order for the installer to validate the permissions required for installation of the product.Click the Next button to continue.
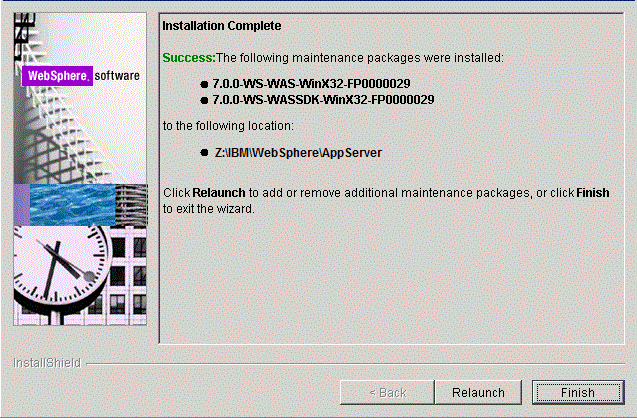
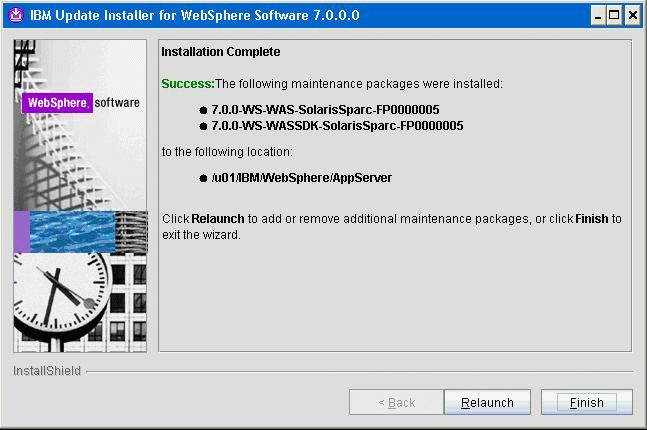
On Installation Complete, Success, click the Relaunch button to relaunch the wizard and install the HTTP server components.