Installing the WebSphere Update Installer
The Update Installer for WebSphere Software includes a new installation program for IBM WebSphere Version 7.0, Installation Wizard starting with Fix Pack 7. Update Installer V7.0.0.7 is backwards compatible. You can use a single instance of the V7.0.0.7 Update Installer to apply maintenance and updates to IBM WebSphere Application Server V7.0.0.x. You can use a single installation of the Update Installer to install maintenance packs on all the WebSphere software products such as WebSphere Application Server, Java SDK, IBM HTTP Server, and Web server plug-ins.
To install the WebSphere update installer:
If you are running WebSphere, stop all the WebSphere processes and then stop the WebSphere subsystem (such as QWAS7).
Download the latest Update Installer from IBM web site that match with the update you wish to install to a workstation.
Extract the downloaded image to a temporary location and start the launchpad by executing the
install.exefile.
When prompted by the wizard, enter the name of the machine, username, and password. For example:
Field
Value
Name
DENPBAS2
Username
QSECOFR
Password
YOUR_QSECOFR_PASSWORD
On the login screen, after you have entered the login credentials, click the OK button to login.
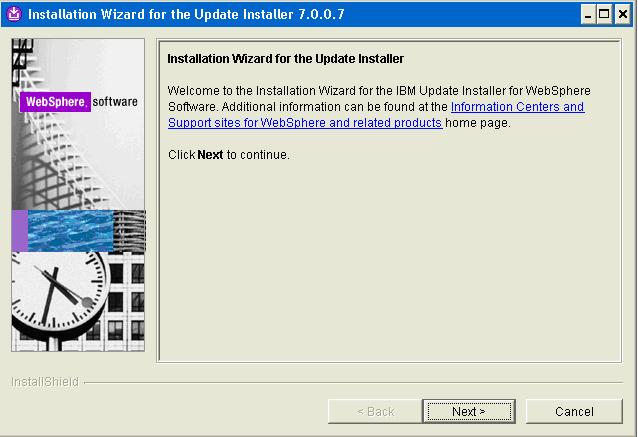
On the welcome screen, click the Next button.

On Software License Agreement, review the License Agreement and select a radio button to accept or decline.
If you chose to accept, click the Next button to continue.
Caution: If you do not accept the terms of the license agreement, you cannot continue with the installation.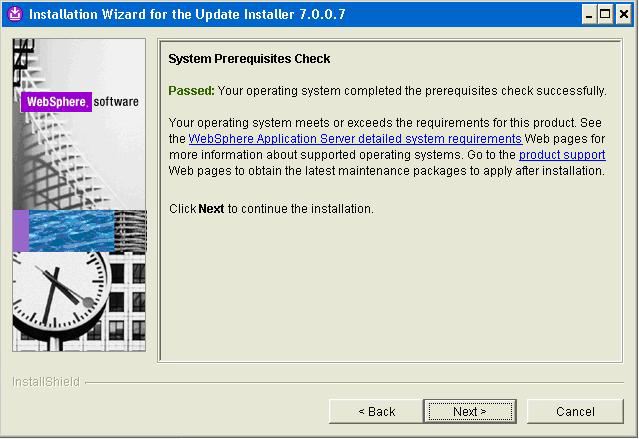
On System Prerequisites Check, the Installer performs a verification of system requirements.
After the Installer indicates the check was successful, click the Next button to continue.
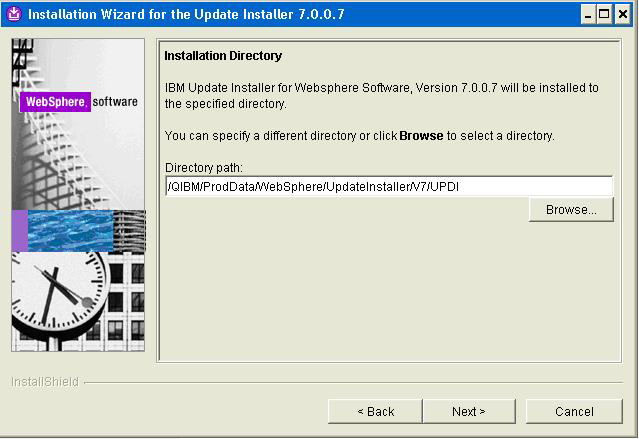
On Installation Directory, enter or browse to a valid location where you want to install WebSphere Application Server Network Deployment. For example:
/QIBM/ProdData/WebSphere/UpdateInstaller/V7/UPDIClick the Next button.
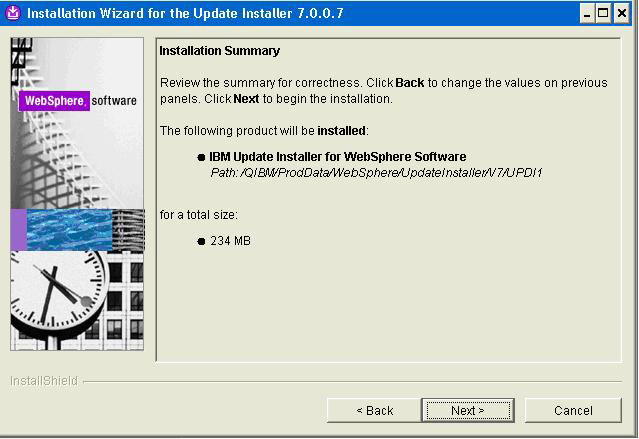
On Installation Summary, click the Next button to begin the installation.