Enabling Non-SYSDBA User Support for Essbase Configuration
Note:
Non-SYSDBA user support for Essbase configuration is introduced starting with Release 11.2.19 and later.
For Essbase Schema creation, with SYSDBA credentials, see Configure Essbase on Linux topic for more information.
EPM Configurator currently supports only the SYSDBA User for Essbase configuration. The SYSDBA User provides the Essbase RCU prefix in the RCUSchema.properties file, and during configuration, the RCU for Essbase is created.
To enable support for Non-SYSDBA User for Essbase Configuration, a new flag,
preCreateEssbaseRCU, is now introduced in the
RCUSchema.properties file.
- Pre-create the RCU schema for Essbase using the RCU tool.
- Navigate to
Middleware home/oracle_common/bin/. - Launch
rcu.bat.For Linux, run
./rcu - On the Welcome page, click Next.
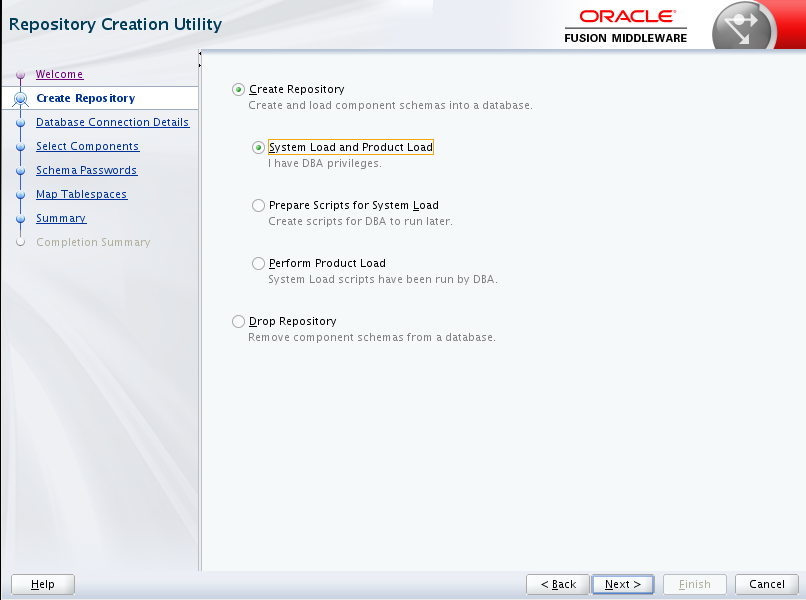
- On the Create Repository page, click Create
Repository, and click System
Load and Product Load, and then click
Next.

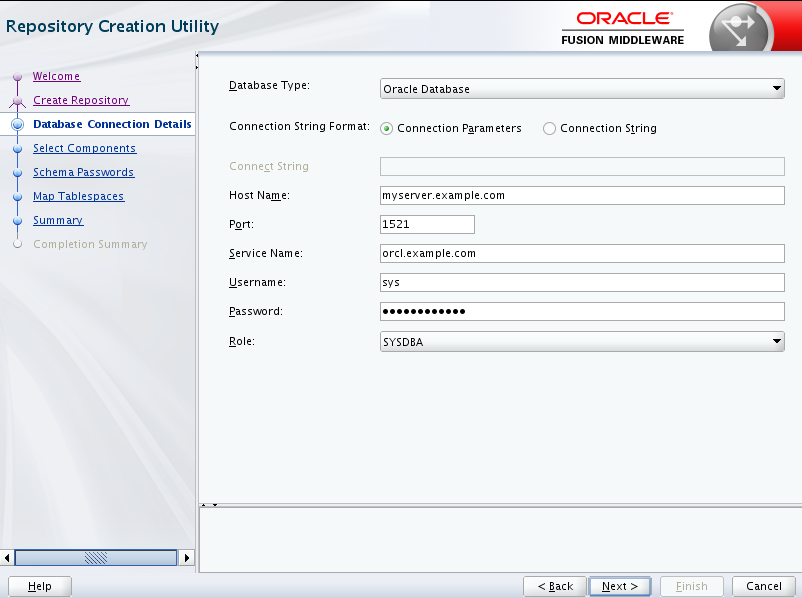
- On the Database Connection Details page, leave
Connection Parameters
selected. Specify a user with DBA or SYSDBA privileges,
such as
sys, provide the fully qualified host name, service name, Username and Password. Leave the Role as default of SYSDBA. and then click Next.
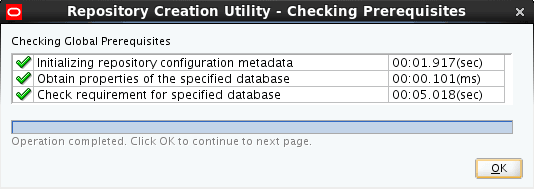
- The Repository Creation Utility checks prerequisites. Click
OK to continue.

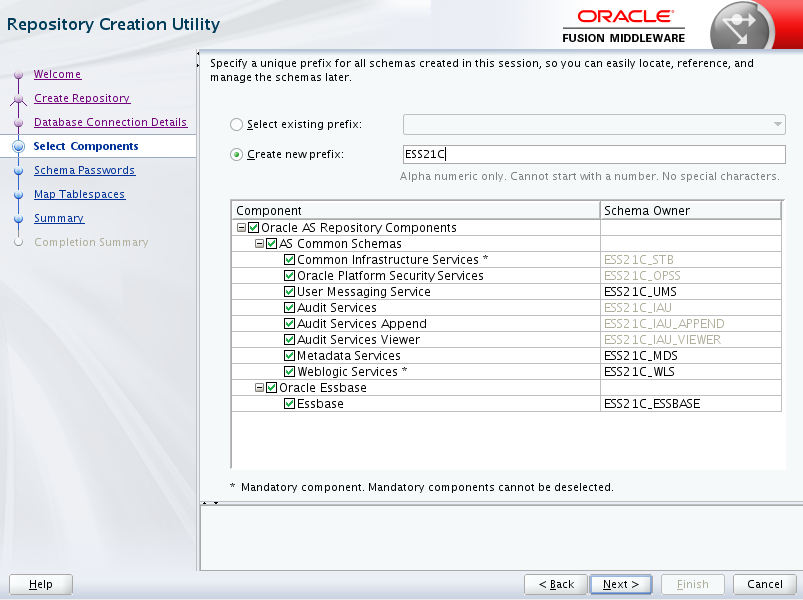
- On the Select Components page, perform these tasks, and then
click Next:
- Select Create new prefix and provide a unique prefix.
- Expand AS Common Schemas and select all the options. Oracle Essbase and Essbase schema will NOT appear if Essbase hasn't been installed.

- On Schema Passwords page, enter passwords for the schemas. Click Next.
- On Map Tablespaces page, review the tablespaces and click Next.
- Click OK to approve creation of new tablespaces in the repository database.
- Review the Summary page. Optionally, click Save Response File to save your metadata and choices for reuse. Click Create.
- Review the Completion Summary. If status was Success for all components, click Close, otherwise, address any issues.
- You have completed pre-creating schemas for Essbase and platform components.
- Navigate to
- Add the following flag to RCUSchema.properties
file:
preCreateEssbaseRCU=true - Configure Essbase through the EPM Configurator.
Note:
These steps are required only if you are using a Non-SYSDBA User or if you want to manually pre-create and use the RCU.
See Applying an Update Installation Checklist if you are performing an update (from 11.2.x to 11.2.15).