Managing Functions Using the OCI Functions Plugin for Visual Studio Code (VS Code)
Find out how to manage functions and applications using the OCI Functions Plugin for Visual Studio Code.
Visual Studio Code (often referred to simply as VS Code) is a Microsoft source-code editor made with the Electron Framework, and available for Windows, Linux, and macOS.
The OCI Functions Plugin for Visual Studio Code enables you to view, create, deploy, and invoke functions using OCI Functions, directly from VS Code.
Prerequisites
As with any Oracle client, obtain an API signing key. For guidance, see How to Generate an API Signing Key.
You must also install the OCI Core extension, which is available from the Visual Studio Marketplace.
Installing the Plugin
For instructions to install the OCI Functions Plugin for Visual Studio Code, see OCI Functions Plugin for VS Code GitHub repository.
Note that to deploy functions you create using the OCI Functions Plugin for Visual Studio Code, your user's profile in the ~/.oci/config file must include a user field that specifies your user's OCID. Be aware that if you generate the ~/.oci/config file automatically by selecting the Sign In button, the profile does not contain a user field. If this is the case, add the user field before deploying functions. For example:
user=ocid1.user.oc1..aaaaaaaaa______adtw4rListing Applications, and Opening an Application for Editing
- In the tree navigation on the left side, expand the node for the compartment that you want.
The applications you can access are shown.
- Expand the node for the application that you want to edit.
Creating a Function
- In the tree navigation on the left side, expand the node for the compartment that you want.
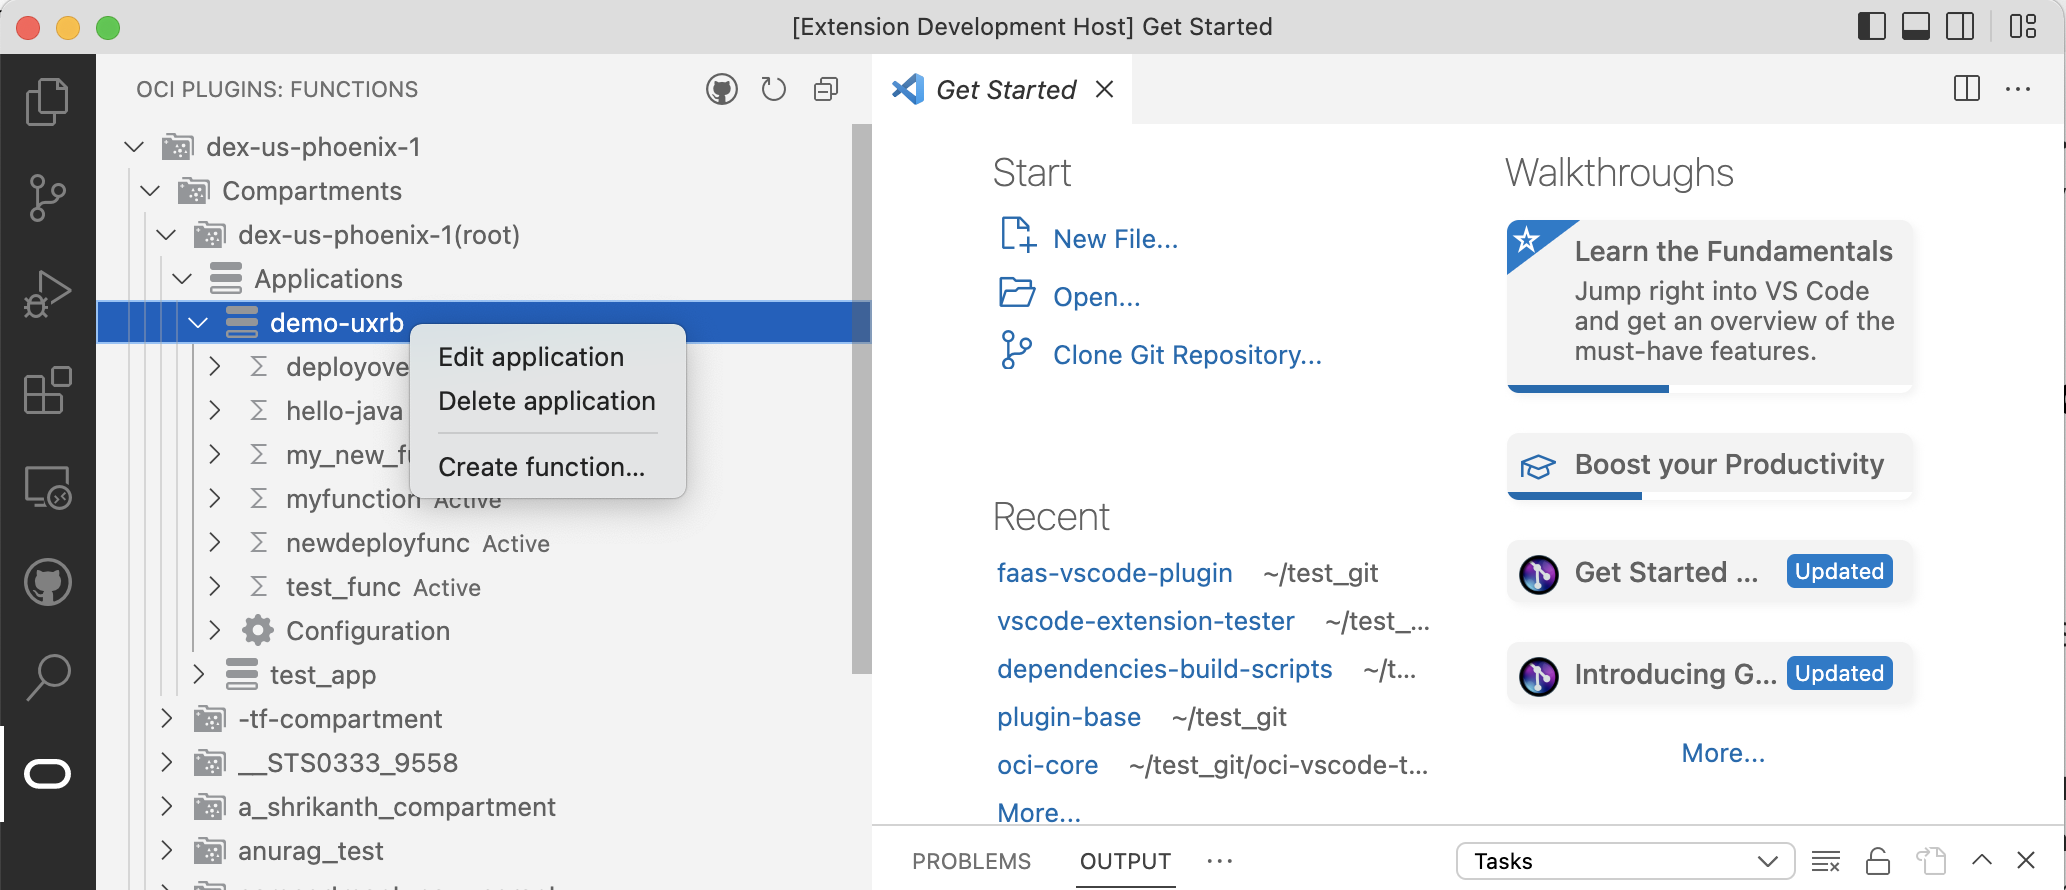
- Right click the node for the application that you want and select Create function....
- Create the new function in one of the following ways:
-
Create from a template:
- Select the Create from a template creation method in the entry field in the Code Editor menu bar.
- Select a template from the list of templates.
The new function is shown in the tree navigation.
-
Create from a sample:
- Select the Create from a sample creation method in the entry field in the Code Editor menu bar.
- Select a sample from the list of samples.
The new function is shown in the tree navigation.
-
Create from a code repository:
- Select the Create from a code repository creation method in the entry field in the Code Editor menu bar.
- Enter a name for the function.
- Enter the url of the remote repository containing the function code. For example,
https://github.com/jdoe/simple-python-helloworld-repoThe new function is shown in the tree navigation.
-
Deploying a Function
- In the tree navigation on the left side, expand the node for the compartment that you want.
- Expand the node for the application that you want.
- Right click the node for the function that you want to deploy, and select Deploy function....
If your user's profile in the
~/.oci/configfile does not include auserfield specifying your user's OCID (perhaps because you generated the~/.oci/configfile automatically by selecting the Sign In button), a dialog informs you theuserfield is missing. If you see the dialog, add theuserfield to the~/.oci/configfile before continuing. - Specify:
- Registry location: The location of the registry in which you are going to store the function. For example,
phx.ocir.io - Auth token: The generated auth token to use as the password when logging in to Oracle Cloud Infrastructure Registry.
- Registry location: The location of the registry in which you are going to store the function. For example,
Editing Function Settings
- In the tree navigation on the left side, expand the node for the compartment that you want.
- Expand the node for the application that you want.
- Right click the node for the function that you want to edit and select Edit function settings.
- Specify:
- Timeout: The maximum time the function will be allowed to run. Best practice is to specify a timeout that is close to that likely to be required, rather than significantly more.
- Memory: The maximum memory threshold for the function.
Adding and Editing Custom Configuration Parameters
- In the tree navigation on the left side, expand the node for the compartment that you want.
- Expand the node for the application that you want.
- Expand the node for the function that you want.
- Select the Configuration node to edit the function's configuration.
-
To define a new custom configuration parameter:
- Specify:
- Key: The name of the custom configuration parameter. The name must only contain alphanumeric characters and underscores, and must not start with a number. For example,
username - Name: A value for the custom configuration parameter. The value must only contain printable Unicode characters. For example,
jdoe
- Key: The name of the custom configuration parameter. The name must only contain alphanumeric characters and underscores, and must not start with a number. For example,
- Select the plus (+) sign.
- Specify:
- To edit an existing configuration parameter, select the pen icon beside the parameter.
- Select Save.
