10. Configure Oracle Analytics Publisher for Application
- Copy the OfsllCommonCSF.jar from /WEB-INF/lib available in the staging area to $DOMAIN_HOME/lib
- Update the setDomainEnv.sh file ($MW_HOME/user_projects/domains/mydomain/bin directory) by appending the above jar file path – EXTRA_JAVA_PROPERTIES="…….. ${EXTRA_JAVA_PROPERTIES}
-Dofsll.csf.path=${DOMAIN_HOME}" - Configure Security via EMconsole
Note
It is assumed that BI Publisher is installed and configured. Refer BI Publisher Guide for further details.

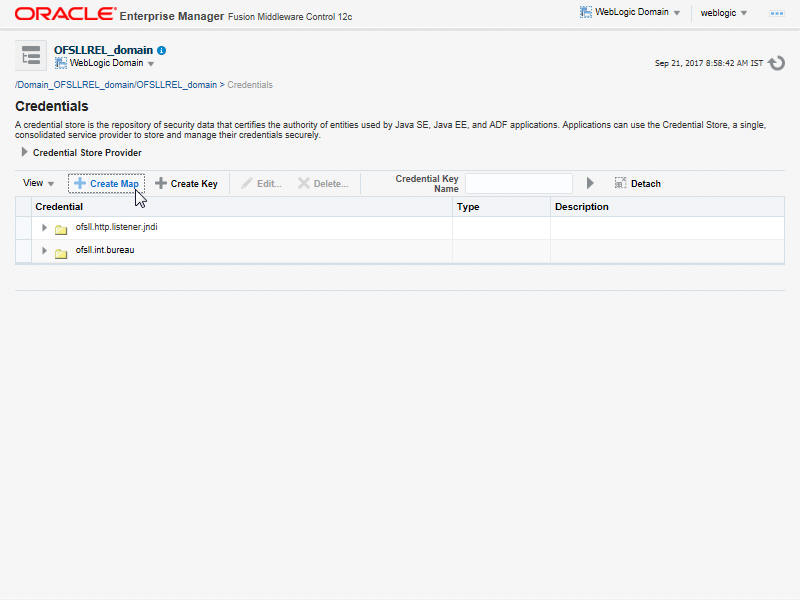
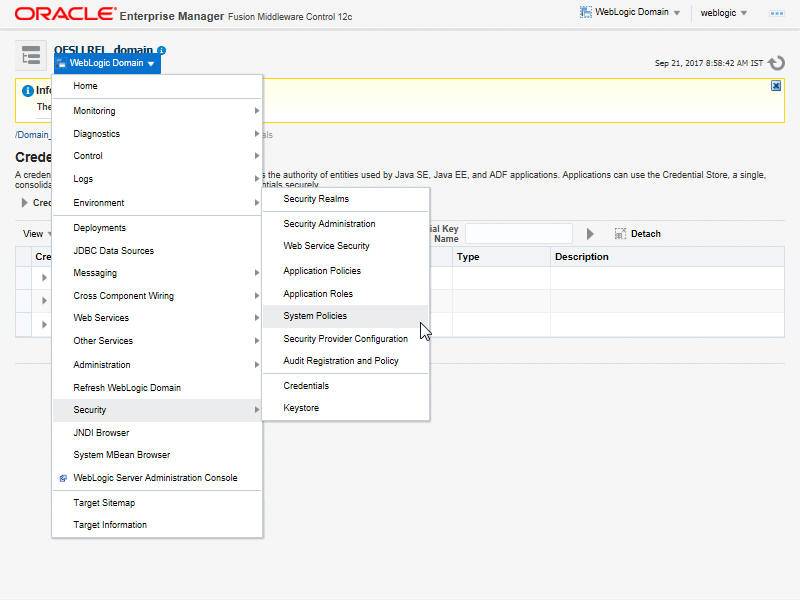
- Click WebLogic Domain on the right panel. Select Security > Credentials. Click ‘Create Map’.
- Enter the Map Name: ofsll.int.security.
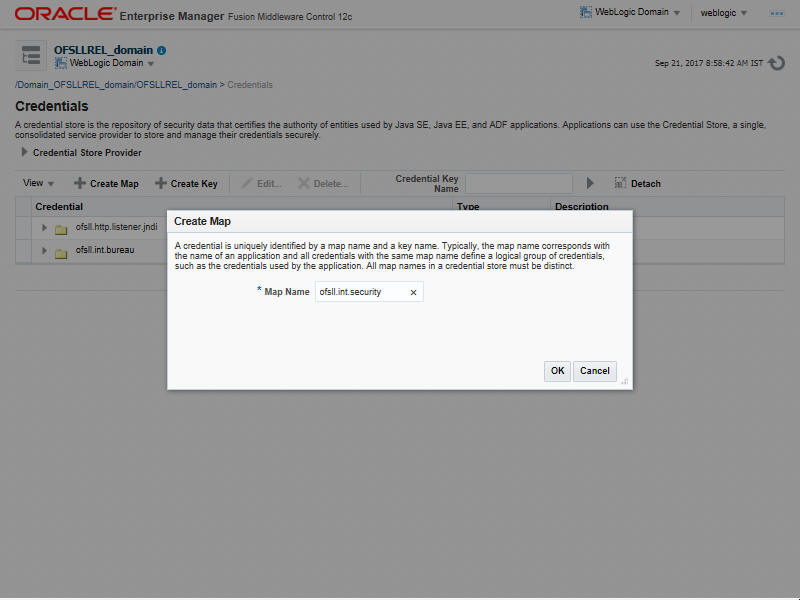
- Click ‘OK’.
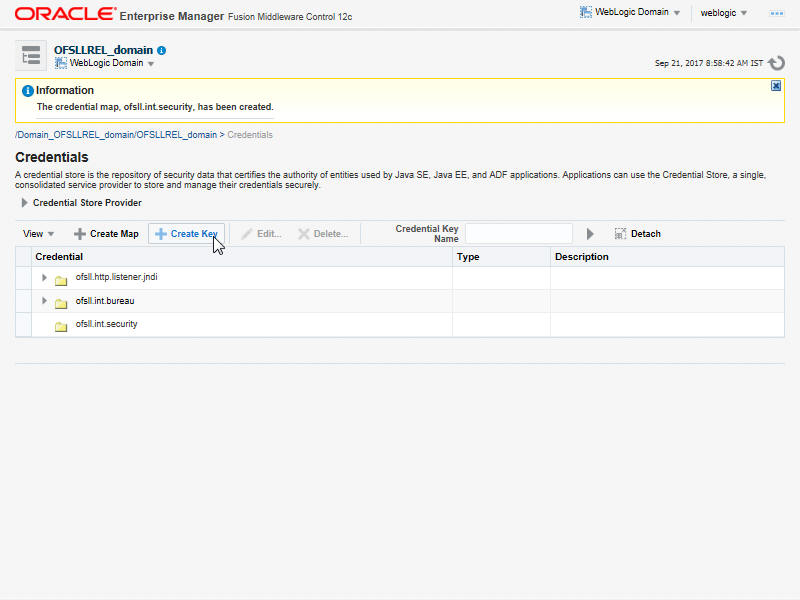
- Click ‘Create Key’ Button.
- Enter the details as per your requirement. Specify ‘User Name’ and ‘Password’ of BI Publisher console.
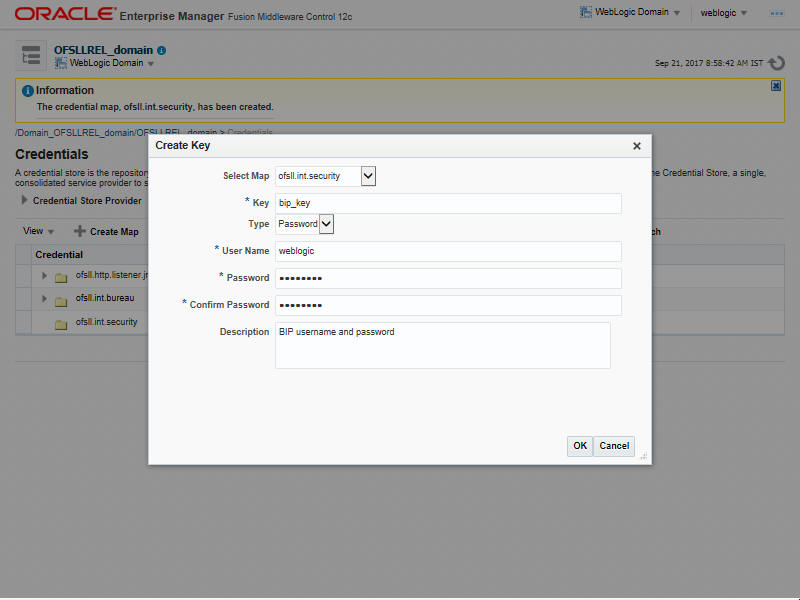
- Click ‘OK’. The following window is displayed.
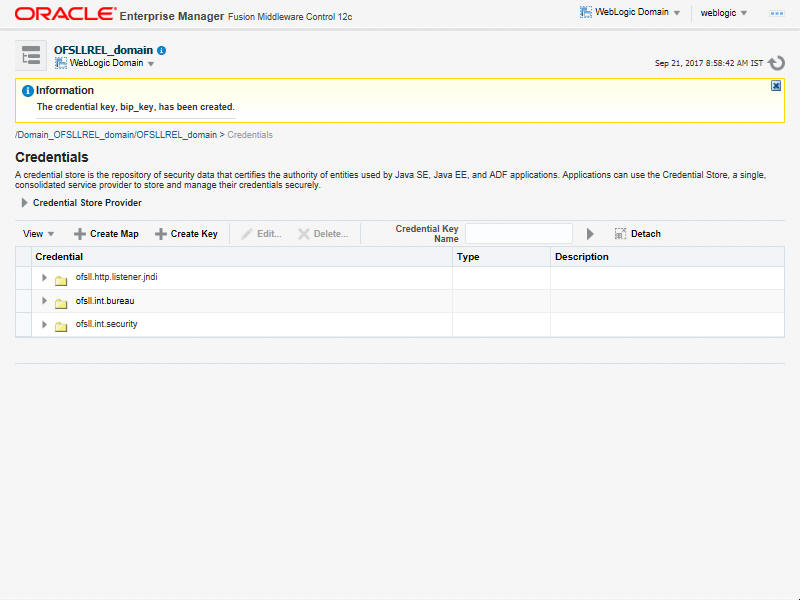
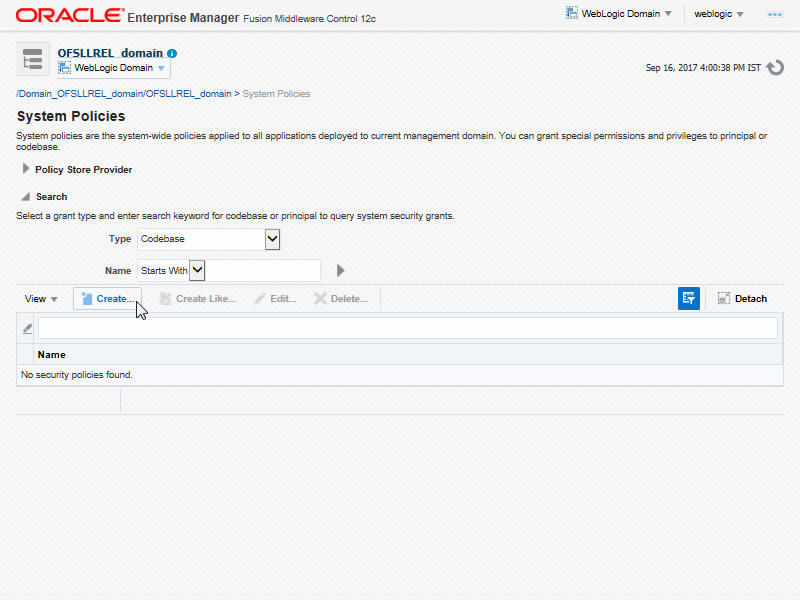
- On the left panel, right click on the domain OFSLL_domain > Security > System Policies. The following window is displayed.
- Click ‘Create’.
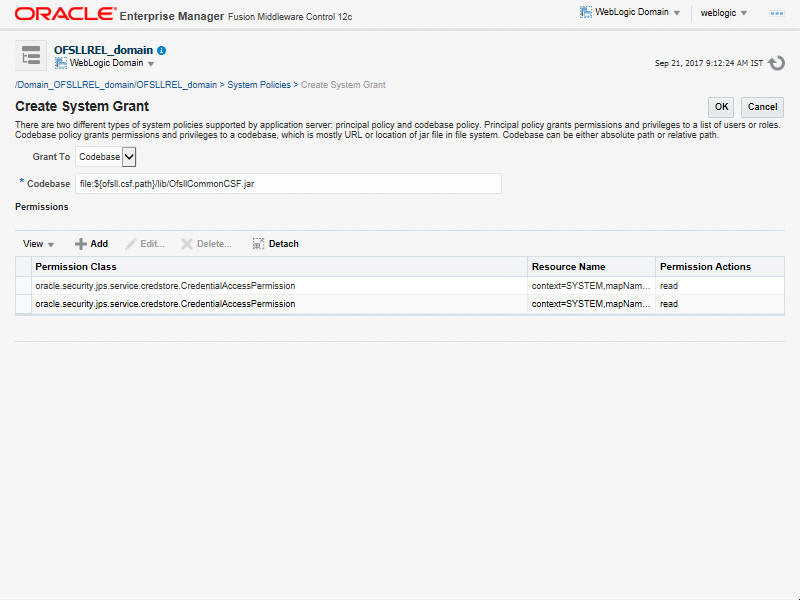
- The following window is displayed. Enter the codebase as ‘file:${ofsll.csf.path}/lib/OfsllCommonCSF.jar’ and click ‘Add’.

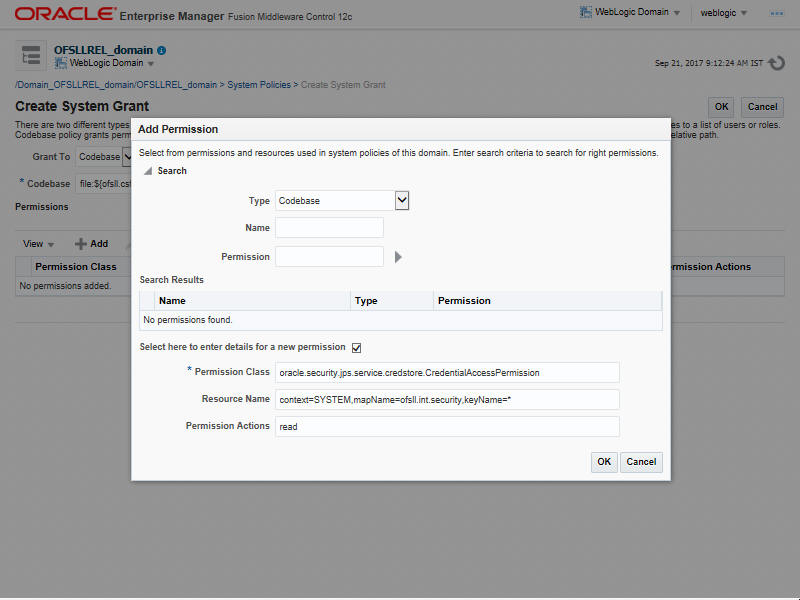
- The following window is displayed. Select the checkbox 'Select here to enter details for a new permission' and enter the following details as the first permission class.
- Permission Class: oracle.security.jps.service.credstore.CredentialAccessPermission
- Resource Name: context=SYSTEM,mapName=ofsll.int.security,keyName=*
- Permission Actions: read
Configuring JNDI Name for http Listener
- Similarly, click Add to add the second permission class. Select the check box 'Select here to enter details for a new permission' and enter the following details as the second permission class.
- Permission Class: oracle.security.jps.service.credstore.CredentialAccessPermission
- Resource Name: context=SYSTEM,mapName=ofsll.http.listener.jndi,keyName=*
- Permission Actions: read
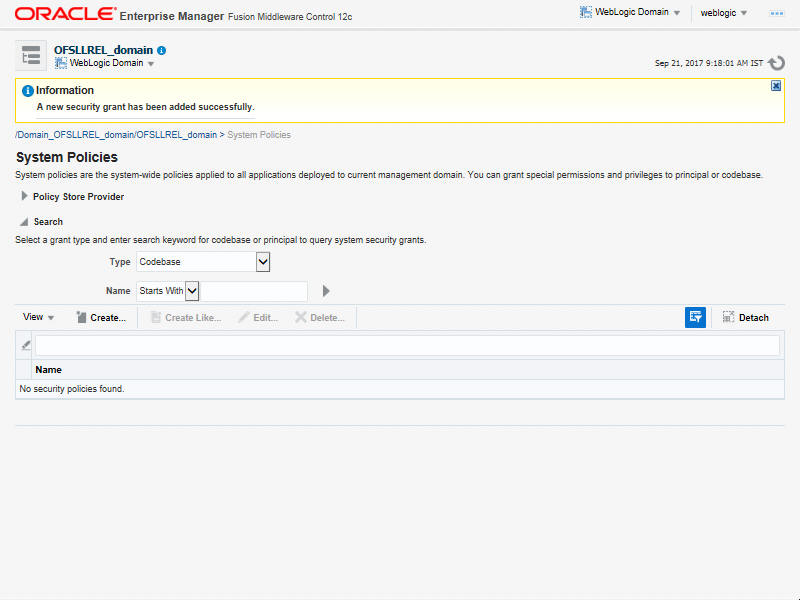
- Click ‘OK’. The following window is displayed.
- Click ‘OK’. The following window is displayed.