Configuring the MC55A

All network configuration and security settings are dependent upon the site’s infrastructure and configuration of the wireless network. If you encounter problems with the wireless network, see your site administrator.

To connect the MC55A to a wireless network:

  1. Click Start, click Settings, click Connections, and then click Wireless Manager.

    The Wireless Manager opens.

  2. Ensure that Wi-Fi is set to On.
  3. Return to the Home screen.
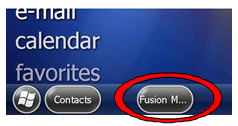
  4. Select the Wi-Fi row, and then click Fusion Menu at the bottom of the screen.

    Figure 16-1 MC55A Fusion Menu Button


    This figure shows the location of the Fusion Menu button on the Home screen.
  5. Click Manage Profiles.
  6. Hold the stylus on the Motorola Wireless Out of Box Magic profile, and then select Delete to remove this profile. If this profile does not exist, go to the next step.
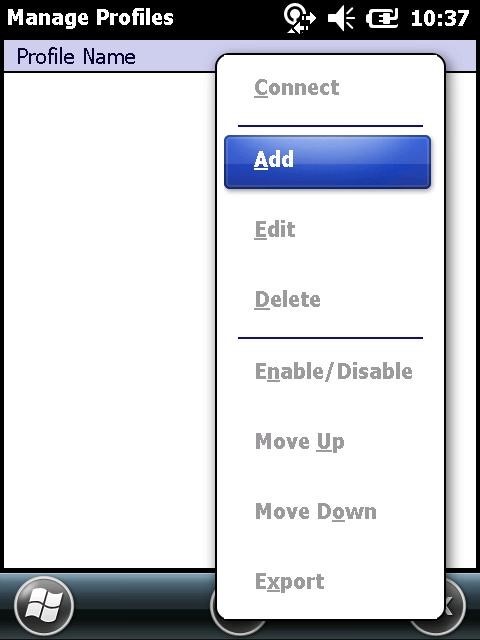
  7. Hold the stylus on the empty space in the window, and then select Add.

    The Wireless LAN Profile Entry dialog box opens.

    Figure 16-2 MC55A Add Wireless LAN Profile


    This figure shows the MC55A Add Wireless LAN Profile Entry dialog box.

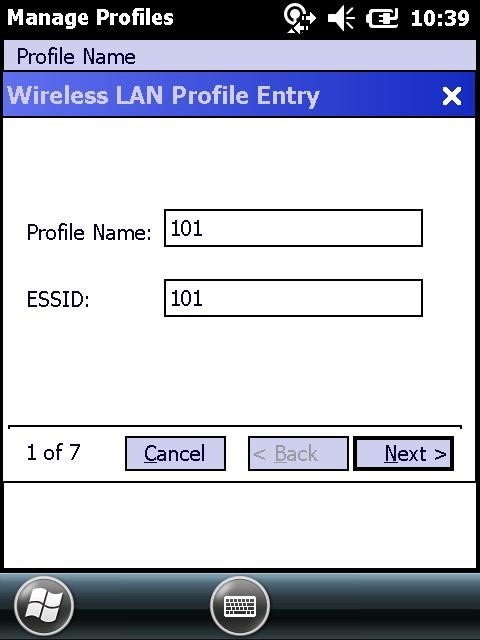
    Figure 16-3 MC55A Wireless LAN Profile Entry


    This figure shows the MC55A Wireless LAN Profile Entry dialog box.
  8. Enter a Profile Name and the ESSID (case sensitive) of the Access Point to which you are connecting, and then click Next.
  9. Select Infrastructure as the Operating Mode.
  10. If applicable, select the operating Country.
  11. Click Next.
  12. Select the Security Mode used by your Infrastructure.

    At a minimum, WPA2 must be used.

  13. If required, select the Authentication Type, and then click Next.

    Some sites require a stronger security than WPA2-PSK. At these sites, there is an Authentication device that requires you to type a password or provide a certificate.

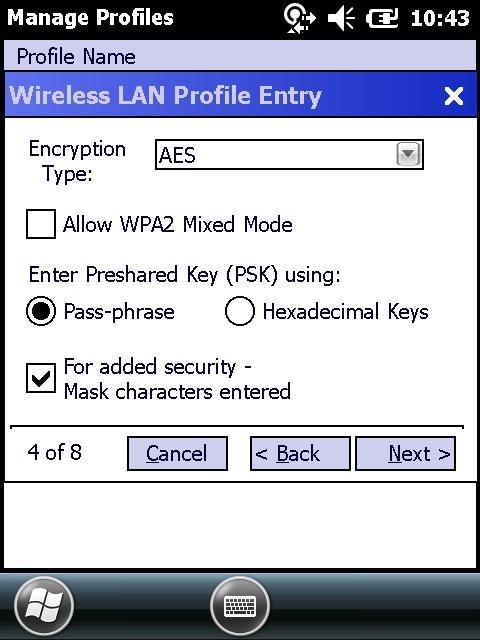
  14. For Encryption Type, select AES.
  15. Select Pass-phrase, select For added security – Mask characters entered, and then click Next.

    Figure 16-4 MC55A Wireless LAN Profile Encryption Type


    This figure shows the MC55A Wireless LAN Profile entry dialog box with the encryption type selected.
  16. Enter the WPA Pre-Shared Key pass-phrase that matches your infrastructure, and then click Next.
  17. On the IP Address window, if you are using DHCP, ensure that Obtain Device IP Address Automatically is selected.
  18. If you are using a static IP address, deselect Obtain Device IP Address Automatically, and then enter the IP, subnet, and gateway addresses.
  19. Click Next.
  20. Set the Transmit Power to Automatic, and then click Next.
  21. Select a Battery Usage Mode, and then click Save.

    The default Fast Power Save is recommended.

  22. Click OK to close and save.
  23. Warm boot the MC55A and allow the MICROS CAL to run as normal.