In this section, you use a wizard to generate a Java proxy for calling a web service. Once complete, you can create a client to connect to it and use it.
-
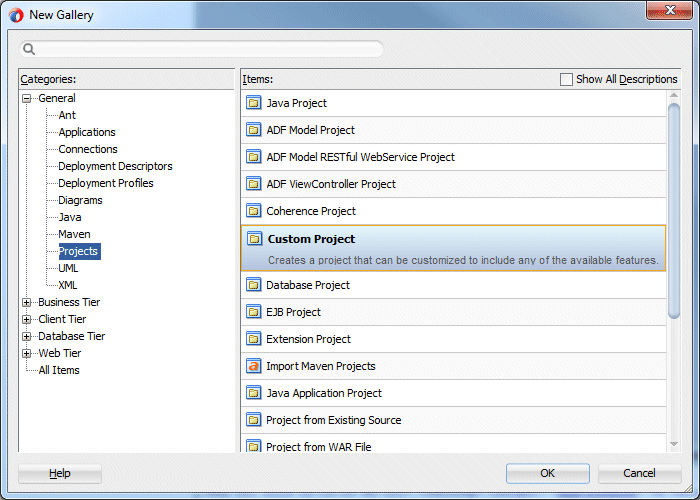
Create a new empty project. Right-click the Annotation project node and select New > From Gallery . In the New Gallery select General > Projects in the Categories list and Custom Project in the Items list. Click OK.
-
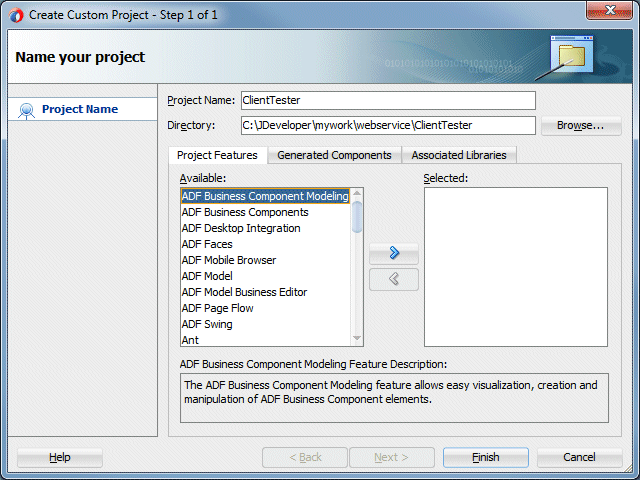
Create a new Generic Project and name it ClientTester and click Finish.
-
To use a client, you need to have the HTTP Analyzer up and running with one of your services. If it is not running, expand the Annotation project, and test the MyCompany class in the HTTP Analyzer. Confirm that it is up and working. (You could use any of the web services you created.)
-
Right-click the WSDL URL in the analyzer and select Copy. Do not close the HTTP Analyzer tab.

-
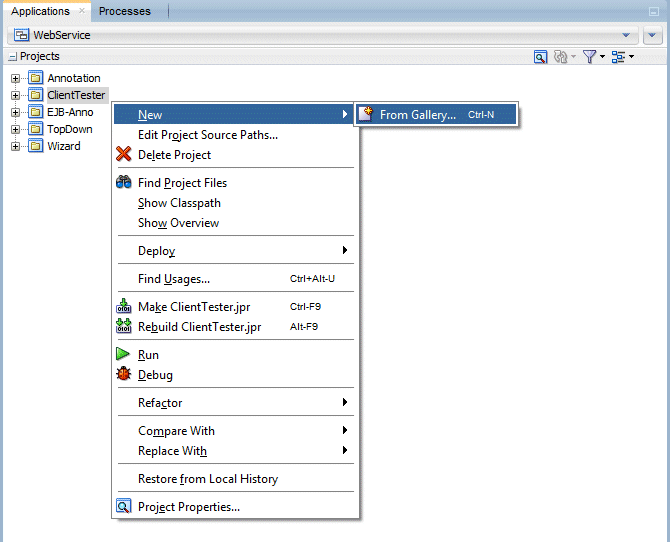
To generate the proxy, right-click the ClientTester project and select New > From Gallery .
-
In the New Gallery, expand the Business Tier node and select Web Services in the Categories list. Select the Web Service Client and Proxy item and click OK.
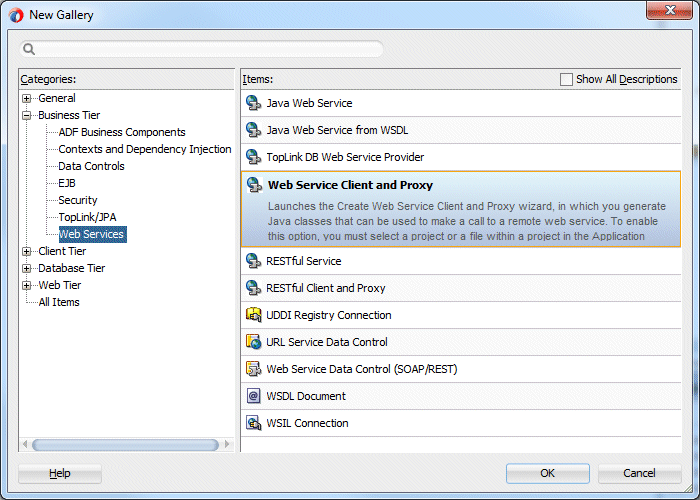
This action invokes the Create Web Service Proxy wizard. -
Click Next to dismiss the Welcome page
-
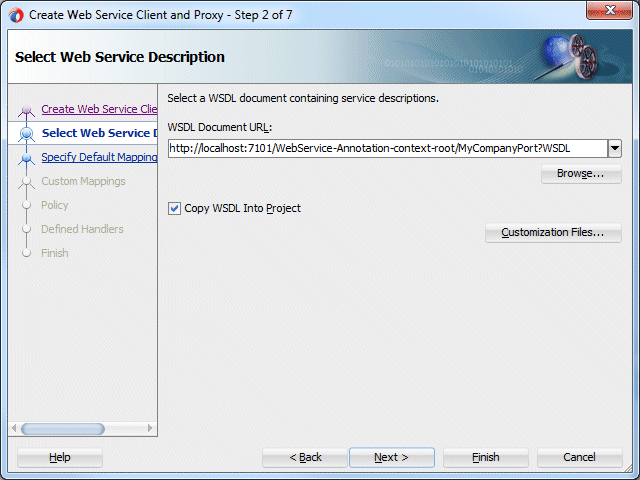
In the Select Web Service Description page, you specify the location of the WSDL service.
Paste the URL you copied from the from the HTTP Analyzer in the previous step into the WSDL Document URL. Select Copy WSDL Into Project and click Next.
-
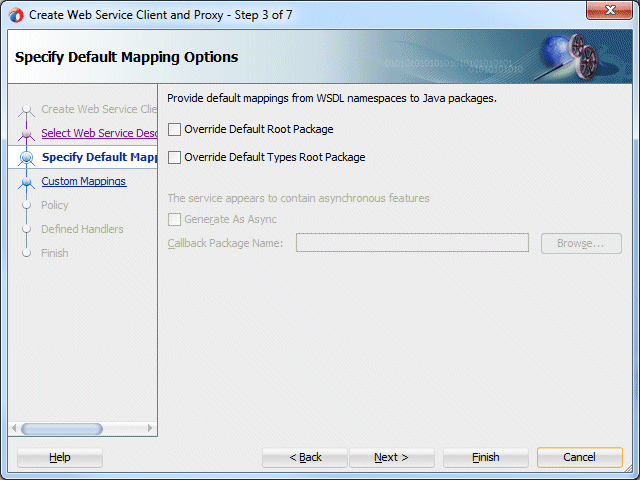
Accept the default for the mapping options and click Next.
-
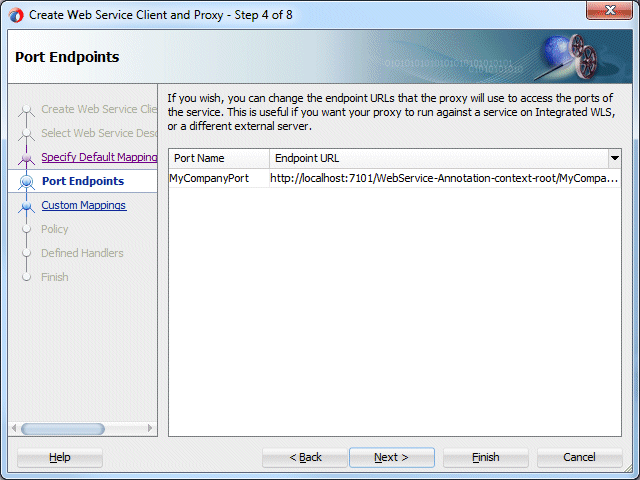
If you needed to change the Endpoint URL to point to a different server, you would do so here. Click Next.
-
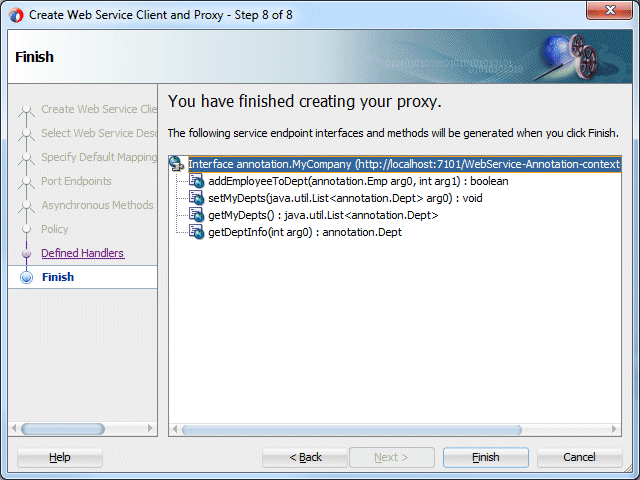
For the rest of the pages in the wizard, the default values are fine. Either click Next to examine the remaining steps, or click Finish to create the proxy.
-
Click Save All
 to save your work.
 -
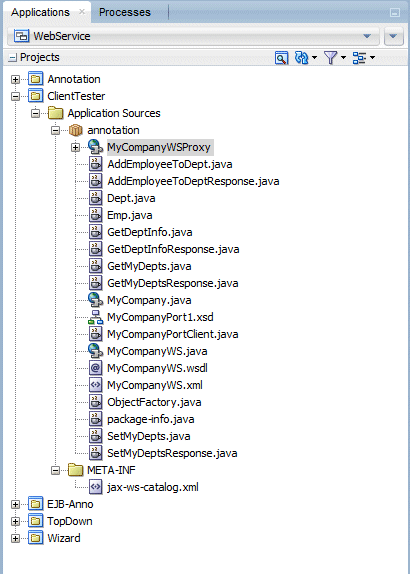
Expand the ClientTester > Applications Sources > annotation > MyCompanyWSProxy nodes in the Applications window, which should look like the image below.
In this section you update the client class to invoke the web service proxy and return the result to the message window.
-
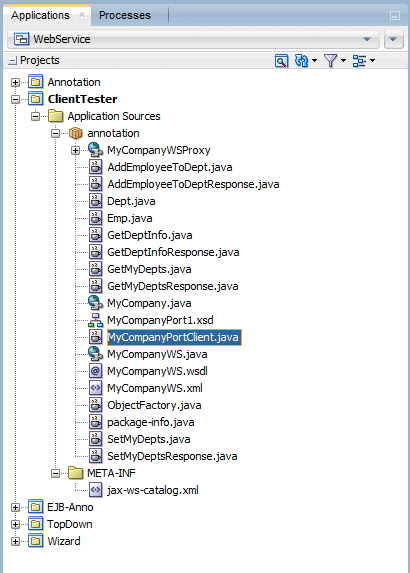
In the Applications window, Double-click MyCompanyPortClient.java to open it in the editor.
-
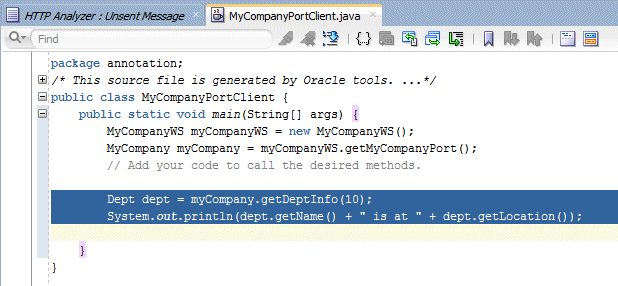
Add the following code to the main() method of the MyCompanyPortClient class:
Dept dept = myCompany.getDeptInfo(10);
System.out.println(dept.getName() + " is at " + dept.getLocation());
-
Click Save All
 to save your work.
 -
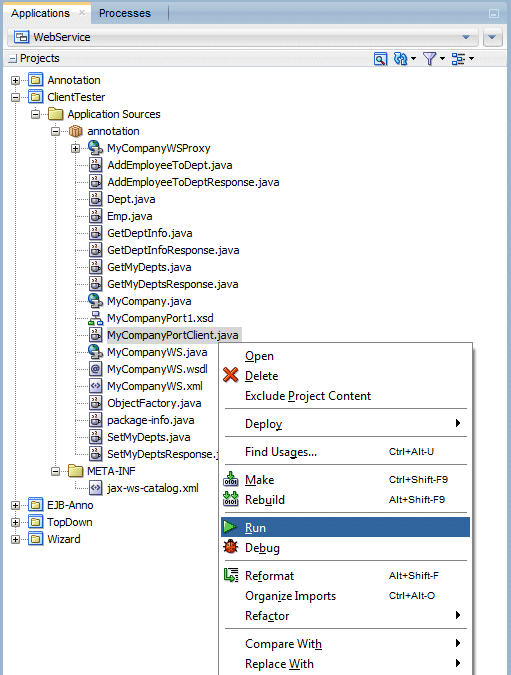
In the Applications window, right-click the MyCompanyPortClient.java file and select Run.
(The HTTP Analyzer must be up and running to process the client request. If it is not up, go back to the Annotation project, right-click MyCompany.java and select Test Web Service. If you get errors and the test does not run, shut down JDeveloper and restart it.)
-
The results of the client can be viewed in the ClientTester.jpr - Log window. If successful, you should see Administration is at Redwood City.

-
Close all tabs in the editor and collapse all of the projects in the Applications window.
Now you can test the client proxy.

 Part 1: Building a POJO Annotation-Driven Service
