This topic describes how to set up and use a Jetty server with the BEA Workshop Studio family of products. The topics discussed here are:
This topic assumes that you already have a server installed locally on your development machine, or on a server available for development. For information on installing, setting up and managing the server, consult the Jetty documentation.
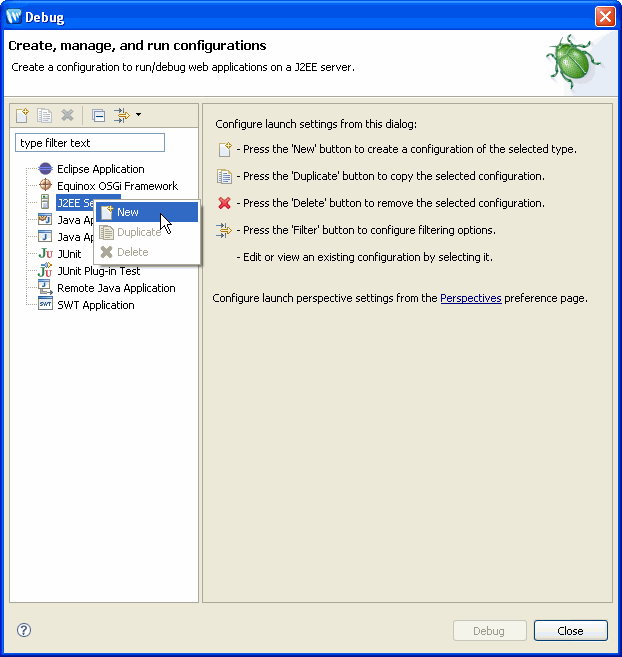
To define a server:
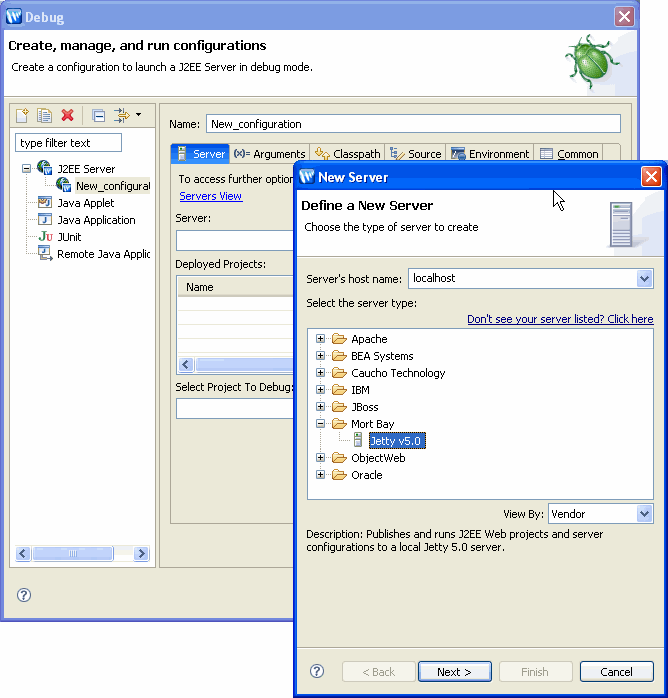
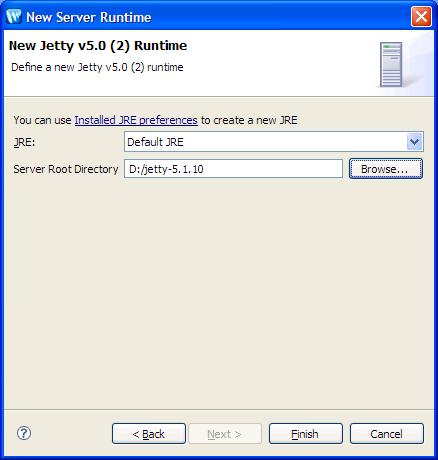
Choose the server by expanding Mort Bay and choosing the appropriate server. Click Next to continue.
Click Next to continue.
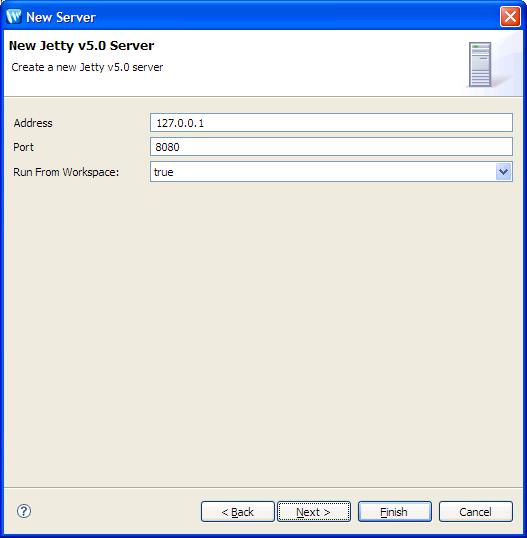
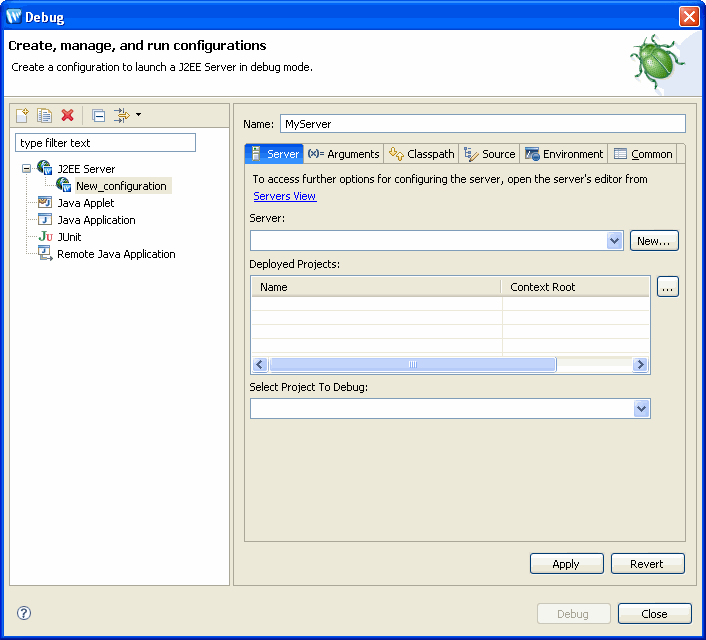
Fill in the appropriate values and click Finish to continue.
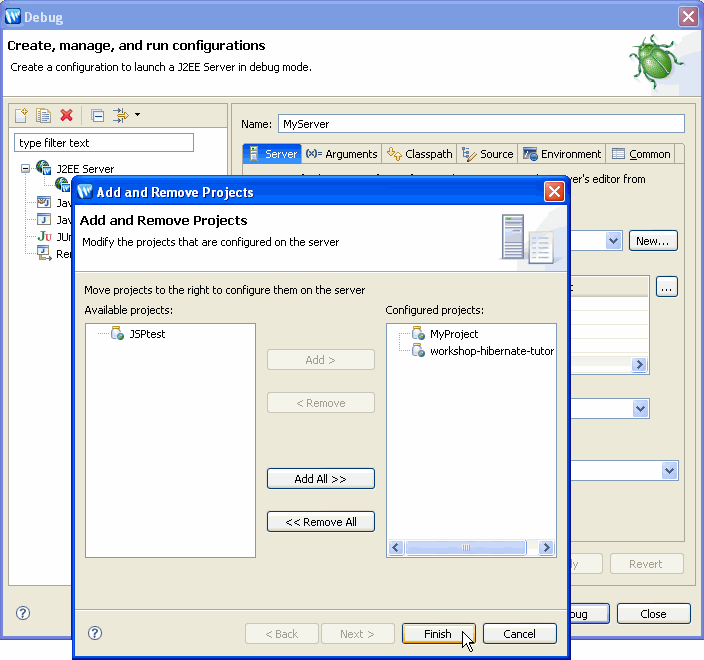
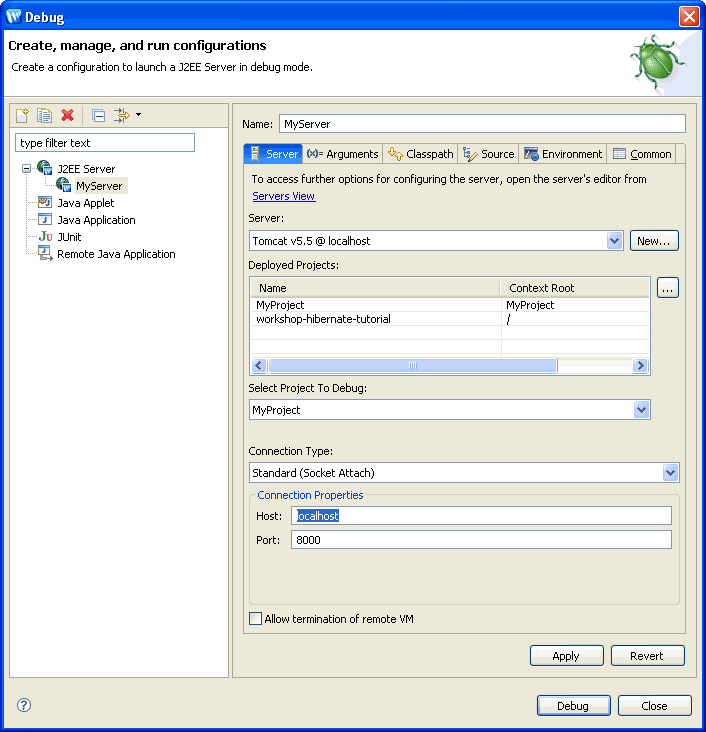
 (beside the Deployed Projects box) to specify which projects will be deployed to this server.
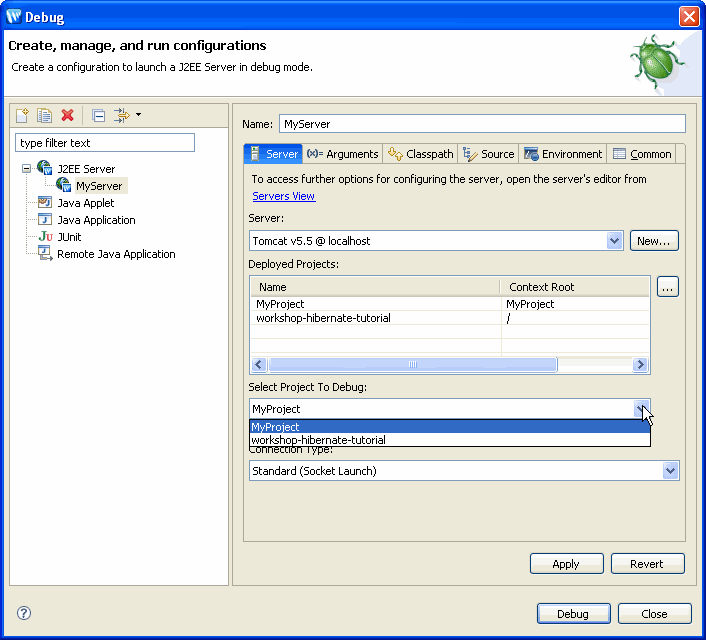
Note that the first project is automatically selected in the Select Project to Debug field. You can use the pull-down to specify which project will be debugged.
Only one project at a time can be debugged on the server. The project that is currently allowed to run in debug mode is the project displayed in the Select Project to Debug field. You are not required to run this project in debug mode, but if you wish to debug another project on the server, you must change this setting before debugging the application.
To update the definition for a server:
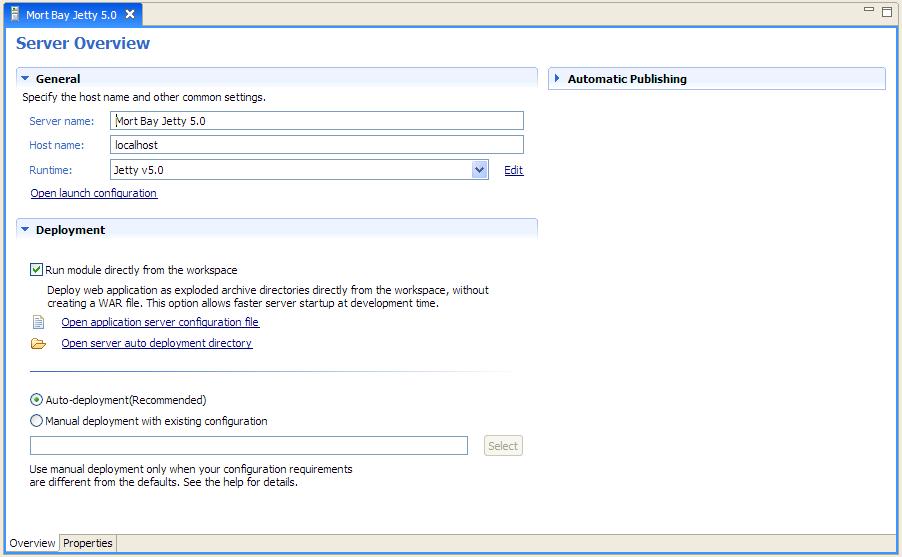
From Server Overview you can view and set deployment and runtime properties.
Note the Run module directly from the workspace option. This is a WTP feature that allows you to run your application in "exploded" mode where the application runs directly from your workspace. If you wish your application compiled into a WAR file and deployed, you must uncheck this option.
Click here for information on manual deployment.
Running and debugging applications is the same for all servers.
Workshop Studio supports hot deployment of JSPs but does NOT support hot deployment of other artifacts like Struts actions.
If you update a JSP, changes are automatically published to the server and you can simply click the Refresh button to see them running live on the server. Other changes are automatically deployed and but the application needs to be restarted manually as necessary.
To deploy an application manually requires that you create an alternate configuration. For information on how to create an alternate configuration, consult your server documentation.
To deploy the alternate configuration:
Manual deployment is only allowed when the Run module directly from the workspace option is selected.
You will see this screen that allows you to specify a custom configuration XML file.
To debug on a remote server (or on a local server which is started and managed OUTSIDE of the IDE), you must configure the server for remote debugging, deploy the application manually and then define the remote server's address.
Configuring the server for remote debugging is a feature of the server. This information is provided for your convenience. For definitive documentation, consult your server documentation.
Go to the Jetty home directory and create a folder named work. By default Jetty compiles JSP pages into the system temporary folder. If a work directory exists, servlets will be compiled in this directory instead, making it easier for debugging.
Start the Jetty server with following commands:
CD c:\jetty-5.1.10
java -Djetty.home=c:\jetty-5.1.10 -Xdebug -Xrunjdwp:transport=dt_socket,address=8453,suspend=n,server=y -jar start.jar
Before attempting to debug an application on a remote server, you must:
When remote debugging an application on a physically separate machine, the debugger will hit JSP breakpoints but the IDE will not show the correct source line in JSP, becasue Workshop Studio is trying to locate JSP servlet source for line mapping but the files are not available to the IDE.
To enable source debugging of servlets on a separate server, map the following directory (on the remote server) to a local directory, and use the Source Lookup Path dialog, or the Source tab in the Launch Configuration dialog (the Run > Run command), to add the mapped directory to Source Lookup Path.
${jetty_home}\work\jetty__${jetty_port}__${appname}

e.g.:
c:\jetty-5.1.10\work\Jetty__8080__struts-examples_1_2
|
To define a remote server:
Change the Connection Type to Standard (Socket Attach) and specify the Host and Port.
Note that when debugging an application on a remote server, you must not disable the Run module directly from the workspace option when you update server settings.