Step 4: Create a Page to Edit Customer Data
In this step you will add a JSP for editing individual customer records.
The tasks in this step are:
To Create a Record Editing Page
- On the Page Flow Explorer tab, right-click on the Pages
node and select New JSP Page.
- Rename the page to editCustomer.jsp. Press
Enter.
- On the Page Flow Editor tab, place the cursor in the
Quick Jump field, enter get,
and press Ctrl+Space. Choose getCustomerByIdfrom
the list.
This will display the getCustomerById node in the center pane. (Alternatively,
you can click the getCustomerById node on the Page Flow Overview tab.)
- Drag the editCustomer.jsp icon (located on the Page
Flow Explorer tab), onto the unspecified node
(located on the Page Flow Editor tab).
Note: make sure to drop directly on the unspecified
node as shown below.

To Make a Form for Updating the Customer Data
- On the Page Flow Explorer tab, double-click editCustomer.jsp
to open its source code.
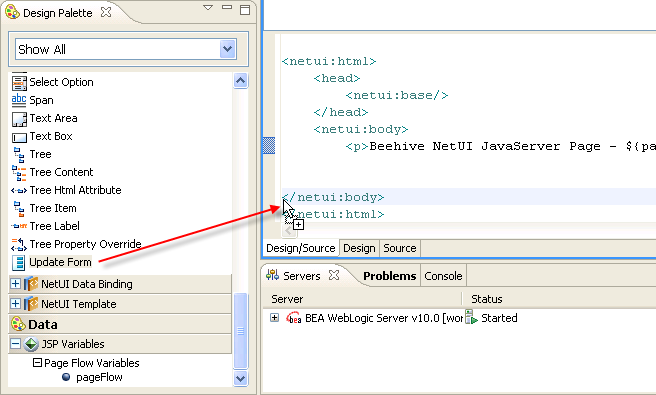
- On the Design Palette, in the NetUI tag
library section,
drag the Update Form pattern onto the JSP source
editor and drop it directly before the </netui:body> tag.
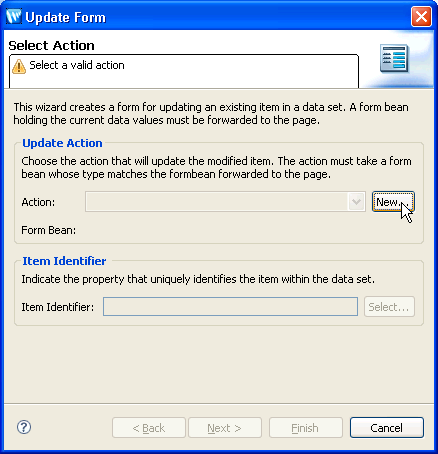
- On the Update Form dialog, next to the Action
field, click the New button.
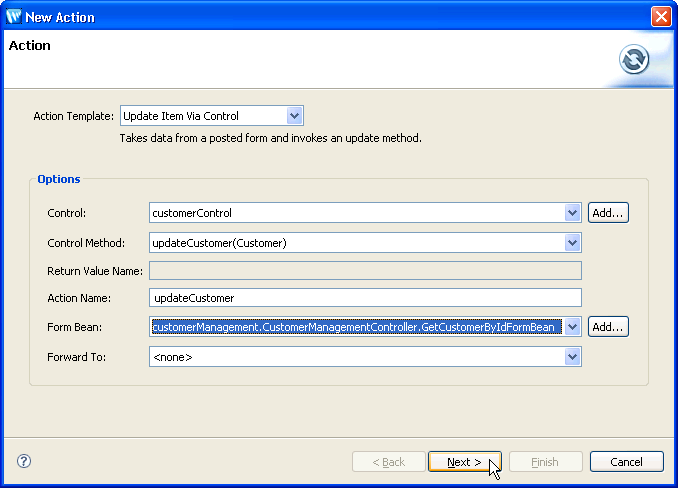
- On the New Action dialog,
from the Control Method dropdown list, choose the updateCustomer(Customer)
method,
from the Form Bean dropdown list, select customerManagement.CustomerManagementController.GetCustomerByIdFormBean.
Click the Next button.
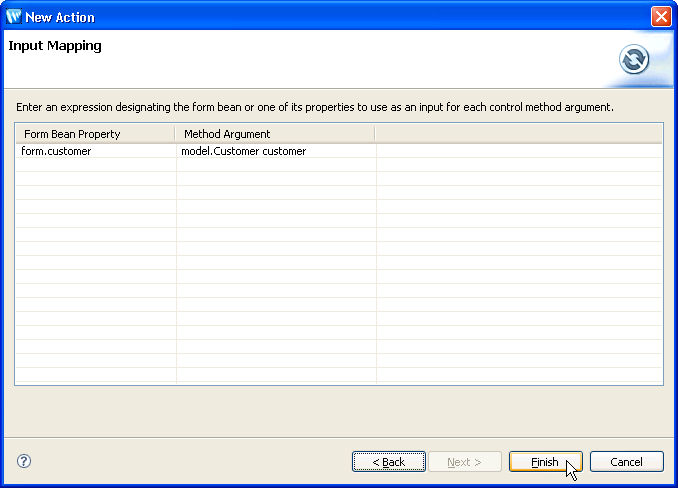
- In the New Action dialog, on the Input Mapping
page, click Finish.
- Click the Select button next to the Item Identifier
field.
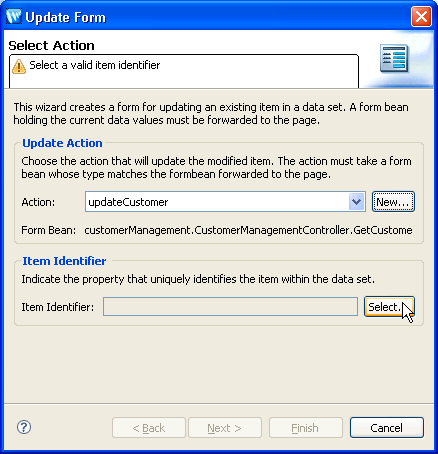
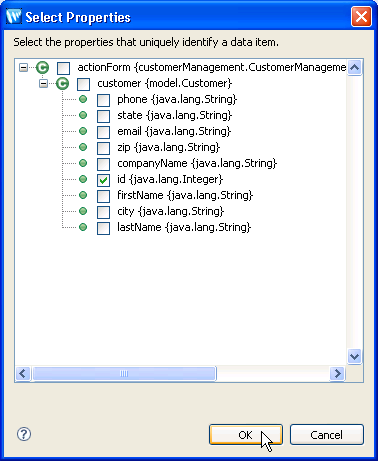
- Select the id property and click OK.
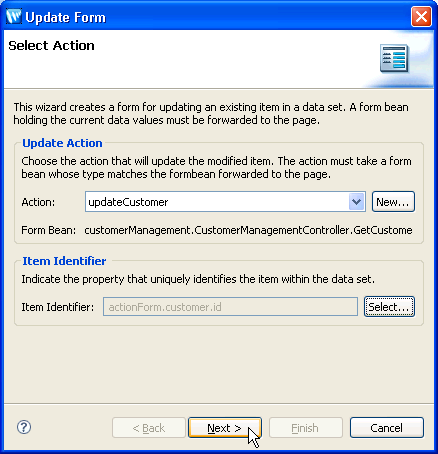
- On the Update Form dialog, on the Select Action
page, click the Next button.
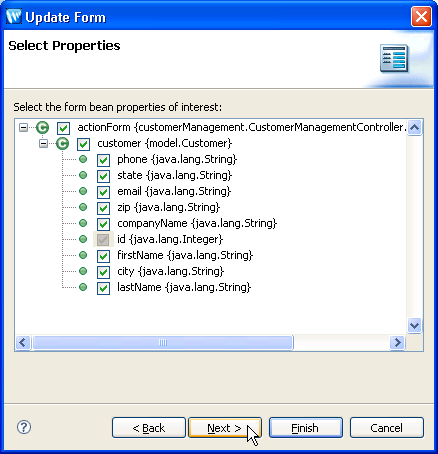
- On the Update Form dialog, on the Select Properties
page, click the Next button.
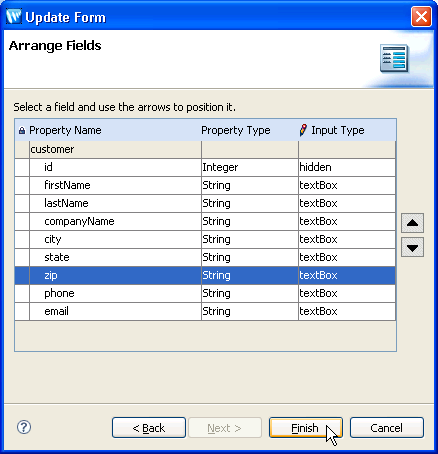
- Arrange the fields so that they have the following order:
Id
First Name
Last Name
Company Name
City
State
Zip
Phone
Email
Click the Finish button.
To Set Up Navigation Back to the Customer List
- On the Page Flow Editor tab, place the cursor in the Quick
Jump field, enter updateCustomer,
and press the Enter key. This will display the updateCustomer
node in the center pane. (Alternatively, click the updateCustomer node
on the Page Flow Overview tab .)
- Drag the getCustomers action (located on the Page
Flow Explorer tab) onto the right-hand side of the Page Flow
Editor tab .

- Press Ctrl-Shift-S to save your work.
- Close the source file for editCustomer.jsp.
To Run the Page Flow
- On the Page Flow Explorer tab, click the Run
on Server icon
to deploy and run the Page Flow.

- In the Run on Server dialog, confirm that WebLogic v10.3 Server is selected, and click Finish.
Wait a minute for the EAR and web application projects to deploy.
You will see a browser tab appear, displaying a grid of customer data
- Click the Edit link for "David Owen".
- Update the information for David Owen and click updateCustomer.
- Note that the information is updated on the grid page.
Click one of the following arrows to navigate through the tutorial:
Still need help? Post a question on the Workshop
newsgroup.


