Step 5:
View the User Segments and Create Users
In this step you will view the two User Segments that
have been provided for this tutorial. The User Segment definitions are initially
created by the developer in WebLogic Workshop and can be modified using the
WebLogic Administration Portal. You will also create two users that have the
necessary characteristics to fit these classifications, used later to demonstrate
personalization.
The tasks in this step are:
View the
User Segments
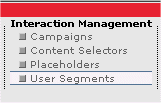
- Select User Segments in the main
navigation pane.
- In the User Segments Resource tree, select User
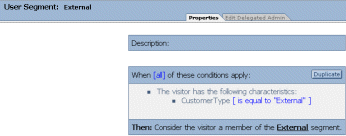
Segments -> External.
- Select the Properties tab
to view the following definition:
- For comparison, select User Segments
-> Internal to display its definition:
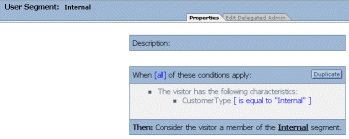
Both of these User Segments are based on the value
of the CustomerType property and are the simplest form. More sophisticated User
Segments can be based on the characteristics of the visitor, session, or request.
Create
Users
- Select Users and Groups in the
main navigation pane.

- In the Browse User-Groups
Resource tree, select the everyone (All Users) node.
- Select the Add Users tab, and
click Create New User to open the Add a New User dialog.
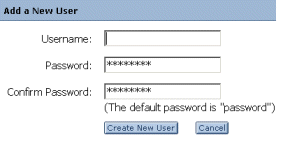
- In the Username field, enter tutor1
and use the default password.
- Click Create New User.

- Click on the tutor1 link, and
select the Edit User Profile Values tab.
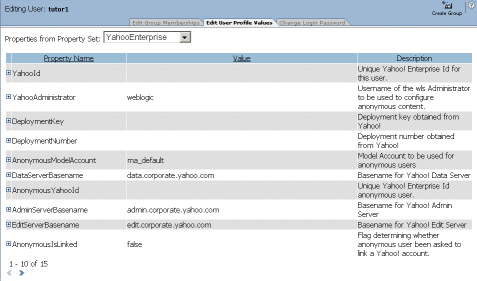
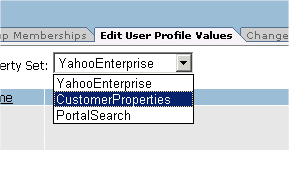
- In the Property
Set drop-down menu, select CustomerProperties.
- Use the arrows
at the bottom of the Editor pane to navigate to the Customer Type
property.
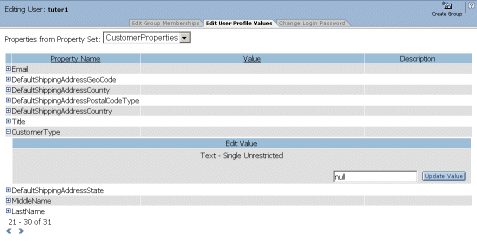
- Expand the Customer Type property,
and type Internal in the input field.
- Click Update Value.
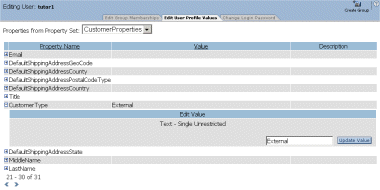
- Repeat steps 3-10, creating a user called tutor2
and setting the value of the CustomerType property to External.


